
A well-organised makeup drawer can make a world of difference in your daily routine. When everything has a designated place, finding what you need is fast and hassle-free. Cluttered drawers, on the other hand, can lead to lost products, wasted time, and even expired makeup going unnoticed.
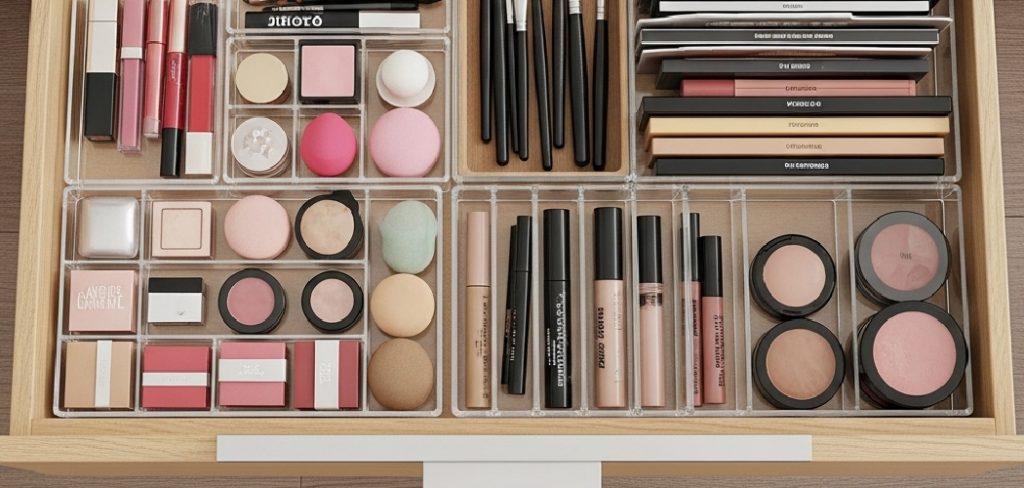
Taking the time to set up an efficient system helps extend the life of your cosmetics and brushes. It also inspires you to take better care of your collection. Let’s explore how to organise makeup in a drawer.
Tools and Materials You’ll Need
- Drawer Organizers or Containers (Acrylic, Bamboo, or Plastic)
- Makeup Brush Holder or Cup
- Small Trays and Dividers
- Labels and a Marker
- Microfiber Cloth or Wipes for Cleaning
- Trash Bin for Discarding Expired Products
- Ziplock Bags or Pouches for Travel-size Items
- Rubbing Alcohol or Sanitizing Spray
- Pen and Notepad for Organizing Ideas
10 Step-by-step Guidelines on How to Organise Makeup in a Drawer
Step 1: Empty and Clean Your Drawer
Start by removing every product from your drawer and spreading them out on a clean surface. This lets you see the full extent of your collection and helps you assess what you have. Dust and residue often collect at the bottom, so be sure to give the drawer a thorough wipe down.
Use a microfiber cloth and, if needed, a gentle cleaning spray to remove makeup stains or stickiness. Taking the extra time to sanitize the area ensures a fresh, clean slate before you begin organising. Make sure your drawer is completely dry before moving on to the next step.
Step 2: Sort Makeup by Category
Begin separating your products into logical groups such as foundation, blush, eyeshadow, lipsticks, and brushes. Sorting by category gives you a clearer sense of your inventory and highlights any duplicates or items you rarely use.

Lay each category in its own pile. This process makes it much easier to see where you may have excess products and where your collection may be lacking. Grouping items thoughtfully now will help you decide on the best storage method for each type later on.
Step 3: Declutter and Discard Expired Items
Go through each category pile and check the expiration date or condition of every product. If something is past its prime, smells off, or has changed in texture, discard it right away. Don’t hold onto makeup that is no longer safe to use.
This is also a good time to let go of products you no longer love or don’t use. Place these in a separate pile to give to friends or family, or simply throw them away if expired. A more focused collection means less clutter and more space for essentials.
Step 4: Measure Your Drawer and Organizers
Before buying or placing any storage solutions, measure the dimensions of your drawer. Make sure any organizers or trays you’ve chosen will fit snugly without wasting valuable space. If you’re using multiple small containers, try different arrangements to see what offers the best fit.
Write down the measurements for future reference or keep them on your phone. Knowing exact sizes ensures you don’t accidentally purchase the wrong-sized organizers and saves you trips back to the store. Taking time now will pay off with a perfectly coordinated setup.
Step 5: Assign a Home for Each Category
Designate specific sections in your drawer for each type of makeup. For example, keep lipsticks together in a small organizer, while foundations and powders can share a divided tray. Keeping categories separate prevents items from shifting around and getting mixed up.
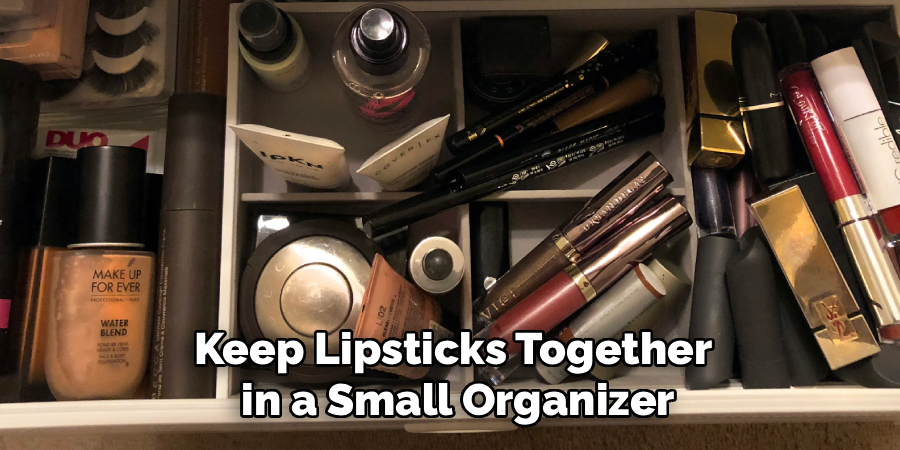
If you own a lot of a certain product, think about whether it needs an individual container or simply a larger section. By giving each item its own “home,” you’ll always know exactly where to find it and where to put it back after use.
Step 6: Make Use of Vertical Space
Stackable organizers or tiered trays can help you take advantage of the full height of your drawer. Place less-used items on the upper tier or at the back of the drawer, while daily essentials get a front-and-center spot for easy access.
Vertical storage is particularly handy for taller products like makeup brushes or sprays. Investing in adjustable containers or customizable trays can maximize every inch and keep your makeup drawer looking neat and tidy.
Step 7: Label Containers and Sections
Label each organizer or section using adhesive labels or a label maker. Clear labeling can help prevent products from drifting into the wrong category and keep the system going long after your initial organizing session.
Labels are especially useful for families or shared spaces, so everyone can return items to their designated places. They also make it much easier to maintain organization as your makeup collection evolves over time.
Step 8: Keep Daily Essentials Accessible
Set aside a section or tray at the front of your drawer for your everyday products. Keeping daily essentials in reach saves time during busy mornings and ensures your mmost-useditems won’t get buried under less-used makeup.
Rotate products in this section regularly to prevent product waste and keep your routine feeling fresh. This creates a more enjoyable and efficient makeup experience every day.
Step 9: Maintain Your System Regularly
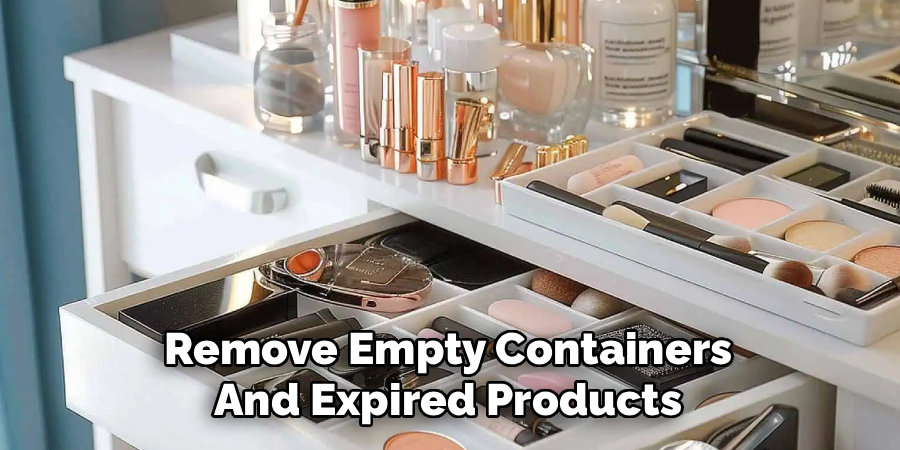
Revisit your makeup drawer every few weeks to tidy up, wipe down surfaces, and reassess your collection. Remove empty containers and expired products quickly so clutter doesn’t have time to build up again.
A little ongoing maintenance keeps your drawer organized with minimal effort. By sticking to your system, you’ll always have a streamlined, stress-free space to enjoy your beauty routine.
Following these steps on how to organise makeup in a drawer will not only save you time and stress, but also help extend the life of your products by keeping them clean and easily accessible. With a well-organized makeup drawer, you can feel confident and beautiful each time you get ready. So go ahead and start organizing – your future self will thank you!
Additional Tips
Label Your Containers:
Use clear labels on boxes, bins, or dividers to quickly identify where each type of product belongs. This makes finding and returning items even.
Consider Using Drawer Dividers:
Drawer dividers are a great way to create designated spaces for different types of products. You can use them to separate your makeup from your skincare or even divide products by color. This will not only make it easier to find what you need but also keep everything neatly in place.
Utilize Vertical Space:
Don’t overlook the vertical space in your drawer! Stackable organizers, risers, and small shelves can help maximize space and make it easier to see all of your products at once.
Use Clear Jars or Containers for Small Items:
For smaller items like bobby pins, hair ties, or cotton pads, consider using clear jars or containers to keep them organized and visible. This will prevent these small items from getting lost in the chaos of your drawer.
Label Your Products:
Investing in labels for your makeup products can make a big difference in keeping things organized. You can either create your own labels using a label maker or purchase pre-made ones. This not only adds a personalized touch but also makes it easier to find exactly what you’re looking for.
Regularly Declutter:
As with any organizing project, regular decluttering is key to maintaining an organized makeup drawer. Set aside time every month or so to go through your products and get rid of anything that has expired or you no longer use. This will not only free up space but also ensure that you are only using safe and effective products on your skin.
Frequently Asked Questions
Q1: How Often Should I Clean Out My Makeup Drawer?
It is recommended to clean out your makeup drawer at least once every three months. This maintenance schedule helps prevent the buildup of dust, expired products, and clutter. Regular cleaning ensures that your products are hygienic and safe to use, and helps you stay organised over time. Adhering to a schedule will make the cleaning process much easier each time.
Q2: What Should I Do With Unused or Unwanted Makeup?
Unused or unwanted makeup that is still in good condition can often be donated to friends, family, or local charities. However, always check the expiration date before gifting or donating. If the items are used but still in acceptable condition, consider offering them to close friends who don’t mind lightly used products. If the product is expired or unfit for use, dispose of it responsibly following local guidelines.
Q3: Are Drawer Organizers a Must-Have for Makeup Storage?
While not absolutely necessary, drawer organizers greatly improve both the appearance and function of your makeup storage. They keep products separated and easy to find, which saves you time each day and extends the life of your cosmetics. Organizers come in many shapes, sizes, and materials, so you can choose ones that suit your needs and style preferences.

Q4: How Can I Maximise Space in a Small Drawer?
Maximising space in a small makeup drawer requires creativity and careful planning. Use stackable or tiered organizers to take advantage of vertical space. Store only essential items in the drawer, relocating extra products to another area if needed. Consider using small trays or dividers to keep things from getting mixed up. Regularly edit your collection to ensure you’re saving space for what matters most.
Conclusion
Organising your makeup in a drawer doesn’t need to be overwhelming—by breaking the process into manageable steps, anyone can achieve a tidy and functional system. Using the right tools and maintaining your setup on a regular basis will help you enjoy your beauty routine even more.
Remember, organisation is all about maximizing ease and happiness in your daily life. With just a little effort and creativity, your makeup drawer can become a stress-free, inspiring space that sets a positive tone for every day. Thanks for reading this guide on how to organise makeup in a drawer.
About the Author
Jane Hubbard is a passionate beauty expert with a wealth of experience in makeup, hair, and overall beauty techniques. After years of working as a hairdresser specialist, she followed her entrepreneurial spirit and started her own consultancy business.
Jane has always been driven by her desire to help others feel confident in their own skin, and she does this by sharing her knowledge, experiences, and practical beauty tips. Through her consultancy, she empowers individuals to embrace their unique beauty, offering tailored guidance that boosts both self-esteem and personal style.
Professional Focus
Specializes in makeup, hairstyling, and beauty consulting.
Provides personalized beauty advice, tips, and techniques to help individuals feel confident in their appearance.
Dedicated to staying up-to-date with the latest industry trends and developments.
Passionate about creating a comfortable and empowering experience for every client.
Education History
University of Craft and Design – Bachelor of Fine Arts (BFA) in Woodworking and Furniture Design
Woodworking Apprenticeships – Extensive hands-on training with skilled craftsmen to refine carpentry and furniture making techniques
Online Courses & Masterclasses – Continued education in advanced woodworking techniques, design principles, and specialized tools
Expertise:
Makeup artistry, hairstyling, and beauty consulting.
Personalized beauty techniques to enhance confidence and self-expression.
Educating clients on how to maintain their beauty routines at home.