
Getting your bangs to lie perfectly flat can feel like a daily battle. Many of us instinctively reach for a flat iron or a blow dryer to tame them into submission.
While heat styling offers a quick fix, it can also lead to long-term damage, leaving your delicate fringe dry, brittle, and prone to breakage. What if you could achieve those sleek, straight bangs without ever plugging anything in? It’s not only possible, but it’s also better for your hair’s health.
This guide on how to straighten bangs without heat will walk you through everything you need to know to get perfectly styled bangs, no heat required.
What are the Benefits?
Opting for heat-free methods to straighten your bangs comes with a surprising number of advantages. The most significant benefit is the preservation of your hair’s health. By avoiding high temperatures, you prevent the stripping of natural oils and moisture from your hair cuticles. This means less frizz, fewer split ends, and stronger, shinier hair over time. You also reduce the risk of accidentally burning your forehead, a common mishap when working with hot tools so close to your face. Furthermore, these techniques are cost-effective and convenient, as they don’t require expensive tools and can be done anywhere, anytime.
What Will You Need?
Achieving heatless straight bangs is simple and doesn’t require a professional salon’s worth of equipment. Here are the basic items you’ll want to have on hand:
- A wide-tooth comb
- A fine-tooth comb or a brush with natural bristles
- No-crease hair clips or bobby pins
- A smoothing or styling cream/serum
- A light-hold hairspray
- A spray bottle with water
- A soft towel
10 Easy Steps on How to Straighten Bangs Without Heat
Follow these detailed steps to transform your bangs from unruly to perfectly straight, all while keeping your hair healthy and damage-free.
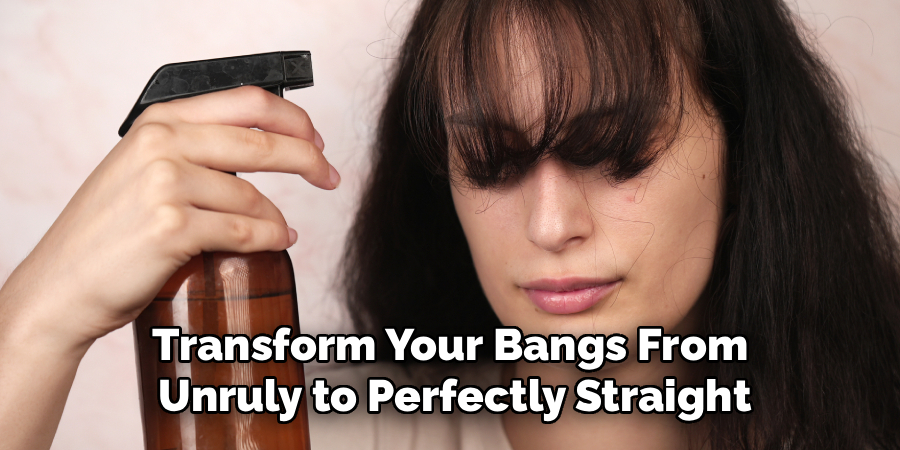
Step 1: Start with Damp Hair
The journey to heatless straight bangs begins with the right moisture level. Your hair is most cooperative and easiest to shape when it’s damp, not soaking wet or completely dry. If you’ve just washed your hair, avoid rubbing your bangs with a rough towel. Instead, gently squeeze and pat them with a soft, absorbent towel or an old t-shirt to remove excess water. This prevents frizz and damage to the hair cuticle. If you’re working with dry hair, fill a spray bottle with water and lightly mist your bangs until they feel evenly damp. This creates the perfect canvas, allowing the hair to reset into a new, straighter shape as it dries.
Step 2: Detangle Gently with a Wide-Tooth Comb
With your bangs now damp, it’s time to remove any knots. Wet hair is more elastic and fragile than dry hair, so gentle handling is key. Use a wide-tooth comb, as its spaced-out teeth are less likely to pull or snag. Start combing from the tips of your bangs and gradually work your way up to the roots. This technique minimizes stress on the hair shaft and prevents unnecessary breakage. Taking this extra moment to detangle carefully ensures a smoother, more uniform result later on.
Step 3: Apply a Smoothing Product
To help your bangs lie flat and fight off frizz, a styling product is your best friend. Choose a lightweight smoothing cream, an anti-frizz serum, or a leave-in conditioner. Squeeze a small, pea-sized amount onto your fingertips. Rub your hands together to warm the product slightly, then distribute it evenly through your damp bangs, from roots to ends. This product will provide a bit of weight, helping to hold the hair down, while also creating a sleek, polished finish. Be careful not to use too much, as an excess can leave your fringe looking greasy rather than glossy.
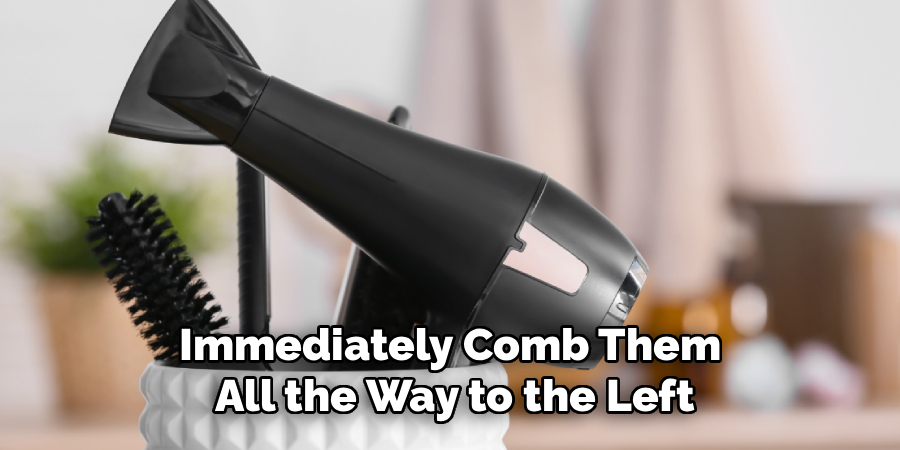
Step 4: Master the Comb-Down and Side-to-Side Motion
This step is where the magic really starts to happen. Take a fine-tooth comb or a boar bristle brush and comb your bangs straight down over your forehead. Then, immediately comb them all the way to the left, pressing them flat against your skin. Hold for a few seconds. Next, comb them all the way to the right and repeat. Continue this back-and-forth motion for a minute or two. This technique physically stretches the hair shafts and helps to break the bonds of any natural waves, curls, or stubborn cowlicks, encouraging them to straighten out.
Step 5: Pin Your Bangs Securely
After you’ve thoroughly combed your bangs from side to side, comb them straight down one final time into the exact position you want them to dry in. To hold them in place, you’ll need no-crease hair clips. If you only have regular bobby pins, you can prevent them from leaving dents by placing a small piece of tissue paper or cardstock between the pin and your hair. Secure your bangs flat against your forehead. Place one pin or clip near the roots and another near the ends to ensure the entire length stays straight and flush against your skin.
Step 6: Let Them Air-Dry Completely
Patience is a virtue, especially when it comes to heatless styling. You must let your bangs air-dry completely while they are pinned down. The drying time will vary based on your hair’s thickness, the humidity in the room, and how damp your hair was to start. Resist the temptation to touch them or remove the pins early. If you unpin them while they are still even slightly damp, they will likely spring back to their natural texture. Use this time to finish your makeup, get dressed, or enjoy a cup of coffee.
Step 7: Use Cool Air for a Quicker Set
If you are pressed for time and can’t wait for your bangs to air-dry fully, you can use your hairdryer—but only on its coolest setting. Using the cold shot button is a great way to speed things up without inflicting heat damage. Hold the dryer a few inches away and aim the nozzle downwards, following the direction of your hair from roots to ends. This airflow helps to seal the hair cuticle and reinforces the straight, flat shape you’ve created.
Step 8: Carefully Remove the Pins
Once you are completely certain that every strand of your bangs is 100% dry, you can gently remove the clips or bobby pins. Do this carefully to avoid messing up your newly set style. Your bangs should now be significantly straighter and flatter, lying smoothly against your forehead without the puffiness or waves you started with.
Step 9: Perform Final Styling with a Comb
With your bangs now free, use your fine-tooth comb to gently guide them into their final position. You can create a part, sweep them slightly to one side, or just let them fall naturally forward. Because the hair has been “trained” to lie straight as it dries, it will be much more manageable and should fall into place with minimal effort.

Step 10: Lock It In with a Light Hairspray
To protect your sleek new look from the elements and ensure it lasts all day, a final setting step is crucial. Choose a flexible-hold hairspray that won’t make your bangs feel stiff or crunchy. Hold the can about 10-12 inches from your face, close your eyes, and give your bangs a light, even misting. This final touch will provide a barrier against humidity and keep your perfectly straight bangs in place from morning to night.
5 Things You Should Avoid
- Towel-Drying Too Roughly: Vigorously rubbing your bangs with a towel creates frizz and can disrupt the hair cuticle, making it harder to straighten. Always pat gently.
- Using Too Much Product: Overloading your bangs with creams or serums will weigh them down, making them look oily and limp instead of sleek and clean.
- Applying Pins to Soaking Wet Hair: Pinning extremely wet hair can trap moisture and prolong the drying time. It can also cause the hair to dry with an unwanted shape.
- Touching Your Bangs While They Dry: Your fingers can transfer oils and disrupt the straightening process. Once your bangs are pinned, leave them alone until they are completely dry.
- Skipping the Final Hairspray: Without a light hold to set them, your bangs are more likely to be affected by wind or humidity, undoing all your effort.
Frequently Asked Questions
Can This Method Work on Very Curly or Wavy Bangs?
Yes, this method can significantly relax very curly or wavy bangs, making them appear much straighter. For extremely strong curl patterns, the results might be more of a soft wave than stick-straight, but it will effectively tame and smooth them without heat damage.
How Long Will My Bangs Stay Straight Using This Technique?
Your bangs should stay straight for most of the day, especially if you set them with hairspray. However, high humidity, sweat, or getting them wet can cause them to revert to their natural texture. You can easily touch them up by re-dampening and combing them.
Will This Method Work for Curtain Bangs?
Absolutely! This technique is great for curtain bangs. When you pin them, simply part them in the middle and pin each side down and away from your face. This helps create that signature swept-back shape while keeping them smooth and straight.
Conclusion
Achieving beautifully straight bangs doesn’t have to come at the cost of your hair’s health.
By embracing these simple, heat-free techniques, you can style your fringe effectively while protecting it from damage. This method is not just a temporary fix; it’s a healthier approach to your daily hair care routine. Give it a try and enjoy the confidence of having perfect, sleek bangs every day, the natural way.
Hopefully, the article on how to straighten bangs without heat has provided you with some new and useful tips for maintaining your bangs.
About the Author
Jane Hubbard is a passionate beauty expert with a wealth of experience in makeup, hair, and overall beauty techniques. After years of working as a hairdresser specialist, she followed her entrepreneurial spirit and started her own consultancy business.
Jane has always been driven by her desire to help others feel confident in their own skin, and she does this by sharing her knowledge, experiences, and practical beauty tips. Through her consultancy, she empowers individuals to embrace their unique beauty, offering tailored guidance that boosts both self-esteem and personal style.
Professional Focus
Specializes in makeup, hairstyling, and beauty consulting.
Provides personalized beauty advice, tips, and techniques to help individuals feel confident in their appearance.
Dedicated to staying up-to-date with the latest industry trends and developments.
Passionate about creating a comfortable and empowering experience for every client.
Education History
University of Craft and Design – Bachelor of Fine Arts (BFA) in Woodworking and Furniture Design
Woodworking Apprenticeships – Extensive hands-on training with skilled craftsmen to refine carpentry and furniture making techniques
Online Courses & Masterclasses – Continued education in advanced woodworking techniques, design principles, and specialized tools
Expertise:
Makeup artistry, hairstyling, and beauty consulting.
Personalized beauty techniques to enhance confidence and self-expression.
Educating clients on how to maintain their beauty routines at home.