
Understanding the chemistry of adhesion and the anatomy of the natural nail plate is the game changer you have been waiting for. When you simply slap color onto an unprepared nail, you are essentially painting over oils, dust, and invisible skin cells that act as a barrier, preventing the lacquer from gripping the keratin. By shifting your focus from the painting to the prepping, you can dramatically extend the life of your wear.
In this guide, we will break down the professional techniques that nail technicians use to ensure durability. We will cover everything from proper dehydration methods to the art of “capping” the free edge. If you have been wondering how to make nail polish last 2 weeks using standard lacquer, you have come to the right place.
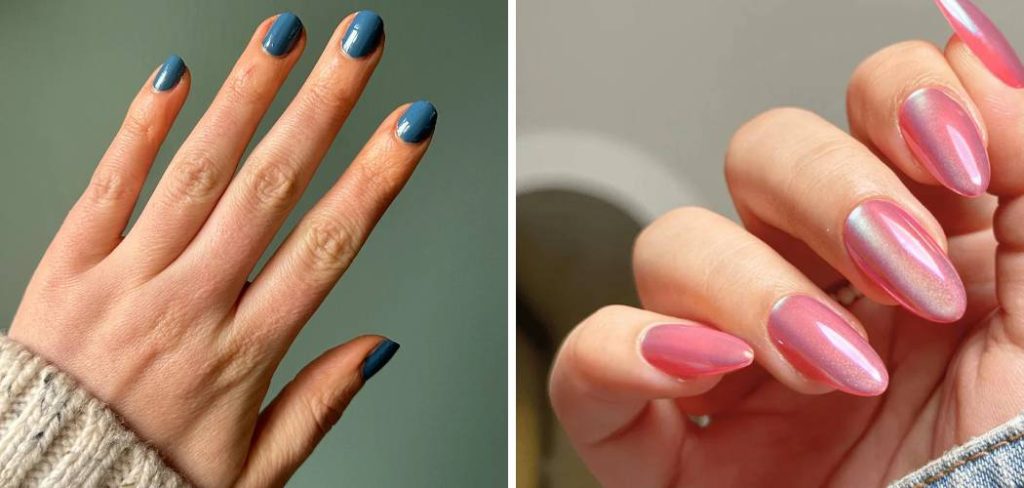
The Ultimate Guide: How To Make Nail Polish Last 2 Weeks
Step 1: Clean and Prep the Nail Surface
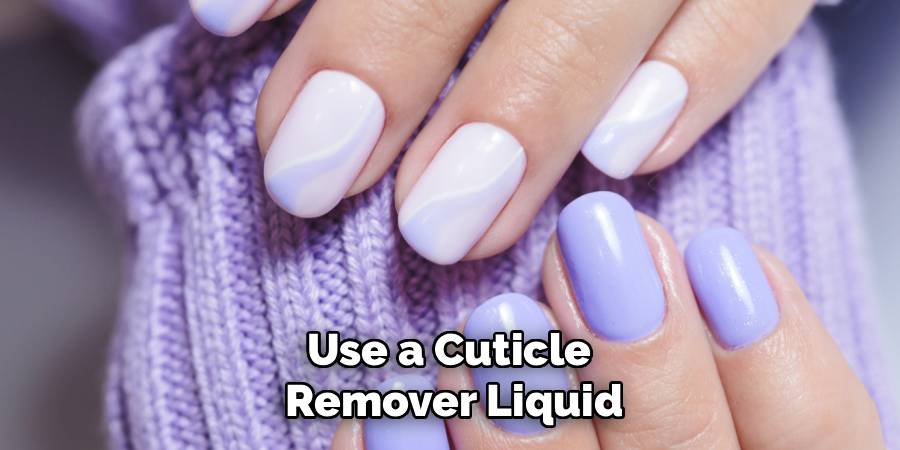
The most critical error people make when painting their nails at home is failing to remove the “invisible” cuticle from the nail plate. While you might push back the proximal nail fold (the skin at the base of the nail), there is often a thin, transparent layer of skin called the cuticle that remains stuck to the nail plate itself.
If you paint over this dead skin, your polish will inevitably lift because it is bonded to skin that naturally sheds, rather than the stable nail plate. You must use a cuticle remover liquid and a gentle pusher or orangewood stick to exfoliate this area thoroughly. Once the cuticle is managed, wash your hands with dish soap rather than moisturizing hand soap.
Step 2: Shape and Buff for Adhesion
Once your canvas is clean, you need to address the structure of the nail to prevent mechanical stress. Snags and jagged edges are the primary culprits for early chipping, as they get caught on fabrics and hair, pulling the polish away from the nail. Use a high-grit glass or crystal file to shape your free edge, moving in one direction rather than sawing back and forth, which can cause the keratin layers to split and peel. After shaping, use a fine-grit buffer block to very lightly buff the surface of the nail plate. You are not trying to thin the nail or remove ridges entirely; you are simply trying to remove the surface shine.
Step 3: Dehydrate the Nail Plate
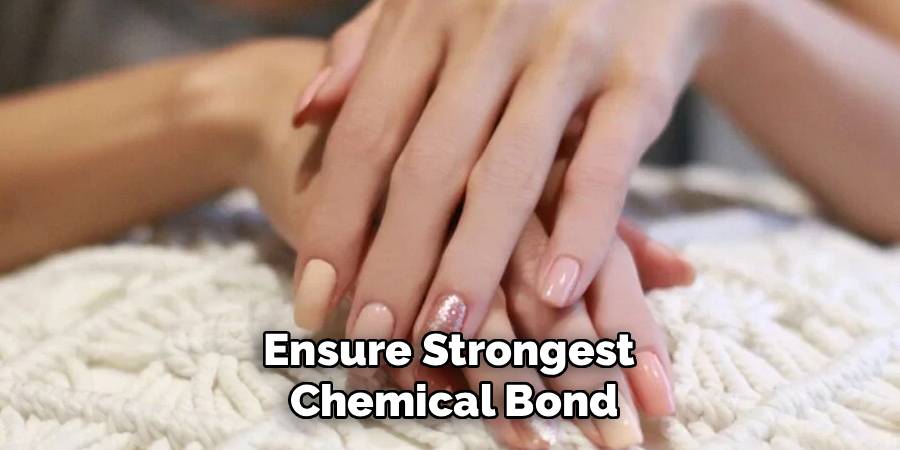
This step is the secret weapon in the professional nail tech’s arsenal and is often skipped by home users. Even after washing your hands, your nails may still retain moisture or trace oils. To ensure the strongest chemical bond, you must chemically dehydrate the nail plate immediately before applying your base coat. You can use a dedicated nail dehydrator or a ph-balancing bond aid, but pure rubbing alcohol or acetone on a lint-free wipe works effectively as well.
This indicates that the moisture and surface oils have been temporarily removed. Do not touch your nails to your face or hair after this step, as you will instantly transfer oils back onto the surface. This creates the perfect sterile environment for understanding how to make nail polish last 2 weeks without lifting.
Step 4: Apply a High-Quality Base Coat
Never skip the base coat, as it serves a dual purpose: it protects your natural nail from staining and acts as double-sided tape for your polish. A standard clear polish is not a substitute for a formulated base coat. You should look for “rubberized” or “sticky” base coats, which are chemically engineered to bond to the natural nail keratin while remaining flexible. This flexibility is vital because your natural nails bend and flex throughout the day; if your base coat is too rigid, it will snap and crack under pressure. Apply a thin, even layer of base coat to each nail, ensuring you do not flood the cuticles.
Step 5: Paint Thin, Even Layers of Color
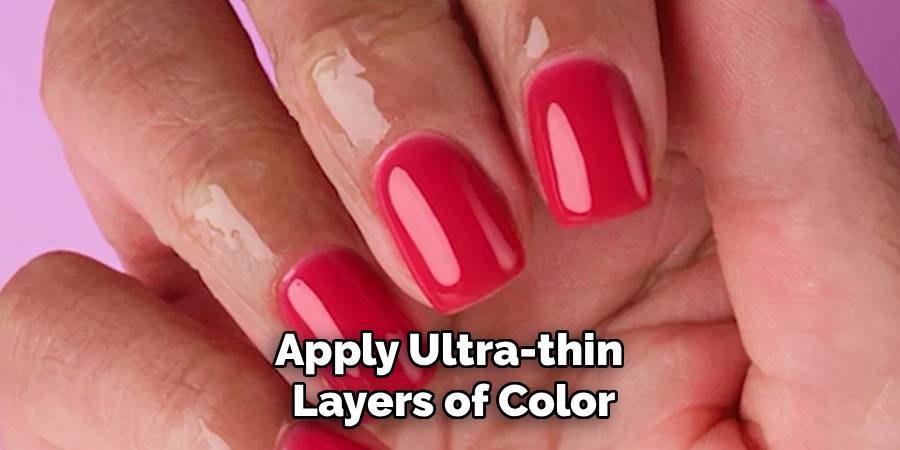
The application of color is where patience truly pays off. Many people try to get full opacity in one thick coat, but thick layers of polish trap solvents underneath the surface. These solvents need to evaporate for the polish to harden; if they are trapped, the polish remains soft and dent-prone, leading to premature peeling. Instead, apply ultra-thin layers of color. The first coat might look streaky and translucent, and that is perfectly fine.
It is better to apply three thin coats that dry hard and durable than two thick coats that remain gummy. Allow each layer to dry for at least two to three minutes before applying the next. This evaporation period ensures that the layers bond to each other effectively. This layering technique is a fundamental part of learning how to make nail polish last 2 weeks, as it builds a resilient structure that can withstand daily impacts without shattering or denting.
Step 6: Seal the Free Edge (Capping)
If you look closely at a chipped manicure, the damage almost always begins at the very tip of the nail. This is because nail polish shrinks slightly as it dries, pulling back from the edge and leaving the raw nail exposed to water and physical trauma. To counteract this, you must perform a technique called “capping the free edge.” After painting the nail bed, take your brush with a tiny amount of polish and run it horizontally across the very tip of your fingernail.
You should do this with every layer: the base coat, every layer of color, and the top coat. This technique effectively wraps the polish around the tip of the nail, sealing the keratin layers between the base and top coat. This seal prevents water from seeping in between the nail and the polish, which is the leading cause of delamination and separation at the fingertips.
Step 7: Apply and Refresh the Top Coat
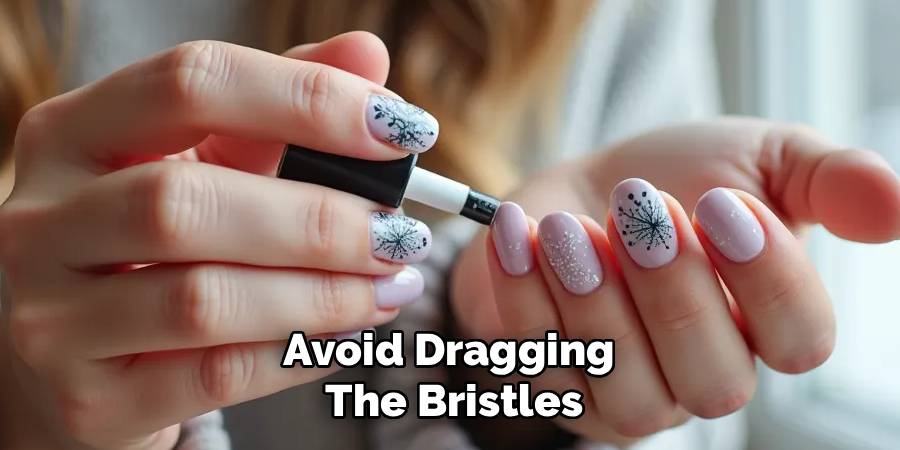
The final step is applying a high-quality top coat to seal in your work and provide a high-gloss, protective shell. Quick-dry top coats are excellent for convenience, but make sure you are using a formula that penetrates through the color layers to bond everything together into a single solid unit. Apply a generous bead of top coat to avoid dragging the bristles through the color underneath, which can cause streaks. However, your job isn’t done once the nails are dry. To maintain that fresh-from-the-salon durability, you should reapply a thin layer of top coat every two to three days.
Frequently Asked Questions
How Does Water Exposure Affect Manicure Longevity?
Water is actually one of the biggest threats to a long-lasting manicure. Your natural nails are porous, similar to a sponge. When they are submerged in water for long periods—such as during a long bath, swimming, or washing dishes—they absorb the liquid and expand significantly. As the nail plate expands, it stretches the polish sitting on top of it. When the nail eventually dries out and contracts back to its original size, the polish does not shrink with it, causing it to crack or flake off. Always wear rubber gloves when cleaning or doing dishes to protect your manicure.
Is It Better To Use Gel Or Regular Polish For Long Wear?
Generally speaking, gel polish will last longer than regular lacquer because it is a photo-initiated polymer that cures under UV or LED light into hard plastic. A properly applied gel manicure is designed to last two to three weeks without chipping. However, regular nail polish can achieve similar results if the prep work is impeccable. The advantage of regular polish is that it is easier to remove and less likely to cause damage to the natural nail plate during the removal process. If you want longevity without the commitment of soaking off gel, following a strict prep routine with regular polish is the best middle ground.
How Can I Fix A Chip Without Removing Everything?
If you get a small chip, you do not necessarily need to redo the entire nail. First, dip your finger in a little rubbing alcohol to clean the area and remove any oils. Then, verify if the chip has sharp edges; if so, lightly buff the edge of the chip to smooth it out so it sits flush with the nail. Apply a tiny dot of color specifically to the bare spot and let it dry. Once that patch is dry, apply a thin layer of color over the entire nail to blend it in. Finish with a fresh layer of top coat to seal the repair.
Does The Quality Of The Polish Really Matter?
While technique is roughly 80% of the battle, the quality of your products does play a role in longevity. Cheaper polishes often contain fewer plasticizers and adhesion agents, making them more brittle and prone to cracking. Higher-end brands tend to have higher pigment loads (meaning you need fewer coats) and better self-leveling properties. However, the most important investments are your base coat and top coat. You can often get away with a cheaper color polish if you sandwich it between a professional-grade base and a high-performance top coat.
What Household Tasks Are Hardest On A Manicure?
Any task that uses your nails as tools is disastrous for your polish. Peeling off stickers, opening soda cans, or scratching off dried food labels puts immense stress on the tip of the nail, causing immediate chipping. Additionally, exposure to household cleaning chemicals can dissolve the resins in your top coat, making it dull and sticky. Gardening is also notoriously hard on manicures due to the abrasive nature of soil. To protect your nails, always use tools for prying or scraping, and wear gloves for any cleaning or gardening activities.
Final Thoughts
Achieving a durable manicure at home requires a shift in mindset from simply “painting nails” to performing a comprehensive beauty treatment. It is about respecting the chemistry involved in bonding a synthetic product to a natural surface. By meticulously cleaning the cuticle area, chemically dehydrating the plate, and applying your product in thin, capped layers, you can rival the results of any professional salon.
Remember that practice makes perfect. It may take a few tries to master the amount of polish on your brush or the precision of your capping technique. However, once you master the routine of how to make nail polish last 2 weeks, you will not only save a significant amount of money on salon visits, but you will also enjoy the satisfaction of having perfectly polished hands that can withstand the rigors of your daily life.
About the Author
Jane Hubbard is a passionate beauty expert with a wealth of experience in makeup, hair, and overall beauty techniques. After years of working as a hairdresser specialist, she followed her entrepreneurial spirit and started her own consultancy business.
Jane has always been driven by her desire to help others feel confident in their own skin, and she does this by sharing her knowledge, experiences, and practical beauty tips. Through her consultancy, she empowers individuals to embrace their unique beauty, offering tailored guidance that boosts both self-esteem and personal style.
Professional Focus
Specializes in makeup, hairstyling, and beauty consulting.
Provides personalized beauty advice, tips, and techniques to help individuals feel confident in their appearance.
Dedicated to staying up-to-date with the latest industry trends and developments.
Passionate about creating a comfortable and empowering experience for every client.
Education History
University of Craft and Design – Bachelor of Fine Arts (BFA) in Woodworking and Furniture Design
Woodworking Apprenticeships – Extensive hands-on training with skilled craftsmen to refine carpentry and furniture making techniques
Online Courses & Masterclasses – Continued education in advanced woodworking techniques, design principles, and specialized tools
Expertise:
Makeup artistry, hairstyling, and beauty consulting.
Personalized beauty techniques to enhance confidence and self-expression.
Educating clients on how to maintain their beauty routines at home.