
Stretch marks are ordinary. They can show up during puberty, pregnancy, muscle gain, weight fluctuation—basically any period when the skin is asked to stretch faster than it can comfortably. Some people barely think about them. Others do, especially when they are getting dressed for an event, a vacation, or a day that involves more skin showing than usual.
That is where makeup can help. Not permanently, and not perfectly in every case. Still, with the right products and a little patience, you can soften the contrast between the marks and your surrounding skin so the area looks more even. The goal is usually not some airbrushed illusion. It is simple to make the skin look smoother, more blended, and less distracting if that is what you want. In this guide on how to hide stretch marks with makeup, we will walk you through the steps to achieve this look.
Understanding What Stretch Marks Look Like
It helps to know what you are dealing with before you start layering products on top. Stretch marks, also called striae, form when the skin stretches enough to disrupt deeper support structures. Early on, they often look red, pink, or purple. That color tends to come from visible blood vessels under thinner, inflamed skin. Later, the marks often fade to a pale silver or whitish tone, which is why older stretch marks can seem harder to disguise even though they are less bright.
Texture matters just as much as color. Fresh marks may sit flatter, while older ones can look a little indented or glossy depending on the area and your skin type. That difference changes the approach. Red or purple marks usually respond better to color correction first. White or silvery ones often need warmth and careful matching so they do not catch the light and stand out. If the skin is dry, makeup tends to cling in all the wrong places. So prep is not optional here. It is most of the job.
Materials Needed
- Primer
- Color-correcting concealer
- Regular concealer or foundation
- Makeup sponge or brush
- Setting powder
6 Step-by-Step Guidelines on How to Hide Stretch Marks With Makeup
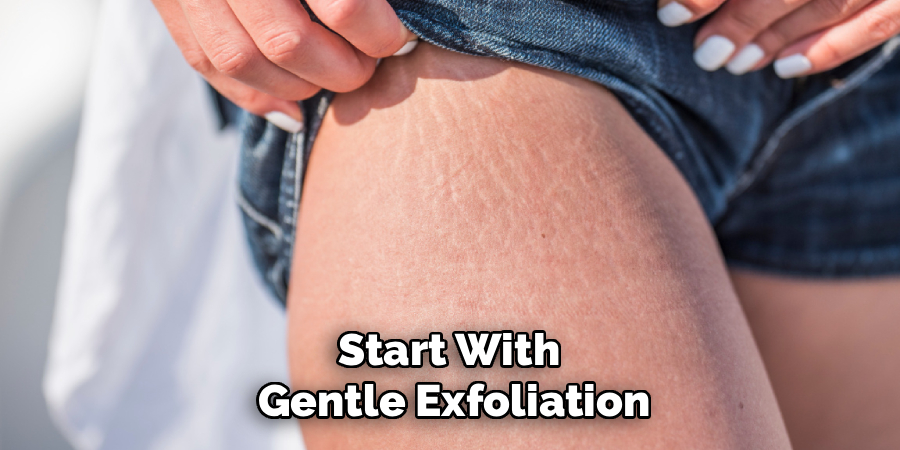
Step 1: Exfoliate and Prep the Skin
Body makeup looks only as good as the skin under it. That sounds obvious, but it is the step people rush. Stretch marks can sit on skin that is slightly uneven, and if the area is dry, even expensive concealer can turn patchy fast.
Start with gentle exfoliation. In the shower, use either a mild body scrub or a chemical exfoliant with lactic acid or glycolic acid if your skin tolerates those well. You do not need to scrub aggressively. In fact, that can make the skin look more irritated, which defeats the point. A light pass is usually enough to lift dry flakes and smooth the surface.
Once you are out of the shower, pat the area dry instead of rubbing it with a towel. Then apply a body lotion or cream with enough slip to soften the skin properly. Give it time to absorb. Ten minutes is a good baseline. If the skin still feels tacky from moisturizer, makeup may slide; if it feels tight, you probably did not use enough.
Step 2: Apply a Hydrating Body Primer
Primer is not magic, despite how it is marketed, but it can make a real difference here. A good body primer helps makeup hold better and can slightly blur shallow texture, so the area looks less uneven once foundation goes on.
Use a small amount and spread it over the stretch marks and a bit beyond them. That extra margin helps with blending later. I would not stop exactly at the edges of the marks because that can create a visible patch of product sitting in one spot. Let the primer sit for a minute or two. You want it set, not wet.
If your skin is very dry, a hydrating primer often works better than a mattifying one. On oily areas or places prone to sweat, like the lower back or inner thighs, you may prefer something with a stronger grip. This part can take a little trial and error.
Step 3: Color Correct the Discoloration
This is the step that people often skip, and it is usually why the final result looks gray or heavy. Foundation alone does not always cancel noticeable discoloration. It may just mute it in a way that still shows through.
If your stretch marks are red or purple, a green-leaning or yellow-toned corrector may help reduce that contrast before foundation goes on. The exact shade depends on your skin tone and how intense the discoloration is. If the marks are older and pale white, the problem is different: they can look chalky or reflective against the rest of the skin. In that case, a peach or soft orange corrector can sometimes bring back enough warmth to make the area look less stark.
Use a small brush or your fingertip and tap the corrector only where it is needed. Keep the layer thin. Too much product at this stage tends to build texture, and texture is harder to hide than color.
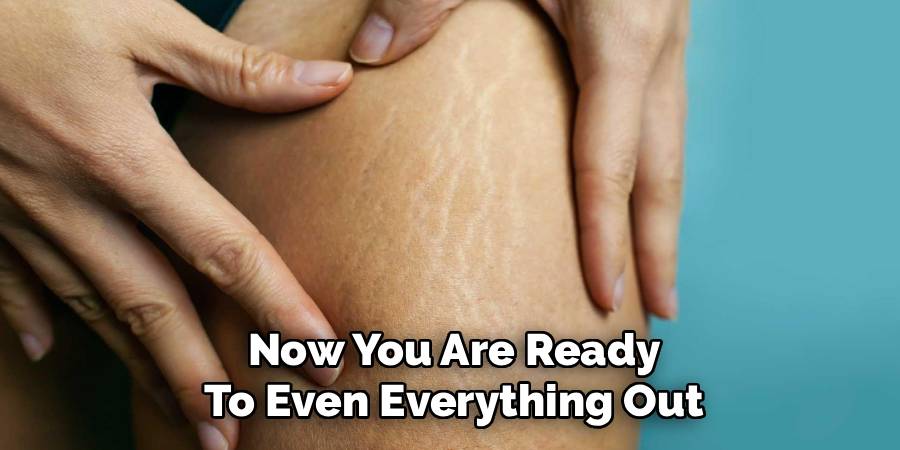
Step 4: Blend in a Full-Coverage Foundation
Now you are ready to even everything out. For body coverage, regular face foundation is not always the best option. Some formulas work, yes, but many break down too quickly or transfer onto clothing. A body foundation or transfer-resistant concealer usually holds up better, especially on the stomach, hips, or thighs, where friction is hard to avoid.
Shade matching matters more than brand. And body skin is often not the same color as your face, especially in summer or if you use self-tanner on some areas and not others. Test in natural light if possible. Indoor lighting lies.
Apply the product with a damp sponge and press rather than drag. A stippling motion keeps the layers underneath in place and tends to look more skin-like. Build slowly. One thin layer, then another if needed. Heavy coverage all at once can make stretch marks more obvious because the product settles into the lines. Feather the edges outward so the makeup disappears into the surrounding skin instead of sitting on top like a patch.
Step 5: Set the Makeup With Translucent Powder
Cream and liquid products move. That is just what they do. If you skip powder, especially on body skin, there is a good chance the makeup will crease, transfer, or wear off unevenly within a few hours.
Use a translucent loose powder and press it on rather than sweeping it immediately across the area. A powder puff gives more hold than a fluffy brush, though a brush can work if you want a lighter finish. Pressing helps lock the product down without disturbing the layers beneath it.
If you need the makeup to last through heat, dancing, or a long event, let the powder sit briefly before brushing off any excess. Not everyone needs a full “bake,” and on dry skin, it can look too flat, but a minute or two can improve wear time.
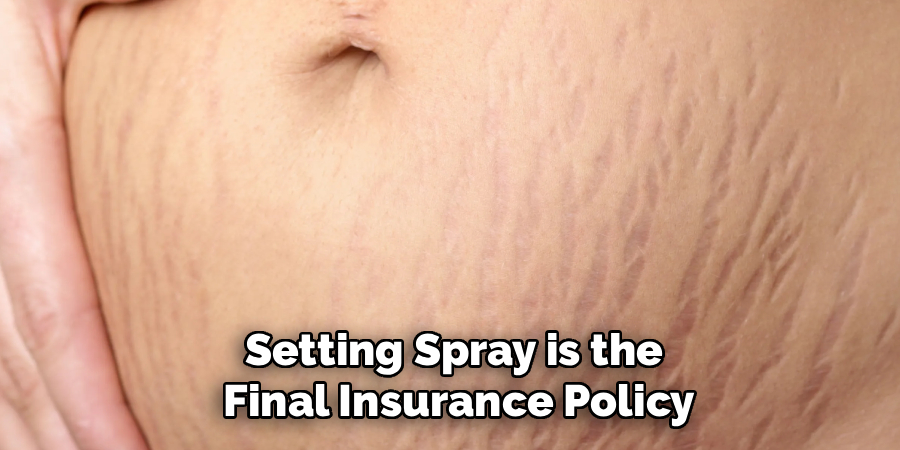
Step 6: Lock It In With Setting Spray
Setting spray is the final insurance policy. It will not perform miracles, and it will not fully waterproof a weak base. But when the layers underneath are done well, it helps fuse everything together so the finish looks less powdery and more like actual skin.
Hold the bottle several inches away and mist evenly across the area. A cross pattern usually gives better coverage than spraying in one tight spot. Then leave it alone. Do not touch it to “check” if it is dry. Do not get dressed immediately if the fabric is tight. Give it a few minutes to set properly.
Once dry, the makeup should feel more secure and less likely to rub off. Not invincible, though. If the area faces constant friction, some fading is still possible.
Following these steps on how to hide stretch marks with makeup can be a quick and easy solution for those looking to temporarily conceal them.
Common Mistakes to Avoid
The biggest mistake is usually poor prep. Dry skin, leftover body oil, or rushing straight into coverage almost always leads to uneven makeup. Another common problem is using face products that are too emollient or too delicate for body wear. They may look fine for twenty minutes, then end up on your dress, swimsuit cover-up, or bedsheets.
People also tend to overapply. It is understandable. When something is bothering you, the instinct is to pile on more product. Yet thick layers often draw attention to texture instead of hiding it. Less blended well, tends to look better.
And yes, setting matters. Powder without spray can feel unfinished. Spray without powder may not hold. In most cases, you need both.
Skin Care After Makeup Removal
Taking body makeup off properly is not glamorous, but it does matter. Waterproof formulas cling to the skin, and scrubbing them off with regular soap can leave the area irritated.
An oil-based cleanser or cleansing balm usually breaks down long-wear products more easily. Massage it into dry skin first, then add warm water and rinse. If residue remains, follow with a gentle body wash. You do not need to strip the skin clean until it squeaks. That usually makes things worse.
Afterward, apply a richer moisturizer, body butter, or oil while the skin is still slightly damp. Some people like Vitamin E oils for this, though tolerance varies, so use what your skin actually responds well to rather than whatever sounds impressive on the label.
Alternative Ways to Reduce the Appearance of Stretch Marks
If daily makeup feels like too much effort, that is fair. There are other options, though they work gradually and results vary quite a bit from person to person.
Topical retinoids may help with newer stretch marks, particularly early red ones, because they can support skin renewal and collagen activity. They are not suitable for everyone, especially during pregnancy, so this is an area where medical guidance matters. Older white marks often respond better to in-office treatments such as laser procedures or microneedling, both of which aim to improve texture and pigment over time rather than cover them instantly.
Basic skin care helps too, just in a less dramatic way. Keeping the skin moisturized, avoiding large weight swings where possible, and managing irritation may improve how the area looks and feels. None of that erases stretch marks. It may, however, make them less pronounced.
When Makeup May Not Be Enough?
Makeup can adjust color surprisingly well. Texture is another story. If your stretch marks are deep, sharply indented, or catch light at certain angles, coverage alone may not do much beyond reducing the contrast. In some cases, it can even emphasize the grooves if too much product settles there.

That does not mean you are doing anything wrong. It just means cosmetics have limits. When texture is the main concern, a dermatologist may be able to recommend options that target the skin itself rather than trying to disguise it on the surface.
Frequently Asked Questions
Q1: Can You Swim With Body Makeup On?
A1: Sometimes, yes—if the products are specifically labeled waterproof or water-resistant and are set well. Even then, “swim-proof” is not the same as “unchanged after a long time in chlorinated water.” A short dip may be fine. Extended swimming, towel rubbing, and friction from wet fabric will usually shorten wear time. Pat dry instead of rubbing if you want the makeup to stay put as long as possible.
Q2: Does Self-Tanner Help Cover Stretch Marks?
A2: It can, especially when the marks are pale and the surrounding skin is lighter. By darkening the nearby skin, self-tanner may reduce contrast. But stretch marks do not always take color evenly. Sometimes they stay lighter. Occasionally, they grab color oddly and become more noticeable. Patch testing first is the safer move.
Q3: How Long Does Body Makeup Last on the Skin?
A3: In many cases, somewhere between 12 and 24 hours is realistic, assuming you use primer, a long-wear formula, powder, and setting spray. That said, placement matters. The stomach or outer hip may hold product well for most of the day. Inner thighs are a different situation entirely because friction breaks makeup down fast.
Step Out With Confidence
Concealing stretch marks is a choice, not a requirement. Some days you may not care at all. On other days, you might want your skin tone to look a little more even in photos or under certain clothes. Both are reasonable.
If you take your time with prep, use thin layers, and set everything properly, makeup can soften the appearance of stretch marks enough to make a visible difference. Just keep your expectations grounded. The best results usually look like skin—real skin, only more even—not a blank canvas.
And when the day is over, remove everything gently and moisturize well. Whether you leave your stretch marks visible or cover them for a specific occasion, the point is the same: you should get to decide what feels right on your own body. Thanks for reading this guide on how to hide stretch marks with makeup.
About the Author
Jane Hubbard is a passionate beauty expert with a wealth of experience in makeup, hair, and overall beauty techniques. After years of working as a hairdresser specialist, she followed her entrepreneurial spirit and started her own consultancy business.
Jane has always been driven by her desire to help others feel confident in their own skin, and she does this by sharing her knowledge, experiences, and practical beauty tips. Through her consultancy, she empowers individuals to embrace their unique beauty, offering tailored guidance that boosts both self-esteem and personal style.
Professional Focus
Specializes in makeup, hairstyling, and beauty consulting.
Provides personalized beauty advice, tips, and techniques to help individuals feel confident in their appearance.
Dedicated to staying up-to-date with the latest industry trends and developments.
Passionate about creating a comfortable and empowering experience for every client.
Education History
University of Craft and Design – Bachelor of Fine Arts (BFA) in Woodworking and Furniture Design
Woodworking Apprenticeships – Extensive hands-on training with skilled craftsmen to refine carpentry and furniture making techniques
Online Courses & Masterclasses – Continued education in advanced woodworking techniques, design principles, and specialized tools
Expertise:
Makeup artistry, hairstyling, and beauty consulting.
Personalized beauty techniques to enhance confidence and self-expression.
Educating clients on how to maintain their beauty routines at home.