
Having green eyes is incredibly rare, with only about two percent of the global population possessing this striking eye color. If you fall into this exclusive category, you have a natural, captivating feature that deserves to be highlighted. Choosing the right eyeshadow can transform your look from simple to spectacular, making your eyes the undeniable focal point of your face.
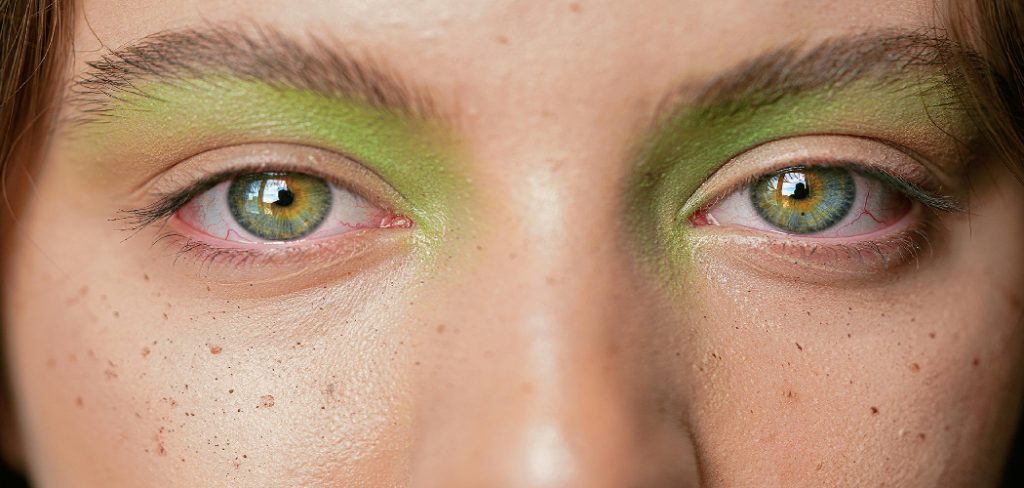
This guide on how to put on eyeshadow green eyes will teach you exactly how to put on eyeshadow for green eyes, focusing on the magical interplay of color theory.
Let’s dive into the world of eyeshadow and uncover some tips and tricks to make your green eyes pop.
What Will You Need?
Before diving into the application process, you need to gather the right tools and products. Having a well-stocked kit ensures a smooth, blended, and professional-looking application.
Here is what you will need to get started:
- Eyeshadow Primer: A good primer creates a smooth canvas, prevents creasing, and helps the eyeshadow colors appear more vibrant.
- Fluffy Blending Brush: Essential for seamlessly diffusing colors in the crease and softening any harsh lines.
- Flat Shader Brush: This brush densely packs color onto the eyelid for maximum pigmentation.
- Pencil Brush: Perfect for detailed work, such as applying shadow to the lower lash line or highlighting the inner corner.
- A Color-Tailored Eyeshadow Palette: Look for a palette featuring warm neutrals, mauves, deep plums, and shimmery coppers or bronzes.
- Eyeliner (Optional): A brown or plum eyeliner works beautifully to define green eyes without the harshness of black.
- Mascara: To lengthen and volumize your lashes, framing your newly painted lids.
10 Easy Steps on How to Put on Eyeshadow Green Eyes
Creating a beautiful eye makeup look requires patience, technique, and the right sequence of steps. This detailed walkthrough will guide you through the entire process, ensuring a gorgeous, long-lasting result.
Step 1: Prime the Lids
The foundation of any great eyeshadow look begins with a high-quality primer. Apply a tiny, pea-sized amount of eyeshadow primer directly onto your bare eyelids. Use your ring finger to gently tap and blend the product from the lash line all the way up to the brow bone. Primer neutralizes any discoloration or visible veins on your eyelids, creating an even, blank canvas.
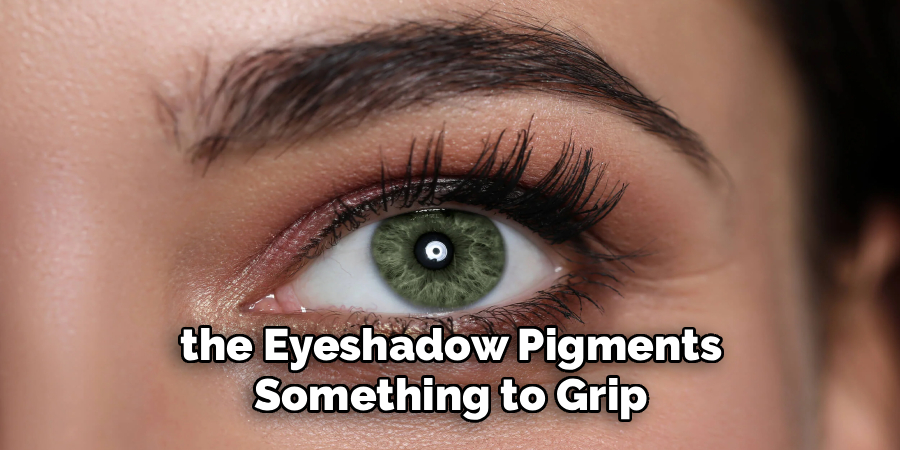
More importantly, it gives the eyeshadow pigments something to grip onto, which dramatically increases the longevity of your makeup. If you skip this crucial step, your beautiful mauve and copper shadows will likely crease, fade, or melt away after just a few hours. Allow the primer to dry completely before moving on to the next step.
Step 2: Set the Base
Once your primer is dry, you need to set it to ensure a silky-smooth application for the rest of your shadows. Take a large, fluffy brush and dip it into a matte eyeshadow shade that closely matches your natural skin tone. Sweep this base color over your entire eyelid, covering the area from the upper lash line right up to the bottom of your eyebrow.
Setting the primer serves a dual purpose: it locks the primer in place and creates a frictionless surface. This means that when you start applying your richer purples and coppers, the brushes will glide effortlessly, allowing for seamless blending without any unwanted patchiness or skipping.
Step 3: Apply the Transition Shade
The transition shade is the secret to a professional-looking gradient. Choose a soft, warm matte color, such as a dusty rose, a light peach, or a muted mauve. Using a clean, fluffy blending brush, apply this shade directly into your eye’s natural crease. Keep your eyes open and look straight into the mirror to find the exact placement, especially if you have hooded eyes.
Use gentle, sweeping windshield-wiper motions to diffuse the color back and forth. This transition shade acts as a soft boundary, bridging the gap between your natural skin tone and the deeper, more intense colors you will apply later. It ensures that there are no harsh, abrupt lines in your makeup.
Step 4: Define the Crease
Now it is time to build depth and dimension. Select a slightly darker matte shade, like a medium plum or a warm terracotta. Using a slightly smaller, more tapered blending brush, apply this color directly into the crease, keeping it slightly lower than the transition shade you just applied.

Focus the intensity on the outer half of the crease to elongate the eye shape. Blend the shadow using small, controlled circular motions, blending upward and outward so it seamlessly melts into the lighter transition color. This step carves out the socket and provides a beautiful, contrasting background that will ultimately make the lighter green tones of your iris pop dramatically.
Step 5: Deepen the Outer V
To add drama and a sultry effect, you need to focus on the outer corner of your eye, commonly referred to as the “outer V.” Choose your darkest matte shade, such as an eggplant purple or a deep, rich chocolate brown. Pick up a small amount of product with a dense, precise brush.
Stamp the color onto the very outer edge of your upper lash line and bring it slightly up into the outermost part of the crease, forming a sideways “V” shape. Gently blend the edges with your fluffy blending brush so there are no harsh stops and starts. This deep shadow grounds the look, adds striking definition, and provides the ultimate contrast to the brightness of your green eyes.
Step 6: Pack Color onto the Lid
This is where the magic happens and the color theory truly comes to life. Choose a standout shimmer or metallic shade—a vibrant copper, a soft rose gold, or a striking amethyst. Spray a flat shader brush with a little setting spray to intensify the pigment, then dip it into the shadow. Press and pack the color directly onto the center and inner half of your mobile eyelid.
Packing the shadow rather than sweeping it ensures maximum color payoff and minimizes messy fallout. The intense warmth of a copper or the cool contrast of a purple sitting right above your pupil will instantly draw attention to your eyes, making the green look incredibly vivid.
Step 7: Blend the Edges
Even the most beautiful eyeshadow colors will look messy if they are not properly blended. This step is purely about refining the work you have already done. Take a clean, fluffy blending brush with absolutely no extra product on it. Gently sweep it over the areas where your lid color meets the darker outer V, and where your crease colors meet the brow bone.
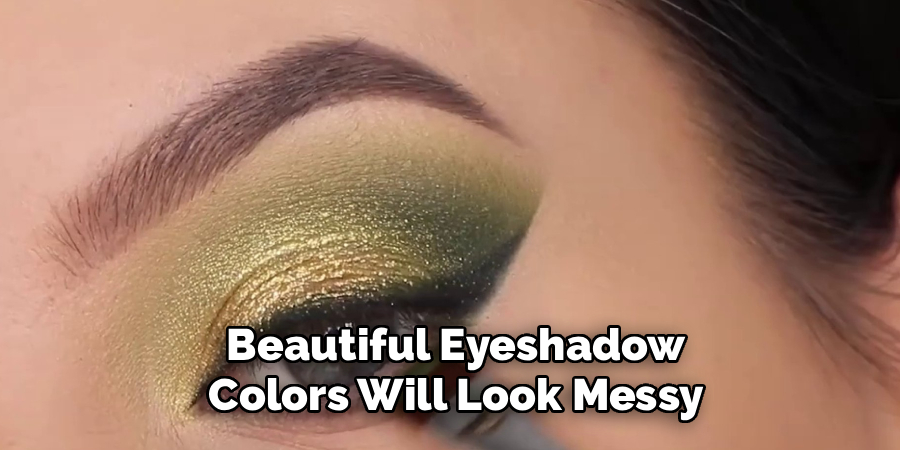
Use incredibly light pressure—imagine you are just tickling the skin. The goal here is to blur the boundaries between the different shades so they melt perfectly into one another. This meticulous blending transforms the makeup from looking like separate blocks of color into a smooth, professional, and cohesive gradient.
Step 8: Highlight the Inner Corner and Brow Bone
Highlighting is a powerful technique to open up the eyes and make you look instantly awake. Choose a light, light-reflecting shimmer shade, such as a pale champagne, a frosted vanilla, or a very light icy pink. Use a small pencil brush to apply a concentrated dot of this bright shadow right around the tear duct in the inner corner of your eye.
This bounces light around the eye area, contrasting beautifully with the deeper purples and mauves used in the crease. Next, take a small amount of the same highlighter and sweep it precisely under the arch of your eyebrow. This lifts the brow visually and provides a crisp, clean edge to your beautifully blended eyeshadow.
Step 9: Smoke Out the Lower Lash Line
Neglecting the lower lash line can make your eye makeup look top-heavy and unfinished. To balance the look, use a small pencil brush or an angled liner brush. Dip it into the medium plum or terracotta shade you used in your crease. Gently run the brush along your lower lash line, keeping the color closest to the lashes.
For added drama, you can take a tiny amount of your darkest outer V shade and apply it just to the outer third of the lower lash line. Be sure to blend the edges with a clean brush so the shadow looks soft and smoky rather than harsh and linear. This frames the green eye completely, maximizing the contrasting color effect.
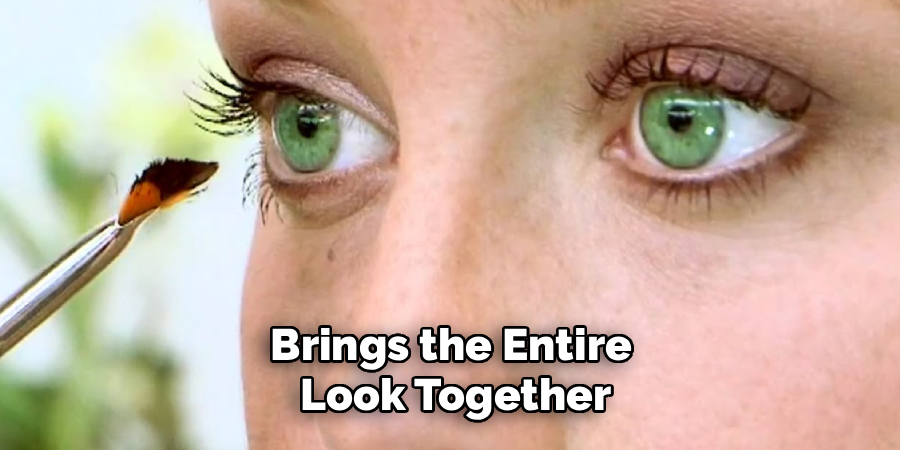
Step 10: Finishing Touches
The final step brings the entire look together. If you choose to wear eyeliner, opt for a rich brown, a deep plum, or a burgundy pencil instead of harsh black. Smudge it slightly along the upper lash line to make the roots of your lashes look thicker. This softer approach complements the warm eyeshadows without overpowering the green in your eyes.
Finally, curl your eyelashes and apply two generous coats of your favorite volumizing mascara to both the upper and lower lashes. The dark, defined lashes provide a striking frame for your expertly applied copper and purple shadows, leaving you with a mesmerizing, eye-catching finish that beautifully showcases your green eyes.
5 Things You Should Avoid
While certain colors make green eyes shine, others can detract from their natural beauty. Avoid these common mistakes:
- Silver and Cool Gray Eyeshadows: Silver and cool-toned grays clash with the natural warmth usually found in green eyes. These shades can wash you out and make your eyes look dull rather than vibrant.
- Pure Black Eyeliner: Heavy black eyeliner can be too harsh for light green eyes, overpowering the color and making the eyes look smaller. Instead, opt for softer alternatives like chocolate brown, plum, or bronze.
- Matching Your Eyeshadow to Your Eyes: Applying a green eyeshadow that exactly matches your eye color will cause your eyes to blend in, completely losing their impact. If you want to wear green, choose a dark forest green or an olive tone that contrasts with your iris.
- Skipping Eyeshadow Primer: Green eyes benefit greatly from highly pigmented contrasting colors. Without a primer, these rich purples and coppers will fade quickly or crease into fine lines, ruining the effect.
- Forgetting to Blend: Harsh lines and unblended edges distract from the beauty of your eye color. Always take the time to soften the transitions between shades for a polished, seamless look.
Conclusion
How to put on eyeshadow green eyes is an exciting journey into the world of color theory and technique.
By understanding that warm coppers, rich plums, and soft mauves are your ultimate secret weapons, you can effortlessly highlight the unique beauty of your rare eye color. Remember to always start with a good primer, invest in quality brushes, and take your time blending your transition shades.
Whether you are creating a soft, everyday mauve look or an intense, dramatic copper smoky eye, these ten steps will ensure a flawless application every time. Grab your palette, experiment with these complementary hues, and watch your gorgeous green eyes take center stage.
About the Author
Jane Hubbard is a passionate beauty expert with a wealth of experience in makeup, hair, and overall beauty techniques. After years of working as a hairdresser specialist, she followed her entrepreneurial spirit and started her own consultancy business.
Jane has always been driven by her desire to help others feel confident in their own skin, and she does this by sharing her knowledge, experiences, and practical beauty tips. Through her consultancy, she empowers individuals to embrace their unique beauty, offering tailored guidance that boosts both self-esteem and personal style.
Professional Focus
Specializes in makeup, hairstyling, and beauty consulting.
Provides personalized beauty advice, tips, and techniques to help individuals feel confident in their appearance.
Dedicated to staying up-to-date with the latest industry trends and developments.
Passionate about creating a comfortable and empowering experience for every client.
Education History
University of Craft and Design – Bachelor of Fine Arts (BFA) in Woodworking and Furniture Design
Woodworking Apprenticeships – Extensive hands-on training with skilled craftsmen to refine carpentry and furniture making techniques
Online Courses & Masterclasses – Continued education in advanced woodworking techniques, design principles, and specialized tools
Expertise:
Makeup artistry, hairstyling, and beauty consulting.
Personalized beauty techniques to enhance confidence and self-expression.
Educating clients on how to maintain their beauty routines at home.