
Are you looking for the perfect eyebrow makeup routine? Look no further!
Your eyebrows frame your face, express your emotions, and balance your features. Whether you want a natural, fluffy look or a sharp, sculpted arch, mastering your brow routine can completely transform your makeup game.
This guide on how to apply eyebrow makeup will walk you through everything you need to know to achieve your dream brows. We will cover the benefits of proper grooming, the essential tools required, a detailed 10-step application process, common mistakes to avoid, and answers to your most pressing questions.
What are the Benefits?
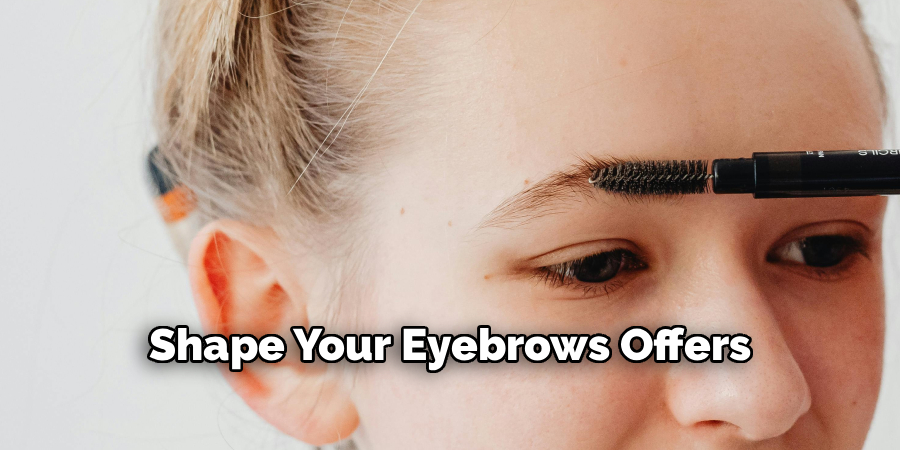
Well-groomed brows do much more than just look pretty. Taking the time to properly fill and shape your eyebrows offers several distinct advantages:
- Framing your features
- Creating facial symmetry
- Looking polished
- Expressing emotion
- Providing a youthful lift
What Will You Need?
Before you start painting on those perfect arches, you need to gather the right tools. Keep these essentials in your makeup bag:
- Spoolie Brush: A clean mascara-style wand used to comb hairs and blend product.
- Brow Pencil: Ideal for precision work and drawing hair-like strokes.
- Brow Powder: Great for filling in larger, sparse areas with a soft finish.
- Angled Brush: Necessary if you choose to use powders or pomades.
- Clear or Tinted Brow Gel: Essential for locking the hairs in place all day.
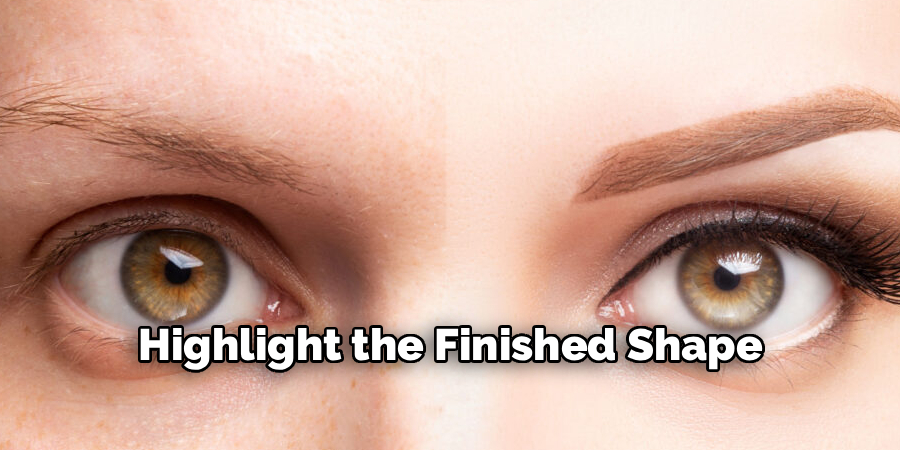
- Concealer and Flat Brush: Used to carve out and highlight the finished shape.
- Tweezers: For quick touch-ups on stray hairs outside your mapped shape.
10 Easy Steps on How to Apply Eyebrow Makeup
Creating the perfect brow requires patience and technique. Follow these ten detailed steps to master your eyebrow makeup application.
Step 1: Prep and Cleanse Your Brow Area
Before applying any makeup, your skin needs to be clean and prepped. Skincare products, heavy moisturizers, or excess natural oils can cause your eyebrow products to slip, slide, or fade quickly throughout the day. Take a cotton pad with a little micellar water and gently wipe through your brow hairs. Allow the area to dry completely. If you have particularly oily skin, you can lightly dust a translucent setting powder over your brows to absorb any lingering moisture. Starting with a clean canvas ensures that your pencil, powder, or pomade will adhere properly to both the skin and the hair, giving you a long-lasting, smudge-proof finish that stays put from morning until night.
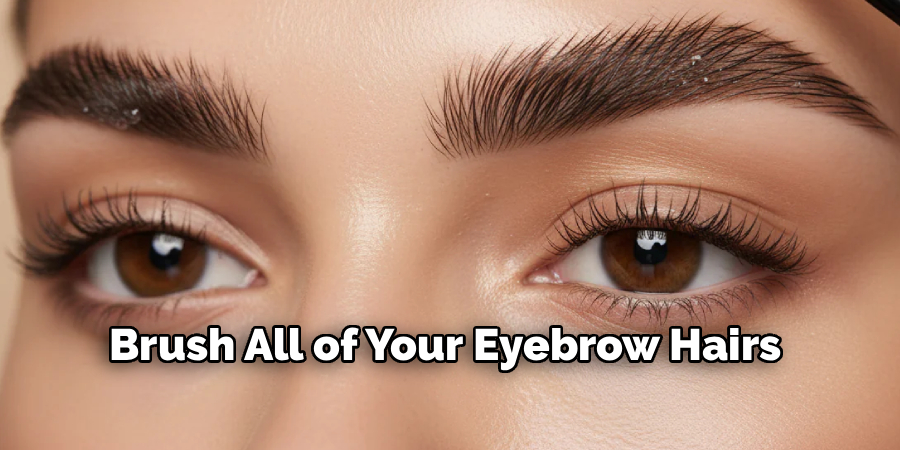
Step 2: Brush Your Brows Upward
The spoolie brush is your best friend when it comes to eyebrow makeup. Take your clean spoolie and brush all of your eyebrow hairs straight up toward your forehead. This step is crucial because it reveals the natural shape of your brow and immediately highlights any sparse patches or gaps that need extra attention. Brushing the hairs upward also lifts the entire brow, giving you a clearer view of the bottom baseline. By seeing exactly where your natural hair grows, you avoid applying product where you do not need it. Keep your spoolie handy, as you will use it repeatedly to maintain the direction of the hairs and keep the shape visible as you work.
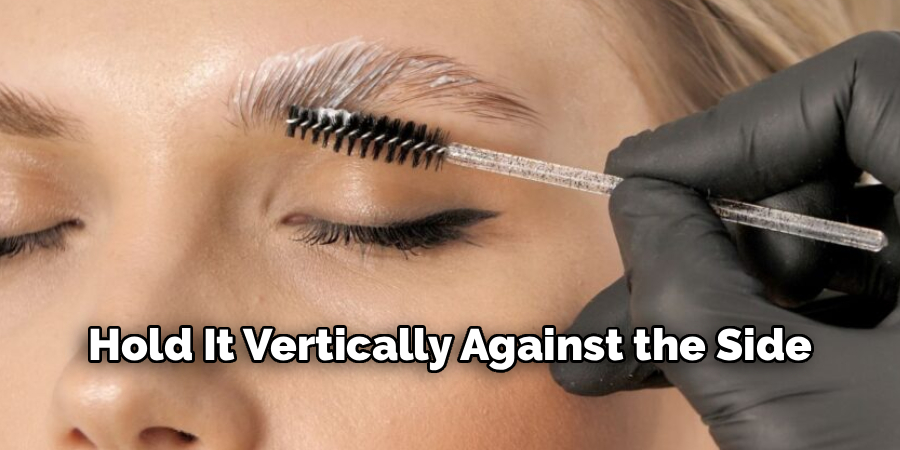
Step 3: Map Your Ideal Shape
Brow mapping is the secret to achieving symmetry that suits your specific face shape. Take your brow pencil and hold it vertically against the side of your nose; this is where your brow should start. Next, pivot the pencil from the side of your nose across the center of your pupil; this marks the highest part of your arch. Finally, pivot the pencil to the outer corner of your eye; this is where the tail of your brow should end. You can make a tiny, faint mark at each of these three points on both eyes. This personalized map guarantees that your eyebrows will frame your unique facial features perfectly, rather than looking like a generic stencil.
Step 4: Choose the Right Shade
Selecting the correct color for your eyebrow makeup can make or break your entire look. A shade that is too dark will look harsh and unnatural, while one that is too light will barely show up. A great rule of thumb is to look at the hair on your head. If you have dark hair, choose an eyebrow product that is one or two shades lighter than your hair color. If you have blonde or light hair, opt for a color that is one or two shades darker. Additionally, pay close attention to the undertone. Most people look best in cool or ashy undertones, as warm undertones can sometimes turn orange or red on the skin.
Step 5: Create the Baseline
Now that your brows are brushed up and mapped out, it is time to establish the foundation. Using a fine-tipped brow pencil or an angled brush with pomade, draw a soft, light line along the very bottom edge of your eyebrow. Connect the start of your brow to the arch, and then gently slope the line down to the tail. Keep your hand light; you want this line to look like a natural shadow, not a harsh marker streak. This baseline acts as a physical guide for the rest of your application. It grounds the brow and provides a neat, clean edge that instantly makes your eyebrows look more defined and professionally groomed.
Step 6: Fill in the Sparse Areas
With your baseline established, you can start adding volume to the brow. Switch your focus to the sparse areas you identified earlier. Using your pencil, create tiny, upward flicks that mimic the natural growth pattern of your hair. Start from the bottom baseline and flick the product upward. If you prefer brow powder, use your angled brush to press the color softly into the gaps. Focus the majority of the product on the middle and tail of the brow, keeping the front portion near your nose much lighter. This gradient effect, often called an ombre brow, prevents the eyebrows from looking blocky, heavy, or overly artificial in the center of your face.
Step 7: Define the Arch
The arch is the focal point of a great eyebrow; it provides lift and character. Go back to the highest point you mapped out in step three. Add a little extra product right at the peak of the arch to sharpen it slightly. Ensure the transition from the arch down to the tail is smooth and continuous. The tail should taper off neatly to a fine point, rather than ending bluntly. Do not drag the tail down too far, as this can pull your features downward and create a sad or tired expression. A well-defined, properly placed arch opens up the eye area and gives your face a bright, alert appearance.
Step 8: Blend with a Spoolie
Applying the product is only half the battle; blending is what makes it look like real hair. Grab your spoolie brush again and gently comb through your eyebrows. Use upward and outward motions, following the direction of hair growth. As you brush, the bristles will grab the excess pencil or powder and distribute it evenly across the entire brow. This softens any harsh lines you may have drawn and blends the makeup seamlessly into your skin and natural hair. If you notice that you blended away a little too much product, you can always go back and add a few more hair-like strokes. Blending is the absolute key to a soft, realistic finish.
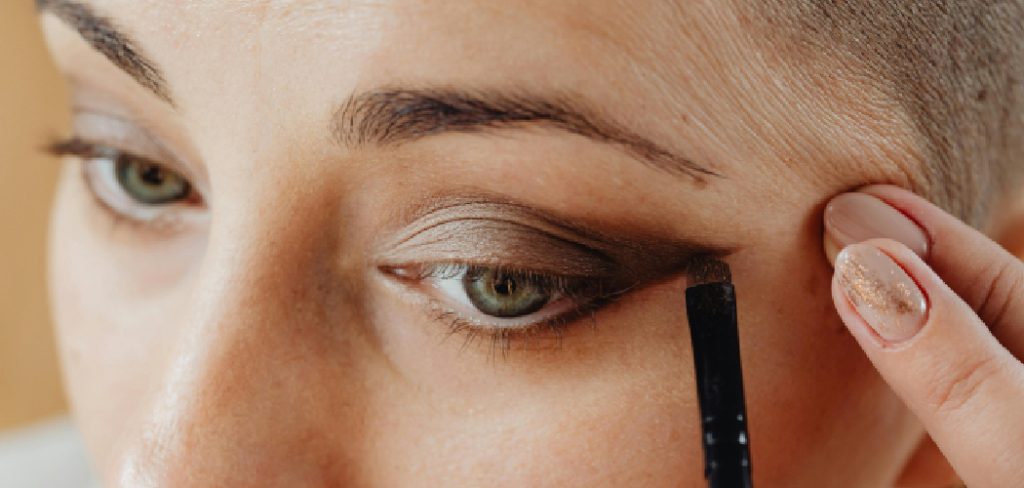
Step 9: Conceal and Highlight
To achieve that sharp, professional, fresh-from-the-salon look, you need to clean up the edges. Take a small, flat concealer brush and dip it into a concealer that is one shade lighter than your skin tone. Carefully trace directly underneath the baseline of your eyebrow, from the front all the way to the tail. Blend the concealer downward into your eyelid so there is no harsh white line left behind. This step acts like an eraser for any smudges and instantly highlights your brow bone, making the arch pop. You can also trace the top of the brow with your exact foundation shade to clean up the upper edge without leaving a halo effect.
Step 10: Set with Brow Gel
You have put all this effort into designing the perfect brows; now you need to make sure they last. Brow gel is the hairspray of the makeup world. Take a clear or tinted brow gel and sweep it through your hair. Brush the front section straight up for a fluffy look, and brush the middle and tail sections up and outward to follow the shape you created. The gel locks the hairs into place, adds a realistic texture and shine, and seals the makeup underneath. Once the gel dries, your beautifully crafted eyebrows will be locked in, smudge-proof, and ready to face whatever the day throws your way.
Frequently Asked Questions
- How Do I Choose the Right Color?
Finding your perfect eyebrow shade depends entirely on your natural hair color.
If you have dark hair, pick a product shade one or two tones lighter.
If you have blonde or light hair, go one or two shades darker than your roots.
Always test the product in natural light to ensure it looks realistic on you.
Cool undertones work best for most people to avoid an unwanted reddish cast. - Can I Do This if My Brows Are Thin?
Absolutely, thin brows can look beautifully full with the right application techniques.
You will want to rely heavily on a fine-tipped brow pencil for precision.
Draw tiny, upward hair-like strokes to mimic the appearance of natural hair growth.
Avoid drawing one thick, harsh line across the entire sparse brow area.
Set the drawn strokes gently with a tinted gel to add realistic volume. - How Often Should I Shape My Eyebrows?
Maintenance depends completely on how fast your natural eyebrow hair tends to grow.
Most people find that a light tweezing session every two weeks works well.
Professional threading or waxing is great to schedule about once a month.
Always step back from the mirror to check the overall symmetry while tweezing.
Over-plucking can damage the follicle permanently, so keep hair removal to a minimum.
Conclusion
Perfecting your eyebrow makeup takes a little practice, but the framing and balance it brings to your face are well worth the effort.
By mapping your shape, using light, hair-like strokes, and always blending with your spoolie, you can achieve natural, beautiful results.
Hopefully, this guide on how to apply eyebrow makeup has provided you with the knowledge and techniques necessary to create your perfect eyebrow look. Remember, everyone’s eyebrows are unique, so experiment and find what works best for you!
About the Author
Jane Hubbard is a passionate beauty expert with a wealth of experience in makeup, hair, and overall beauty techniques. After years of working as a hairdresser specialist, she followed her entrepreneurial spirit and started her own consultancy business.
Jane has always been driven by her desire to help others feel confident in their own skin, and she does this by sharing her knowledge, experiences, and practical beauty tips. Through her consultancy, she empowers individuals to embrace their unique beauty, offering tailored guidance that boosts both self-esteem and personal style.
Professional Focus
Specializes in makeup, hairstyling, and beauty consulting.
Provides personalized beauty advice, tips, and techniques to help individuals feel confident in their appearance.
Dedicated to staying up-to-date with the latest industry trends and developments.
Passionate about creating a comfortable and empowering experience for every client.
Education History
University of Craft and Design – Bachelor of Fine Arts (BFA) in Woodworking and Furniture Design
Woodworking Apprenticeships – Extensive hands-on training with skilled craftsmen to refine carpentry and furniture making techniques
Online Courses & Masterclasses – Continued education in advanced woodworking techniques, design principles, and specialized tools
Expertise:
Makeup artistry, hairstyling, and beauty consulting.
Personalized beauty techniques to enhance confidence and self-expression.
Educating clients on how to maintain their beauty routines at home.