
Dealing with smudged, raccoon-like eyes midway through a rainy commute can feel uniquely frustrating. Many cosmetic consumers abandon water-resistant formulas entirely after experiencing severe clumping or brittle lashes. This abandonment often stems from treating these specialized products exactly like their standard, water-based counterparts.
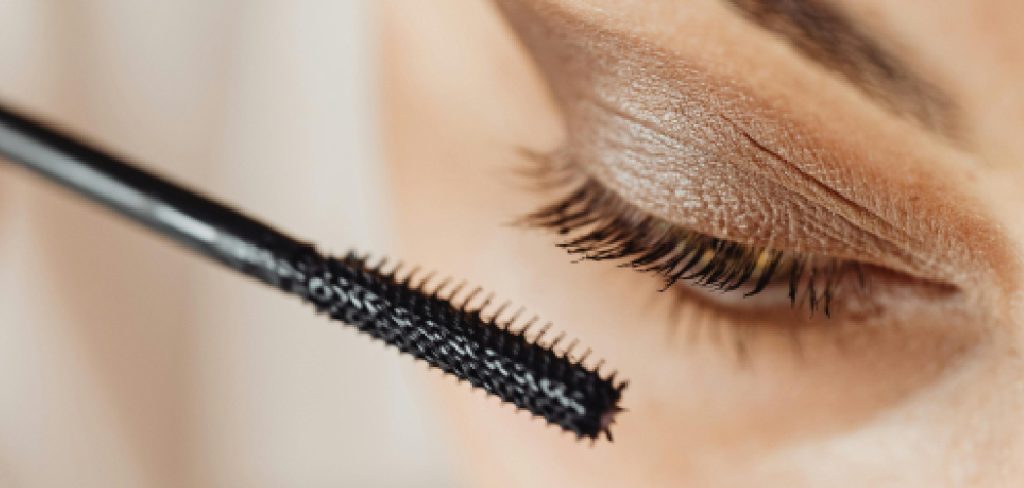
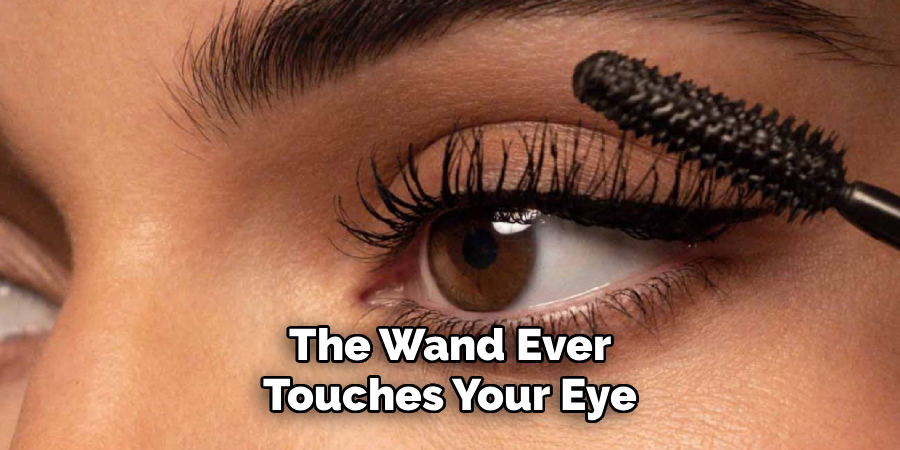
This text aims to correct those mechanical errors. We will examine the specific chemical properties of these formulas and the precise preparation required before the wand ever touches your eye. Readers will learn the science behind waxes, the necessity of metal combs, and the safest available chemical removal methods.
Understanding how to apply waterproof mascara requires a slight adjustment to your morning routine. A flawless application depends on physical technique just as much as it relies on the actual fluid inside the tube. A methodical approach could prevent the flaking and smudging that plague so many makeup users.
Understanding the Benefits of Waterproof Formulas
Water-resistant cosmetics differ fundamentally from standard options on a chemical level. Recognizing these structural differences helps explain why they require an entirely different application strategy. These products do not merely coat the hair; they encapsulate it.
This encapsulation process provides distinct mechanical advantages. It also presents unique challenges if mismanaged.
The Science of Isododecane and Waxes
Standard mascaras rely heavily on water as their primary solvent. When you sweat or cry, that water base reactivates, causing the pigment to bleed down your face. Heavy-duty formulas replace that water with volatile solvents like isododecane.
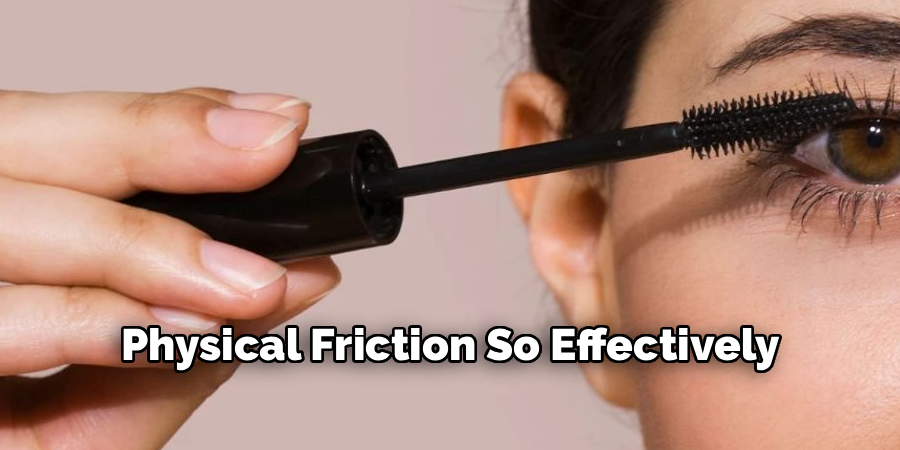
These solvents evaporate rapidly upon contact with the air. They leave behind a dense matrix of synthetic waxes that repels external moisture entirely. This chemical seal appears to indicate why the product survives extreme humidity and physical friction so effectively.
Holding a Curl All Day
Straight lashes often struggle to hold an upward trajectory under the weight of wet, standard cosmetics. The rapid evaporation of isododecane functions similarly to a high-hold hairspray. It locks the lifted shape into place almost instantaneously.
This quick-drying nature prevents the wet pigment from weighing down the hair follicle. Individuals with stubbornly straight eyelashes frequently find that only water-resistant waxes can maintain a mechanical curl until evening.
Essential Tools for Lash Preparation
Proper application begins long before you unscrew the cosmetic tube. Attempting to manipulate a heavy wax formula without the right tools usually results in a spidery, chaotic finish. You must gather specific tools to prepare your canvas.
Preparation dictates the final aesthetic. A clean, separated lash acts as the ideal foundation.
Choosing the Right Eyelash Curler
Not all metal curlers share the same anatomical curvature. A tool designed for large, round eyes will invariably pinch the skin of someone with elongated, almond-shaped features. You must seek out an instrument that mirrors your specific orbital bone structure.
Matching this curve ensures that every single hair enters the clamping mechanism evenly. This uniformity prevents the outer corner lashes from remaining straight while the center lashes curl abruptly.
The Importance of a Metal Lash Comb
Plastic combs represent a functionally useless tool in the realm of heavy cosmetic waxes. The thick plastic teeth simply cannot penetrate a rapidly drying polymer matrix. You need something significantly sharper and more precise.
A fine-toothed metal comb slices through wet pigment effortlessly. It physically separates the hairs before they have a chance to fuse together, eliminating thick clumps at the source.
Prepping Your Lashes for Maximum Volume
Applying heavy waxes to unwashed hair guarantees premature flaking. The raw surface of the eyelash must be entirely free of biological and synthetic interference. This cleaning phase often dictates how long the product will actually survive.
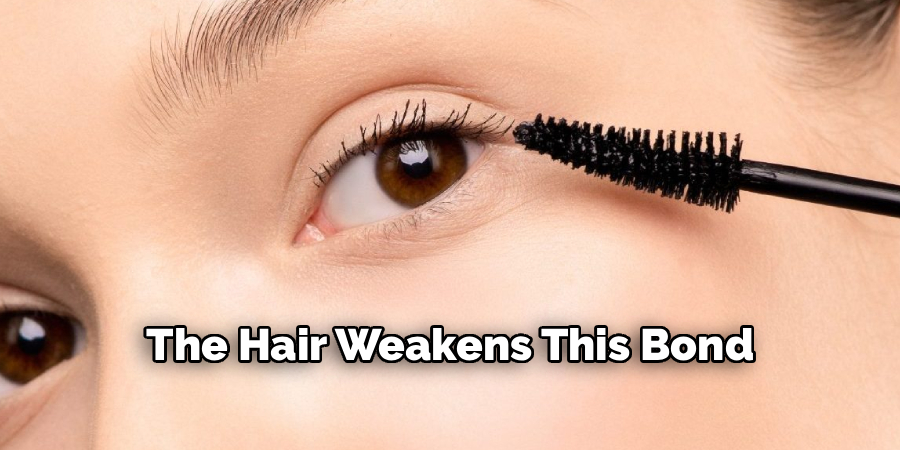
A pristine surface allows the synthetic polymers to bind directly to the keratin of the hair. Any barrier between the wax and the hair weakens this bond.
Cleansing Oils and Skincare Residue
Overnight eye creams frequently migrate down onto the lash line while you sleep. Your body also produces natural sebum that coats the follicles. Both of these oily substances act as natural makeup removers.
You should sweep a cotton pad dampened with gentle micellar water across the closed eye before applying any cosmetics. This mild surfactant dissolves lingering oils, ensuring the subsequent mascara adheres perfectly to a dry, clean surface.
Applying a Hydrating Lash Primer
Because water-resistant formulas inherently lack moisture, they can leave the hair feeling exceptionally brittle. Introducing a conditioning layer mitigates this harsh physical effect. A high-quality primer creates a protective buffer between your natural keratin and the drying solvents.
These primers also deposit microscopic fibers along the hair shaft. This process builds dramatic, artificial volume before the dark pigment is even introduced. It serves a dual purpose of hydration and structural enhancement.
Step-by-Step Guide: How to Apply Waterproof Mascara
Step 1: Prepare Your Lashes
The initial step involves carefully manipulating the structure of your lashes to prepare them for mascara. Look downward into a handheld mirror, allowing your lashes to extend forward naturally. Using a lash curler, position it at the very base of your lashes.
Gently clamp the curler with light, pulsing pressure before slowly moving upwards toward the tips. Ensure you create a gradual, natural curve by pulsing the curler every millimeter. Avoid aggressive crimping at the base, as this may result in a sharp, unnatural angle.
Step 2: Adjust the Mascara Wand
Next, focus on the mascara wand to prevent over-application. When withdrawing the wand from the tube, it often carries an excessive amount of product. Scrape the wand along the inside edge of the tube to remove the excess, leaving only a thin, even layer on the bristles. If the formula is dense, consider gently wiping the wand on a clean tissue for optimal consistency and application.
Step 3: Apply to the Upper Lashes
Start applying mascara by placing the wand horizontally at the roots of your upper lashes. Wiggle the wand back and forth in small, tight motions to thoroughly coat the base. This technique concentrates color and product at the roots, creating the appearance of a thicker lash line. Once the roots are covered, pull the wand straight up through the lengths of the lashes to keep the ends separated and wispy. Avoid wiggling at the tips, as this could cause clumping.
Step 4: Address the Lower Lashes
Approach your lower lashes with care, as these finer hairs are more prone to clumping. Hold the wand vertically and use the tip of the brush to lightly tap pigment onto the lower lashes. This subtle application helps define the lower lashes without looking heavy or unnatural. Be cautious not to apply too much product, which could lead to smudging or an overly dramatic effect.
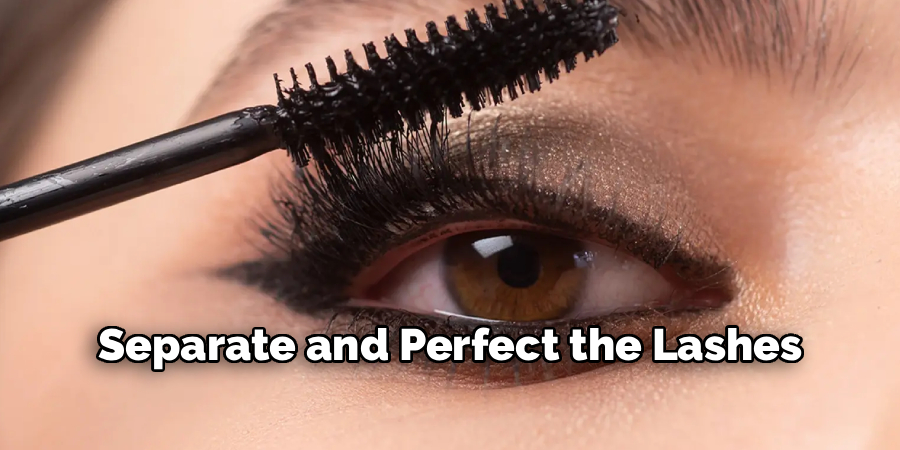
Step 5: Comb Through the Lashes
Immediately after applying mascara, use a metal lash comb to separate and perfect the lashes. Starting at the base, run the comb through the lashes all the way to the tips. This step removes any small clumps and ensures an even, fanned-out appearance. Work quickly before the formula dries to maintain your desired lash shape and separation.
Step 6: Lock in the Look
Allow the mascara to dry completely, but avoid touching or blinking excessively during this time to prevent smudging. Once set, your lashes will have a dramatic, lifted finish with clean separation and volume. If needed, a second coat can be applied following the same precise techniques, but always ensure the first layer is fully dry before layering. This completes your flawless waterproof mascara application.
Techniques to Avoid Flaking and Spidery Lashes
Even with immaculate technique, external variables can sabotage a heavy-duty cosmetic. The temperature of the fluid significantly alters its viscosity. Managing the physical state of the product ensures a smoother application.
Troubleshooting these minor issues requires a bit of practical creativity.
Warming the Tube Before Use
Cold environments cause synthetic waxes to seize and thicken rapidly inside their packaging. Applying a cold, thick paste to your face guarantees a clumpy texture. Professional artists often manipulate the temperature of the tube before opening it.
You could place the sealed container inside a glass of warm water for five minutes. Alternatively, simply slipping it into your pocket while you style your hair softens the internal compounds. This minor heat application restores the fluid’s natural, smooth glide.
Working Quickly While Wet
Standard cosmetics afford you several minutes of playtime before they dry. Water-resistant iterations offer no such luxury. The isododecane evaporates so quickly that the first coat often hardens before you can apply a second.
Adding wet fluid over dry wax breaks the structural integrity of the initial layer. This collision of states causes the dried wax to shatter and flake onto your cheeks. You must apply any subsequent layers immediately while the base coat remains entirely wet.
Layering Standard and Waterproof Formulas
Some individuals despise the arduous removal process associated with heavy waxes. They want the staying power without the chemical commitment. A hybrid approach offers an interesting compromise between durability and convenience.
This technique utilizes the strengths of both chemical formulations.
The Regular Base Coat Method
Begin by coating the clean lashes entirely with a standard, water-based cosmetic. This familiar formula glides on easily, builds volume, and separates without the rush of evaporating solvents. Allow this foundational layer to dry completely.
Because the base is water-soluble, it remains relatively easy to break down later. It forms a temporary, washable barrier over your natural keratin.
Sealing the Deal
Once the standard layer sets are in place, you introduce the heavy-duty product. Apply a single, sheer coat of the water-resistant wax directly over the dried base. This application acts entirely as a protective topcoat.
The wax creates an impenetrable seal against environmental humidity and sweat. However, because it is anchored to a washable base rather than your raw hair, removal later in the evening requires significantly less physical scrubbing.
Maintaining Overall Lash Health
Frequent reliance on drying solvents inevitably takes a toll on biological tissue. Chronic dehydration weakens the hair shaft, leading to premature shedding and breakage. You must actively replenish the moisture you are chemically stripping away.
Cosmetic endurance should not come at the expense of anatomical health.
Incorporating Nightly Lash Serums
After cleansing your face in the evening, the follicles require immediate nourishment. A dedicated peptide serum encourages blood flow and delivers necessary amino acids to the roots. This nightly intervention could prevent the thinning associated with heavy makeup usage.
If commercial serums prove irritating, pure cold-pressed castor oil offers a natural alternative. Sweeping a microscopic drop of castor oil across the lash line conditions the existing hairs and restores their natural flexibility.
Taking Consistent Makeup Breaks
Your face needs time to recover from synthetic encapsulation. Wearing heavy waxes seven days a week deprives the hair of atmospheric moisture entirely. You should reserve these extreme formulas for specific occasions.
Utilize them during intense gym sessions, beach outings, or formal events where tears are expected. Switch back to a gentle, hydrating formula for your standard office routine.
How to Remove Waterproof Mascara Safely
The application process is entirely irrelevant if the removal method destroys your eyelashes. Aggressive scrubbing represents the most common mistake consumers make. You cannot use water and soap to remove a product engineered specifically to repel water and soap.
The chemistry of the removal agent must match the chemistry of the cosmetic.
Selecting a Bi-Phase Makeup Remover
Only lipids can break down synthetic waxes effectively. You must purchase an oil-based cleanser or a bi-phase remover, which visibly separates into liquid and oil layers in the bottle.
Shaking the bottle emulsifies these layers temporarily. The oil component is absolutely necessary to dissolve the isododecane barrier that surrounds your hair follicles.
The Soak and Press Technique
Saturate a soft cotton pad heavily with your chosen oil cleanser. Close your eye completely. Press the soaked pad gently against the lashes and hold it completely still.
You must wait a full thirty seconds. This stationary soaking period allows the oil to chemically melt the hardened waxes. Once the thirty seconds elapse, wipe the pad softly downward; the pigment should slide away without requiring any damaging lateral friction.
Conclusion
Mastering heavy-duty cosmetics requires a clear understanding of their specific chemical behaviors. By utilizing a metal comb, warming the product beforehand, and prioritizing a gentle, oil-based removal process, you preserve the health of your natural hair. Knowing exactly how to apply waterproof mascara allows you to navigate humid environments and emotional events without fearing a cosmetic disaster.
The mechanical friction of the ‘wiggle and sweep’ technique remains the ultimate secret to a clumpless finish. Audit your current makeup bag, discard those useless plastic combs, and practice this deliberate application sequence tomorrow morning. You might discover that long-lasting, separated lashes are entirely within your reach.
About the Author
Jane Hubbard is a passionate beauty expert with a wealth of experience in makeup, hair, and overall beauty techniques. After years of working as a hairdresser specialist, she followed her entrepreneurial spirit and started her own consultancy business.
Jane has always been driven by her desire to help others feel confident in their own skin, and she does this by sharing her knowledge, experiences, and practical beauty tips. Through her consultancy, she empowers individuals to embrace their unique beauty, offering tailored guidance that boosts both self-esteem and personal style.
Professional Focus
Specializes in makeup, hairstyling, and beauty consulting.
Provides personalized beauty advice, tips, and techniques to help individuals feel confident in their appearance.
Dedicated to staying up-to-date with the latest industry trends and developments.
Passionate about creating a comfortable and empowering experience for every client.
Education History
University of Craft and Design – Bachelor of Fine Arts (BFA) in Woodworking and Furniture Design
Woodworking Apprenticeships – Extensive hands-on training with skilled craftsmen to refine carpentry and furniture making techniques
Online Courses & Masterclasses – Continued education in advanced woodworking techniques, design principles, and specialized tools
Expertise:
Makeup artistry, hairstyling, and beauty consulting.
Personalized beauty techniques to enhance confidence and self-expression.
Educating clients on how to maintain their beauty routines at home.