

That soft little sponge does a lot of heavy lifting in your routine. It blends your foundation, presses in your concealer, and gives you that smooth, finished look. Yet somehow it ends up tossed by the sink the second your face is done.
Learning how to store makeup sponges the right way keeps them clean, springy, and ready to perform every single time.
So picture that damp sponge sitting in a little puddle on the counter. We have all left one there. The good news is that smarter storage takes almost no effort, and it genuinely pays off. We will cover why it matters, the supplies that help, how to prep your sponges, a full step-by-step routine, and a few tips for keeping them fresh.
Why Proper Makeup Sponge Storage Matters
Before you rethink your habits, it helps to know what is really at stake. There are two payoffs here, and both make the small effort feel worthwhile.
Protecting Your Skin From Bacteria and Breakouts
A damp, carelessly stored sponge is basically a tiny apartment for bacteria. Add an old product and a warm bathroom, and mold and buildup move right in.
Then you press that sponge to your face. Breakouts, irritation, clogged pores. None of it is dramatic, but it quietly works against your skin.
Thoughtful storage keeps things clear. Think of it as a small act of care, so every blend across your skin stays hygienic rather than vaguely risky.
Extending the Life of Your Sponges
Good storage also protects the sponge itself. Treated well, it stays soft and bouncy far longer than one left to fend for itself.
Trapped moisture, crushing, and dust all shorten its life. That means buying replacements sooner, which adds up over time.
There is a quiet satisfaction in a sponge that springs back wash after wash. A few simple choices stretch your favorite tool across many more uses, and your wallet notices, too.
Gathering Your Storage Supplies
You almost certainly own most of this already. No special shopping trip required, which is part of the appeal.
Containers and Holders That Work Best
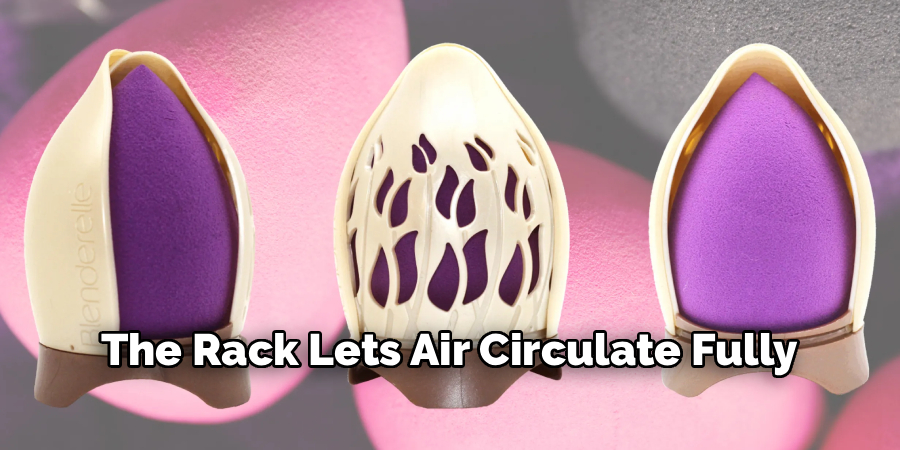
Airflow is the name of the game here. Ventilated sponge holders, mesh pouches, perforated cases, and open silicone stands all let your sponge breathe.
Sealed plastic does the opposite. It traps moisture and practically invites mildew, which is the last thing you want against your skin.
You do not need anything fancy, though. Even a clean jar with a little airflow works beautifully. The right container is really the heart of good storage, keeping sponges off germy counters and away from dust.
Tools That Keep Things Clean and Organized
A few small helpers turn storage into a smooth little ritual. A drying rack, a clean towel, and a dedicated drawer or shelf go a long way.
The rack lets air circulate fully, so sponges dry evenly. A clean towel gives them a hygienic spot to rest after washing.
Keep a travel case on hand for sponges on the go, too. None of this is required, exactly. It just makes caring for them feel organized rather than fussy, which tends to keep the habit alive.
Preparing Your Sponges Before Storage
A quick prep step makes the whole routine far more effective. This is the part people skip, then wonder why their sponges smell foul.
Cleaning Sponges Thoroughly First
Storing a sponge still loaded with foundation invites bacteria, no matter how nice the container is. So the cleaning comes first, always.
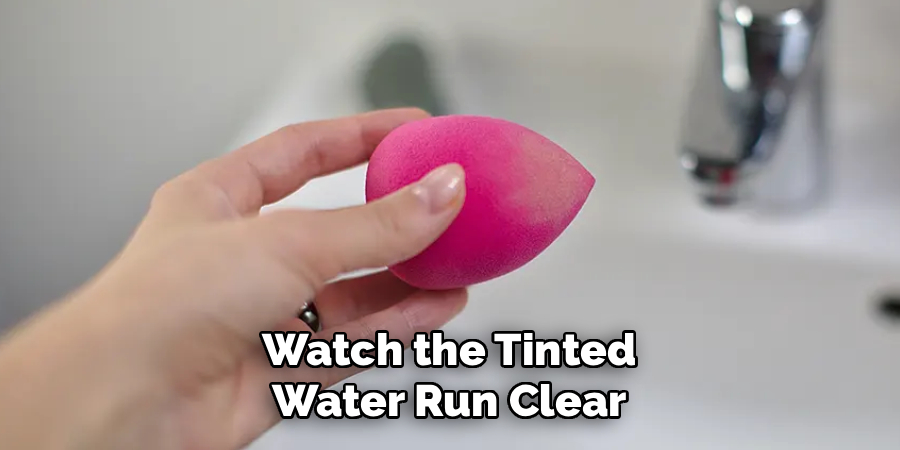
Wash each one gently with a mild cleanser until the water runs clear and the sponge feels soft and residue-free. Try to make it a steady habit after use.
A clean sponge going into storage is honestly the most important step here. Storage protects an already-clean tool, rather than sealing in yesterday’s makeup.
Drying Sponges Completely Before Putting Them Away
Once a sponge is clean, resist the urge to tuck it away wet. Squeeze out the excess water and let it air dry fully first.
Sealing a damp sponge into a closed case is the fastest route to mildew and that musty smell nobody enjoys. Airflow prevents all of it.
A little patience pays off. The peace of mind of a fully dry sponge, fresh and soft between uses, is worth the short wait.
How to Store Makeup Sponges: Step-by-Step Guide
Here is the heart of it. Knowing how to store makeup sponges really comes down to a clear sequence, moving from a damp, neglected sponge to a clean, ready-to-use one. Take each step in order and let the routine do the work.
Step 1: Clean the Sponge After Every Use
Rinse and wash your sponge with a gentle cleanser right after each application, before the makeup has time to dry into the fibers. The sooner you act, the easier it goes.
Watch the tinted water run clear. That little moment is oddly satisfying, and it tells you the buildup bacteria love is washing away.
Give it a soft squeeze rather than an aggressive wring. Starting with a truly clean sponge makes everything that follows easier, since no storage method can keep a dirty sponge fresh.
Step 2: Squeeze Out Excess Water Gently
Press the clean sponge between your palms, or against a clean towel, to push out as much water as possible. Gentle pressure does the trick.
Avoid twisting it. Harsh wringing can tear the material over time, and a delicate sponge does not deserve that treatment.
A well-squeezed sponge feels lighter and ready to air out. This quick step shortens drying time dramatically, which helps you sidestep the trapped moisture that leads to odors.
Step 3: Air Dry in a Ventilated Spot
Set the damp sponge on a clean drying rack or a breathable holder where air can reach every side. Resting it flat on a closed surface traps moisture underneath, which slows everything down.
Choose a clean, dust-free spot, ideally away from the toilet and busy counter splashes. Where it dries matters more than people think.
Give it enough time to dry fully before the next step. Proper drying is the real secret to a fresh, mold-free sponge that stays soft and pleasant to use.
Step 4: Choose a Breathable Storage Container
Once the sponge is fully dry, place it into a ventilated holder, mesh pouch, or perforated case. Skip the sealed plastic bag entirely.
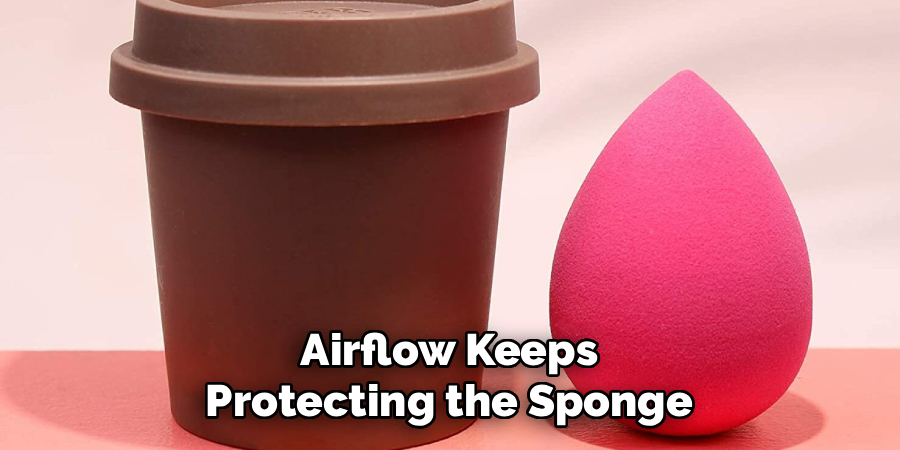
Airflow keeps protecting the sponge even in storage, stopping any lingering moisture from turning musty. Match the container to your space, whether that means a drawer organizer or an open countertop stand.
Keep the container itself clean, too. The right breathable home shields sponges from dust and germs while letting them stay dry and ready between uses.
Step 5: Store in a Clean, Dry Location
Now find the right spot for that container. Somewhere cool and dry, away from humidity, like a bedroom drawer or a shelf outside the steamy shower zone.
Bathroom moisture and heat encourage bacteria, so a drier location helps sponges last longer. Keep them off open counters where dust, hair, and splashes tend to collect.
There is a tidy comfort in a dedicated, clean storage space. Choosing the right location is an easy, lasting upgrade that quietly protects both your tools and your skin.
Step 6: Organize and Rotate Your Sponges
If you use more than one sponge, a little organization goes a long way. Keep them arranged so you can reach for a fresh one while others dry fully between washes.
Separating sponges by use helps too, maybe one for foundation and one for concealer. It keeps everything hygienic and easy to grab.
There is a small joy in opening a tidy holder and finding a clean, ready sponge waiting. Check the collection now and then for any that need replacing, and the whole routine stays smooth and stress-free.
Best Storage Methods for Different Situations
Storage needs shift depending on where you are. A few tailored notes keep you ready for any scenario.
Everyday Home Storage
For daily use, a ventilated countertop holder or a clean drawer organizer works beautifully. Both keep sponges dry, dust-free, and within easy reach.
Position them away from sink splashes and steam. A simple, breathable setup is really all you need at home, and it makes your morning routine quicker and far more hygienic.
Travel and On-the-Go Storage
Travel calls for a little extra care. A perforated travel case or a breathable pouch protects sponges in your bag without trapping moisture.
Pack only fully dry sponges, and choose cases with airflow holes. Smart travel storage keeps them safe from crushing and germs, so you get a flawless finish wherever you go without worrying about mildew or odors.
Long-Term Storage for Spare Sponges
Spare, unused sponges store a little differently than the damp, used ones. Keep brand-new ones clean and dry in their original packaging or a sealed, dust-free box until needed.
Since they have never been wet, the usual airflow rules relax a bit. Set them aside in a cool, dry spot, and they stay in perfect condition, ready to step in the moment a current favorite wears out.
Common Storage Mistakes That Ruin Sponges
A few small habits quietly wreck sponges before their time. Each one is easy to sidestep once you know to watch for it.
Storing Sponges While Still Damp
Sealing a wet sponge away traps moisture and breeds mold and musty odors within days. It happens faster than you would expect.
The fix is simple. Dry sponges completely before they go into any container.
This single habit prevents most storage problems. A little patience keeps sponges fresh, soft, and safe to press against your skin.
Using Sealed Plastic Bags or Airtight Cases
Airtight storage feels protective, but it locks in humidity and starves sponges of the airflow they need. Mildew tends to follow.
Reach for breathable holders and ventilated cases instead. A little air circulation keeps sponges dry and odor-free, and proper ventilation may be the most overlooked secret to long-lasting tools.
Leaving Sponges Out on Dirty Surfaces
Tossing a sponge onto an open counter exposes it to dust, hair, and bacteria from a busy bathroom. It collects all of it without you noticing.
Give it a clean, dedicated holder instead. A tidy home protects both the tool and your skin, turning a careless habit into an easy, hygienic upgrade.
Keeping Your Sponges Fresh and Long-Lasting
Once you have a clean system, a couple of simple habits protect that result. Neither asks much of you.
Building a Simple Cleaning and Storage Routine
Pair a quick wash after each use with a steady drying and storage rhythm, and care never piles up. A reliable habit keeps sponges consistently fresh and ready whenever you reach for them.
There is a calm in a system that runs almost on autopilot. Once it becomes second nature, caring for your sponges barely registers as a task, and you get to enjoy that flawless application without a second thought.
Knowing When to Replace Your Sponges
Even well-stored sponges wear out eventually. Watch for tears, stubborn stains, a crumbling texture, or lingering odors that washing cannot fix.
When those signs show up, it is time. Swapping sponges every few months with regular use keeps your routine hygienic.
Knowing when to refresh your tools is a smart, caring part of the whole process. It keeps both your makeup and your skin looking their best.
Conclusion
Knowing how to store makeup sponges turns a small, overlooked habit into a lasting, skin-loving routine you can keep up with ease. What looked like one more chore is really just a few thoughtful minutes that pay you back for months.
You now hold the full picture. Why proper storage matters, which breathable supplies to gather, the step-by-step routine, and the tips for travel, organization, and replacement.
So refresh your storage setup and give the method a try today. Confidence grows with every clean, springy sponge, and your skin will quietly thank you for it.

About the Author
Jane Hubbard is a passionate beauty expert with a wealth of experience in makeup, hair, and overall beauty techniques. After years of working as a hairdresser specialist, she followed her entrepreneurial spirit and started her own consultancy business.
Jane has always been driven by her desire to help others feel confident in their own skin, and she does this by sharing her knowledge, experiences, and practical beauty tips. Through her consultancy, she empowers individuals to embrace their unique beauty, offering tailored guidance that boosts both self-esteem and personal style.
Professional Focus
Specializes in makeup, hairstyling, and beauty consulting.
Provides personalized beauty advice, tips, and techniques to help individuals feel confident in their appearance.
Dedicated to staying up-to-date with the latest industry trends and developments.
Passionate about creating a comfortable and empowering experience for every client.
Education History
University of Craft and Design – Bachelor of Fine Arts (BFA) in Woodworking and Furniture Design
Woodworking Apprenticeships – Extensive hands-on training with skilled craftsmen to refine carpentry and furniture making techniques
Online Courses & Masterclasses – Continued education in advanced woodworking techniques, design principles, and specialized tools
Expertise:
Makeup artistry, hairstyling, and beauty consulting.
Personalized beauty techniques to enhance confidence and self-expression.
Educating clients on how to maintain their beauty routines at home.