

That jaw-dropping moment when a bare face transforms into something fierce and larger-than-life is pure magic. The soaring brows, the sky-high lashes, the painted features that read from across a room. And here is the part people forget: you can create all of it yourself.
Learning how to do drag queen makeup opens a door to bold color, dramatic structure, and a face that commands attention the second you walk in.
If you feel both thrilled and a little nervous, you are in good company. Drag celebrates creativity over perfection, so there are no wrong answers here, only your own dazzling vision. We will cover what defines the look, the products and tools you need, a full step-by-step tutorial, and tips for making it unmistakably yours. Grab your brushes and let’s unleash your inner superstar.
What Defines Drag Queen Makeup
Before you pick up a single brush, it helps to understand the artistry behind the look. Drag makeup has a logic and a history, and once you catch both, every exaggerated feature starts to make sense.
The Art and History Behind the Look
Drag makeup grew out of stage performance, ballroom culture, and decades of fearless self-expression. Exaggeration is the whole point. Stage lights and big crowds wash out subtle features, so drag artists learned to paint faces that carry across distance.
Modern drag blends old-school Hollywood glamour with wild, boundary-pushing creativity. Some queens lean classic, others go fully experimental.
What ties it together is attitude. This is a craft built on confidence and imagination, not on rules, which means you can step in with curiosity rather than dread.
Signature Features You Will Recognize
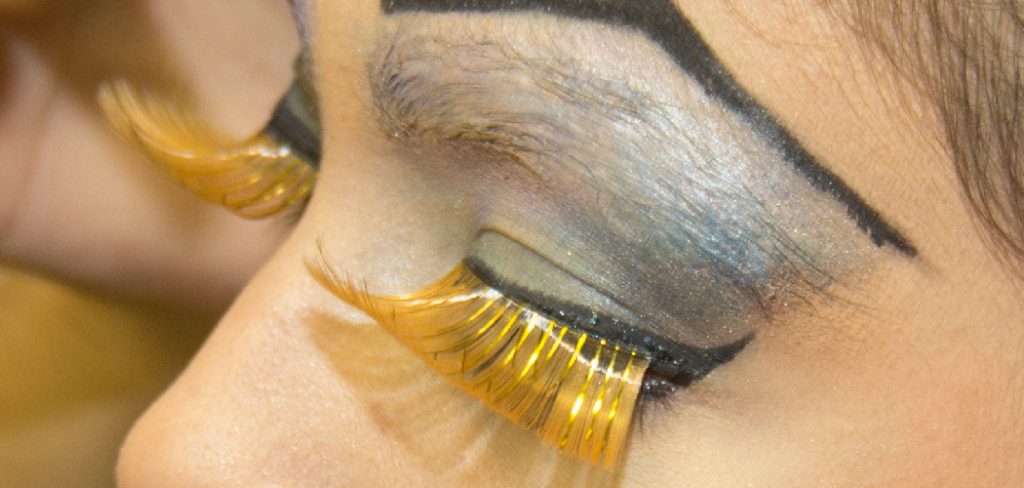
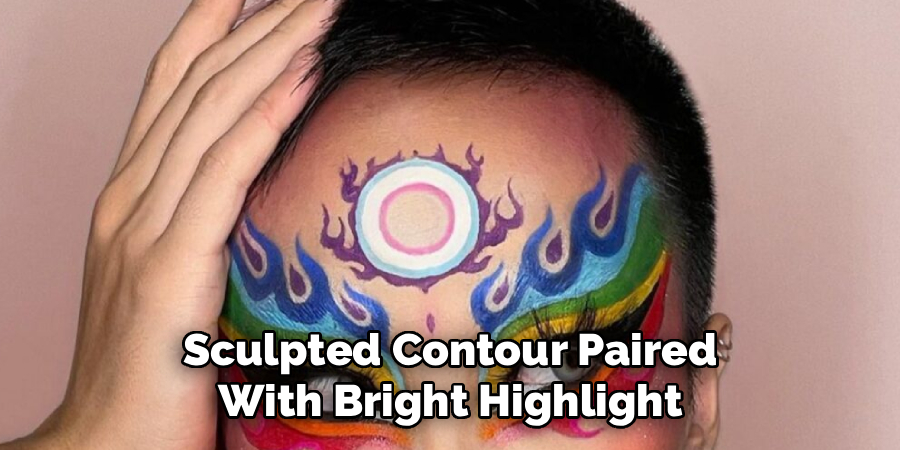
A handful of elements show up across nearly every drag look. A heavily blocked and painted brow. Dramatic cut crease eyes. Sculpted contour paired with bright highlight, oversized lashes, and a bold, precisely lined lip.
Picture each one, and you have the rough blueprint. None of it is set in stone, though.
Every feature flexes to suit your mood and your character. You can lean soft and glamorous or push fully theatrical, and it still reads as drag.
Gathering Your Drag Makeup Essentials
Creativity matters far more than an expensive kit here. Many of these items may already be sitting in your collection.
Must-Have Products for the Look
The key players are worth knowing by name. A strong glue stick for blocking the brows, full-coverage foundation and concealer, a vivid eyeshadow palette, black liquid liner, dramatic false lashes, contour and highlight, setting powder, and a bold lip color.
Each one pulls its weight. Glue blocking the brows, for instance, creates a smooth canvas where painted-on arches can sit, which is the foundation of so many drag looks.
Affordable options perform beautifully. You can build a powerful kit without spending a fortune before the fun even begins.
Brushes and Tools That Make It Easier
A few good tools turn the whole process from fiddly to fluid. A dense buffing brush, a flat concealer brush, a couple of fluffy blending brushes, an angled liner brush, and a damp sponge.
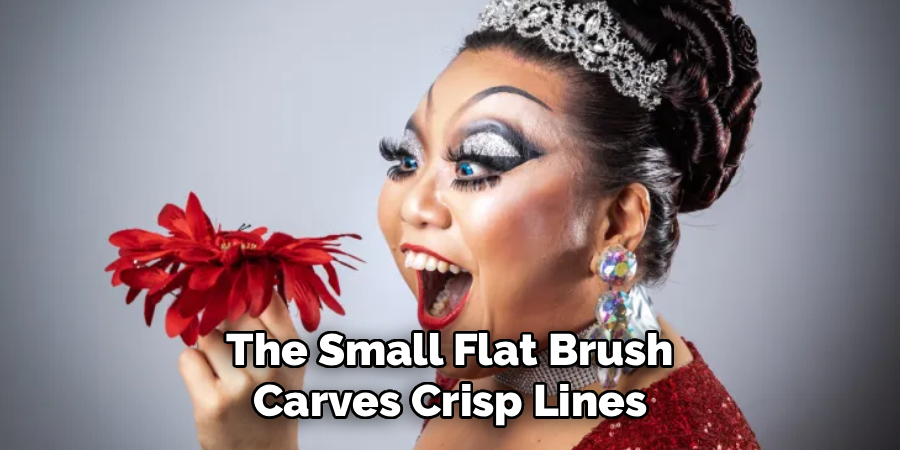
The small flat brush carves crisp lines for cut creases and sharp highlights, while the fluffy brushes melt color into seamless gradients. Keep spoolies and cotton swabs nearby for cleanups.
Think of these as trusted companions rather than strict requirements. They make bold, precise work feel manageable instead of overwhelming.
Prepping Your Skin and Base for Drag
Show-stopping makeup almost always starts with a smooth, well-prepped canvas. Skip this part, and the heavy layers fight you all night.
Cleansing, Moisturizing, and Blocking the Brows
Clean, hydrated skin helps heavy makeup glide on and last through a full performance. Cleanse, moisturize, and let everything absorb before you start.
Then comes the brow block. Run a glue stick over each brow, press the hairs flat, and set the glue with powder so the brows disappear under foundation.
Blocked brows are the secret to those soaring, painted-on arches. The technique feels strange the first time, but it gets easier with every single try.
Building a Flawless Full-Coverage Base
Prime the skin first, then layer full-coverage foundation and concealer for that smooth, camera-ready canvas drag is known for. Concealer around the eyes and the center of the face brightens and preps for bold color.
Blend with a damp sponge and set generously with powder so nothing budges.
A strong, fully set base acts like a clean stage. Its job is to hold the dramatic eyes, contour, and lips that follow, so keeping it even matters more than rushing through it.
How to Do Drag Queen Makeup: Step-by-Step Guide
Here is the heart of it. Knowing how to do drag queen makeup really comes down to a clear sequence, moving from a bare face to fierce, full glamour without skipping a single part. Take each step in order and enjoy watching the look build.
Step 1: Paint and Shape the Brows
Draw bold new brows high above your natural arches using a pencil or pomade. Map the shape first, then fill it in once you are happy with the outline.
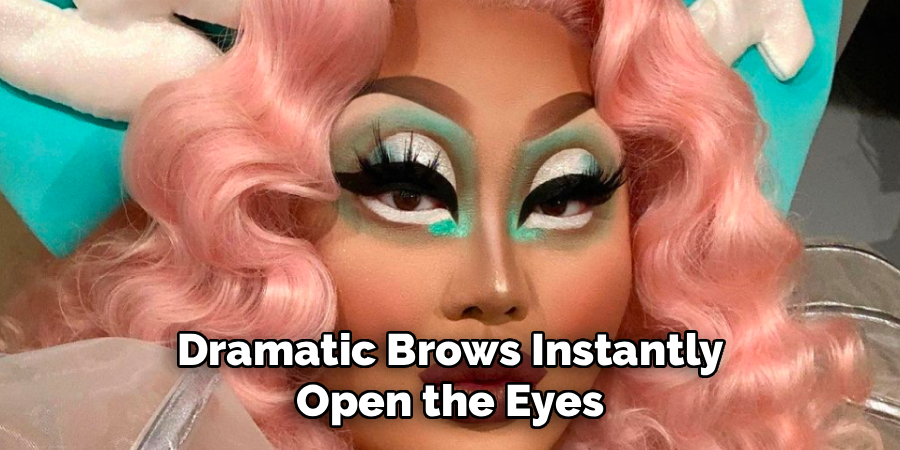
Lifted, dramatic brows instantly open the eyes and set the tone for the whole face. Start with a light outline and build the strength gradually.
The face transforms with that first soaring arch, which is genuinely satisfying to watch. Brows take practice, so each attempt brings you closer to your signature shape.
Step 2: Build the Dramatic Eyeshadow
Lay down a base shadow, then build bold color across the lid and up toward the new brow. You are creating depth and drama, not subtlety.
For a cut crease, carve a sharp line with concealer, then pack vivid shadow above and below it for striking dimension. Blend the edges so the colors melt rather than clash.
Build gradually here. A few thin layers always look richer than one heavy swipe, and the eyes come alive with each pass.
Step 3: Line the Eyes and Add Lashes
Draw a bold winged liner with black liquid liner, extending it long and sharp to lift the eye dramatically. Clean up the edges with a cotton swab for crisp results.
Then layer on oversized false lashes. Many queens stack two or three pairs for full drag impact, and a touch of liner on the lower lash line deepens the intensity.
Take it slow through this part. Big lashes and confident liner are where drag eyes truly come to life, so the patience pays off.
Step 4: Sculpt With Contour and Highlight
Carve dramatic structure using a cool contour beneath the cheekbones, along the jaw, down the nose, and around the hairline. Blend firmly so the shadows look sculpted rather than muddy.
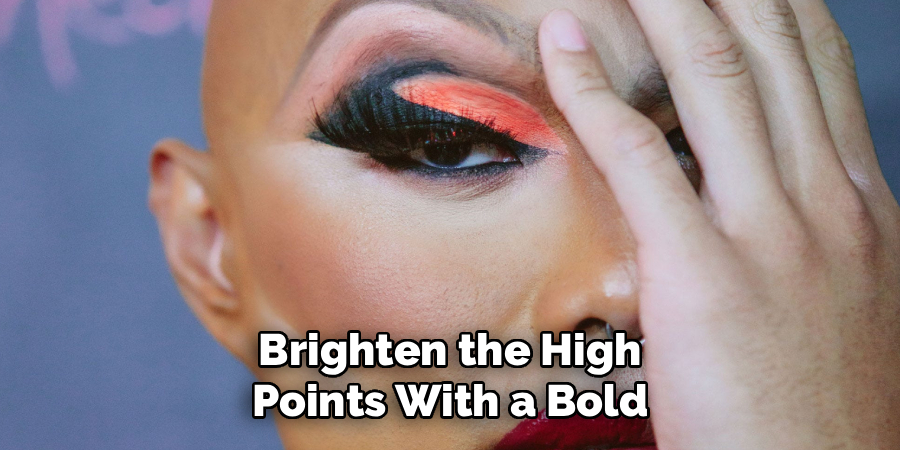
Then brighten the high points with a bold highlight on the cheekbones, the bridge of the nose, and the brow bone. This push and pull reshapes the entire face.
Contour takes practice, and that is completely normal. Treat each attempt as a step toward those gravity-defying, larger-than-life features drag is famous for.
Step 5: Set Everything in Place
Lock in your hard work with a generous layer of setting powder. If you want extra crispness, bake the under-eyes and contour by letting the powder sit before dusting it away.
Thorough setting keeps bold makeup from smudging or sliding through hours of dancing and hot lights. Dust off the excess, then follow with a setting spray for staying power.
There is a real satisfaction in a face that is fully secured and ready to perform. Strong setting is the difference between makeup that lasts and makeup that melts.
Step 6: Perfect the Bold Lip
Conceal and powder the lips first to create a blank canvas, then overline with a precise lip liner to build a fuller, more dramatic shape. Fill in with a richly pigmented lipstick, blot, and reapply for velvety, long-lasting color.
The bold lip anchors the entire face and completes the transformation. Step back and admire the finished look in good lighting.
This final flourish is the moment everything clicks into place. Seeing the dazzling queen you built yourself entirely tends to feel pretty incredible.
Choosing Colors and Styles for Your Drag Look
Drag spans countless aesthetics, which means there is plenty of room to make the look your own. A few variations can help you find the version that feels most like you.
Glamorous and Polished Looks
A refined palette of warm neutrals, soft shimmers, and a classic red or nude lip delivers timeless, red-carpet glamour. Clean blending and a flawless base create that elegant, pageant-ready finish.
This style is endlessly wearable and forgiving. It makes a wonderful starting point for anyone drawn to polished, picture-perfect drag artistry.
Bold and Colorful Statement Looks
For something with more bite, reach for vivid palettes of electric blues, hot pinks, and sunset oranges. Pair bright eyes with daring graphic liner and matching accents for high-impact, fantasy-inspired drama.
This version turns your face into wearable art. Bold color is pure joy, and fearless experimenting is exactly what drag celebrates most.
Theatrical and Avant-Garde Styles
Then there is the experimental route. Exaggerated shapes, painted graphics, glitter, and unexpected color placement push drag into bold artistic territory.
These look reward imagination over rules. Start with one daring element and build confidence from there.
Avant-garde drag is a playground, honestly. There is no limit to how creative and expressive you can get once you permit yourself.
Common Drag Makeup Mistakes and How to Fix Them
A few slip-ups trip up almost everyone at first. None of them is a dealbreaker, and each one has a simple fix.
Skipping a Solid, Set Base
An unset base lets bold color smudge, fade, and crease throughout the night. All that careful work, undone by hour two.
Build full coverage and powder generously before adding any drama. A strong, well-set foundation is the unsung hero of every great drag look, keeping vivid eyes and sharp lines crisp from the first photo to the final bow.
Brows and Liner That Look Uneven
Rushing the brows or liner usually leads to mismatched, wobbly shapes. The frustration is real, but it is avoidable.
Map the brows first, and clean up liner edges with a cotton swab as you go. Symmetry improves with every attempt, so treat the practice as part of the creative fun rather than a hurdle.

Muddy or Overblended Color
Blending bold shades too aggressively can turn vibrant eyes dull and murky. It is an easy reflex when you are eager to soften things.
Use separate clean brushes and blend only the edges. Keeping colors distinct preserves that striking, high-impact drama, so your hard-won palette stays bright and beautifully defined.
Tips for Making Your Drag Look Your Own
Tutorials are a launchpad, not a finish line. The real fun begins when you start shaping the look around who you are.
Building Your Drag Persona Through Makeup
Think of your face as an extension of your character. Choose colors, shapes, and signature touches that tell your story.
A recurring element, maybe a bold lip shade or a striking liner shape, can become part of your identity over time. There is no single right way to do drag, and your unique vision is exactly what makes you unforgettable on any stage.
Experimenting and Growing Your Skills
Play freely. Try new techniques, add glitter or gems, and test daring color combinations as your confidence grows.
Every face you paint teaches you something and sharpens your artistry. Some of the best discoveries arrive by accident, so leave room for happy mistakes.
Confidence is the most dazzling finishing touch of all, no matter where your creativity takes you.
Conclusion
Knowing how to do drag queen makeup turns an intimidating transformation into a thrilling, empowering form of self-expression you can master with a little practice. What once looked impossibly complex is really just a series of bold, forgiving steps.
You now hold the full roadmap. Understanding the artistry, prepping a flawless base, the step-by-step tutorial, and the tips for color, style, and personality.
So grab your brushes and start painting today. Confidence grows with every brow, lash, and bold lip you create, and your fiercest self is ready whenever you are.

About the Author
Jane Hubbard is a passionate beauty expert with a wealth of experience in makeup, hair, and overall beauty techniques. After years of working as a hairdresser specialist, she followed her entrepreneurial spirit and started her own consultancy business.
Jane has always been driven by her desire to help others feel confident in their own skin, and she does this by sharing her knowledge, experiences, and practical beauty tips. Through her consultancy, she empowers individuals to embrace their unique beauty, offering tailored guidance that boosts both self-esteem and personal style.
Professional Focus
Specializes in makeup, hairstyling, and beauty consulting.
Provides personalized beauty advice, tips, and techniques to help individuals feel confident in their appearance.
Dedicated to staying up-to-date with the latest industry trends and developments.
Passionate about creating a comfortable and empowering experience for every client.
Education History
University of Craft and Design – Bachelor of Fine Arts (BFA) in Woodworking and Furniture Design
Woodworking Apprenticeships – Extensive hands-on training with skilled craftsmen to refine carpentry and furniture making techniques
Online Courses & Masterclasses – Continued education in advanced woodworking techniques, design principles, and specialized tools
Expertise:
Makeup artistry, hairstyling, and beauty consulting.
Personalized beauty techniques to enhance confidence and self-expression.
Educating clients on how to maintain their beauty routines at home.