

To effectively cover a mild sunburn, begin by cooling the skin and applying a fragrance-free moisturizer. A green color corrector applied sparingly will neutralize the immediate redness. Follow this with a lightweight, hydrating foundation and set lightly with translucent powder to camouflage the burn without causing further irritation.
The physical reality of sun damage often arrives long after the enjoyable part of the afternoon ends. Despite an expanding cultural awareness of ultraviolet risks, many of us still find ourselves dealing with the uncomfortable aftermath of a missed sunscreen application. Your face takes on a distinct flush. The skin feels tight. In this guide on how to cover sunburn with makeup, we will explore a systematic method to camouflage mild UV erythema safely, balancing aesthetic needs with the physiological limitations of recovering skin.
While clinical professionals might suggest avoiding cosmetics entirely during the healing process, real life occasionally demands a different approach. Professional obligations or social commitments may require you to temporarily mask the visible evidence of your time out in the sun. This presents a unique cosmetic challenge that requires careful handling.
Covering a sunburn differs significantly from standard blemish correction. You are dealing with compromised tissue that is actively inflamed and largely depleted of moisture. Piling on thick foundation usually creates a patchy surface that draws more attention to the problem.
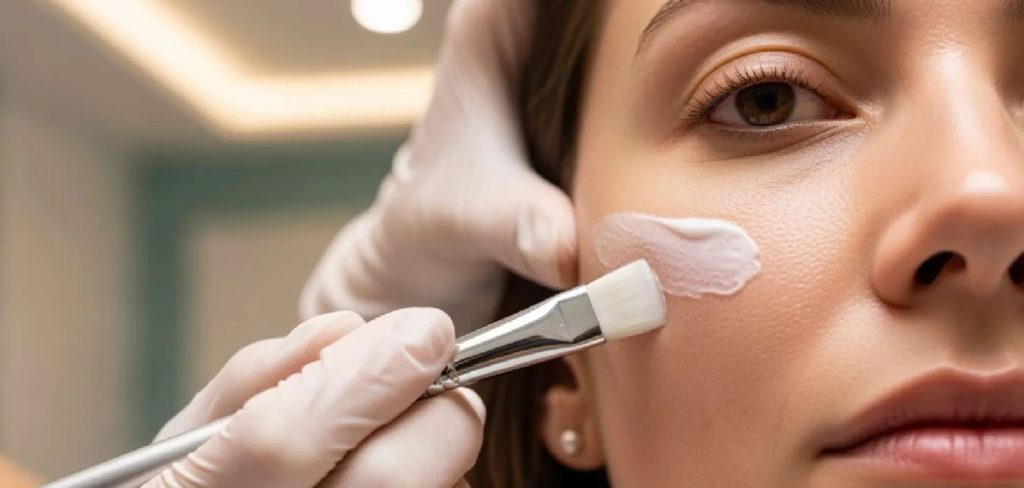
Understanding Sunburn Before Applying Makeup
Sunburn represents your skin’s acute inflammatory response to ultraviolet radiation. Blood vessels dilate to increase cellular repair mechanisms, which visually translates to redness. The affected area often feels warm to the touch. Underneath the surface, the epidermis is actively traumatized.
Cosmetics cannot repair this structural damage. They merely provide an optical illusion. If your skin exhibits severe blistering or extreme pain, you should abandon any cosmetic intervention immediately. Applying chemical pigments over broken barriers could invite infection and complicate the natural healing timeline.
For mild to moderate cases, cosmetic application remains viable assuming the skin surface is intact. Preparation determines the outcome. You must select gentle formulas and apply them with minimal friction. The primary objective is to soothe the tissue while lightly camouflaging the discoloration.
7 Simple Step-By-Step Guidelines on How to Cover Sunburn with Makeup
The sequence of your application dictates how the final layer will sit on the skin. Rushing these steps on how to cover sunburn with makeup generally guarantees a poor aesthetic result.
Step 1: Cool and Soothe Your Skin
Lowering the surface temperature of your face is a mandatory first step. Apply a cold compress gently against the flushed zones for several minutes. This physically constricts the dilated capillaries. Swelling may decrease slightly.
A pure aloe vera gel could also be introduced here. Aloe provides an immediate cooling sensation and forms a light protective film. Allow this layer to absorb entirely. Rushing into the next phase while the skin remains damp will cause the subsequent products to separate.
Step 2: Hydrate with a Gentle Moisturizer
Sun-damaged tissue suffers from rapid transepidermal water loss. The resulting dehydration is exactly what causes the foundation to look chalky. A basic, fragrance-free moisturizer acts as a necessary buffer between your damaged epidermis and the pigmented cosmetics.
Search your vanity for formulas containing glycerin or ceramides. These ingredients trap ambient water against the skin without smothering it. You must avoid active ingredients like retinol or exfoliating acids completely. Tap the moisturizer gently into the face. Rubbing will only trigger further vasodilation and increase the underlying redness.
Step 3: Apply a Green Color Corrector
According to basic color theory, placing green directly over red visually neutralizes the intensity of both shades. A green color corrector functions as your primary tool for combating the sunburned flush.
Dispense a tiny drop of pigment. Target only the most concentrated areas of redness on the cheeks or the bridge of the nose. Tap a damp sponge against the skin to diffuse the edges softly. When executed correctly, the green tint should vanish, leaving the skin looking distinctly less inflamed before any actual foundation touches the face.
Step 4: Choose a Lightweight, Hydrating Foundation
Traditional full-coverage foundations are a mistake in this context. Dense formulas lack the necessary elasticity to move with dry skin, causing them to crack. A hydrating skin tint or a sheer liquid foundation performs much better.
Select a shade that matches your neck or your typical skin tone. Attempting to match the sunburned color will result in a mismatched, unnatural mask once the redness eventually fades. Press the fluid into the skin using a damp sponge. Bouncing the sponge prevents the physical dragging motion that typically aggravates sensitive skin.
Step 5: Conceal Remaining Redness
Certain localized spots might still project a faint pink hue. A creamy concealer offers targeted opacity for these stubborn areas.
Apply a very small amount directly to the discoloration. Tap the product lightly with a clean fingertip to meld it into the foundation layer below. If you notice active flaking, leave that specific area alone. Concealer tends to accumulate around the edges of peeling skin, acting like a magnifying glass for uneven texture.
Step 6: Set Gently with Powder
Moisturizing products encourage the skin to heal, but they also encourage cosmetics to slide off the face. A highly controlled application of translucent powder mitigates this migration.
Pick up a small amount of powder on a soft brush. Press it exclusively into the areas where makeup tends to break down, like the center of the forehead or the chin. Sweeping the brush aggressively will disturb the delicate layers of color correction you just built. Avoid setting sprays that contain high levels of denatured alcohol.
Step 7: Finish with Bronzer or Blush
Neutralizing all the redness can occasionally leave the complexion looking unnaturally flat. Reintroducing a measured amount of warmth prevents a lifeless appearance.
A cream bronzer tapped along the cheekbones restores dimension. Cream formulas integrate seamlessly with the hydrated base we established in earlier steps. Keep the application incredibly clear. The intention is to hint at a healthy glow, deliberately distracting the eye from any minor imperfections left behind by the burn.
Mistakes to Avoid When Covering Sunburn
Consumer application errors often exacerbate the visual signs of sun damage. The most frequent misstep involves mechanical friction. Dragging stiff makeup brushes across inflamed tissue instantly triggers more blood flow to the surface.
Another frequent error involves utilizing heavy matte powders to hide peeling skin. Dehydrated skin physically absorbs the moisture from these powders, leaving behind a heavily textured, highly visible crust. Finally, peeling loose skin off the face prematurely creates microscopic open wounds that are virtually impossible to cover smoothly.
Aftercare: Letting the Skin Heal
The aesthetic illusion you created must be removed carefully at the end of the day. Aggressive scrubbing at the sink will undo hours of deliberate care.
A micellar water or a lipid-rich cleansing balm dissolves pigment without requiring excessive physical force. Once the face is clean, apply another generous layer of your fragrance-free moisturizer. The physiological healing process heavily depends on nighttime cellular regeneration. Keep the skin deeply hydrated and avoid direct sunlight entirely for the next several days.
How Much Will It Cost?
Modifying your routine for a temporary burn does not require a massive financial investment. If your current makeup bag already contains a hydrating foundation, the only necessary addition might be the color corrector.
Drugstore green correctors reliably sit in the $7 to $15 range. Rebuilding an entire routine from scratch with basic essentials could cost roughly $40. Premium department store brands might push that total closer to $200. Interestingly, budget-friendly hydrating formulas often perform identically to luxury variants when dealing with compromised skin barriers.
Frequently Asked Questions
Can I Wear Makeup Over Peeling Sunburn?
You can attempt this, but the results are rarely flawless. Peeling skin creates a highly irregular topography. Pigment naturally accumulates under the edges of loose skin flakes. If you must proceed, saturate the area with a heavy moisturizer first to soften the edges of the peeling skin. Never pick the flakes off prior to application.
Is It Safe to Put Foundation on a Sunburn?
Foundation is generally safe for mild cases of sun exposure where the epidermis remains structurally unbroken. You should strictly avoid application if you observe any blisters, weeping fluid, or raw patches. Remove the cosmetics immediately if you experience stinging or burning upon application.
How Long Should I Wait Before Applying Makeup to Sunburned Skin?
Your physical comfort dictates this timeline. If the skin feels tight but manageable, cosmetic application could occur the same day, provided you cool the surface temperature first. If the tissue throbs or radiates significant heat, you should wait at least 24 to 48 hours. Aesthetic concerns should always remain secondary to tissue recovery.
Moving Forward with Sun Protection
Camouflaging a sunburn demands patience and a delicate touch. By manipulating color theory and prioritizing hydration, you can temporarily obscure the signs of ultraviolet damage. The seven steps on how to cover sunburn with makeup outlined above provide a reliable framework for navigating social obligations while your body manages the underlying inflammation.
Cosmetics offer a short-term visual fix rather than a biological cure. Your primary focus must remain on hydration and subsequent UV protection. Choose a broad-spectrum sunscreen for your next outdoor excursion. A few seconds of preventative care easily outweigh the complicated mechanics of corrective makeup.

About the Author
Jane Hubbard is a passionate beauty expert with a wealth of experience in makeup, hair, and overall beauty techniques. After years of working as a hairdresser specialist, she followed her entrepreneurial spirit and started her own consultancy business.
Jane has always been driven by her desire to help others feel confident in their own skin, and she does this by sharing her knowledge, experiences, and practical beauty tips. Through her consultancy, she empowers individuals to embrace their unique beauty, offering tailored guidance that boosts both self-esteem and personal style.
Professional Focus
Specializes in makeup, hairstyling, and beauty consulting.
Provides personalized beauty advice, tips, and techniques to help individuals feel confident in their appearance.
Dedicated to staying up-to-date with the latest industry trends and developments.
Passionate about creating a comfortable and empowering experience for every client.
Education History
University of Craft and Design – Bachelor of Fine Arts (BFA) in Woodworking and Furniture Design
Woodworking Apprenticeships – Extensive hands-on training with skilled craftsmen to refine carpentry and furniture making techniques
Online Courses & Masterclasses – Continued education in advanced woodworking techniques, design principles, and specialized tools
Expertise:
Makeup artistry, hairstyling, and beauty consulting.
Personalized beauty techniques to enhance confidence and self-expression.
Educating clients on how to maintain their beauty routines at home.