

Reaching for a mascara that lengthens, defines, and cares for your lashes at the same time feels like a small beauty win. That’s exactly what makes clean makeup fans fall for this cult favorite. If you’ve just added it to your collection and want smooth, clump-free results, you’re in the right place. Learning how to use ilia mascara the right way turns a good coat into a flawless one, and it takes only a few simple moves.
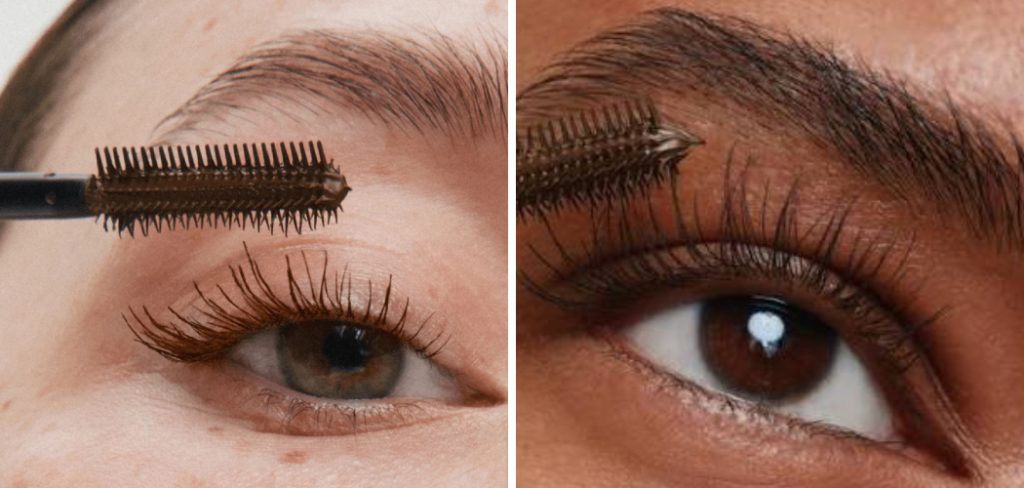
This mascara stands out because it blends conditioning ingredients with buildable pigment, so your lashes look fuller without feeling stiff or crunchy. Whether you’re a total beginner or someone who’s swiped on mascara for years, small technique tweaks make a huge difference.
In this friendly, beginner-friendly guide, we’ll walk through why this formula matters, share seven easy steps anyone can follow, and answer the questions people ask most. By the end, you’ll feel confident wielding that wand and creating lashes you love, every single morning.
Why Using Ilia Mascara Matters
Choosing a mascara that works for you saves time, money, and frustration. This formula does double duty by defining your lashes while nourishing them with skin-friendly ingredients, so you’re not sacrificing lash health for a bold look. That balance is rare, and it’s a big reason clean beauty lovers keep it in their bags.
Beyond the ingredients, technique truly shapes your results. A great formula applied poorly still leaves clumps, smudges, or flakes. When you understand the right approach, you unlock the volume and separation this product is designed to deliver. Smooth application also means less time fixing mistakes and more time enjoying your look. Mastering it once gives you dependable, salon-worthy lashes you can recreate at home whenever you like.
Step-by-Step Guide To How To Use Ilia Mascara
Step 1: Prep Your Lashes First
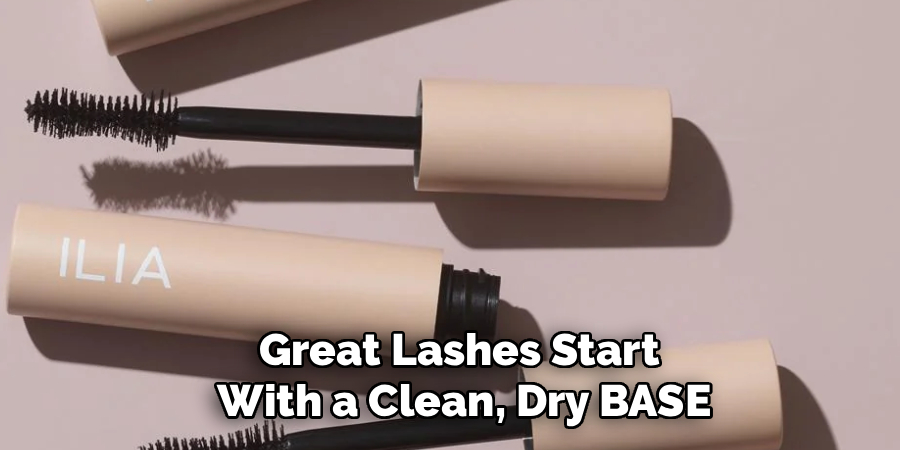
Great lashes start with a clean, dry base. Before you open the tube, gently wipe away any leftover eye cream or oil with a cotton pad, since residue keeps mascara from gripping properly. If your lashes feel a little flat, curl them with an eyelash curler for about ten seconds near the base. This lifts them upward and creates an open, awake look. Skipping prep is the most common reason mascara slides or smudges throughout the day, so give this step a moment. A tidy, oil-free lash line helps every following stroke go on smoother and last far longer.
Step 2: Wipe The Wand
Once you unscrew the cap, resist the urge to pull the wand straight out and swipe. Instead, gently drag the brush against the inside rim of the tube to remove any excess product. This tiny habit is the secret to knowing how to use ilia mascara without ending up with clumps or spider lashes. Too much formula on the brush transfers unevenly and bunches your lashes together. A lightly coated wand gives you precise control and a cleaner finish. If you notice buildup on the bristles, wipe them on a tissue before starting so every stroke stays crisp and defined.
Step 3: Start At The Base
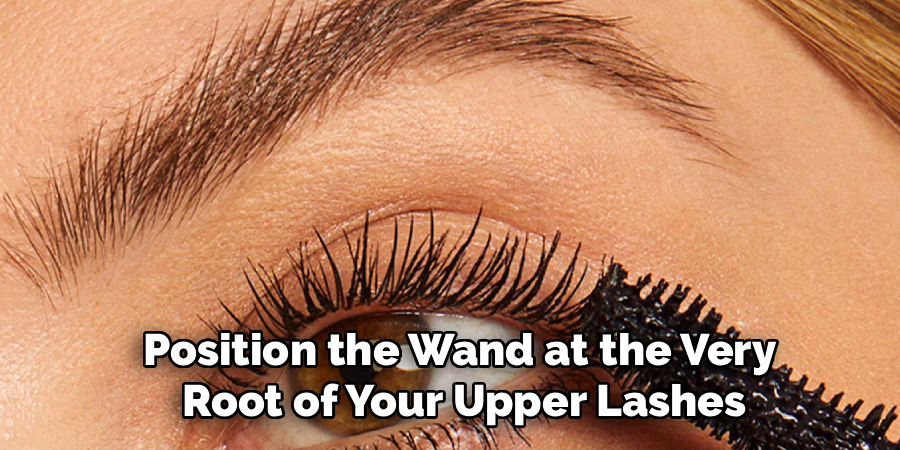
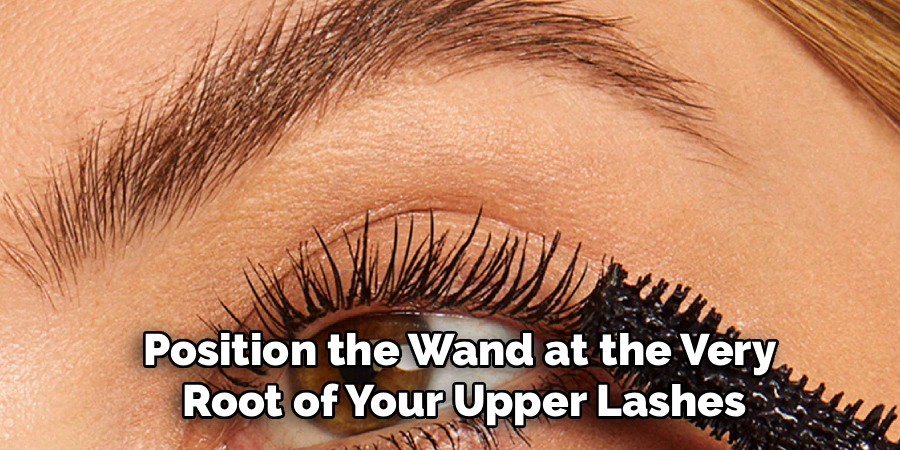
Position the wand at the very root of your upper lashes, right where they meet your lash line. Press the brush gently against the base and hold for a second, letting the pigment settle where it counts most. Applying from the root creates the illusion of thicker, fuller lashes and adds natural depth to your eyes. Many beginners start too far up the lash, which leaves the base looking bare and the tips overloaded. Anchoring at the root first sets a strong foundation, so your lashes look lifted and even from the moment you begin wiggling the brush upward.
Step 4: Wiggle And Sweep Upward
With the brush at the base, wiggle it gently side to side, then sweep upward toward the tips in one smooth motion. This zigzag movement coats each lash evenly and separates them as you go, preventing that dreaded clumped look. Follow the natural curve of your lashes and let the tapered brush do the work. Don’t rush or press too hard, since a light hand gives the most natural definition. Repeat the wiggle-and-sweep across your entire lash line, working from the inner corner to the outer edge. Slow, deliberate strokes always beat fast, careless ones for a polished result.
Step 5: Build Your Coats
One coat gives a soft, everyday look, but you can build more drama if you like. Apply your first layer completely, then go back for a second coat while the first is still slightly damp. Working wet-on-wet helps the formula blend smoothly instead of flaking or drying stiff. Add coats gradually and check your progress in the mirror between each pass. Two to three coats usually deliver bold volume without weighing lashes down. Avoid overloading, since too many layers cause clumping and smudging. Building slowly gives you full control over exactly how intense you want your lashes to appear.
Step 6: Coat Your Lower Lashes
Don’t forget your bottom lashes, since a light touch here balances your whole look. Hold the wand vertically and use just the tip of the brush to lightly dab each lower lash. This vertical angle offers precision and stops you from smearing product onto your skin. A little goes a long way down here, so one gentle pass is usually plenty. Coating the lower lashes softly opens up your eyes and ties the upper and lower halves together for a finished, cohesive look. If any product transfers below your eye, wait for it to dry, then flick it away.
Step 7: Fix Any Mistakes
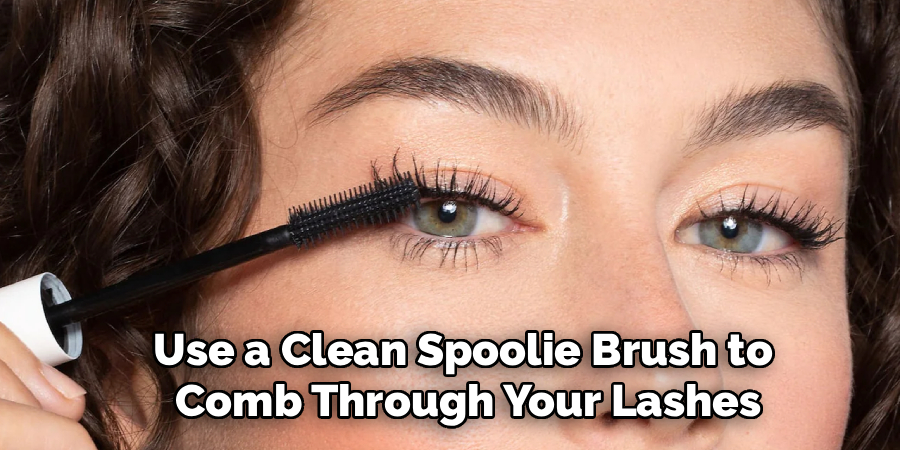
Even careful application can leave a stray smudge or tiny clump, and that’s completely normal. Wait until the mascara fully dries before you touch it, since wiping wet product only smears it further. Once dry, use a clean spoolie brush to comb through your lashes and separate any that stuck together. For smudges on your skin, gently roll a cotton swab over the spot to lift it away cleanly. This quick cleanup step polishes your entire look and makes it appear professionally done. A little patience at the finish transforms good lashes into truly flawless ones.
Frequently Asked Questions
How Many Coats Should I Apply For A Natural Look?
For an everyday, natural look, one to two coats is perfect. A single coat lengthens and defines your lashes without adding heavy volume, which suits daytime wear beautifully. If you want a touch more presence, a light second coat while the first is still slightly damp works well. Save the third coat for evenings when you want bolder, more dramatic lashes that really stand out.
Can I Use This Mascara With Lash Extensions?
Most oil-based and heavy mascaras aren’t recommended for lash extensions, since they can weaken the adhesive over time. This formula is gentler than many, but you should still check with your lash technician before applying anything to extensions. If you do get the green light, use the smallest amount possible on the tips only, and never rub or tug your lashes when removing your makeup at night.
How Do I Remove It At The End Of The Day?
Removing this mascara is simple and gentle on your lashes. Soak a cotton pad with a mild micellar water or oil-free makeup remover, then press it against your closed eye for about ten seconds. This lets the product dissolve before you wipe. Gently sweep downward without scrubbing, repeating if needed. Taking your time protects delicate lashes and prevents breakage, keeping them healthy for tomorrow’s application.
Why Do My Lashes Look Clumpy?
Clumping usually comes from too much product on the wand or applying coats too quickly. Try wiping the brush against the tube rim before each use to remove excess formula. Apply thin, even layers and comb through with a clean spoolie between coats to keep lashes separated. Also check that your mascara isn’t drying out, since older, thickened formula tends to clump more easily than fresh product.
How Long Does A Tube Last Before I Should Replace It?
For hygiene and performance, replace your mascara every three to six months after opening. Over time, the formula dries out, thickens, and can harbor bacteria that irritate your eyes. If you notice a change in texture, a strange smell, or increased clumping, it’s time for a fresh tube. Marking the opening date on the bottom with a small sticker helps you track when a replacement is due.
Conclusion
Beautiful, healthy-looking lashes are absolutely within your reach, and it all comes down to a little technique and patience. Start with clean, curled lashes, wipe your wand for control, and build your coats gradually from the root to the tips. Add a soft touch to your lower lashes, then finish by combing out any clumps and cleaning up stray smudges. These simple habits turn an ordinary swipe into a polished, professional finish every time.
Now that you know how to use ilia mascara with confidence, it’s time to put these friendly, expert-approved steps into practice. Grab your tube, take your time with each stroke, and enjoy the smooth, defined results you deserve. Your best lash day is just a few gentle sweeps away, so go ahead and give your new routine a try tomorrow morning.

About the Author
Jane Hubbard is a passionate beauty expert with a wealth of experience in makeup, hair, and overall beauty techniques. After years of working as a hairdresser specialist, she followed her entrepreneurial spirit and started her own consultancy business.
Jane has always been driven by her desire to help others feel confident in their own skin, and she does this by sharing her knowledge, experiences, and practical beauty tips. Through her consultancy, she empowers individuals to embrace their unique beauty, offering tailored guidance that boosts both self-esteem and personal style.
Professional Focus
Specializes in makeup, hairstyling, and beauty consulting.
Provides personalized beauty advice, tips, and techniques to help individuals feel confident in their appearance.
Dedicated to staying up-to-date with the latest industry trends and developments.
Passionate about creating a comfortable and empowering experience for every client.
Education History
University of Craft and Design – Bachelor of Fine Arts (BFA) in Woodworking and Furniture Design
Woodworking Apprenticeships – Extensive hands-on training with skilled craftsmen to refine carpentry and furniture making techniques
Online Courses & Masterclasses – Continued education in advanced woodworking techniques, design principles, and specialized tools
Expertise:
Makeup artistry, hairstyling, and beauty consulting.
Personalized beauty techniques to enhance confidence and self-expression.
Educating clients on how to maintain their beauty routines at home.