

Nothing feels worse than finishing a fresh manicure, reaching for your keys, and smudging a nail you thought was perfectly set. That single moment of doubt is why so many beginners want to understand how to know if nail polish is dry before touching anything important. Drying is the quiet stage of any manicure where the polish moves from wet and glossy to firm and set, yet it often gets rushed because we are eager to move on with our day. Getting this step right protects your work, saves you time, and keeps your nails looking salon-smooth for days.
The good news is that spotting truly dry polish is a skill anyone can learn, no matter your experience level. With a few simple checks and a little patience, you will start reading the signs like a pro. In this guide, we break everything down into clear, friendly steps so you feel confident and in control. Think of it as your personal cheat sheet for smudge-free nails every single time.
Why Knowing If Your Nail Polish Is Dry Matters
Understanding when your polish has set does more than just prevent smudges. It protects the effort, money, and time you invested in a beautiful manicure. When you rush, you risk dents, streaks, and dull patches that force you to start over, which is frustrating for anyone.
Learning this skill also builds real confidence. You stop hovering nervously over your hands and start living normally sooner, whether you are typing, cooking, or grabbing your bag. Properly dried polish lasts longer, resists chipping, and keeps that glossy finish looking fresh for days. For beginners, mastering this one detail can be the difference between a manicure that survives the week and one that peels by lunchtime. It is a small habit with a big payoff.
Step-by-Step Guide to How To Know If Nail Polish Is Dry
Follow these seven simple steps to test your polish safely and accurately. Each one is easy, beginner-friendly, and designed to help you avoid smudges while building trust in your own results.
Step 1: Watch the Surface Shine Settle
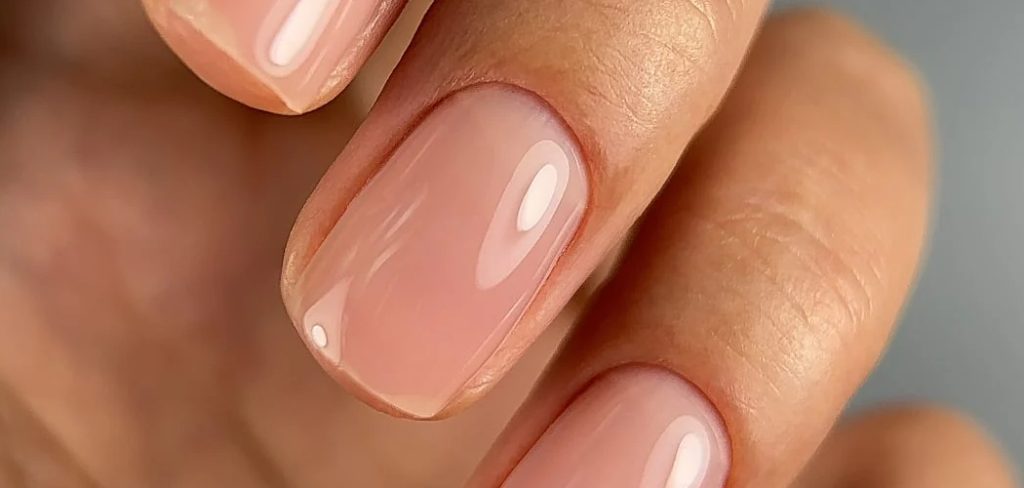
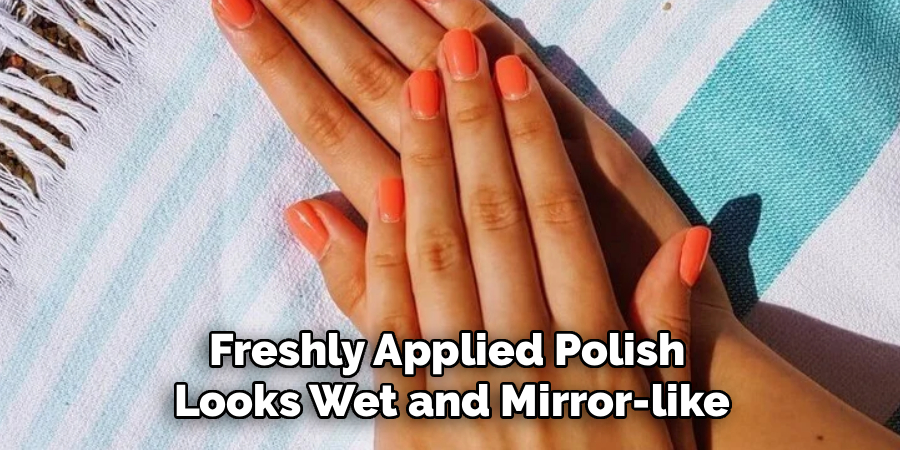
Freshly applied polish looks wet and mirror-like, reflecting light in a glossy, almost liquid way. As it begins to set, that intense shine slowly softens into a smoother, more even finish. Keep your eyes on the surface without touching it. If the polish still looks like a shiny puddle sitting on top of your nail, it needs more time. Once the glossy wetness fades into a consistent, calm sheen, you are moving in the right direction. This visual clue is your very first hint that drying is well underway and progressing nicely.
Step 2: Try the Gentle Air Blow
Before you touch anything, use a soft, gentle breath of cool air across your nails. Warm air can actually slow things down, so keep it cool and light. Watch how the surface reacts as the air passes over it. If the polish still ripples, shifts, or looks slightly disturbed, it is far from set. Dry polish stays completely still and firm under that light stream. This method is a wonderful, no-contact way to check your progress without risking a single smudge. It is especially handy for beginners who feel nervous about the tap test.
Step 3: Do the Light Tap Test
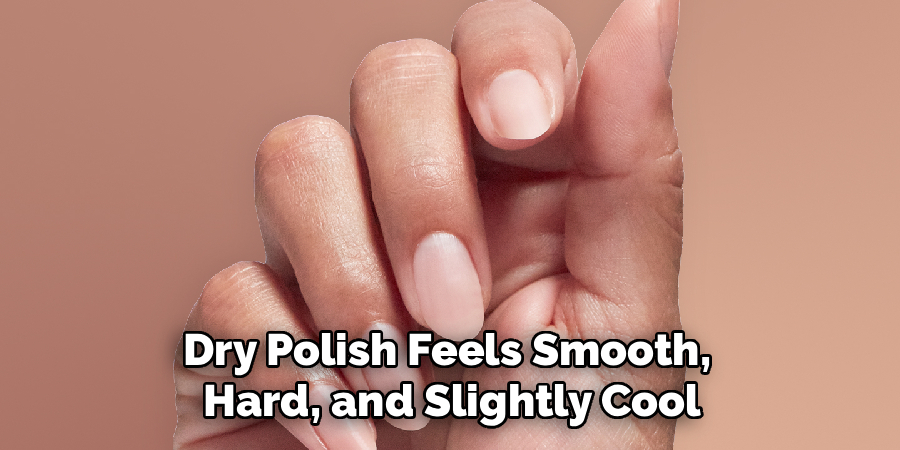
Once the surface looks matte and steady, gently tap two painted nails together, very lightly. This is a classic part of learning how to know if nail polish is dry, because your fingertips give instant feedback. If the nails feel tacky, sticky, or want to cling together, the layers underneath are still soft. Dry polish feels smooth, hard, and slightly cool, with no pulling sensation at all. Tap softly rather than pressing, since too much force can leave a mark even on nearly set polish. When there is no stickiness, you are almost there.
Step 4: Check for Temperature Changes
Here is a lesser-known trick that many people overlook. Wet polish often feels slightly cool because the solvents inside are still evaporating from the surface. As the polish hardens completely, that cool sensation fades and the nail feels closer to room temperature. Lightly hover your finger near the nail, or use the back of another nail to sense any lingering coolness. This subtle shift is a reliable clue that the drying process is finishing up. Combining this check with your other tests gives you a fuller, more accurate picture of how set your manicure really is.
Step 5: Inspect the Edges and Ridges
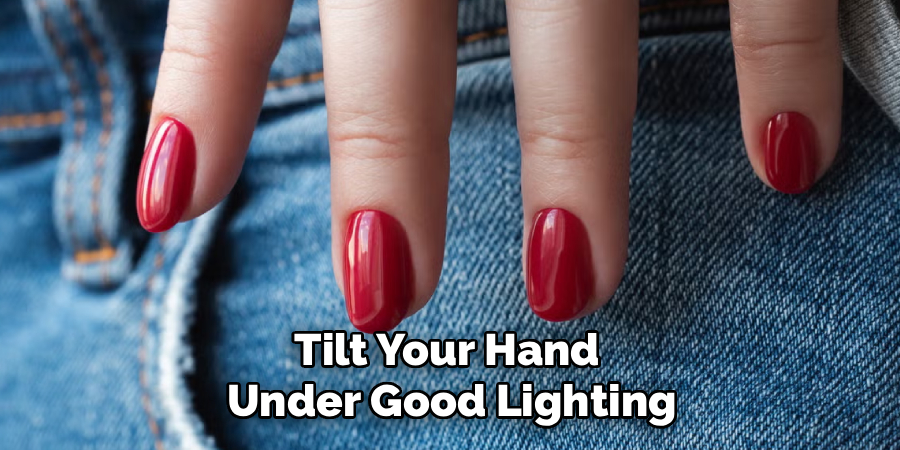
The center of a nail often sets before the thicker areas near the cuticle and free edge. Tilt your hand under good lighting and look closely at these zones. If you notice any dragging, soft lines, or tiny waves when you shift your finger, those areas still hold moisture underneath. This visual inspection is another key part of how to know if nail polish is dry with real confidence. Thicker polish pools where you applied more product, so give these spots extra patience. When the edges look firm, even, and undisturbed, your manicure is nearly ready for normal activity.
Step 6: Perform the Fingerprint Check
When you feel fairly sure the polish is set, choose one nail that matters least and press it very gently with a clean, dry finger. Use the softest pressure possible. If you spot a faint fingerprint, a dent, or a slightly sticky pull, the layers below are still curing. Wait a few more minutes and try again on that same test nail. Truly dry polish will show no mark whatsoever and feel completely solid. This step works best as a final confirmation rather than an early test, since pressing too soon can undo your careful work.
Step 7: Give It the Full Waiting Window
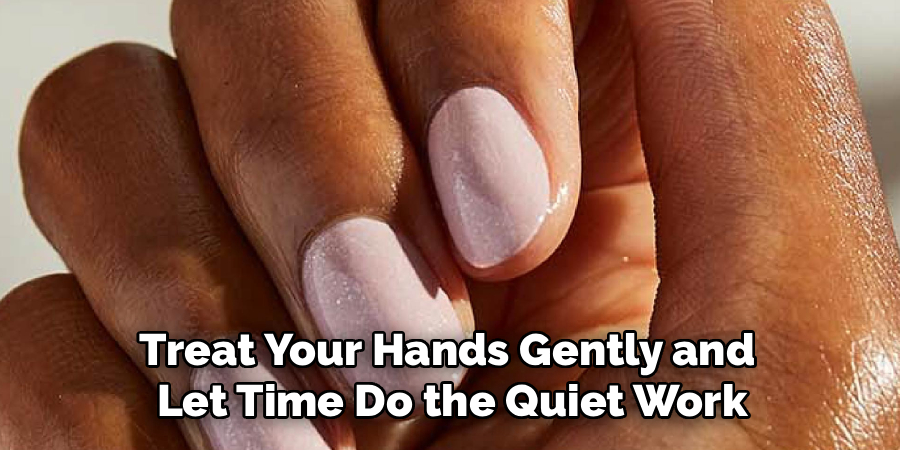
Even when the top feels solid, the deeper layers can stay soft for a surprisingly long time. Surface drying happens within minutes, but full hardening often takes one to two hours, sometimes longer for thick or dark shades. During this window, avoid tight gloves, pockets, or heavy tasks that could dent your nails. Treat your hands gently and let time do the quiet work. Patience here rewards you with a durable, glossy finish that resists chips for days. When both your tests and the clock agree, you can finally relax and enjoy your manicure.
Frequently Asked Questions
How Long Does Nail Polish Usually Take to Dry?
The surface of most polishes feels touch-dry within five to ten minutes, but full hardening takes much longer. For a completely set finish, give your nails at least one to two hours before heavy activity. Darker colors, thick coats, and humid rooms all slow things down. Thin, even layers dry faster and more evenly, so patience and light application work together to give you smudge-free, long-lasting results.
Can I Speed Up the Drying Process Safely?
Yes, several gentle methods help. Applying thin coats is the biggest game-changer, since thick layers trap moisture inside. A few drops of quick-dry top coat, a blast of cool air, or a quick dip in cold water can all speed things along. Avoid heat from hairdryers, which can bubble the surface. Combining thin coats with cool air gives beginners a reliable, low-risk way to shorten the wait without ruining the finish.
Why Does My Polish Smudge Even After It Feels Dry?
This usually happens because the surface sets before the deeper layers finish hardening. The top may feel smooth while the polish underneath stays soft and vulnerable. Pressing, bumping, or squeezing your nails during this stage leaves dents that seem to appear from nowhere. The fix is patience. Wait longer than you think you need, use thin coats, and avoid pressure until you are truly confident everything below has set firmly.
Does a Top Coat Help Polish Dry Faster?
A quick-dry top coat can noticeably shorten surface drying time and add a protective, glossy shield over your color. It seals the layers and reduces smudging risk during those early minutes. However, remember that top coat speeds up the outer surface, not necessarily the layers beneath. So while it helps a great deal, you should still respect the overall waiting window before treating your nails to normal daily tasks.
Is It Normal for Dark Colors to Take Longer?
Absolutely, and it catches many beginners off guard. Dark and heavily pigmented shades contain more color particles, which makes the polish thicker and slower to harden. Reds, deep blues, and blacks often need extra minutes compared to sheer or pastel tones. To manage this, apply thinner coats, allow slightly more drying time between layers, and stay patient. The rich, dramatic finish is well worth those few extra minutes of care.
Conclusion
Mastering how to know if nail polish is dry comes down to combining simple visual clues with gentle touch tests and a healthy dose of patience. Watch the shine settle, feel for any tackiness, check the edges and temperature, and always respect the full waiting window before diving back into your day. These small habits work together to protect your manicure from dents, smudges, and disappointing do-overs.
The best part is that every one of these steps is beginner-friendly and easy to build into your routine. With a little practice, reading your nails will feel completely natural, and you will trust your results without second-guessing. So next time you paint your nails, slow down, run through these checks, and enjoy the confidence of a flawless, long-lasting finish. Your future self, and your smudge-free nails, will thank you.

About the Author
Jane Hubbard is a passionate beauty expert with a wealth of experience in makeup, hair, and overall beauty techniques. After years of working as a hairdresser specialist, she followed her entrepreneurial spirit and started her own consultancy business.
Jane has always been driven by her desire to help others feel confident in their own skin, and she does this by sharing her knowledge, experiences, and practical beauty tips. Through her consultancy, she empowers individuals to embrace their unique beauty, offering tailored guidance that boosts both self-esteem and personal style.
Professional Focus
Specializes in makeup, hairstyling, and beauty consulting.
Provides personalized beauty advice, tips, and techniques to help individuals feel confident in their appearance.
Dedicated to staying up-to-date with the latest industry trends and developments.
Passionate about creating a comfortable and empowering experience for every client.
Education History
University of Craft and Design – Bachelor of Fine Arts (BFA) in Woodworking and Furniture Design
Woodworking Apprenticeships – Extensive hands-on training with skilled craftsmen to refine carpentry and furniture making techniques
Online Courses & Masterclasses – Continued education in advanced woodworking techniques, design principles, and specialized tools
Expertise:
Makeup artistry, hairstyling, and beauty consulting.
Personalized beauty techniques to enhance confidence and self-expression.
Educating clients on how to maintain their beauty routines at home.