

Thick, sticky, and stringy nail polish can turn a fun manicure into a frustrating mess. If your favorite bottle has gone gloopy, don’t toss it just yet. Learning how to fix goopy nail polish is easier than you think, and it can save you money while rescuing shades you love. Polish gets thick when the solvents inside slowly evaporate, usually because the cap wasn’t sealed tightly or the bottle sat in a warm spot for too long. The good news is that this problem is completely reversible with a few simple tricks.
Whether you are a beginner painting your nails for the first time or a seasoned polish collector, this guide walks you through practical, expert-backed steps. You’ll discover how to restore smooth, glossy formulas and prevent future clumping. By the end, you’ll feel confident bringing tired bottles back to life. Let’s dive in and give your polish the second chance it deserves.
Why Fixing Goopy Nail Polish Matters
Fixing thick polish isn’t only about convenience. It protects your investment, since quality bottles can be pricey and discontinued shades are hard to replace. Restoring a goopy formula also gives you a smoother, streak-free finish, which means fewer coats and a more professional look at home.
There’s an environmental perk too. Reviving old polish keeps plastic bottles out of landfills and reduces waste. Beyond that, working with a properly thinned formula makes application faster and less stressful, especially for beginners still building their skills. When your polish glides on cleanly, you make fewer mistakes and enjoy the process more. Simply put, a little maintenance delivers big rewards in cost, quality, and confidence.
Step-by-Step Guide to How To Fix Goopy Nail Polish
Step 1: Assess the Damage
Before you reach for any tools, take a moment to inspect your polish. Open the bottle and drag the brush through the formula slowly. If it moves like honey, forms strings, or leaves clumps behind, it’s officially too thick. This quick check helps you understand how much thinning your bottle actually needs.
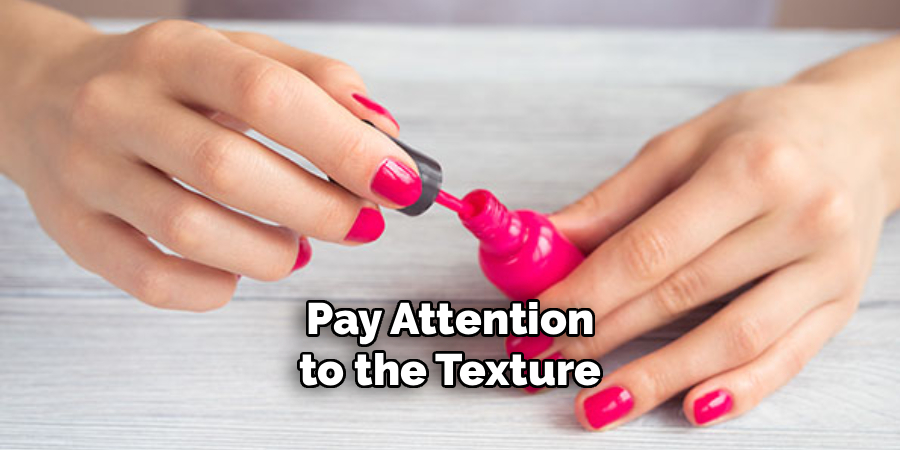
Pay attention to the texture and color as well. Sometimes a formula only needs gentle warming, while a severely dried bottle requires a proper thinner. Knowing the severity now saves you from over-correcting later. Learning how to fix goopy nail polish starts with this honest assessment, so trust what your brush tells you.
Step 2: Warm the Bottle Gently
Heat is your first and gentlest fix. Fill a mug or small bowl with warm water, not boiling, and set the closed polish bottle inside for two to three minutes. The warmth loosens the formula and encourages the ingredients to blend back together smoothly.
After the soak, roll the bottle between your palms for thirty seconds. Rolling mixes everything without creating bubbles, which shaking would do. Then test the brush again. Many bottles bounce back with heat alone, no extra products required. If your polish still feels sticky, don’t worry. You have several more tricks ahead to bring it back to life.
Step 3: Add Nail Polish Thinner
If warming isn’t enough, a dedicated polish thinner is your best friend. Add just two or three drops directly into the bottle. Thinner is specially formulated to replace the evaporated solvents without changing the color or damaging the finish, making it the safest choice for revival.
Resist the urge to pour in too much at once. A little goes a long way, and adding excess can leave your polish runny and weak. After adding the drops, cap the bottle tightly and roll it again to distribute the thinner evenly. This gentle approach is exactly how to fix goopy nail polish without ruining its original texture.
Step 4: Avoid the Acetone Trap
Many people reach for nail polish remover in a pinch, but this is a common mistake. Acetone breaks down the polish rather than restoring it, which can permanently alter the color and shine. What feels like a quick fix often leaves you with a damaged, unusable bottle.
Stick with proper thinner instead, since it matches the chemistry of your polish. If you don’t have thinner on hand, a drop or two of pure acetone-free ingredients marketed for polish will work in an emergency. Still, investing in a small bottle of real thinner pays off every single time you need a rescue.
Step 5: Mix Without Shaking
How you blend your polish matters just as much as what you add. Shaking the bottle vigorously introduces tiny air bubbles that transfer onto your nails, leaving a bumpy, uneven surface once dry. Nobody wants bubbles ruining a fresh coat.
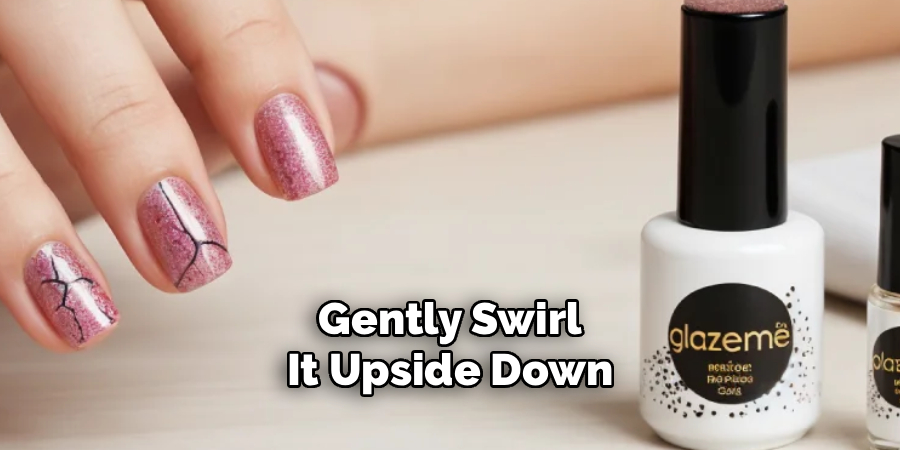
Instead, roll the bottle slowly between your hands for about a minute. This motion mixes the thinner and polish thoroughly while keeping air out. You can also gently swirl it upside down. Take your time here, because patient mixing produces the smoothest results. Once the formula looks uniform and glides freely, you’re ready to move on to testing.
Step 6: Test on a Nail
Never assume your fix worked without a trial run. Apply a thin coat to one nail or a spare surface and watch how it flows. A properly restored polish should spread evenly, feel smooth, and dry without dragging or clumping along the way.
If it still feels thick, add one more drop of thinner and mix again. Repeat this test-and-adjust cycle until the consistency feels just right. This trial step gives you real-time feedback and prevents you from over-thinning. A quick test now guarantees a flawless manicure and saves you from redoing your nails later.
Step 7: Store It Properly
Once your polish is smooth again, protect your hard work with smart storage. Wipe the bottle neck and threads with a lint-free cloth before capping, since dried residue prevents a tight seal and lets air sneak in. A clean seal is the single best way to keep your formula fresh.
Store your bottles upright in a cool, dark place away from sunlight and heat. A drawer or dedicated box works perfectly. Proper storage slows evaporation and dramatically extends the life of every shade. With these habits, you’ll spend far less time reviving polish and much more time enjoying it.
Frequently Asked Questions
Can I Use Water to Thin My Nail Polish?
No, water and polish don’t mix. Adding water creates a cloudy, separated formula that won’t apply smoothly or last on your nails. Polish is oil-based, so water simply floats on top and ruins the consistency. Always reach for a proper nail polish thinner instead, which is designed to blend seamlessly with your formula and restore its original glossy, even texture.
How Many Drops of Thinner Should I Add?
Start with just two or three drops for a standard-sized bottle. It’s always safer to add less and test than to over-thin your polish. After mixing, apply a test coat and evaluate the flow. If it’s still thick, add one drop at a time until you reach a smooth, glide-on consistency that feels balanced and easy to control.
Why Does My Nail Polish Get Thick So Fast?
Polish thickens when its solvents evaporate, and this happens faster with loose caps, warm storage, or frequent opening. Sunlight and heat speed up the process too. To slow it down, always seal the cap tightly, wipe the bottle neck clean, and store your collection somewhere cool and dark. These small habits keep your favorite shades usable for much longer.
Is Thick Nail Polish Still Safe to Use?
Thick polish is safe to use, but it won’t look its best. Clumpy formulas apply unevenly, leave streaks, and take longer to dry, which increases smudging. There’s no health risk from thickened polish itself. Still, thinning it first gives you a smoother finish and a more enjoyable experience, so a quick fix is always worth the extra couple of minutes.
How Long Does Restored Nail Polish Last?
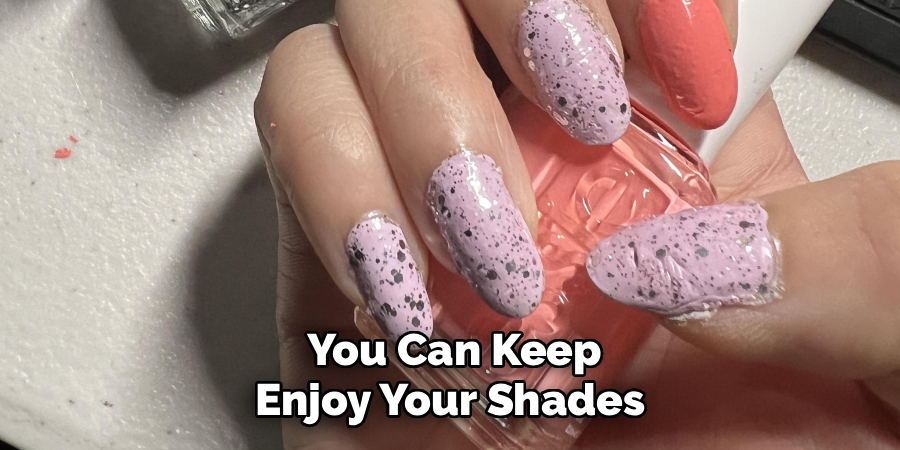
Once revived and stored properly, polish can last several more months or even years. The key is maintaining a tight seal and keeping bottles away from heat and light. You may need to thin it again occasionally, and that’s completely normal. With good care and the right thinner on hand, you can keep enjoying your shades long past their expected lifespan.
Conclusion
Reviving a thick, clumpy bottle doesn’t require special skills or expensive products, just a little patience and the right technique. From warming the bottle and adding a few drops of thinner to mixing gently and storing smartly, each step brings your polish back to a smooth, salon-worthy finish. Remember to avoid acetone, skip the shaking, and always test before your full manicure.
Now that you know how to fix goopy nail polish, you can rescue every tired bottle in your collection instead of tossing them out. Try these steps the next time a favorite shade turns sticky, and enjoy the money you save along with the flawless results. Grab that neglected bottle, put these tips to work, and give your polish the fresh start it deserves.

About the Author
Jane Hubbard is a passionate beauty expert with a wealth of experience in makeup, hair, and overall beauty techniques. After years of working as a hairdresser specialist, she followed her entrepreneurial spirit and started her own consultancy business.
Jane has always been driven by her desire to help others feel confident in their own skin, and she does this by sharing her knowledge, experiences, and practical beauty tips. Through her consultancy, she empowers individuals to embrace their unique beauty, offering tailored guidance that boosts both self-esteem and personal style.
Professional Focus
Specializes in makeup, hairstyling, and beauty consulting.
Provides personalized beauty advice, tips, and techniques to help individuals feel confident in their appearance.
Dedicated to staying up-to-date with the latest industry trends and developments.
Passionate about creating a comfortable and empowering experience for every client.
Education History
University of Craft and Design – Bachelor of Fine Arts (BFA) in Woodworking and Furniture Design
Woodworking Apprenticeships – Extensive hands-on training with skilled craftsmen to refine carpentry and furniture making techniques
Online Courses & Masterclasses – Continued education in advanced woodworking techniques, design principles, and specialized tools
Expertise:
Makeup artistry, hairstyling, and beauty consulting.
Personalized beauty techniques to enhance confidence and self-expression.
Educating clients on how to maintain their beauty routines at home.