

That gorgeous bottle of nail polish you splurged on deserves better than a slow, gloopy death at the back of a drawer. If you have ever reached for a favorite shade only to find it thick, separated, or impossible to brush on smoothly, you already know the frustration. The good news is that keeping your collection fresh is easier than you think. Learning how to preserve nail polish saves you money, cuts down on waste, and keeps every manicure looking salon-smooth from the first coat to the last.
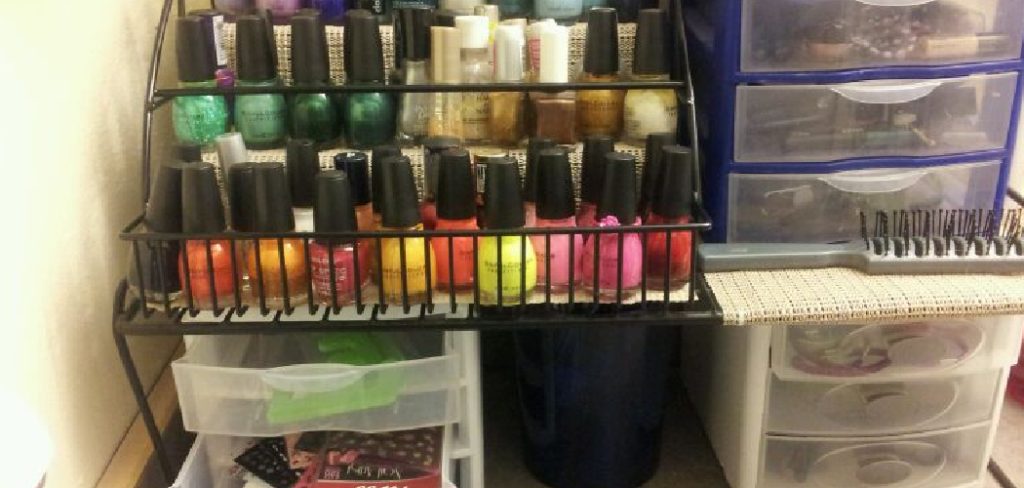
In this beginner-friendly guide, we will walk through simple, proven habits that protect your polish from heat, air, and thickening. You do not need fancy equipment or expert-level skills. Whether you own three bottles or thirty, these steps adapt to your needs and your space. By the end, you will feel confident caring for every color you love, and you will notice the difference the very next time you paint your nails.
Why Preserving Nail Polish Matters
A well-cared-for bottle can last two years or longer, while a neglected one may harden in just a few months. That difference adds up fast, both in cash and in disappointment. When polish thickens or separates, the finish looks streaky, chips sooner, and refuses to dry evenly. Proper care protects the pigments and the formula, so each coat glides on like new.
There is also a practical bonus. Fresh polish applies faster and needs fewer coats, which saves you time on busy mornings. You reduce waste too, since you toss fewer half-used bottles into the trash. Think of good storage habits as a small daily investment that pays you back with brighter colors, smoother application, and a collection you can actually rely on.
Step-By-Step Guide to How to Preserve Nail Polish
Step 1: Store Bottles in a Cool, Dark Place
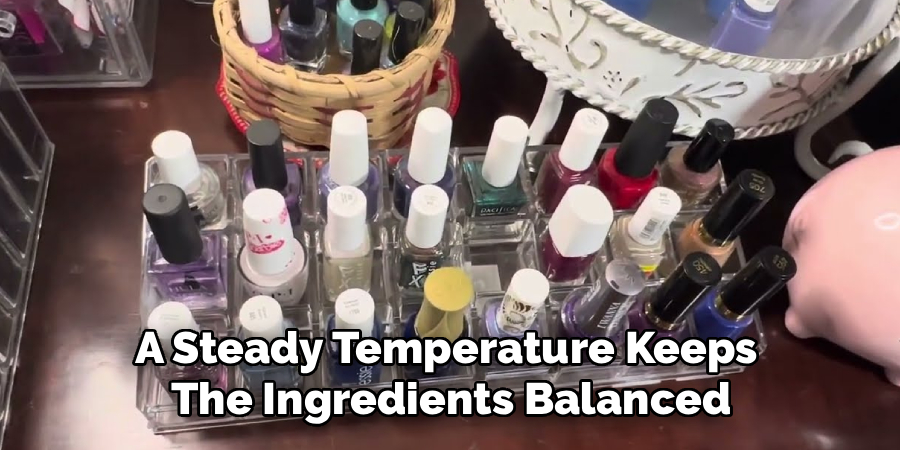
Heat and light are the biggest enemies of a healthy polish formula. Bathrooms feel like the obvious spot, but the humidity and temperature swings there speed up thickening and fading. Instead, tuck your bottles into a drawer, a closet shelf, or a dedicated box in a cool room. A steady temperature keeps the ingredients balanced and the color true. If you want to know how to preserve nail polish for the long haul, this single habit does more than almost anything else. Aim for a spot away from windows, radiators, and direct sunlight so your shades stay vibrant and easy to apply.
Step 2: Keep the Cap Tightly Sealed
Every time you leave a cap loose, air rushes in and begins to evaporate the solvents that keep your polish fluid. Over time this leads to that stubborn, gluey texture nobody wants. After each use, twist the cap on firmly until it stops. Before you seal it, wipe the neck of the bottle with a cotton pad dipped in remover. This clears away sticky buildup, so the cap closes flush and creates a proper airtight seal. A clean, tight closure locks out air, protects the formula, and keeps your favorite colors ready for the next manicure.
Step 3: Store Bottles Upright
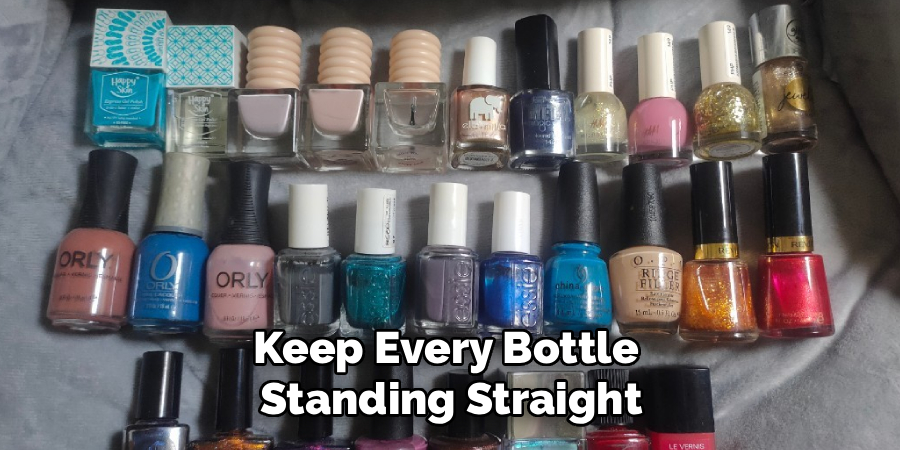
Laying bottles on their side might look tidy, but it invites trouble. Polish can seep into the cap threads, dry there, and glue the lid shut. It can also pool unevenly, making the color harder to mix later. Keep every bottle standing straight, just as it sits on a store shelf. Upright storage helps the formula settle properly and stops leaks from creeping around the rim. If you use an organizer or a small tray, arrange your shades in neat rows so you can spot each color at a glance without knocking others over or loosening their caps.
Step 4: Roll, Don’t Shake
Shaking feels natural, but it forces tiny air bubbles into the liquid. Those bubbles transfer straight onto your nails and leave a bumpy, uneven finish. Instead, hold the bottle between your palms and roll it gently back and forth for ten to fifteen seconds. This warms the formula slightly and blends the pigments without trapping air. The result is a smooth, glossy coat that dries evenly. Mastering how to preserve nail polish includes these small application habits too, because rough handling can undo all your careful storage work in seconds. Gentle rolling keeps both the bottle and your manicure looking their best.
Step 5: Thin It Out the Right Way
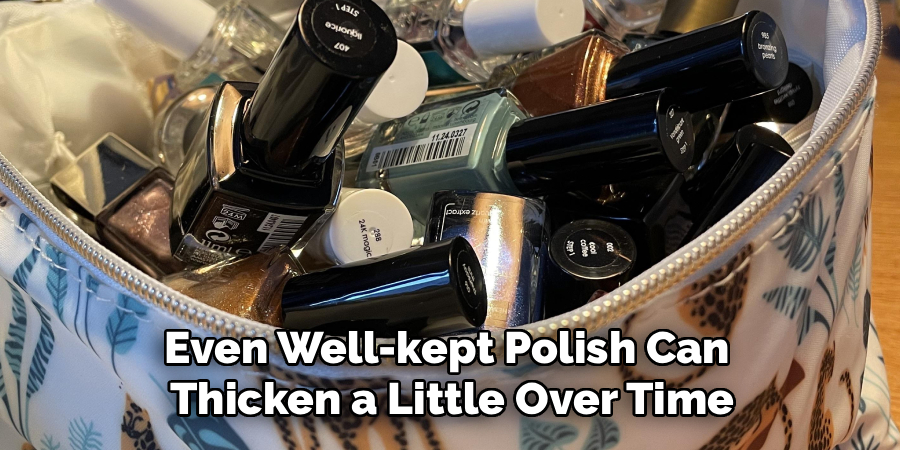
Even well-kept polish can thicken a little over time, and that is normal. The fix is simple, but you must use the correct product. Add just one or two drops of proper nail polish thinner, then roll the bottle to blend. Never reach for acetone or regular remover, since those break down the formula and ruin the color. A little thinner restores the smooth flow without changing the shade or finish. Do this sparingly and only when you notice dragging on the brush, and your polish will paint on beautifully again.
Step 6: Clean the Bottle Neck Regularly
Dried polish around the rim is more than an eyesore. It stops the cap from sealing, which lets air sneak in and thickens whatever is inside. Make a quick cleanup part of your routine. Dampen a cotton swab or pad with remover and wipe the threads and neck after each use. This keeps the closure tight and the opening clear, so the brush glides in and out without picking up crusty bits. A clean neck also prevents that annoying moment when a lid refuses to budge, saving you both effort and a chipped fingernail.
Step 7: Track the Age of Your Collection
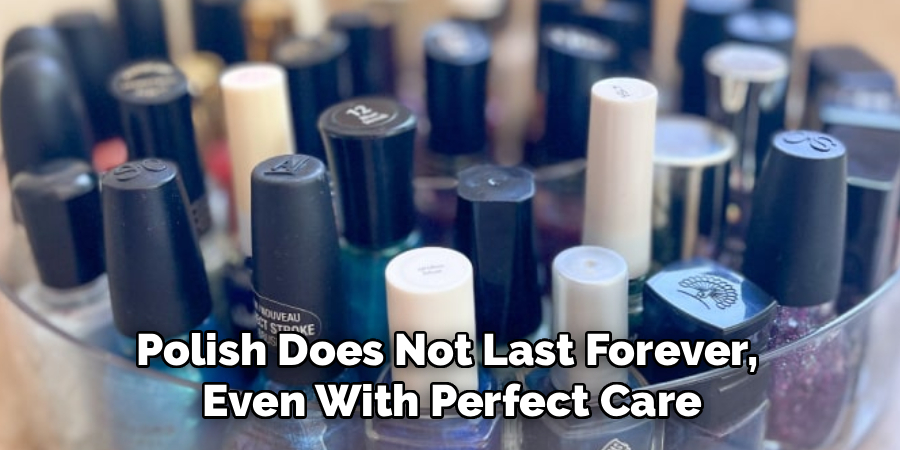
Polish does not last forever, even with perfect care. Most bottles stay usable for around two years once opened, though some formulas fade sooner. Jot the purchase date on the bottom of each bottle with a small sticker or marker. This little habit helps you use older shades first and spot ones that are past their prime. If a polish smells off, separates permanently, or turns stringy no matter how you roll it, it has reached the end. Retiring tired bottles keeps your collection fresh and your manicures flawless.
Frequently Asked Questions
How Long Does Nail Polish Really Last?
Most opened bottles stay in good shape for about eighteen months to two years, depending on the formula and how you store them. Unopened polish can last even longer when kept cool and dark. Watch for warning signs like separation that will not remix, a thick stringy texture, or a strong chemical smell. When those appear, it is time to replace the bottle for the best finish.
Can I Put Nail Polish in the Refrigerator?
You can, though it is not required for most people. A cool, stable spot like a drawer works perfectly well and avoids the temperature swings of opening and closing a fridge. If you do refrigerate your polish, let each bottle return to room temperature before applying, since cold formula turns thick and drags on the nail. For everyday collections, a consistent, cool room is the simpler and safer choice.
Why Does My Polish Get Thick and Gluey?
Thickening happens when the solvents that keep polish fluid evaporate through a loose or dirty cap. Heat, sunlight, and repeated air exposure speed up the process. The best defense is a tight, clean seal and cool storage. If a bottle has already thickened, add one or two drops of proper thinner and roll it gently. Avoid acetone, which damages the formula rather than restoring it.
Is It Safe to Use Old Nail Polish?
Old polish is usually not harmful, but it rarely looks good. As it ages, the texture turns gloopy, the color may shift, and it dries unevenly with more chips. If a bottle smells rancid, separates permanently, or feels stringy, retire it. Trusting your eyes and nose here is smart. A fresh bottle always delivers a smoother, longer-lasting manicure than a struggling old one.
What Is Nail Polish Thinner and Where Do I Buy It?
Nail polish thinner is a specially made solvent that restores a thick formula to its original smooth flow. You add only a drop or two, then roll the bottle to blend. Most beauty supply shops, pharmacies, and online retailers carry it at a low price. Never substitute acetone or standard remover, because those dissolve and weaken the polish. One small bottle of thinner can rescue many of your favorite shades.
Conclusion
Caring for your favorite shades comes down to a few gentle, consistent habits. Store bottles upright in a cool, dark spot, keep every cap clean and tightly sealed, roll instead of shake, and thin your formula only with the proper product when needed. Tracking each bottle’s age rounds out the routine, so you always know which colors to reach for first. None of these steps demand special skills, and every one of them protects the money and time you put into your collection.
Now that you understand how to preserve nail polish the smart way, put these tips into practice today. Pull out your polish stash, wipe down those necks, and give each bottle a proper home away from heat and light. Your next manicure will glide on smoother, last longer, and look brighter, proving that a little care truly goes a long way.

About the Author
Jane Hubbard is a passionate beauty expert with a wealth of experience in makeup, hair, and overall beauty techniques. After years of working as a hairdresser specialist, she followed her entrepreneurial spirit and started her own consultancy business.
Jane has always been driven by her desire to help others feel confident in their own skin, and she does this by sharing her knowledge, experiences, and practical beauty tips. Through her consultancy, she empowers individuals to embrace their unique beauty, offering tailored guidance that boosts both self-esteem and personal style.
Professional Focus
Specializes in makeup, hairstyling, and beauty consulting.
Provides personalized beauty advice, tips, and techniques to help individuals feel confident in their appearance.
Dedicated to staying up-to-date with the latest industry trends and developments.
Passionate about creating a comfortable and empowering experience for every client.
Education History
University of Craft and Design – Bachelor of Fine Arts (BFA) in Woodworking and Furniture Design
Woodworking Apprenticeships – Extensive hands-on training with skilled craftsmen to refine carpentry and furniture making techniques
Online Courses & Masterclasses – Continued education in advanced woodworking techniques, design principles, and specialized tools
Expertise:
Makeup artistry, hairstyling, and beauty consulting.
Personalized beauty techniques to enhance confidence and self-expression.
Educating clients on how to maintain their beauty routines at home.