

Your foundation brush touches your face every single day, yet it often gets forgotten when it comes to cleaning. Over time, that soft brush turns into a hidden home for old makeup, natural oils, dead skin cells, and bacteria. If you have ever wondered how do you clean foundation brush the right way, you are in exactly the right place, because the process is simpler than you might expect.
A dirty brush does more than look unpleasant. It smears makeup unevenly, dulls your finish, and can even trigger breakouts or irritation. The good news is that a proper cleaning routine takes only a few minutes and uses items you likely already own at home.
In this friendly, beginner-friendly guide, we will walk through why brush hygiene matters, share a clear seven-step method anyone can follow, and answer the most common questions. By the end, you will feel confident keeping your tools fresh, your skin happy, and your makeup looking flawless every time you reach for that brush.
Why Cleaning Your Foundation Brush Matters
A clean brush is the secret behind smooth, streak-free makeup and healthy skin. When product builds up in the bristles, the brush loses its softness and starts dragging foundation across your face instead of blending it evenly. That means patchy coverage, wasted product, and a finish that never quite looks polished.
Hygiene is the bigger reason to care. Bacteria thrive in leftover makeup and skin oils, and pressing that mixture onto your face can clog pores, cause acne, and irritate sensitive skin. Regular cleaning protects your complexion and extends the life of your brush, saving you money over time. Think of it as a small habit with a big payoff, giving you better makeup application, fewer breakouts, and tools that stay soft and reliable for years.
Step-by-Step Guide To How Do You Clean Foundation Brush
Step 1: Gather Your Supplies
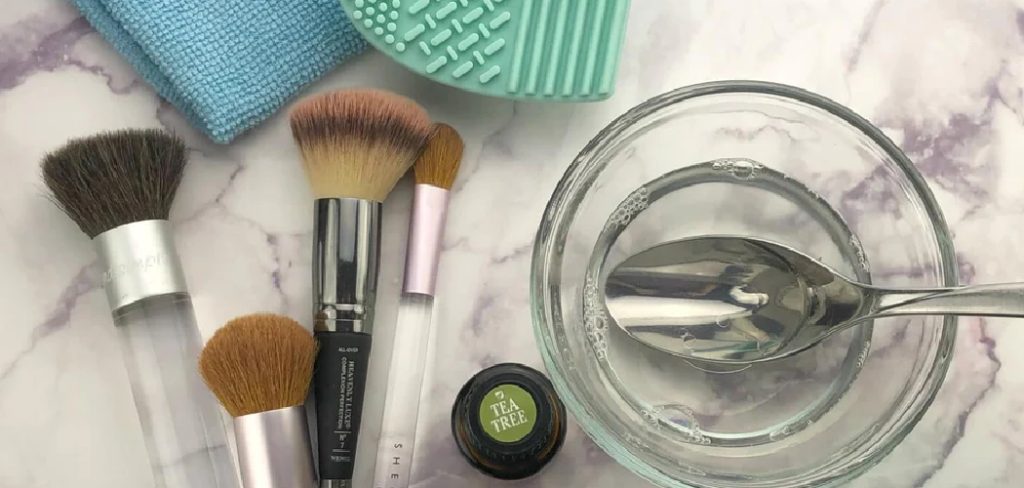
Before you start, set out everything you need so the process stays smooth and stress-free. You will want lukewarm water, a gentle cleanser such as a mild shampoo or dedicated brush soap, a clean towel, and a flat surface near your sink. Some people like to add a silicone cleaning mat or textured glove, but your palm works perfectly well too. Having these items ready means you will not scramble mid-wash with soapy hands. Keeping supplies together in one spot also makes the routine easier to repeat, so you are far more likely to stick with a consistent cleaning habit week after week.

Step 2: Rinse The Bristles
Hold your brush under lukewarm running water, pointing the bristles downward toward the drain. This first rinse loosens surface makeup and prepares the brush for a deeper clean. Keep the water gentle rather than blasting it, and avoid letting water flow up into the metal part known as the ferrule. That area connects the bristles to the handle, and soaking it can dissolve the glue over time, causing shedding. Learning how do you clean a foundation brush without damaging it starts right here, with careful water control. A quick thirty-second rinse now makes the lathering step much more effective and far less messy.
Step 3: Apply A Gentle Cleanser
Once the bristles are damp, add a small amount of your chosen cleanser to your palm or cleaning mat. A pea-sized drop is usually plenty, since too much soap only means more rinsing later. Swirl the brush gently into the cleanser, working it into the bristles with light circular motions. You should see foam turning cloudy or tinted as trapped foundation lifts away. Avoid scrubbing hard or bending the bristles awkwardly, because rough handling weakens the brush shape. Stay patient and let the cleanser do the work, adding a touch more only if the brush still feels coated with stubborn, dried-on product.

Step 4: Massage And Swirl
Now comes the satisfying part where the deep cleaning really happens. Using your fingertips, the palm of your hand, or a textured mat, swirl the brush in gentle circles to work the lather deep into the bristles. Keep the pressure light and let the motion loosen embedded makeup rather than forcing it. You will notice the foam changing color as old foundation releases. Continue for about thirty seconds, then check the base of the bristles near the ferrule where product tends to hide. This careful massage is the heart of how do you clean a foundation brush effectively, lifting buildup you often cannot even see.
Step 5: Rinse Until Clear
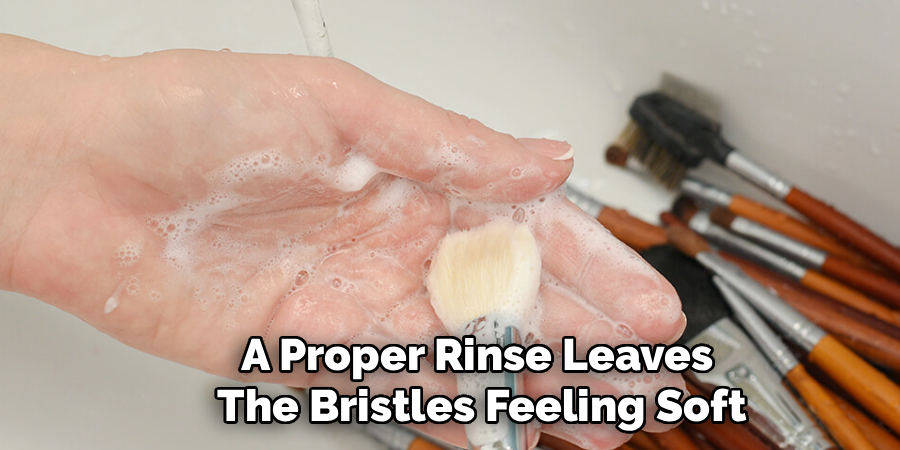
With the bristles fully lathered, return the brush to lukewarm running water and rinse thoroughly. Keep pointing the bristles downward and gently squeeze from base to tip to push soap and loosened makeup out. Repeat the rinse until the water runs completely clear and no foam remains. Leftover cleanser can dry stiff and irritate your skin during your next application, so take your time here. Again, protect the ferrule by keeping water away from that glued section. A proper rinse leaves the bristles feeling soft and squeaky clean, which is exactly the result you want before moving on to drying.
Step 6: Reshape And Squeeze
After rinsing, gently squeeze out excess water using a clean towel, pressing softly from the base toward the tips. Never wring or twist the brush, since that can bend the bristles permanently and ruin the shape. Once most of the water is out, use your fingers to reshape the bristles back to their original form. Foundation brushes often have a rounded or slightly tapered shape, so smooth them into place carefully. Taking this small step keeps your brush looking new and helps it apply product evenly next time. A well-shaped brush blends beautifully, while a misshapen one leaves frustrating streaks behind.
Step 7: Dry It Correctly
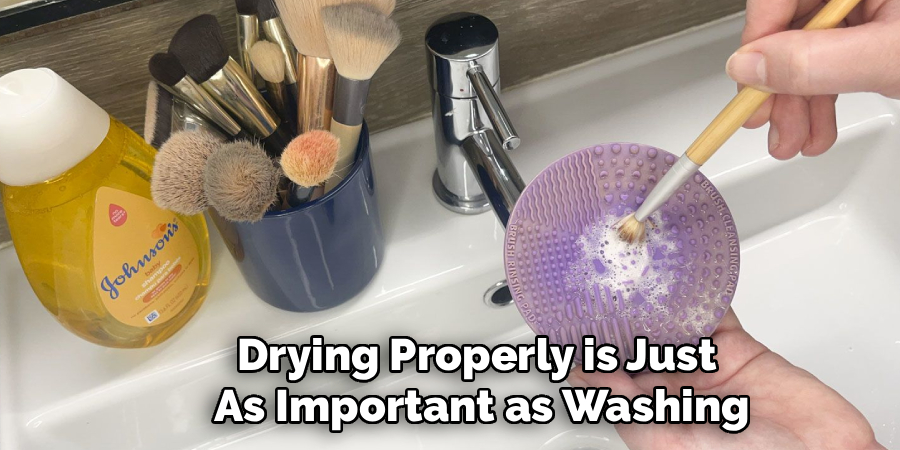
Drying properly is just as important as washing. Lay your brush flat on a clean towel with the bristles hanging slightly over the edge of a counter, allowing air to circulate around them. This position keeps water from seeping into the ferrule and loosening the glue. Never dry a brush standing upright in a cup, because water trickles down into the handle and weakens it over time. Avoid heat sources like blow dryers or radiators, which can damage delicate fibers. Depending on the brush, drying may take several hours or overnight, so plan your cleaning for a time when you will not need it immediately.
Frequently Asked Questions
How Often Should You Wash A Foundation Brush?
For best results, wash your foundation brush once a week if you use it daily. Foundation is a liquid or cream product, so it builds up quickly and creates the perfect environment for bacteria. If you notice patchy application or a stiff, cakey feel, that is a clear sign it needs cleaning sooner. Regular washing keeps your skin clear and your makeup looking smooth.
Can You Use Regular Soap To Clean Makeup Brushes?
Yes, you can use a gentle bar soap or mild shampoo, though a dedicated brush cleanser works best. Harsh soaps with strong fragrances or heavy chemicals may dry out and weaken the bristles over time. Baby shampoo is a popular budget-friendly choice because it stays gentle. Whatever you pick, keep it mild, rinse thoroughly, and avoid anything that leaves a stiff residue behind.
How Do You Dry Brushes Quickly?
The safest way to speed up drying is to gently squeeze out extra water, then lay the brush flat with the bristles hanging over a counter edge for good airflow. Placing it near a fan or an open window helps too. Avoid blow dryers and direct heat, since high temperatures can melt glue and fray delicate fibers, shortening the life of your favorite brush.
Why Does My Brush Still Feel Greasy After Washing?
A greasy feel usually means leftover foundation or cleanser is still trapped in the bristles. Cream and liquid products cling stubbornly, so you may need a second wash to break down all the oils. Focus on the base of the bristles where buildup hides, use lukewarm water, and rinse until the water runs completely clear. A deeper massage during lathering also helps remove that oily residue.
Is It Bad To Skip Cleaning Your Brushes?
Skipping cleaning can genuinely harm both your skin and your tools. Dirty brushes hold bacteria, oil, and dead skin, which can clog pores and trigger breakouts or irritation. Old product also stiffens the bristles, leading to uneven, streaky makeup. Over time, neglect shortens the brush lifespan, forcing you to replace it sooner. A quick weekly wash prevents these problems and keeps everything working beautifully.
Conclusion
Keeping your foundation brush clean is one of the easiest habits you can build for better skin and flawless makeup. Once you understand how do you clean a foundation brush properly, the routine becomes second nature and takes only a few minutes each week. The key takeaways are simple. Use lukewarm water and a gentle cleanser, protect the ferrule from moisture, reshape the bristles after washing, and always dry the brush flat.
A little care goes a long way, rewarding you with softer bristles, smoother application, and fewer breakouts. Do not let buildup ruin your favorite tool or your complexion. Grab that neglected brush today, follow these expert-approved steps, and enjoy the confidence of clean tools and a picture-perfect finish every single time you get ready.

About the Author
Jane Hubbard is a passionate beauty expert with a wealth of experience in makeup, hair, and overall beauty techniques. After years of working as a hairdresser specialist, she followed her entrepreneurial spirit and started her own consultancy business.
Jane has always been driven by her desire to help others feel confident in their own skin, and she does this by sharing her knowledge, experiences, and practical beauty tips. Through her consultancy, she empowers individuals to embrace their unique beauty, offering tailored guidance that boosts both self-esteem and personal style.
Professional Focus
Specializes in makeup, hairstyling, and beauty consulting.
Provides personalized beauty advice, tips, and techniques to help individuals feel confident in their appearance.
Dedicated to staying up-to-date with the latest industry trends and developments.
Passionate about creating a comfortable and empowering experience for every client.
Education History
University of Craft and Design – Bachelor of Fine Arts (BFA) in Woodworking and Furniture Design
Woodworking Apprenticeships – Extensive hands-on training with skilled craftsmen to refine carpentry and furniture making techniques
Online Courses & Masterclasses – Continued education in advanced woodworking techniques, design principles, and specialized tools
Expertise:
Makeup artistry, hairstyling, and beauty consulting.
Personalized beauty techniques to enhance confidence and self-expression.
Educating clients on how to maintain their beauty routines at home.