

You sweep on your favorite blush, glance in the mirror, and spot it. A stray bristle left behind on your cheek like an unwelcome souvenir.
It’s a small thing. Yet it nags at you, especially when it keeps happening.
Here’s the reassuring part. A shedding brush isn’t always a ruined one. Most of the causes are surprisingly avoidable once you know what to look for.
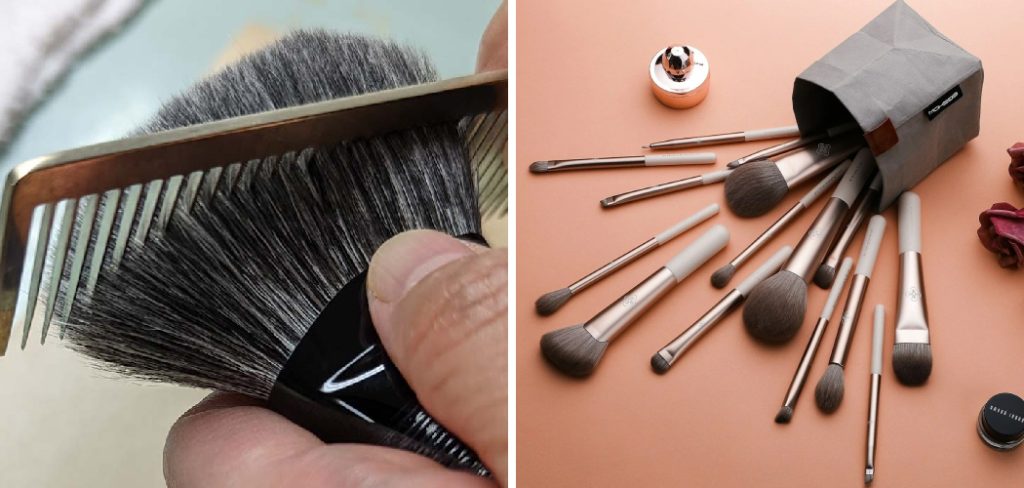
Makeup brushes are delicate little tools. The way you wash, dry, and store them shapes how long they hold their bristles and their shape. Treat them roughly, and they let go of hairs faster than they should.
Learning how to prevent brush shedding takes only a handful of gentle habits. No special products, no fuss. This guide walks through why shedding happens, how to care for your brushes properly, and the quiet mistakes that quietly wear them down.
Why Makeup Brushes Shed in the First Place
It helps to understand what you’re actually working with. A brush isn’t one solid object; it’s a bundle of hairs held together by a bit of clever engineering.
Once you see how that structure holds up, the fixes make a lot more sense.
How Brushes Are Actually Built
Bristles come gathered into a bundle, then anchored inside the metal ferrule with glue. That little band of metal you rarely think about is doing most of the heavy lifting.
Anything that stresses the glue bond loosens the hairs over time. Heat, water, rough handling-they all chip away at that hidden seal. And once the glue weakens, bristles start to slip free.
Normal Shedding Versus a Real Problem
A stray hair now and then is completely normal. Even good brushes lose the occasional bristle, especially when they’re new.
Clumps are a different story. If hairs come out in bunches, that usually points to damage, harsh handling, or a glue issue rather than ordinary wear. So one lonely bristle on your cheek isn’t cause for alarm.
The Difference Between Cheap and Quality Brushes
Construction quality does play a part, admittedly. Better-made brushes tend to anchor their bristles more securely, which means less shedding down the line.
But price isn’t the whole story. Even a budget-friendly brush can last years with careful treatment, while an expensive one may shed early if you’re rough with it. Care matters more than the receipt.
The Most Common Causes of Brush Shedding
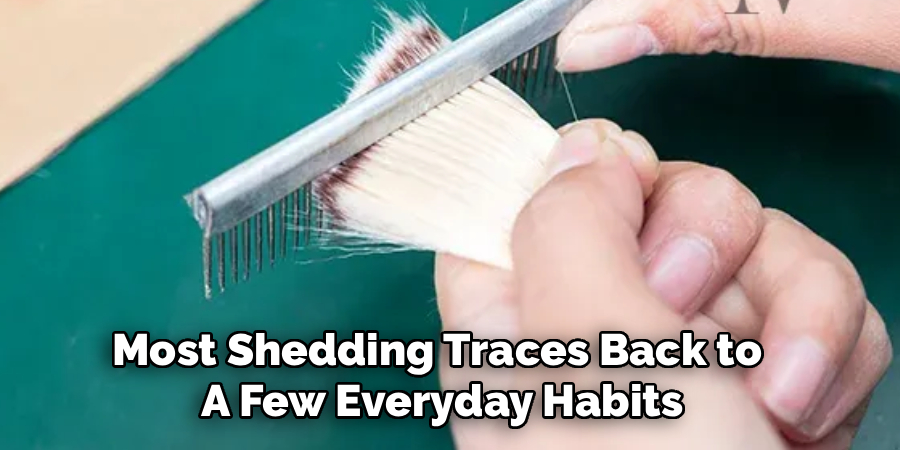
Most shedding traces back to a few everyday habits. The frustrating thing is how ordinary they seem while you’re doing them.
Spotting these culprits is half the battle.
Harsh or Aggressive Washing
Scrubbing feels thorough, doesn’t it? Unfortunately, it’s one of the worst things you can do.
Twisting, tugging, or grinding the bristles during cleaning strains the glue bond directly. Each aggressive wash pulls a few more hairs loose, and it adds up faster than you’d expect. Gentle beats vigorous every single time here.
Water Reaching the Ferrule
This one catches people off guard. Soaking a brush, or letting water pool up near the metal base, slowly dissolves the glue anchoring the bristles.
The damage isn’t dramatic or immediate. It’s a quiet erosion that shows up weeks later as sudden, mysterious shedding. Keeping water away from the ferrule may be the single most protective habit you can adopt.
Improper Drying and Storage
How you dry a brush matters nearly as much as how you wash it. Standing a wet brush upright sends water trickling straight down into the ferrule.
Storage plays a role too. Cramming brushes into a tight pouch bends the bristles and stresses the base, which speeds up shedding over time. A little breathing room goes a long way.
What You Need Before You Begin
The good news is that you almost certainly own everything already. No specialty kit required.
A few simple things cover the whole process.
Gentle Cleansing Essentials
Start with the basics. A mild soap or a dedicated brush cleanser, plus lukewarm water, forms the foundation of safe, low-stress washing.
Nothing harsh, nothing fancy. A gentle baby shampoo works beautifully if you don’t own a proper brush cleaner, and it treats the bristles kindly.
Drying and Shaping Tools
For drying, a clean towel does most of the work. An optional brush guard or a small drying rack helps the bristles keep their shape while they dry.
These extras aren’t essential. But if you find your brushes drying splayed or misshapen, they’re worth the small investment.
What to Keep Away From Your Brushes
Some things do far more harm than good. Hot water, alcohol-based cleaners, and rough scrubbing surfaces all break down bristles and glue.
Heat softens the adhesive. Alcohol dries and weakens natural hairs. When in doubt, gentler is nearly always the safer choice.
Step-by-Step Guide on How to Prevent Brush Shedding
This is the part that matters most, so it’s worth going slowly the first time. Every wash afterward will feel quicker and more instinctive. None of it is complicated.
Step 1: Wet Bristles Gently and Correctly
Hold the brush with the bristles pointing downward under lukewarm running water. This simple angle keeps water from creeping up into the ferrule.
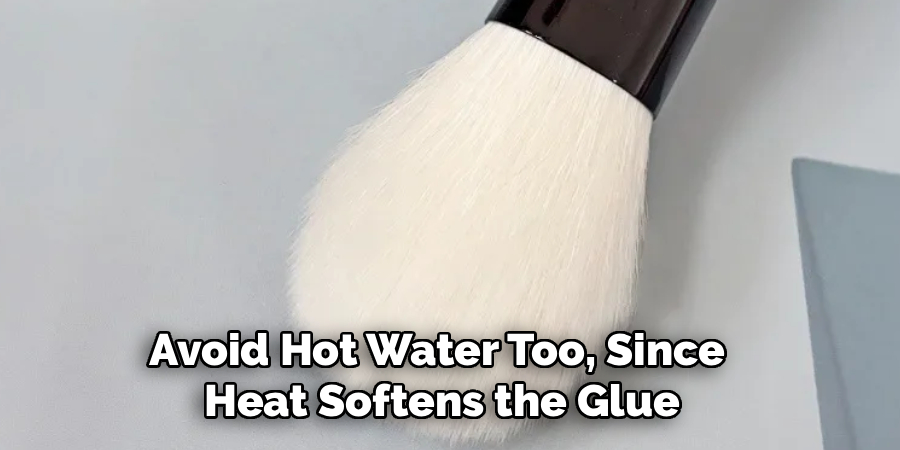
It sounds minor. It’s honestly the most important habit for reducing shedding. Avoid hot water too, since heat softens the glue and loosens bristles faster than most people realize.
Step 2: Use a Mild, Bristle-Friendly Cleanser
Add a small amount of gentle soap or brush cleanser to your palm or a soft cleaning mat. Swirl the bristles lightly across the surface rather than pressing them hard.
Let the cleanser do the lifting, not your muscle. A soft touch around the base protects the glue bond far better than vigorous scrubbing ever could. Patience really is the whole trick here.
Step 3: Rinse Without Flooding the Ferrule
Rinse the bristles downward again, keeping the water well away from the metal base. Repeated flooding of the ferrule is a leading cause of loosening glue and sudden shedding.
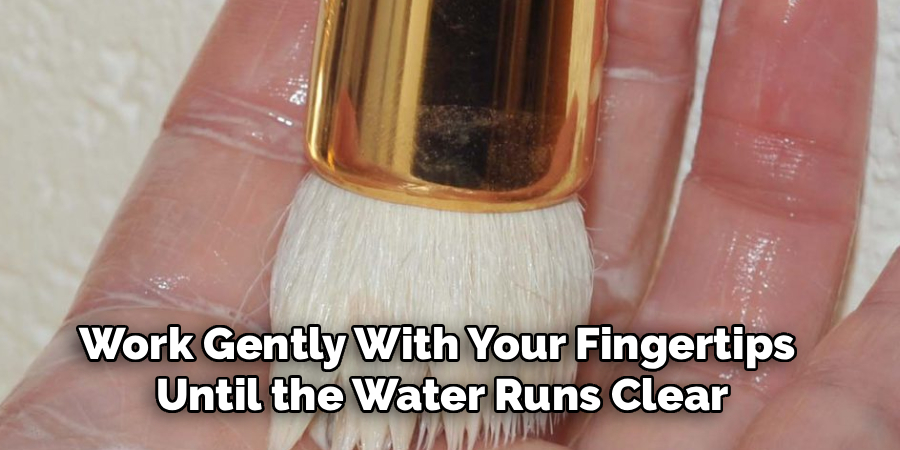
Work gently with your fingertips until the water runs clear. Take your time with it. A careful, unhurried rinse keeps the brush both clean and structurally sound.
Step 4: Reshape the Bristles by Hand
Gently squeeze out the excess water, then reshape the bristles into their original form with your fingers. This small step guides the hairs to dry in the right direction.
Skip it, and the bristles may splay outward as they dry, which stresses the base and invites shedding. Smooth them into a neat point or a flat edge, depending on the brush. A little shaping now saves a lot of frustration later.
Step 5: Dry Brushes Flat and Angled Down
Lay your brushes flat on a towel with the bristles hanging slightly over the edge. Or hang them bristle-down if you have a way to do that.
Either position keeps water draining away from the ferrule instead of into it. Avoiding upright drying is one of the easiest ways to protect the glue and prevent shedding, and it costs you nothing.
Step 6: Store Brushes Safely Between Uses
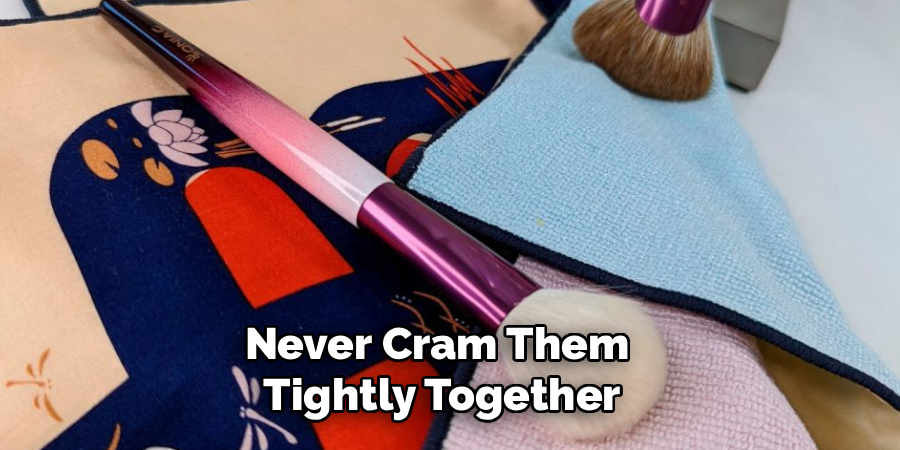
Once fully dry, store your brushes upright in a cup or laid flat in a case. Never cram them tightly together.
Giving the bristles a bit of breathing room prevents the bending and pressure that loosens hairs. Thoughtful storage keeps brushes clean, protected, and ready to perform without leaving stray hairs on your face.
Caring for Different Types of Brushes
Not every brush is built the same way. What suits one could be slightly too much for another, so matching your care to the tool is worth a moment’s thought.
A few quick distinctions cover most collections.
Natural Hair Brushes
Natural bristles are more delicate than they look. They prefer extra-gentle washing and thorough, careful drying to stay soft and intact.
They also dislike being soaked or exposed to harsh cleansers. Treat them a little like fine hair, because that’s essentially what they are.
Synthetic Brushes
Synthetic bristles are the hardy ones. They tolerate frequent washing well and hold up nicely to regular use.
That said, the ferrule still needs protecting. Water and heat can loosen synthetic brushes too, so the downward-rinse rule applies just the same.
Dense Buffing and Detail Brushes
Densely packed brushes need a touch more patience. All those tightly bundled hairs trap product deep near the base.
Work slowly and gently around that dense area when you clean. A careful, unhurried pass keeps the hairs secure and stops buildup from stressing the bundle over time.
Common Mistakes to Avoid
Small slip-ups happen to nearly everyone. Recognizing the usual ones helps you protect your brushes from damage you’d otherwise never notice.
Most shedding problems trace back to one of these three habits.
Soaking Brushes in Water
Leaving a brush submerged feels thorough. It’s actually one of the surest ways to ruin it.
Water seeps into the ferrule, dissolves the glue, and triggers rapid shedding. A quick rinse, not a long soak, is what keeps everything anchored where it belongs.
Drying Brushes Upright
Standing a wet brush bristle-up seems tidy and harmless. It quietly sends water down into the base, weakening the bond a little more each time.
The fix is almost embarrassingly simple. Lay it flat or hang it bristle-down, and you sidestep the problem entirely.
Cleaning Too Roughly or Too Rarely
There’s a balance to strike here. Harsh scrubbing damages bristles, while neglecting cleaning altogether lets product build up and stiffen the hairs.
Both extremes stress the brush. Gentle, regular cleaning sits comfortably in the middle, and it’s kinder to your skin too.
Building a Brush Care Routine You Will Actually Keep
Knowing how to care for brushes is one thing. Doing it consistently is the real challenge. The trick is keeping each habit small enough that you never dread it.
A few light routines carry most of the weight.
A Quick Spot-Clean Between Washes
Keep it painless. A fast spot-clean refreshes a brush without the effort of a full wash every time.
A quick swipe on a clean cloth with a little cleanser does it. That tiny habit stretches the time between deep cleans and keeps buildup from ever taking hold.
A Regular Deep-Clean Schedule
Set a rhythm you can actually follow. Face brushes tend to want washing about once a week, while eye brushes can go a couple of weeks between cleans.
Framed that way, it rarely feels overwhelming. Pick a consistent day, and the whole thing becomes second nature before long.
Checking Brushes for Early Warning Signs
Once a month or so, give your brushes a quick look. You’re checking for loosening bristles or a ferrule that feels a little wobbly.
Catching those signs early lets you act before the shedding worsens. A wobbly ferrule sometimes just needs gentler handling, and spotting it in time can save a brush you’d otherwise write off.
Conclusion
Learning how to prevent brush shedding turns out to be a small habit with an outsized payoff for both your makeup and your wallet. It’s less about perfection and more about a bit of everyday gentleness.
There’s a real satisfaction in reaching for a soft, full brush that glides across your skin. No stray hairs, no thinning bundle, just a tool that does exactly what you bought it to do.
The path itself stays simple. Gentle washing, a dry ferrule, careful reshaping, then flat drying and mindful storage, repeated on a rhythm that fits your life.
So treat your brushes as tools worth keeping rather than things to replace. Give them a little care today, and they may reward you with years of smooth, shed-free use.

About the Author
Jane Hubbard is a passionate beauty expert with a wealth of experience in makeup, hair, and overall beauty techniques. After years of working as a hairdresser specialist, she followed her entrepreneurial spirit and started her own consultancy business.
Jane has always been driven by her desire to help others feel confident in their own skin, and she does this by sharing her knowledge, experiences, and practical beauty tips. Through her consultancy, she empowers individuals to embrace their unique beauty, offering tailored guidance that boosts both self-esteem and personal style.
Professional Focus
Specializes in makeup, hairstyling, and beauty consulting.
Provides personalized beauty advice, tips, and techniques to help individuals feel confident in their appearance.
Dedicated to staying up-to-date with the latest industry trends and developments.
Passionate about creating a comfortable and empowering experience for every client.
Education History
University of Craft and Design – Bachelor of Fine Arts (BFA) in Woodworking and Furniture Design
Woodworking Apprenticeships – Extensive hands-on training with skilled craftsmen to refine carpentry and furniture making techniques
Online Courses & Masterclasses – Continued education in advanced woodworking techniques, design principles, and specialized tools
Expertise:
Makeup artistry, hairstyling, and beauty consulting.
Personalized beauty techniques to enhance confidence and self-expression.
Educating clients on how to maintain their beauty routines at home.