

To clean a cosmetic bag, empty it completely, shake out loose debris, spot-clean stains with mild soap, and wipe the interior and exterior with a damp cloth. For fabric bags, hand washing is usually safest. Always air dry thoroughly before storing beauty products inside.
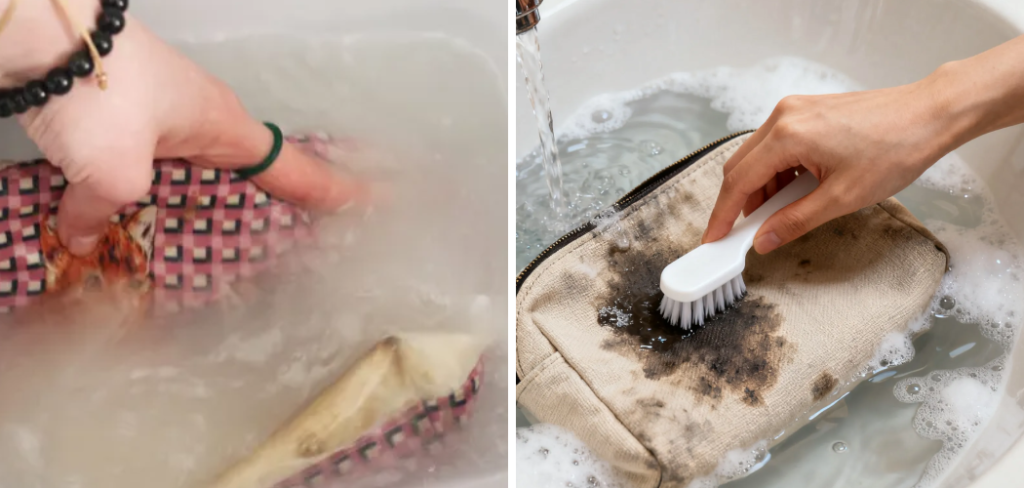
Your cosmetic bag works quietly in the background—holding foundations, lip balms, brushes, and serums day after day without much fanfare. What does accumulate, though, is less glamorous: product residue, bacteria, and loose powder that can turn even a well-organized bag into a hygiene problem. A clean cosmetic bag matters beyond appearances. What’s building up inside directly affects the products you apply to your skin.
The good news? You don’t need special equipment or a free afternoon. With the right method, your bag can look and smell fresh in under 30 minutes. Here’s how to do it properly, regardless of material. In this guide on how to clean a cosmetic bag, we’ll cover everything from basic maintenance to deep cleaning techniques.
8 Simple Step-By-Step Guidelines on How to Clean a Cosmetic Bag
Step 1: Empty the Bag Completely
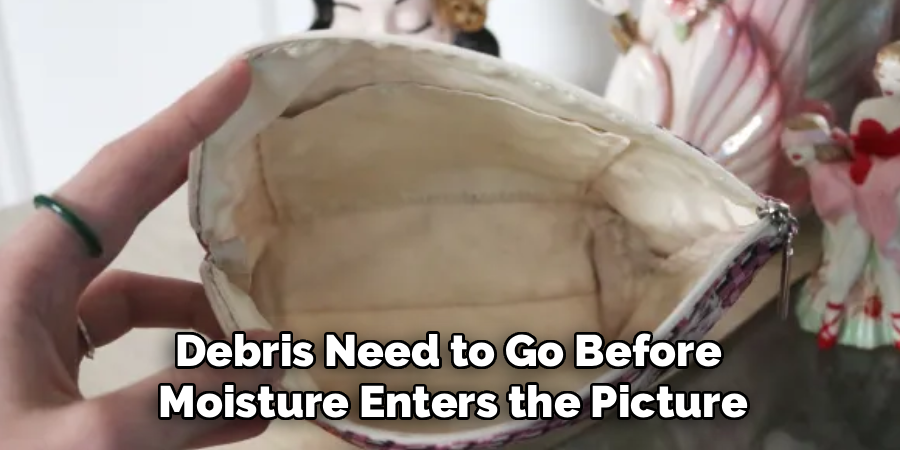
Before reaching for any cleaning product, take everything out—all makeup, tools, and accessories, including items tucked into side pockets. Then turn the bag upside down over a trash bin and give it a firm shake. Loose powder, crumbs, and debris need to go before moisture enters the picture. This step is easy to overlook, but skipping it makes every subsequent stage less effective.
Step 2: Check the Care Label or Material Type
Not all cosmetic bags respond well to the same treatment. A canvas tote requires a different approach than a vinyl clutch or a leather makeup case—and using the wrong cleaning product can cause discoloration, warping, or damage that’s difficult to reverse.
Check for a care label inside the bag first. If there isn’t one, identify the material—fabric, faux leather, genuine leather, vinyl, or plastic—before choosing your method.
Step 3: Vacuum or Brush Out the Interior
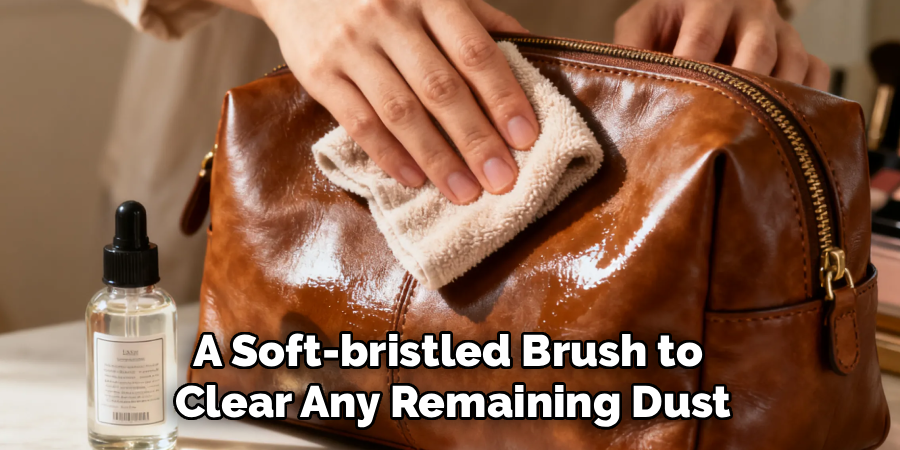
Use a small handheld vacuum, a lint roller, or a soft-bristled brush to clear any remaining dust, powder, or hair from the interior lining. Seams and corners tend to collect the most buildup, so pay close attention there.
This step only takes a couple of minutes, but it matters. Introducing moisture before dry debris is removed risks spreading grime further into the fabric rather than lifting it out.
Step 4: Spot-Treat Visible Stains
Mix a small amount of mild dish soap or gentle laundry detergent with warm water. Dip a cotton swab or soft cloth into the solution and dab gently at any visible stains—mascara smudges, foundation marks, lipstick transfers.
Scrubbing aggressively tends to spread stains or damage the lining, so resist the urge. For stubborn marks on fabric interiors, a small amount of micellar water or makeup remover may work better than soap. Let the treatment sit for about a minute, then wipe away with a clean, damp cloth.
Step 5: Clean the Interior Lining
With spot treatment done, dampen a clean microfiber cloth with your mild soap solution and wipe down the entire interior. Work from the top down in circular motions to lift residue without saturating the material.
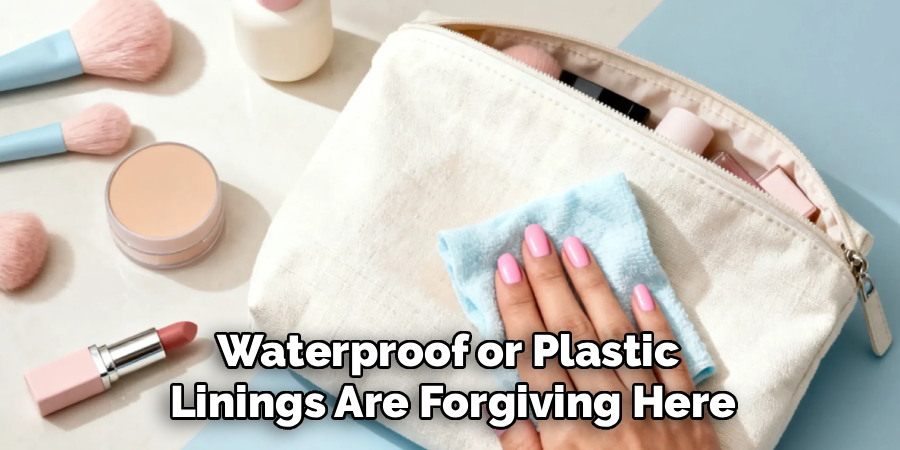
Waterproof or plastic linings are forgiving here—most buildup wipes away cleanly. Fabric linings require a bit more caution. Wring the cloth out well before use; a soaked lining that doesn’t dry properly can develop mildew.
Step 6: Clean the Exterior
The outside of a cosmetic bag accumulates its own layer of grime—hand oils, spilled products, and general surface contact. The right approach depends on the material:
- Fabric or canvas: Use the same mild soap solution and a soft cloth, wiping gently in the direction of the weave.
- Vinyl or faux leather: A damp cloth with a drop of dish soap works well. Avoid soaking the seams.
- Genuine leather: Use a dedicated leather cleaner or a very lightly dampened cloth. Leather and water don’t mix well.
- Plastic or hard-shell cases: A disinfecting wipe or damp cloth with mild soap is sufficient.
After cleaning, follow up with a second cloth dampened with plain water to remove soap residue. Detergent left on the surface can cause dullness or stickiness over time.
Step 7: Disinfect the Bag
Cleaning removes visible dirt. Disinfecting handles what you can’t see. Spray the interior lightly with a fabric-safe disinfectant, or diluted isopropyl alcohol—70% concentration works for most linings. For vinyl and plastic surfaces, pre-moistened antibacterial wipes are a convenient alternative.
Avoid bleach-based products on colored materials, as these can cause fading that won’t come out. Let the disinfectant sit for at least a minute before moving on.
Step 8: Air Dry Thoroughly Before Restocking
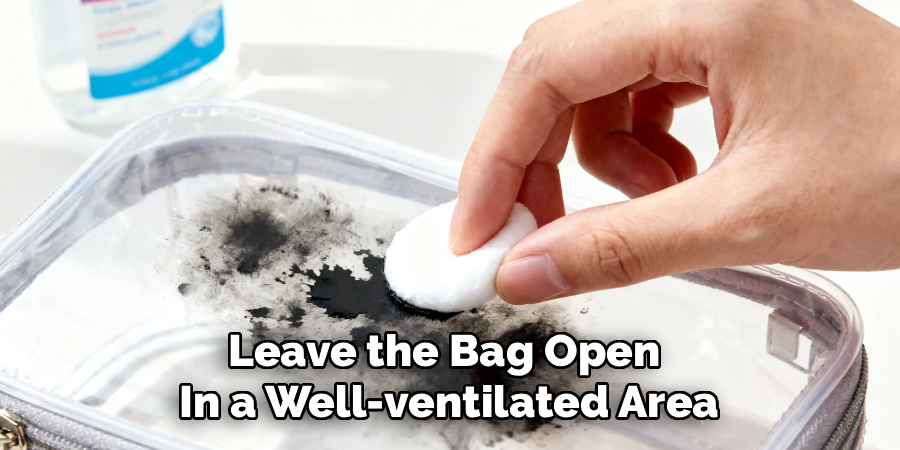
This step isn’t optional. Leave the bag open in a well-ventilated area and allow it to dry completely—several hours, or overnight if possible. Putting products back into a damp bag traps moisture inside, creating ideal conditions for mold and mildew growth.
A spot near a window or fan helps speed things up. Direct heat sources like radiators or hairdryers, on the other hand, can warp materials and weaken seams. Once the bag is fully dry, it’s ready to be refilled.
Following these steps on how to clean a cosmetic bag will help prolong its lifespan and keep your makeup products hygienic. With regular cleaning and proper storage, your cosmetic bag will continue to serve as a reliable and organized tool for all your beauty needs. Additionally, regularly decluttering and organizing your products within the bag can also help prevent messes and spills, making it easier to find what you need quickly.
Finally, remember that not all cosmetic bags are created equal. Some may require different cleaning methods or materials due to their specific design or material composition. Always refer to the manufacturer’s instructions for the best way to clean your particular cosmetic bag.
Common Mistakes to Avoid
When it comes to maintaining and restocking your bag, a few common missteps can lead to potential issues down the road. One of the most frequent mistakes is neglecting to fully clean and dry the bag before restocking. Skipping this step can lead to lingering odors, bacterial buildup, or even mold and mildew growth.
Additionally, overloading the bag with excessive items can strain zippers, seams, and materials, reducing the bag’s durability over time. Another error is failing to inspect the condition of essential items, such as broken tools or expired products, which could leave you unprepared when you need them most. By staying mindful of these common mistakes, you can ensure your bag remains in excellent condition and serves its purpose effectively.
Frequently Asked Questions
Q1: How Often Should You Clean Your Cosmetic Bag?
For everyday users, a quick wipe-down of the interior once a week helps prevent buildup, while a thorough deep clean is recommended at least once a month. Frequent travelers or anyone who shares their bag with others may want to clean it more often. Regular maintenance is considerably easier than tackling months of accumulated residue in a single session—and it keeps your skincare and makeup products hygienic in the process.
Q2: Can You Wash a Cosmetic Bag in the Washing Machine?
Some fabric cosmetic bags are machine-washable, but checking the care label first is essential. If the label allows it, place the bag inside a mesh laundry bag, use a gentle cycle with cold water, and skip the dryer entirely—air drying preserves the shape and material far better. Bags with metal zippers, embellishments, or structured frames should not go in the washing machine, as hardware can snag, rust, or damage the drum.
Q3: What Is the Best Way to Remove Makeup Stains From a Cosmetic Bag?
The most effective approach depends on the product involved. Foundation and concealer respond well to a small amount of micellar water or makeup remover applied with a cotton swab. Lipstick stains may break down with rubbing alcohol dabbed gently on the mark. Powder-based products like eyeshadow should be brushed away before any liquid is applied—moisture can push pigment deeper into fabric fibers. Blotting rather than scrubbing prevents the stain from spreading further.
Q4: How to Remove Stains From a Cosmetic Bag?
To remove stains from a cosmetic bag, the first step is to identify what type of product has caused the stain. Different products respond differently to various cleaning methods.
For foundation and concealer stains, use a small amount of micellar water or makeup remover on a cotton swab. Gently dab at the stain until it starts to lift.
Lipstick stains can be removed with rubbing alcohol applied gently on the mark. Be sure to dab rather than rub, as this can spread the stain further.
Powder-based products, such as eyeshadow, should be brushed away before any liquid is applied. Moisture can push pigment deeper into fabric fibers, making it harder to remove.
Keep Your Cosmetic Bag as Clean as Your Skincare Routine
A clean cosmetic bag is, in a sense, the last line of defense in a good skincare routine. The care you put into choosing quality products and washing your face deserves a storage space that doesn’t quietly undermine it with bacteria and product contamination.
Follow these eight steps on how to clean a cosmetic bag regularly—and sidestep the common pitfalls outlined above—and you’ll extend the life of your bag, protect your skin, and keep your makeup collection in far better condition. One good deep clean this week is a reasonable place to start. Build the habit from there.

About the Author
Jane Hubbard is a passionate beauty expert with a wealth of experience in makeup, hair, and overall beauty techniques. After years of working as a hairdresser specialist, she followed her entrepreneurial spirit and started her own consultancy business.
Jane has always been driven by her desire to help others feel confident in their own skin, and she does this by sharing her knowledge, experiences, and practical beauty tips. Through her consultancy, she empowers individuals to embrace their unique beauty, offering tailored guidance that boosts both self-esteem and personal style.
Professional Focus
Specializes in makeup, hairstyling, and beauty consulting.
Provides personalized beauty advice, tips, and techniques to help individuals feel confident in their appearance.
Dedicated to staying up-to-date with the latest industry trends and developments.
Passionate about creating a comfortable and empowering experience for every client.
Education History
University of Craft and Design – Bachelor of Fine Arts (BFA) in Woodworking and Furniture Design
Woodworking Apprenticeships – Extensive hands-on training with skilled craftsmen to refine carpentry and furniture making techniques
Online Courses & Masterclasses – Continued education in advanced woodworking techniques, design principles, and specialized tools
Expertise:
Makeup artistry, hairstyling, and beauty consulting.
Personalized beauty techniques to enhance confidence and self-expression.
Educating clients on how to maintain their beauty routines at home.