

Sharpening a stainless steel cuticle pusher takes about 10–15 minutes with a fine-grit whetstone (1000–3000), honing oil, and rubbing alcohol. Work at a 15–20 degree angle, use light strokes, and sterilize the tool before and after. Plastic or rubber-tipped pushers cannot be sharpened.
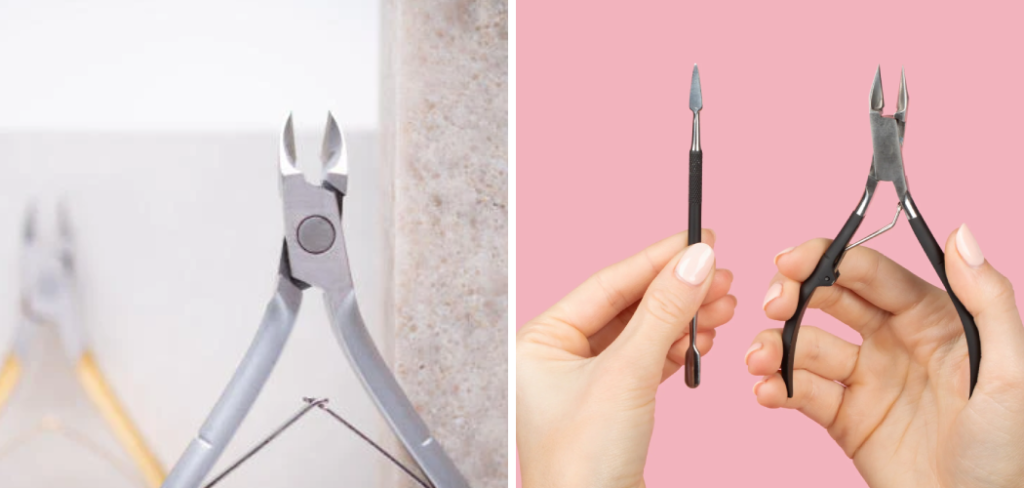
Cuticle pushers are easy to overlook—until yours stops working the way it should. A dull one doesn’t just underperform; it drags, scratches the nail bed, and turns what should be a quick grooming step into something genuinely irritating. The fix, thankfully, is much simpler than most people expect.
With the right supplies and a little patience, you can restore a worn-down cuticle pusher to near-original sharpness at home. No professional experience required. This guide on how to sharpen cuticle pusher walks through seven clear steps, covers the most common mistakes, and explains how to keep your tools performing well long after the sharpening session is done.
Can Every Cuticle Pusher Be Sharpened?
Material determines everything here. Stainless steel pushers are the best candidates—they hold an edge reliably, respond well to honing tools, and are the standard choice in professional nail settings for good reason.
Plastic and rubber-tipped pushers are a different story. These are typically disposable by design, and applying a whetstone to them will cause damage rather than improvement. Double-ended metal pushers with a spoon tip on one end and an angled blade on the other can usually be sharpened on the blade side, though the spoon tip rarely dulls in the same way and generally doesn’t need attention.
If you’re unsure what your pusher is made of, check the packaging or manufacturer’s description before reaching for a sharpening stone.
Signs Your Cuticle Pusher Needs Maintenance
A few clear signals suggest it’s time to sharpen before your next session:
- The tool drags across the cuticle rather than gliding
- You find yourself applying extra pressure just to push back the skin
- The edge looks visibly nicked or uneven under close inspection
- The tool leaves small scratches or irritation on the nail bed
- Performance feels noticeably weaker than when the tool was new, even after cleaning
Any one of these is reason enough to act.
Supplies You’ll Need
Gather these before you start:
- A sharpening stone or whetstone (fine grit, 1000–3000)
- Honing oil or water (to lubricate the stone)
- A clean cloth or towel
- Rubbing alcohol (for sterilization)
- Magnifying glass (optional, but genuinely useful for precision work)
7 Simple Step-by-step Guidelines on How to Sharpen Cuticle Pusher
Step 1: Clean and Sterilize the Tool
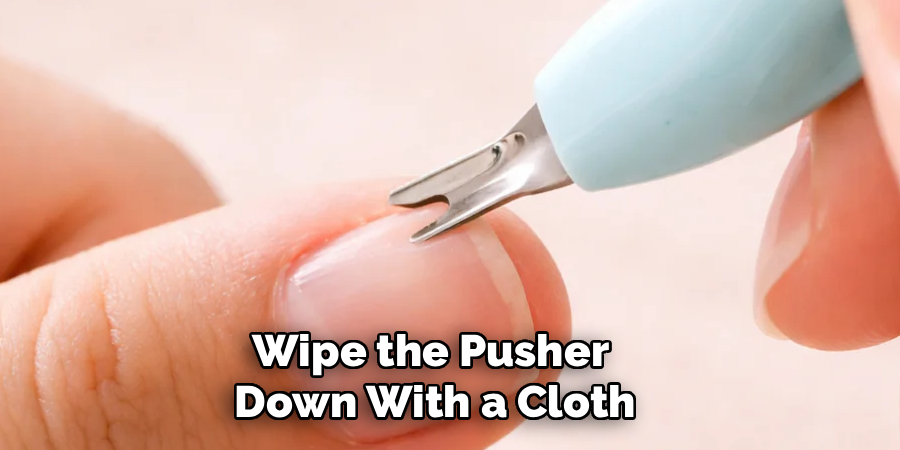
Start here, every time. Residue from lotions, oils, or old skin cells interferes with sharpening and can contaminate the tool’s surface. Wipe the pusher down with a cloth dampened in rubbing alcohol and let it dry completely before moving on. This step matters even more if the tool is used on multiple people.
Step 2: Inspect the Edge Closely
Hold the cuticle pusher up to a light source and examine the working edge carefully. A magnifying glass helps here—look for chips, flat spots, or areas where the metal has worn unevenly. A mildly dull pusher takes far less work than one that’s been sitting neglected for months. Taking a moment to assess the current state of the edge gives you a clearer sense of how much sharpening is actually needed.
Step 3: Prepare the Sharpening Stone
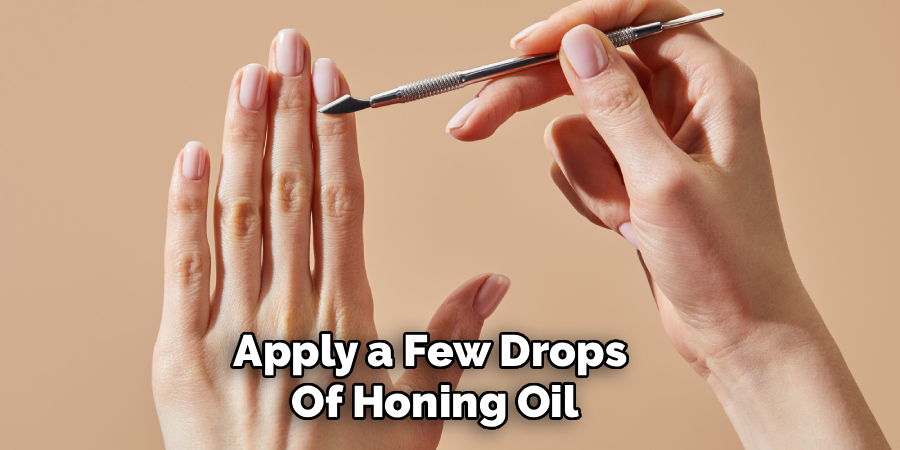
Place the whetstone on a stable, flat surface. Apply a few drops of honing oil or water to the surface—this lubricant keeps metal filings from clogging the grit and makes the process considerably more consistent. Let the lubricant sit for about 30 seconds before you begin. Skipping this step tends to produce uneven results and adds unnecessary wear to both the tool and the stone.
Step 4: Position the Pusher at the Correct Angle
Hold the cuticle pusher at roughly a 15–20 degree angle against the stone’s surface. This range matches the original bevel on most stainless steel nail tools.
Consistency matters more than precision here. Even small variations in angle across the session can create an uneven edge that actually performs worse than the dull original. When in doubt, go slightly shallower—more material can always be removed, but none can be added back.
Step 5: Begin Sharpening with Controlled Strokes
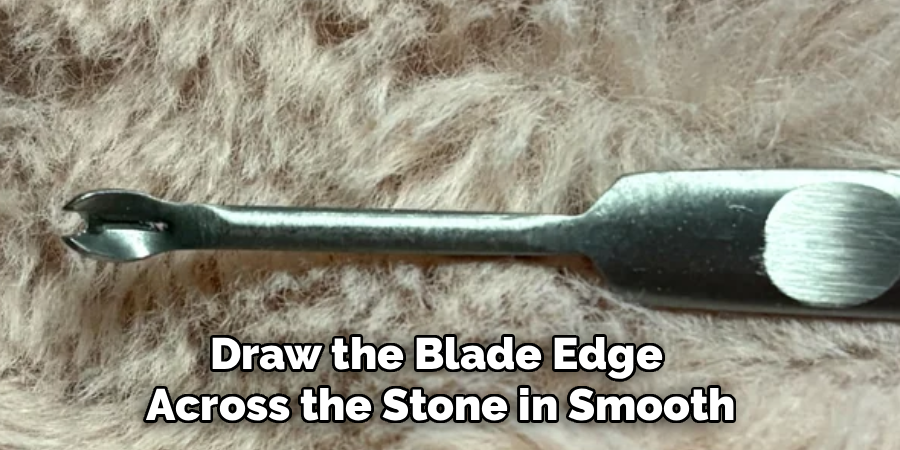
Using light, steady pressure, draw the blade edge across the stone in smooth, single motions from heel to tip. Aim for about 10–15 strokes per side, then switch if your pusher is double-sided.
Short or jerky strokes are the most common cause of uneven sharpening, leaving micro-nicks along the edge that worsen with use over time. Slow, deliberate movement produces far better results than rushing through it.
Step 6: Test the Edge for Sharpness
After the initial sharpening rounds, wipe the blade clean and test the edge. Pressing the tip gently against your thumbnail offers a quick read—a properly sharpened pusher should catch slightly rather than slide right off. Alternatively, try pushing back a small section of cuticle to feel the improvement directly. If the tool still drags or requires excess pressure, return to the stone for a few more strokes. Repeat the test-and-refine cycle until performance feels smooth and responsive.
Step 7: Clean, Sterilize, and Store the Tool
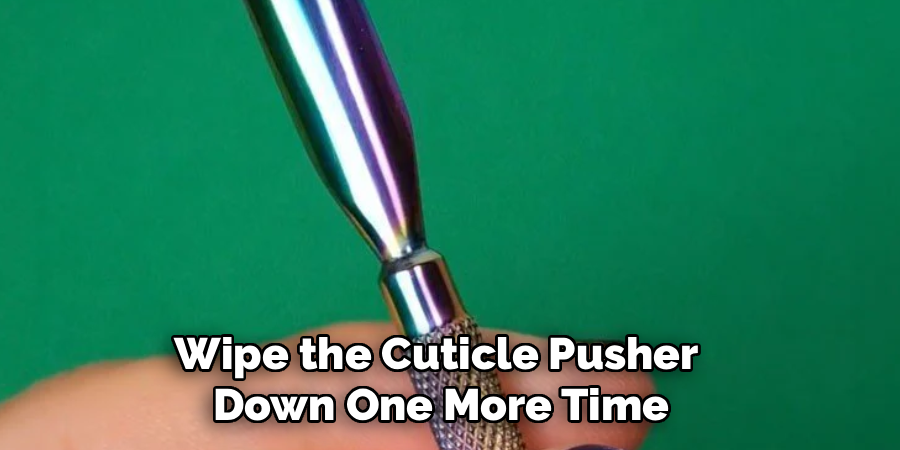
Once satisfied with the sharpness, wipe the cuticle pusher down one more time with rubbing alcohol to remove any metal residue from the sharpening process. Let it dry fully before storing it in a clean, dry case or tool roll. Proper storage protects the newly sharpened edge from contact with other tools—one of the simplest ways to extend the time between sessions.
Following these steps on how to sharpen cuticle pusher, you can maintain a sharp and effective tool for your nail care routine.
Common Mistakes to Avoid
A few missteps can quietly undermine an otherwise careful sharpening job:
- Too much pressure on the stone removes material too fast and risks damaging the edge
- Using a coarse-grit stone is far too aggressive for precision nail tools
- Skipping lubrication leads to inconsistent results and unnecessary wear
- An inconsistent angle throughout the process creates an uneven edge
- Sharpening without sterilizing first is a basic hygiene oversight that’s easy to prevent
How to Maintain a Cuticle Pusher?
Maintenance between sharpenings may extend the tool’s effective life more than the sharpening itself. After every use, wipe the pusher down with a clean cloth and sanitize it with rubbing alcohol. Avoid soaking metal tools in water for extended periods—prolonged exposure tends to cause corrosion over time, particularly at the joint between handle and blade.
A small amount of mineral oil applied periodically helps prevent oxidation and keeps the metal surface smooth. Store the tool separately from other metal implements to protect the edge from accidental contact. A monthly light honing—just a few gentle strokes on the whetstone—can sustain sharpness without requiring a full session each time.
When to Replace a Cuticle Pusher?
Even a well-maintained tool eventually reaches its limit. Deep pitting, rust that won’t clean off, or a blade that’s been gradually sharpened down to a fraction of its original width are all signs that replacement makes more sense than another sharpening session.
Cracks in the handle, a warped tip, or an edge that remains permanently uneven despite careful work indicate structural compromise. Sharpening a tool in that condition won’t restore its function—and could make it a safety risk. At that point, a quality replacement is simply the better investment.
Safety Tips
- Always sterilize the tool before and after use
- Keep fingers clear of the blade edge during sharpening
- Work on a stable, non-slip surface when using the whetstone
- Never test sharpness by running a finger directly across the edge
- Store sharpened tools in a protective case to prevent accidental cuts
Frequently Asked Questions
How Often Should You Sharpen a Cuticle Pusher?
For personal use, sharpening every three to six months is typically sufficient. Nail technicians who use their tools daily may find monthly sharpening more appropriate. Tracking performance rather than following a rigid schedule tends to be the most reliable approach—when the tool starts dragging, that’s your cue.
Can You Sharpen a Cuticle Pusher Without a Whetstone?
Yes. A fine-grit nail file or a leather strop can work for light touch-ups between full sessions, and a ceramic honing rod is viable for minor maintenance. These alternatives won’t address significant dulling the way a proper whetstone will, but they can help sustain an already-sharp edge.
Is It Safe to Sharpen Cuticle Pushers at Home?
Sharpening at home is safe when done carefully and with the right equipment. The main risks are removing too much material through aggressive sharpening or creating an uneven edge through inconsistent angle work. Following the steps above minimizes both.
What Grit Whetstone Should You Use for a Cuticle Pusher?
A fine-grit whetstone in the 1000–3000 range is the right choice for precision nail tools. Anything coarser removes too much metal too quickly and risks damaging a delicate edge.
Can You Sharpen a Double-Ended Cuticle Pusher?
Generally, yes—on the angled blade end. The spoon tip on double-ended pushers rarely dulls the same way and usually doesn’t require sharpening. Focus your attention on the working edge that actually contacts the cuticle.
Keep Your Tools Sharp, Keep Your Routine Smooth
A sharp cuticle pusher makes every manicure faster, more precise, and more comfortable. Learning to maintain your tools properly saves money on replacements and produces consistently better results.
Follow these seven steps on how to sharpen cuticle pusher, store everything correctly, and the difference will be noticeable almost immediately.

About the Author
Jane Hubbard is a passionate beauty expert with a wealth of experience in makeup, hair, and overall beauty techniques. After years of working as a hairdresser specialist, she followed her entrepreneurial spirit and started her own consultancy business.
Jane has always been driven by her desire to help others feel confident in their own skin, and she does this by sharing her knowledge, experiences, and practical beauty tips. Through her consultancy, she empowers individuals to embrace their unique beauty, offering tailored guidance that boosts both self-esteem and personal style.
Professional Focus
Specializes in makeup, hairstyling, and beauty consulting.
Provides personalized beauty advice, tips, and techniques to help individuals feel confident in their appearance.
Dedicated to staying up-to-date with the latest industry trends and developments.
Passionate about creating a comfortable and empowering experience for every client.
Education History
University of Craft and Design – Bachelor of Fine Arts (BFA) in Woodworking and Furniture Design
Woodworking Apprenticeships – Extensive hands-on training with skilled craftsmen to refine carpentry and furniture making techniques
Online Courses & Masterclasses – Continued education in advanced woodworking techniques, design principles, and specialized tools
Expertise:
Makeup artistry, hairstyling, and beauty consulting.
Personalized beauty techniques to enhance confidence and self-expression.
Educating clients on how to maintain their beauty routines at home.