

Individual eyelash extensions and clusters give you that fluttery, glamorous look, but taking them off is where many beginners run into trouble. Rushing the process, tugging at the lashes, or using the wrong products can damage your natural lashes and irritate your delicate eye area. That is why learning how to remove individual eyelashes safely is such a valuable skill for anyone who loves experimenting with lash looks at home.
The good news is that you do not need a professional appointment or expensive tools to do this well. With a little patience, the right supplies, and a gentle touch, you can protect your natural lashes and keep your eyes healthy. This guide walks you through everything step by step, so you feel confident from start to finish. Whether you are a total newcomer or someone who has struggled with removal before, you will find clear, practical advice here. Let us make lash removal simple, stress-free, and safe for your eyes.
Why Removing Individual Eyelashes Safely Matters
Your natural lashes are more fragile than they look, and improper removal is one of the fastest ways to damage them. When you pull or scrape at individual lashes, you risk yanking out your real lashes along with the extensions, leaving sparse gaps that take weeks or even months to grow back.
Safe removal also protects the sensitive skin around your eyes. Harsh rubbing or getting adhesive remover in your eye can cause redness, irritation, or even infection. By following gentle, proven techniques, you preserve your lash health, avoid discomfort, and save money over time. Think of it as caring for an investmenthealthy natural lashes mean better results with every future application, and a smoother, more comfortable experience whenever you decide to switch up your look.
Step-by-Step Guide to How To Remove Individual Eyelashes Safely
Step 1: Gather Your Supplies
Before you touch your lashes, set up a clean, well-lit workspace. Learning how to remove individual eyelashes safely starts with having the right tools within reach. You will want a professional lash adhesive remover, cotton swabs, cotton pads, a clean spoolie brush, micellar water, and a small mirror. Avoid oil-based products unless the remover recommends them, since the wrong formula can sting or blur your vision. Wash your hands thoroughly and tie back your hair. Having everything ready prevents mid-process fumbling, which is when accidents usually happen. A calm, organized setup makes the entire experience smoother and far less intimidating for first-timers.
Step 2: Cleanse Your Lash Area
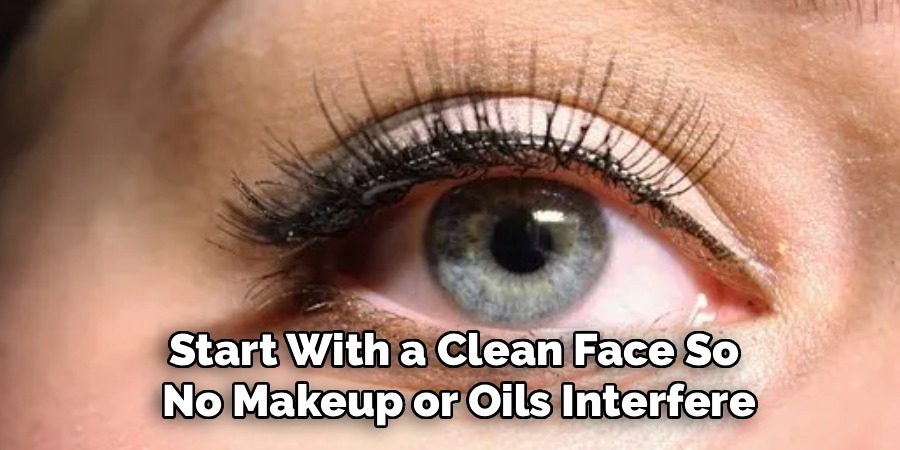
Start with a clean face so no makeup or oils interfere with the removal. Use a gentle, oil free cleanser or micellar water on a cotton pad to wipe away any eye makeup, mascara, or residue around the lash line. Be soft here, dabbing rather than scrubbing, since aggressive wiping can loosen extensions unevenly or irritate your skin. Let the area dry completely before moving on. A clean surface helps the remover work more effectively and lets you see exactly what you are doing. This small preparation step protects your eyes and sets you up for a cleaner, more controlled removal process.
Step 3: Apply the Adhesive Remover
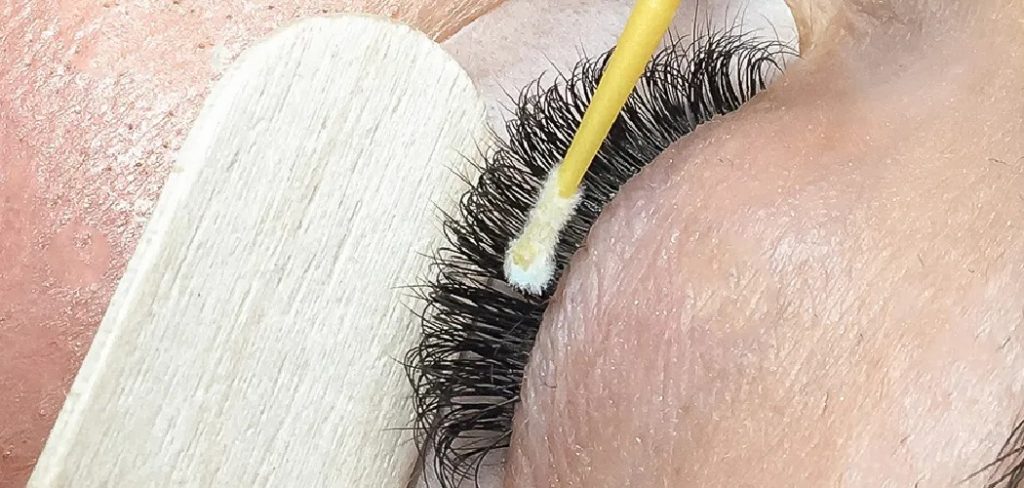
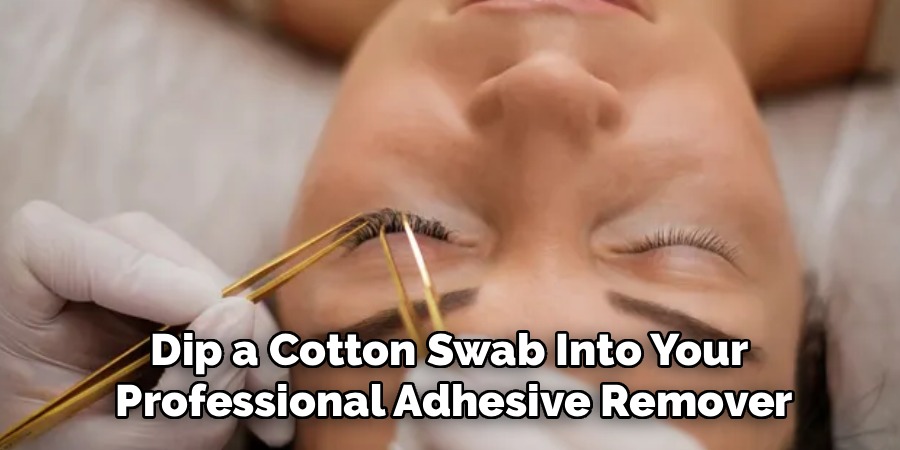
Dip a cotton swab into your professional adhesive remover, then carefully apply it to the base of each individual lash where the glue sits. Close the eye you are working on and keep your movements slow and precise. The goal is to coat the bonded area without letting the product run into your eye. Work in small sections rather than trying to soak all your lashes at once. Take your time here, because rushing leads to uneven results and missed spots. Proper application of remover is the heart of knowing how to remove individual eyelashes safely without any tugging or discomfort.
Step 4: Let the Remover Break Down the Glue
Patience pays off in this step. After applying the remover, wait for the recommended time on the product label, usually two to five minutes. During this pause, the formula gently dissolves the adhesive bond so the individual lashes slide off without force. Resist the urge to touch or pull at them while you wait. If you notice the glue is not loosening, apply a little more remover and give it extra time. Never force a lash that still feels stuck, as this is exactly what damages your natural lashes. Letting chemistry do the work keeps everything gentle and safe.
Step 5: Gently Slide Off the Lashes
Once the adhesive has softened, use your clean spoolie brush or a cotton swab to gently sweep the individual lashes away from your lash line. Brush in the direction of natural growth, using light, downward strokes. The extensions should release easily; if any resist, stop and reapply remover rather than pulling. Work slowly across the entire lash line, section by section, until every extension is gone. Keep a cotton pad nearby to wipe away loosened lashes and excess product. This gentle sliding motion is the safest way to lift extensions without stressing or breaking the delicate natural lashes underneath.
Step 6: Cleanse and Rinse Thoroughly
After all the individual lashes are off, it is time to remove any leftover adhesive remover and residue. Soak a fresh cotton pad with micellar water or a gentle cleanser and softly wipe along your lash line and eyelids. Follow up by rinsing your eyes with cool water to clear away any lingering product. Make sure no remover stays behind, since it can continue to irritate your skin or eyes if left on. Pat the area dry with a soft towel. This cleansing step leaves your lashes fresh, comfortable, and ready for aftercare.
Step 7: Nourish and Care for Your Natural Lashes
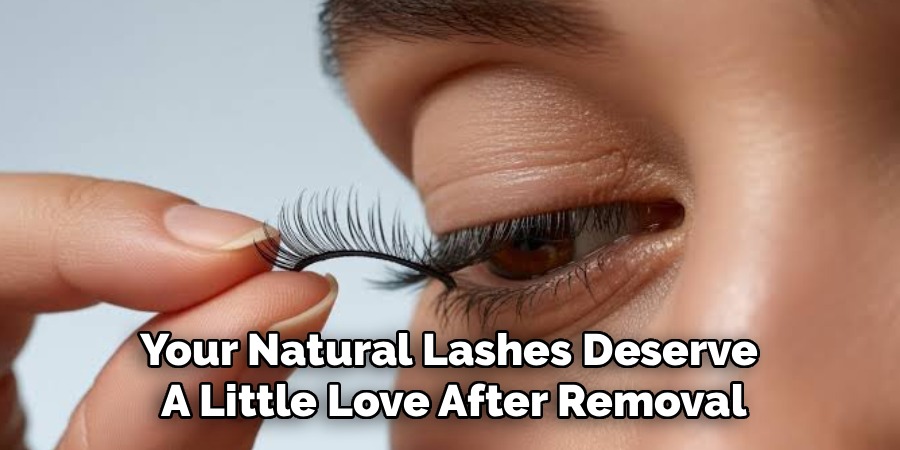
Your natural lashes deserve a little love after removal. Apply a nourishing lash serum or a small amount of castor oil to help condition and strengthen them overnight. Give your lashes a break of at least a few days before applying new extensions, allowing them to recover fully. Avoid rubbing your eyes, and be gentle when cleansing your face in the following days. Regular conditioning keeps your lashes strong, glossy, and ready for your next look. Treating your natural lashes well between applications ensures healthier growth and better, longer-lasting results every single time you wear extensions.
Frequently Asked Questions
Can I Remove Individual Eyelashes Without a Professional Remover?
It is possible, but a professional adhesive remover is strongly recommended for the best and safest results. Home alternatives like warm water compresses or oil can help loosen glue, but they work slowly and may not fully dissolve the bond. Using a dedicated remover reduces the risk of tugging and protects your natural lashes, so it is worth investing in a quality product.
How Long Does the Removal Process Take?
Most people spend around fifteen to twenty-five minutes on the full process, depending on how many extensions you have and how experienced you are. Beginners should not rush, so allow yourself extra time. The waiting period for the remover to break down the glue makes up a good chunk of this. Working slowly and gently always beats speeding through and risking damage to your lashes.
Will Removing Extensions Damage My Natural Lashes?
When done correctly, safe removal should not damage your natural lashes at all. Damage usually happens when people pull, rub, or force extensions off before the glue has dissolved. By following gentle techniques and giving the remover enough time to work, you protect your real lashes. Regular conditioning afterward keeps them strong, so your natural lashes stay healthy between applications.
What Should I Do If Remover Gets in My Eye?
If adhesive remover accidentally gets into your eye, do not panic. Immediately rinse your eye with plenty of cool, clean water for several minutes to flush out the product. Avoid rubbing, as this can worsen irritation. If stinging, redness, or discomfort continues after rinsing, contact a doctor or eye specialist. Working carefully with your eye closed during application greatly lowers this risk.
How Often Can I Remove and Reapply Individual Lashes?
To keep your natural lashes healthy, give them a rest of at least a few days between removal and reapplication. Constant back-to-back applications can stress your lashes over time. Using a nourishing serum during breaks supports stronger growth. Listen to your lashes: if they feel weak or sparse, extend the break a little longer before your next set for the best long-term results.
Conclusion
Taking off lash extensions at home does not have to be scary or risky. With the right supplies, a patient mindset, and gentle techniques, you can protect both your natural lashes and the delicate skin around your eyes. The key takeaways are simple: prepare properly, always let the adhesive remover do the hard work, never pull or force a stubborn lash, and give your lashes plenty of nourishment afterward.
Now that you know how to remove individual eyelashes safely, you can enjoy your favorite lash looks with total confidence. Every step you follow builds a healthier routine and stronger natural lashes over time. So go ahead, gather your tools, and give it a try at your own pace. Your eyes will thank you, and your future lash applications will look even better. Ready to treat your lashes with the care they deserve? Start today.

About the Author
Jane Hubbard is a passionate beauty expert with a wealth of experience in makeup, hair, and overall beauty techniques. After years of working as a hairdresser specialist, she followed her entrepreneurial spirit and started her own consultancy business.
Jane has always been driven by her desire to help others feel confident in their own skin, and she does this by sharing her knowledge, experiences, and practical beauty tips. Through her consultancy, she empowers individuals to embrace their unique beauty, offering tailored guidance that boosts both self-esteem and personal style.
Professional Focus
Specializes in makeup, hairstyling, and beauty consulting.
Provides personalized beauty advice, tips, and techniques to help individuals feel confident in their appearance.
Dedicated to staying up-to-date with the latest industry trends and developments.
Passionate about creating a comfortable and empowering experience for every client.
Education History
University of Craft and Design – Bachelor of Fine Arts (BFA) in Woodworking and Furniture Design
Woodworking Apprenticeships – Extensive hands-on training with skilled craftsmen to refine carpentry and furniture making techniques
Online Courses & Masterclasses – Continued education in advanced woodworking techniques, design principles, and specialized tools
Expertise:
Makeup artistry, hairstyling, and beauty consulting.
Personalized beauty techniques to enhance confidence and self-expression.
Educating clients on how to maintain their beauty routines at home.