

You’re standing at the mirror, palette open, and every color looks pretty. Yet you have no idea where any of it goes.
That hesitation is more common than you’d think. Most people own more eyeshadow than they ever actually use, mostly because the blending feels like a mystery.
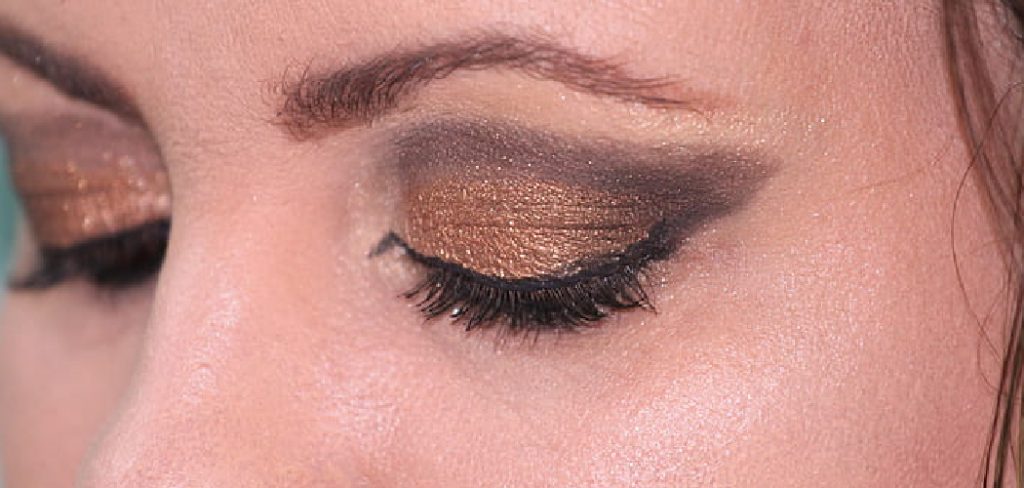
Here’s the reassuring part. Learning how to apply 3 shades of eyeshadow is far simpler than the beauty tutorials make it look, and it works on nearly every eye shape.
Three shades give you depth without the guesswork. A light one, a medium one, and a darker one, each doing a specific job. That’s the whole system, and once it clicks, you can build anything from a soft daytime look to a smoky evening one.
This guide walks you through the why, the how, and the small mistakes that quietly ruin an otherwise good look. No art degree required.
Why the Three-Shade Method Works So Well
There’s a reason makeup artists lean on this approach again and again. It borrows from how light and shadow already behave on your face.
The logic is quieter than it sounds, but it does the heavy lifting.
Creating Depth and Dimension
Your eyes naturally catch light in some places and fall into shadow in others. Three shades exaggerate that effect on purpose.
The light shade opens things up. The dark shade adds shadow where you want more shape. Together they make the eyes look more awake and defined, almost instantly.
A Look That Suits Everyone
This method flatters just about anyone, which is part of its appeal. You aren’t locked into one rigid formula.
Instead, you adjust placement and intensity to fit your own features. Hooded eyes, round eyes, deep-set eyes-they all respond to the same three-shade framework with small tweaks.
Simple Enough for Beginners
Piles of color tend to overwhelm new users. Three shades keep the whole thing manageable.
You always know what each color is for, so there’s no second-guessing mid-application. That clarity is what turns a nervous beginner into someone who actually enjoys the process.
Understanding Your Three Shades
Before any brush touches your lid, it helps to know what each shade actually does. Think of them as three roles rather than three random colors.
Once you understand the roles, choosing a palette gets a lot easier.
The Transition Shade
The lightest shade goes into the crease first, and it’s the unsung hero of the whole look. It softens the space where deeper colors will land.
Without it, harder colors tend to sit in a hard line. With it, everything blends into a smooth gradient that looks intentional rather than patchy.
The Mid-Tone Shade
The medium shade builds the first real hint of dimension. It warms up the lid and adds body to the look.
You’ll place it across the eyelid and into the crease, bridging the light and dark tones. It’s the color that stops the finished look from feeling flat.

The Deepest Shade
The darkest shade brings the drama. It defines the outer corner and the lash line, giving the whole eye its shape.
A little goes a surprisingly long way here. Used sparingly, it sculpts; used heavily, it can quickly overwhelm everything you built underneath.
Choosing Colors That Flatter You
Picking the right trio matters more than the technique itself, honestly. The wrong colors can undo careful blending.
Aim for shades that complement your eyes and match the mood you’re going for.
Matching Shades to Your Eye Color
Certain tones make specific eye colors pop, though none of this is a strict rule. Warm browns and coppers tend to make blue eyes look brighter.
Purples and plums often flatter green and hazel eyes. Brown eyes, lucky things, work with almost anything, which gives you room to experiment freely.
Everyday Versus Evening Palettes
Neutral browns and soft taupes suit daily wear. They’re forgiving, easy to blend, and hard to overdo.
Richer or smokier tones save the drama for evenings out. Same three-shade method, just deeper colors and a slightly heavier hand on the outer corner.
Finish Matters Too
Finish changes the entire mood, and people forget this constantly. A matte shade reads soft and understated.
A shimmer catches light and feels more festive. Mixing finishes, like a matte transition with a shimmery lid, tends to look more balanced than an all-shimmer or all-matte eye.
Tools You Need Before You Begin
You don’t need a drawer full of brushes to pull this off. A small, reliable set does most of the work.
Getting your space ready first also saves you from mid-application scrambling.
The Essential Eyeshadow Brushes
Three brushes cover the basics. A fluffy blending brush for the crease, a flat shader brush for packing color onto the lid, and a small detail brush for precise work.
If you’re only buying one to start, make it the fluffy blending brush. Blending is where most looks succeed or fall apart.
Prepping the Eyelid
A thin layer of primer or a touch of concealer on the lid makes a real difference. It gives the color something to grip.
Skip this step, and your shadow may crease or fade within hours. Prep it, and the color stays truer and blends more smoothly all day.
Setting Up Your Space
Good lighting is your friend here. Natural light shows you what the color actually looks like, not what your bathroom bulb pretends it is.
Keep a tissue or a clean fan brush nearby too. Fallout happens, especially with shimmers, and it’s easier to sweep away than to work around.
Step-by-Step Guide on How to Apply 3 Shades of Eyeshadow
This is the part that matters most, so take it slowly the first time. Every attempt after this one gets faster and more instinctive.
None of these steps are complicated. They just build on each other.
Step 1: Prime and Set Your Base
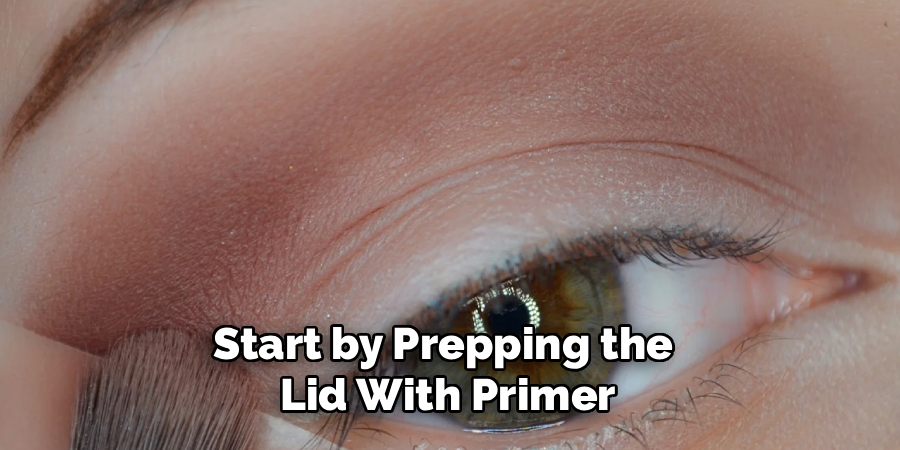
Start by prepping the lid with primer or a light dusting of powder. This gives the shadow a smooth, even surface to cling to.
A good base prevents creasing and keeps colors vibrant for hours. It feels like a skippable step, yet it quietly makes everything that follows blend better and last longer.
Step 2: Apply the Transition Shade in the Crease
Pick up your lightest shade on the fluffy blending brush. Sweep it across the crease using soft, back-and-forth motions, like a windshield wiper.
This first layer softens the area where deeper colors will sit. Keep a light hand and build gradually, since it’s far easier to add more color than to fix a heavy start.
Step 3: Build Depth With the Mid-Tone
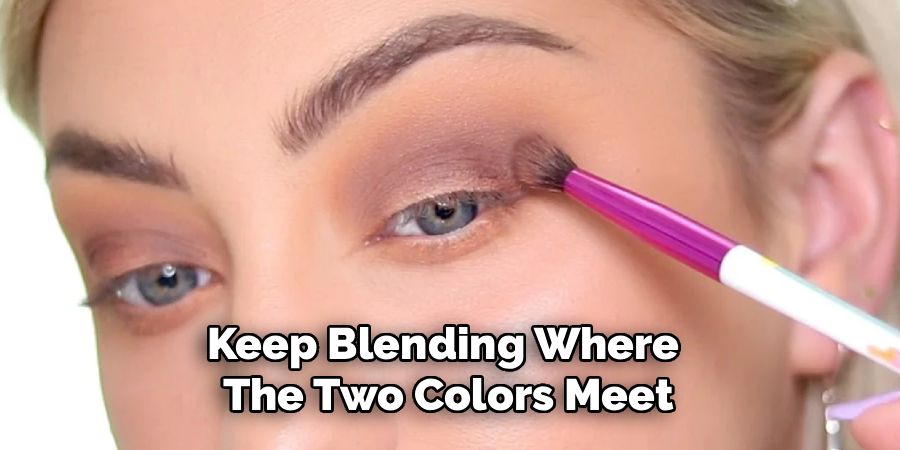
Now pack the medium shade onto the outer half of the lid, then blend it slightly up into the crease. This shade bridges the light and dark tones and adds warmth.
Keep blending where the two colors meet so no harsh lines appear. Concentrating the color toward the outer corner also creates a subtle lifted effect that flatters most eyes.
Step 4: Define With the Deepest Shade
Take the darkest shade and apply it to the outer corner in a small V or angled shape. Then blend inward gently, letting it fade into the mid-tone.
This step brings definition, so a little product goes a long way. Build slowly, and soften every edge as you go, or the drama tips into a hard, blocky mess.
Step 5: Highlight the Inner Corner and Brow Bone
A touch of your lightest shade, or a shimmer if you have one, brightens the whole eye. Dab it on the inner corner and along the brow bone.
This final pop of light lifts the look and makes your eyes appear more open. It’s a small move with an outsized effect, honestly.
Step 6: Blend, Clean Up, and Finish
Make one last pass with a clean blending brush to soften any lingering edges. This is the step that pulls everything together into something seamless.
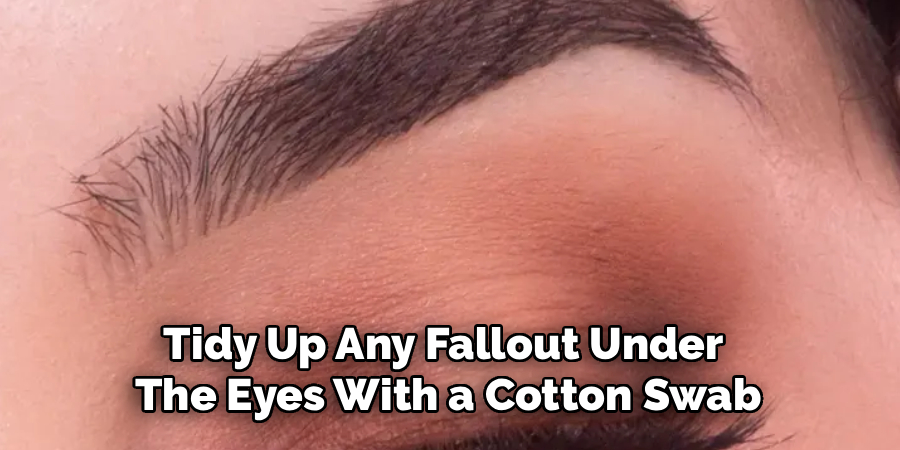
Tidy up any fallout under the eyes with a cotton swab and a little concealer. That quick cleanup gives the whole look a polished, finished feel.
Blending Tips for a Seamless Finish
Blending is the skill that separates a nice eye look from an obvious one. It’s also the part beginners rush the most.
A few small habits make a real difference here.
Use a Clean Blending Brush
A fresh, product-free brush softens transitions without dragging color around. It erases harsh lines rather than adding more pigment.
Wipe your brush on a tissue between shades if you don’t have a spare. A slightly dirty brush muddies the colors and works against you.
Blend in Small Circles
Gentle circular motions merge the shades far more naturally than back-and-forth scrubbing. The goal is a soft gradient, not a smear.
Patience beats pressure every single time. Light, repeated passes look better than one heavy, impatient one.
Build Gradually, Not All at Once
Thin layers of color give you control. You can always add more, but removing excess mid-look is a genuine pain.
So go slow. A soft, buildable approach keeps the finish easy to adjust and much harder to overdo.
Common Mistakes to Avoid
Early stumbles are part of learning this, so don’t be discouraged. Knowing the usual pitfalls just helps you skip past them faster.
Most mistakes trace back to one of these three habits.
Applying Too Much Product at Once
Heavy layers create patchiness and muddy your colors together. It’s the fastest way to lose the definition you were building.
A slow, buildable approach solves this almost entirely. Tap off excess product before it hits your lid, and you’ll rarely overdo it.
Skipping the Transition Shade
Leaving out that lightest crease color feels like a shortcut. In practice, it leaves harsh edges that are stubborn to blend away later.
The transition shade is what makes everything else look effortless. Skipping it tends to show, even if you can’t quite name why.
Forgetting to Blend the Corners
Unblended outer corners look blocky, almost stamped on. It’s a small oversight with a loud result.
One final soft pass with a clean brush fixes it. Never underestimate what that last bit of blending does for the whole look.
Quick Variations to Try Next
Once the basic method feels comfortable, the fun really starts. The same three steps stretch into completely different looks.
Here’s where you get to make it your own.
The Soft Daytime Look
Stick to muted, matte tones for something office-friendly. Soft browns and warm taupes keep it understated and effortless.
This version is nearly foolproof. Even a slightly heavy hand still reads as natural, which makes it a great everyday default.
The Smoky Evening Look
Deepen the colors and add a little shimmer to the lid. The same steps suddenly become a bold, night-out statement.
Focus an extra dark shade in that outer V, and blend it up a touch higher. That small shift takes the look from daytime to dramatic.
Playing With Color
Once you trust your blending, swap the neutrals for jewel tones. A deep plum, a forest green, a warm burnt orange.
The method stays identical, only the palette changes. That’s the quiet beauty of it, the technique carries you no matter how bold you get.
Conclusion
Learning how to apply 3 shades of eyeshadow comes down to understanding a simple, flexible system rather than chasing perfection. Three colors, three jobs, one smooth gradient.
There’s a real satisfaction in stepping back from the mirror and seeing bright, dimensional eyes you created yourself. Not a fluke, not luck, just a method you now understand.
The path stays the same each time. Prep the lid, lay down the transition shade, build with the mid-tone, define with the deepest color, then blend it all together.
So grab your palette today and give it a try. Treat each attempt as practice, because that’s exactly what turns this into second nature. Before long, you’ll reach for those three shades without thinking twice.

About the Author
Jane Hubbard is a passionate beauty expert with a wealth of experience in makeup, hair, and overall beauty techniques. After years of working as a hairdresser specialist, she followed her entrepreneurial spirit and started her own consultancy business.
Jane has always been driven by her desire to help others feel confident in their own skin, and she does this by sharing her knowledge, experiences, and practical beauty tips. Through her consultancy, she empowers individuals to embrace their unique beauty, offering tailored guidance that boosts both self-esteem and personal style.
Professional Focus
Specializes in makeup, hairstyling, and beauty consulting.
Provides personalized beauty advice, tips, and techniques to help individuals feel confident in their appearance.
Dedicated to staying up-to-date with the latest industry trends and developments.
Passionate about creating a comfortable and empowering experience for every client.
Education History
University of Craft and Design – Bachelor of Fine Arts (BFA) in Woodworking and Furniture Design
Woodworking Apprenticeships – Extensive hands-on training with skilled craftsmen to refine carpentry and furniture making techniques
Online Courses & Masterclasses – Continued education in advanced woodworking techniques, design principles, and specialized tools
Expertise:
Makeup artistry, hairstyling, and beauty consulting.
Personalized beauty techniques to enhance confidence and self-expression.
Educating clients on how to maintain their beauty routines at home.