

Compact foundation melts due to excess oil, heat, and humidity. To keep it in place all day, prep your skin with a moisturizer and mattifying primer, apply foundation in thin layers using a damp sponge, set with translucent powder, and finish with a long-wear setting spray. Blotting papers are your best friend for midday touch-ups.
Few things are more disheartening than catching your reflection mid-afternoon and realizing your foundation has slid halfway off your face. You spent time applying it. You thought it looked good when you left the house. And now? It’s creased, patchy, and somehow shinier than before you even started.
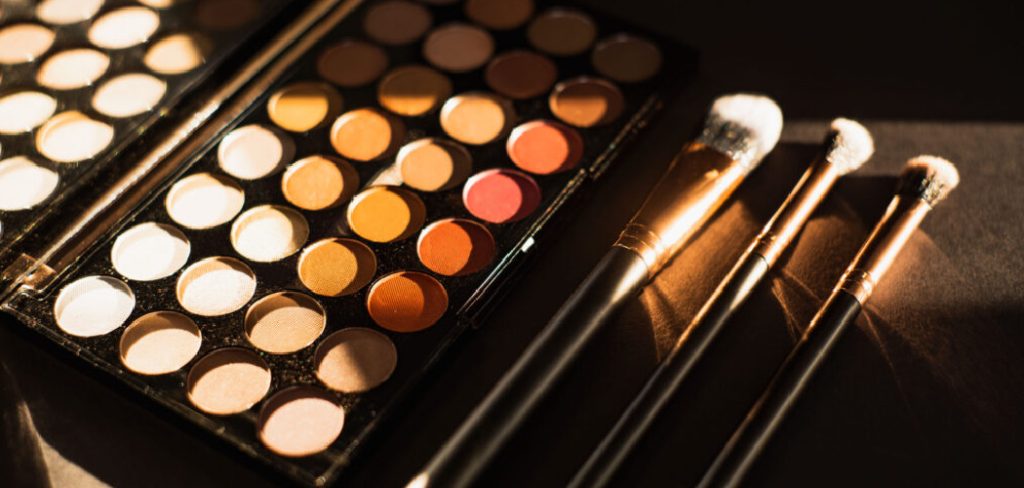
Compact foundation is genuinely one of the most practical makeup formats—portable, quick to apply, easy to touch up. But longevity is its Achilles’ heel, and without the right approach, even a high-quality formula will struggle to last past noon. The breakdown usually comes down to three things: oil production, heat, and the way the foundation is applied in the first place.
The encouraging part is that none of these factors is insurmountable. Makeup longevity is largely a technique problem, not a product problem—and technique can be learned. Whether your foundation melts by 11 a.m. or holds until mid-afternoon before giving out, the eight steps below will help you push that timeline significantly further. In this guide on how to keep compact foundation from melting, we will discuss the best practices for applying compact foundation to make sure it stays in place all day long.
8 Steps on How to Keep Compact Foundation From Melting
Step 1: Start With a Clean, Moisturized Base
Skin prep is where foundation wear actually begins—not with primer, not with the compact itself. Before anything else, cleanse your face to remove overnight oil, debris, and any residue that would prevent your makeup from adhering properly. Follow immediately with a lightweight, non-greasy moisturizer suited to your skin type.
This step matters more than most people realize. Dry or dehydrated skin creates an uneven surface, and foundation applied to an uneven surface clings inconsistently, separating and cracking throughout the day. A properly hydrated base gives the product something cohesive to grip onto. Skip this, and every step that follows becomes harder.
Step 2: Apply a Mattifying or Pore-Minimizing Primer
Think of primer as the adhesive layer between your skincare and your foundation. Once your moisturizer has absorbed, apply a thin, even coat of mattifying or pore-minimizing primer across your face—paying particular attention to the T-zone, where oil tends to break through first.
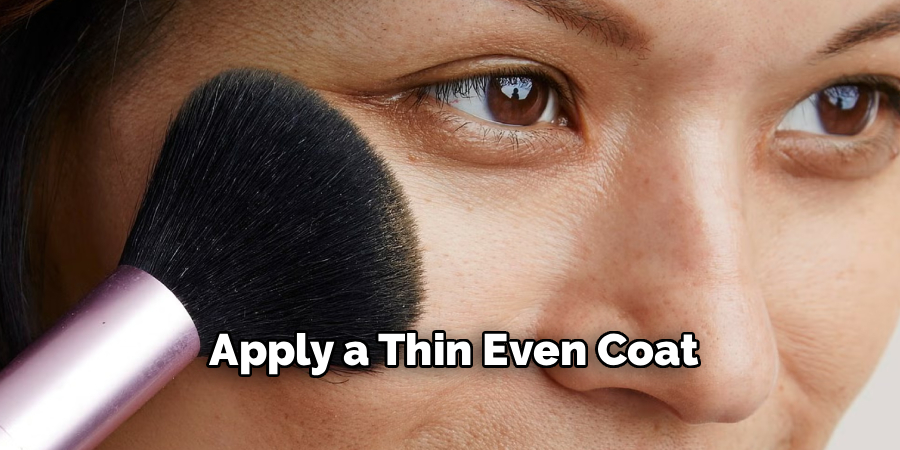
Primer smooths the skin’s surface and significantly extends how long foundation stays in place. For oily or combination skin, silicone-based or oil-control formulas work best. Dry skin types should look for a hydrating primer that won’t cause the foundation to look patchy or emphasized around dry patches as the day goes on. Skipping primer isn’t catastrophic, but it noticeably shortens your foundation’s lifespan.
Step 3: Choose the Right Application Tool
The tool you use to apply compact foundation affects not just the finish, but how long that finish holds. Fingers are the least ideal option—they transfer heat and natural oils directly onto your skin, which accelerates breakdown from the moment of application.
A damp beauty sponge is the gold standard for longevity. Rather than dragging the product across the surface of your skin, a sponge presses and stipples it in, creating a closer bond between the formula and your skin. The result is a finish that’s harder for heat and oil to dislodge. A flat foundation brush also works well and offers more precision, though the bouncing, pressing motion still matters regardless of which tool you choose.
Step 4: Build Coverage in Thin Layers
More foundation does not mean longer-lasting foundation. In fact, the opposite tends to be true. Thick layers are heavier, more prone to creasing, and more likely to slide as oil and sweat accumulate beneath them throughout the day.
Start with the lightest possible layer across your face, then build only where you actually need additional coverage—blemishes, redness, uneven areas. This layered approach gives your skin a chance to hold the product in place at each stage, rather than trying to anchor a single heavy coat all at once. Thin applications also tend to look more natural, which is an added bonus.
Step 5: Set With a Translucent Powder
Once your foundation is applied and blended, lock it in with a finely milled translucent setting powder. A fluffy brush works well for a light all-over dusting. For areas that are particularly oily—typically the nose, forehead, and chin—pressing powder in with a damp sponge (a technique sometimes called “baking”) provides more intensive oil control.
Setting powder absorbs moisture and excess oil, which are the two primary forces working against your foundation throughout the day. This single step can dramatically extend wear time, especially in warm or humid climates. If you’re concerned about a powdery appearance, choose a finely milled, tone-matching formula that melts invisibly into the skin.
Step 6: Finish With a Setting Spray
Setting spray is the step most people either skip entirely or underestimate. After your powder is applied, hold a long-wear setting spray about 10 to 12 inches from your face and mist in a slow figure-eight motion for even distribution.
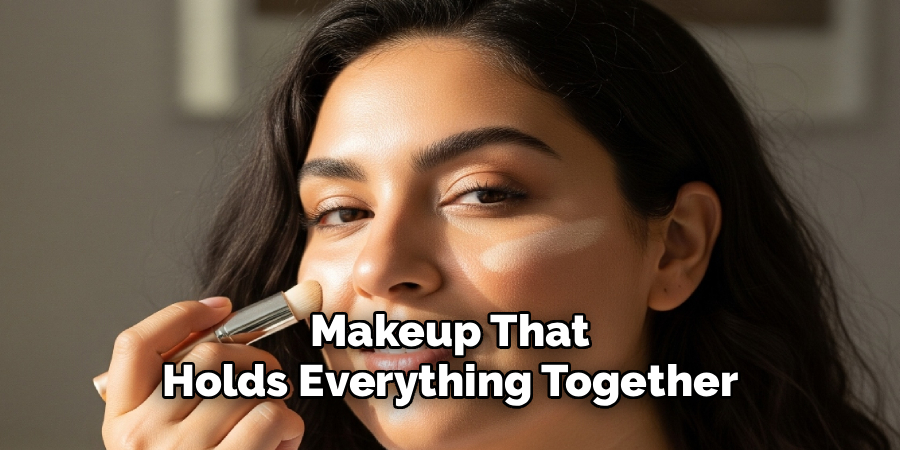
Setting sprays work by forming a thin, flexible film over your makeup that holds everything together and resists the forces—heat, oil, humidity—that cause foundation to shift. Many formulas also contain either hydrating or oil-control ingredients that actively support your foundation’s performance throughout the day. Look for products labeled “long-wearing,” “heat-proof,” or “humidity-resistant” for the most reliable results in challenging conditions.
Step 7: Blot, Don’t Rub
No matter how well you prep and set your foundation, your skin will continue producing oil. That’s normal and unavoidable. The key is how you respond to it when it appears.
Blotting papers are the right tool here. They absorb excess oil cleanly and without disturbing the foundation underneath—unlike tissues or fingers, which smear, tug, and break down the product significantly faster. Keep a small pack in your bag. When shine appears mid-afternoon, press a blotting paper gently against the skin for a few seconds. Do not wipe. The difference between blotting and rubbing is the difference between a quick fix and a full touch-up.
Step 8: Touch Up Strategically
When your foundation genuinely needs refreshing—not just blotting—do it carefully. Blot away excess oil first, then use your compact’s built-in sponge or a clean brush to press fresh product lightly onto the areas that need attention.
The motion matters: press and dab, not swipe. Swiping disrupts the foundation that’s already in place, leaving you with an uneven, layered look. Pressing adds product without disturbing what’s already there. Finish any touch-up with a quick mist of setting spray to blend the fresh layer seamlessly with the rest of your makeup.
Following these steps on how to keep compact foundation from melting can help you maintain a flawless, long-lasting look throughout the day.

Frequently Asked Questions
Why Does Compact Foundation Melt Even When Setting Powder Is Used?
Setting powder has limits. On very oily skin or in hot, humid climates, powder alone can become saturated with moisture before the day is done. For reliable all-day wear in these conditions, a combination of mattifying primer, setting powder, and a long-wear setting spray is typically necessary. It’s also worth checking that your foundation formula is appropriate for your skin type—hydrating or dewy formulas tend to break down significantly faster on oily skin, regardless of how well they’re set.
How Can Compact Foundation Be Prevented From Melting in Hot and Humid Weather?
Heat and humidity accelerate both oil production and sweat, which break down foundation faster than almost anything else. An oil-control or mattifying primer is essential in these conditions, as is a compact foundation specifically formulated for long wear or heat resistance. Set generously with translucent powder and always finish with a waterproof setting spray. Blotting papers for midday oil control are also worth carrying whenever temperatures are likely to rise.
Is a Sponge or a Brush Better for Applying Compact Foundation If Longevity Is the Goal?
A damp beauty sponge generally provides better longevity. The pressing and stippling motion pushes foundation into the skin rather than spreading it across the surface, creating a closer bond that’s more resistant to heat and oil. A brush is effective, but the product can sit slightly more on top of the skin, where it’s more vulnerable to the forces that cause melting. Whichever tool you use, pressing motions will always outperform sweeping or dragging.
Can the Order of Application Steps Actually Affect How Long the Foundation Lasts?
Yes—significantly. Applying setting spray before powder, for example, or skipping moisturizer before primer, disrupts the layering system that keeps foundation in place. Each step is designed to support the next. Changing the order or skipping steps mid-sequence can undermine the effectiveness of everything that follows.
What’s the Best Way to Touch Up Foundation Without Making It Look Cakey?
Blot excess oil first with a blotting paper, then press—never swipe—a small amount of compact foundation onto areas that need refreshing. Work in light, dabbing motions using the compact’s sponge or a clean brush. Finish with a light mist of setting spray to blend the fresh product with the existing layers underneath. This approach adds coverage without visibly stacking products.

What Makes a Long-Lasting Foundation Routine Actually Work?
The techniques above don’t require expensive products or a complicated morning routine. They require consistency and an understanding of why each step exists. Prep creates the surface. Primer creates the grip. Thin layers create stability. Powder and setting spray create the seal. Touch-up habits preserve what the earlier steps built.
These steps on how to keep compact foundation from melting work across most skin types and climates. There’s no need to overhaul everything at once—adding even two or three of these habits to your current routine will likely produce a noticeable improvement. Start small, pay attention to where your foundation tends to break down first, and adjust from there.

About the Author
Jane Hubbard is a passionate beauty expert with a wealth of experience in makeup, hair, and overall beauty techniques. After years of working as a hairdresser specialist, she followed her entrepreneurial spirit and started her own consultancy business.
Jane has always been driven by her desire to help others feel confident in their own skin, and she does this by sharing her knowledge, experiences, and practical beauty tips. Through her consultancy, she empowers individuals to embrace their unique beauty, offering tailored guidance that boosts both self-esteem and personal style.
Professional Focus
Specializes in makeup, hairstyling, and beauty consulting.
Provides personalized beauty advice, tips, and techniques to help individuals feel confident in their appearance.
Dedicated to staying up-to-date with the latest industry trends and developments.
Passionate about creating a comfortable and empowering experience for every client.
Education History
University of Craft and Design – Bachelor of Fine Arts (BFA) in Woodworking and Furniture Design
Woodworking Apprenticeships – Extensive hands-on training with skilled craftsmen to refine carpentry and furniture making techniques
Online Courses & Masterclasses – Continued education in advanced woodworking techniques, design principles, and specialized tools
Expertise:
Makeup artistry, hairstyling, and beauty consulting.
Personalized beauty techniques to enhance confidence and self-expression.
Educating clients on how to maintain their beauty routines at home.