

Nail polish bubbles form when air gets trapped between layers during application—usually from thick coats, shaking the bottle, or skipping nail prep. To prevent them: clean nails thoroughly, roll (don’t shake) the polish bottle, apply thin coats, and let each layer dry fully before moving on.
Getting a smooth, flawless manicure at home feels incredibly satisfying—until you spot those tiny, frustrating bubbles ruining your freshly painted nails. It’s one of the most common complaints among DIY manicure enthusiasts, and the good news is that bubbles are almost entirely preventable.
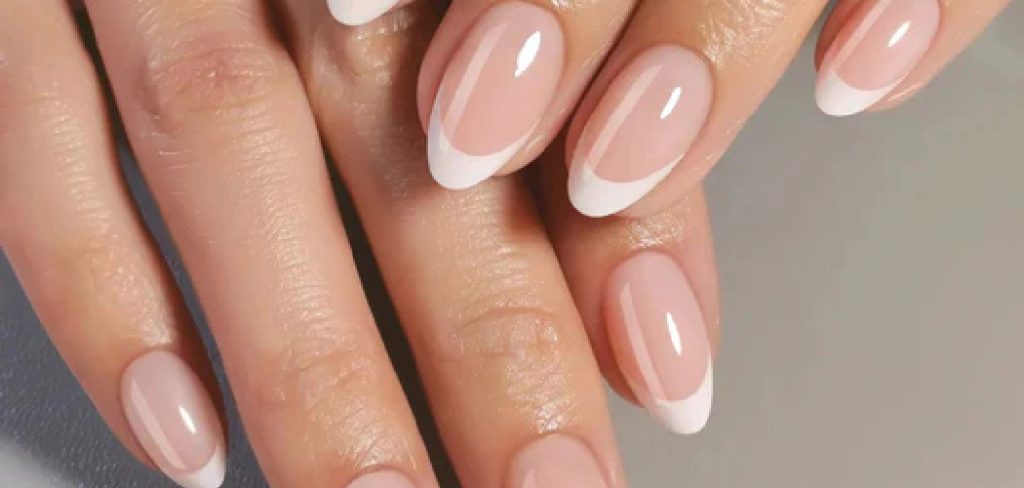
Most people assume bubbles come down to cheap polish. They don’t. Even high-end formulas will bubble when applied in thick layers, in a steamy bathroom, or before previous coats have had a chance to set. The culprit is almost always technique or environment—both of which are fixable.
This guide on how to avoid bubbles in nail polish covers exactly why bubbles form, how to stop them before they start, and what to do if they’ve already appeared. By the end, you’ll have everything you need to achieve a salon-quality finish every single time.
What Causes Bubbles in Nail Polish?
Bubbles form when air gets trapped between layers of polish during application. This typically happens when polish is applied too quickly, too thickly, or before a previous coat has fully dried. Shaking the bottle is another major culprit—it introduces air directly into the formula before you’ve even started painting.
Environmental conditions matter more than most people realize. High humidity, extreme temperatures, and fans or air conditioning blowing directly onto wet nails can all cause the surface to set before the deeper layers have had time to settle. Old or thickened polish presents a similar problem: once the formula has separated, it applies unevenly—and that unevenness shows up as bubbles.
Can Nail Polish Bubbles Be Prevented?
Yes. Bubbles are almost always the result of technique or environment, both of which you can control. Prevention comes down to three principles: proper nail prep, correct application technique, and appropriate drying conditions.
Follow the steps below, and you’ll notice a meaningful improvement from your very first attempt.
What Supplies Do You Need for a Bubble-Free Manicure?
Before you start, gather the following:
- Nail polish remover and cotton pads
- Nail file and buffer
- Base coat
- Nail polish of your choice
- Top coat
- Cuticle oil
- A clean, lint-free nail wipe or alcohol pad
Having everything within reach before you begin reduces rushed application—one of the leading causes of bubbles.
6 Simple Steps on How to Avoid Bubbles in Nail Polish
Step 1: Clean and Prep Your Nails Thoroughly
Start by removing any existing polish, oils, or residue using a nail polish remover. Even if your nails look clean, natural skin oils create a barrier that stops polish from adhering smoothly to the nail surface.
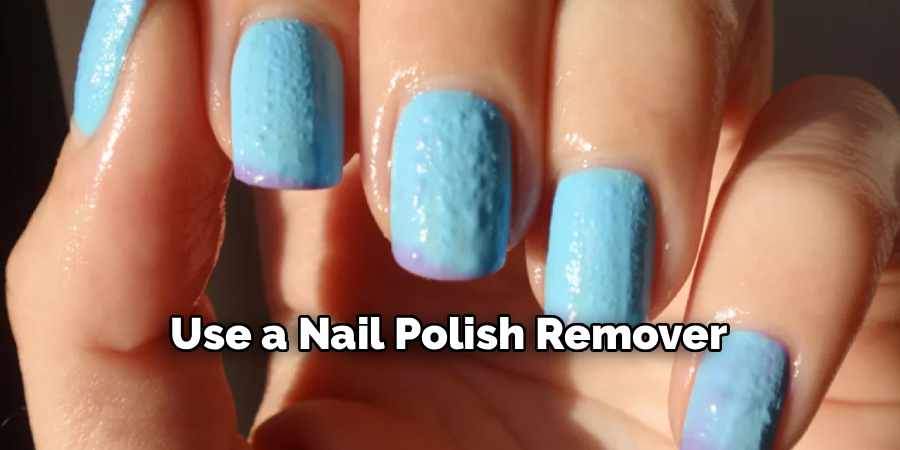
After removing old polish, wipe each nail with an alcohol pad or a lint-free nail wipe. This step may seem minor, but it creates the ideal surface for your base coat to bond to—and it significantly reduces the likelihood of bubbles forming beneath the first layer of color.
Step 2: File, Buff, and Shape Your Nails
Use a nail file to shape your nails, then lightly buff the surface of each one. Buffing removes ridges and creates a smooth, even base for your polish to sit on.
A few gentle passes are all you need—over-buffing can weaken the nail over time. Wipe away any dust with a clean brush or cloth before moving on, as debris left on the nail can cause uneven application and contribute to bubbling.
Step 3: Roll—Don’t Shake—Your Nail Polish Bottle
This is the step most people skip, and it makes a noticeable difference.
Shaking the bottle seems like the fastest way to mix the formula, but it incorporates air directly into the polish—and those bubbles transfer straight onto your nails. Hold the bottle between your palms and roll it back and forth gently for about 30 seconds instead. If the polish has been sitting for a while, give it a few extra rolls to ensure the formula is fully combined before you open it.
Step 4: Apply a Thin, Even Base Coat
A base coat is non-negotiable. It creates a smooth, adhesive surface for your color, prevents staining, and—critically—reduces the chance of bubbles forming in subsequent layers. Apply it in thin, even strokes, starting from the center of the nail and sweeping toward each side.
Allow the base coat to dry completely before moving on. Rushing this step is one of the most common reasons bubbles appear later. If the base coat isn’t fully set, the color coat drags it and creates an uneven surface. Patience here pays off.
Step 5: Apply Nail Polish in Thin, Controlled Layers
Apply color in thin, controlled layers rather than one thick coat. Thick applications take far longer to dry, trap air more easily, and are significantly more likely to bubble and peel. Two or three thin coats will always outperform one heavy layer.
Use the three-stroke method: one stroke down the center, then one on each side. Avoid going back over sections you’ve already painted—this disturbs the surface. Let each coat dry for at least two minutes before applying the next. In a humid environment, give it three to five minutes to be safe.
Step 6: Seal Everything With a Quality Top Coat
Once your final color coat is completely dry, apply a top coat to lock in your manicure, add shine, and protect against chipping. Like the base coat, apply it in thin, even strokes without pressing too hard.
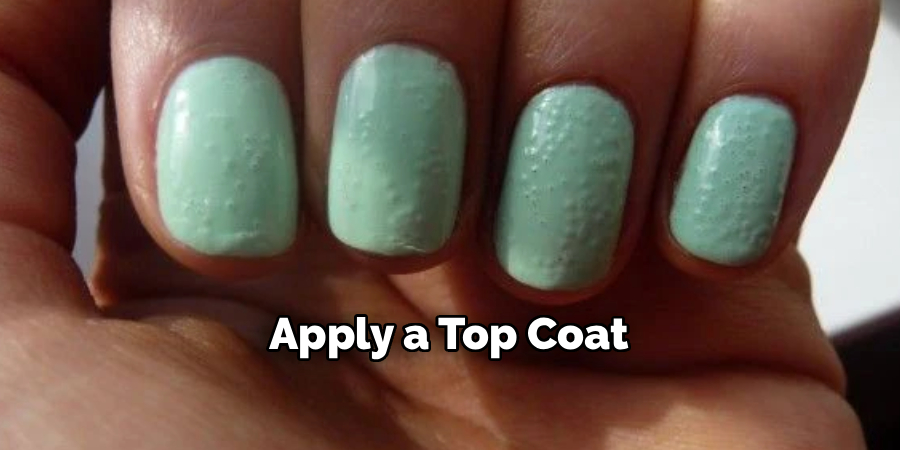
Cap the free edge of your nail by running the brush along the very tip—this seals the edge and prevents lifting, extending the life of your manicure. Finish with a drop of cuticle oil to hydrate the surrounding skin and give your nails a polished, professional appearance.
Following these steps on how to avoid bubbles in nail polish, your next at-home manicure will come out flawless and bubble-free.
Common Mistakes That Cause Nail Polish Bubbles
Even experienced nail painters fall into these traps. The most frequent mistakes include:
- Applying polish in thick layers
- Skipping the base coat
- Working in a humid or hot environment
- Using old or separated polish
- Painting nails too close to a heat source, like a hair dryer or heater, which causes the surface to dry too fast and traps air beneath it
How to Fix Bubbles After They Appear?
Spotted bubbles after your polish has dried? If the polish is still wet, gently smooth the surface with a brush lightly dipped in nail polish remover—this can sometimes flatten small bubbles before they set. For dried bubbles, buff the surface lightly, then reapply a thin layer of polish and top coat.
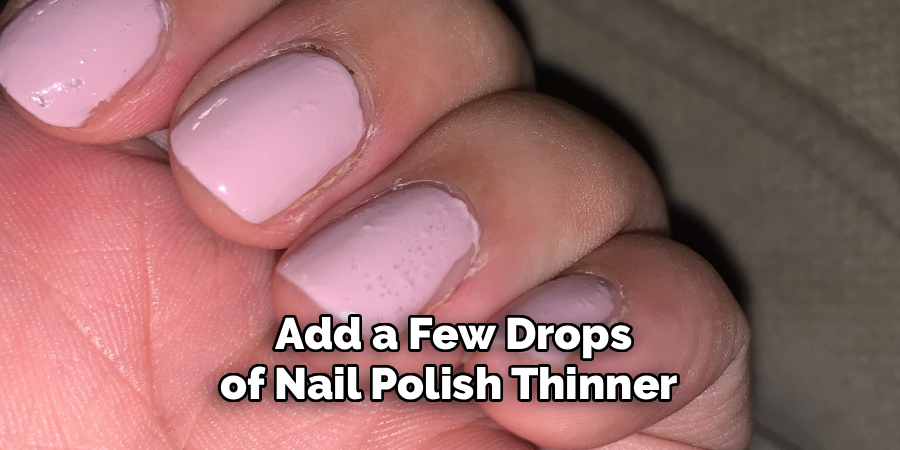
If the bubbles are widespread, removing the entire layer and starting fresh is the most effective solution. While it feels tedious, a clean application will always look better than patching over a heavily bubbled coat. It’s also worth checking whether your polish has thickened—adding a few drops of nail polish thinner (not remover) can restore the formula to a more workable consistency.
Tips for Long-Lasting, Bubble-Free Nails
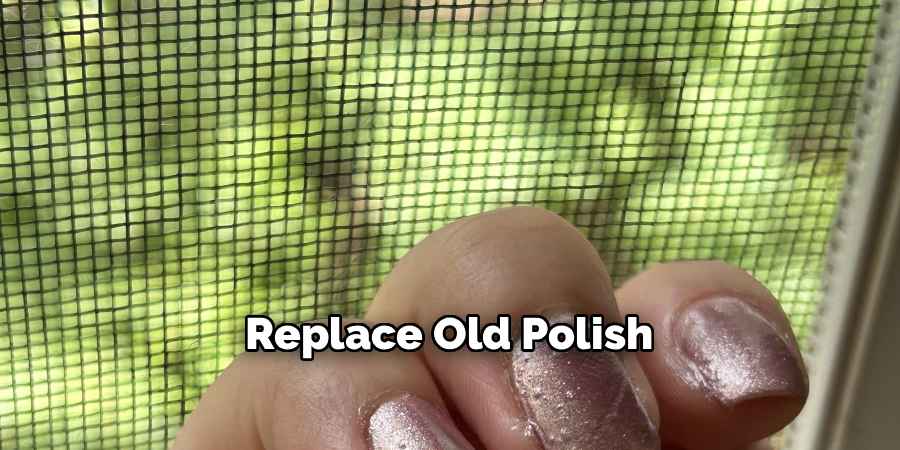
Small habits make a bigger difference than most people expect. Store your nail polish in a cool, dark place—heat and light degrade the formula over time, making it more prone to bubbling. Replace old polish that has become thick, stringy, or separated, as no amount of technique fully compensates for a formula that’s past its prime.
Avoid painting your nails immediately after a shower or bath, when your nails are hydrated and slightly swollen. Wait at least 30 minutes to let them return to their natural state. Apply cuticle oil daily to keep the surrounding skin healthy, which also helps polish adhere more evenly and last longer between touch-ups.
Common Myths About Nail Polish Bubbles
Myth: Bubbles only appear because of low-quality polish.
Not true. Even premium formulas bubble when applied incorrectly or in the wrong conditions. Technique matters more than price point.
Myth: Blowing on your nails speeds up drying without causing damage.
Blowing introduces moisture from your breath, which may increase the risk of bubbling—particularly in a humid room. Air drying is the better option.
Myth: Thick coats save time.
Thick coats actually take longer to dry than thin ones, and are far more likely to bubble, crack, and peel.
Frequently Asked Questions
Why Do My Nails Always Have Bubbles Even When I Apply Thin Coats?
If you’re applying thin coats and still seeing bubbles, the issue is likely environmental or related to your polish formula. High humidity is a very common trigger, as moisture in the air reacts with the polish as it dries. Try applying your polish in an air-conditioned room and ensure your nails are completely clean and oil-free before you begin. Also, check that your polish hasn’t thickened or expired—older formulas are significantly more prone to bubbling regardless of how carefully they’re applied.
Does a Base Coat Really Make a Difference in Preventing Nail Polish Bubbles?
Yes. Skipping the base coat is one of the fastest ways to end up with a bubbled manicure. A base coat creates a smooth, even surface for your color to adhere to and prevents oils on the nail from interfering with the formula. It also improves the longevity of your manicure. Ridge-filling formulas are especially helpful for nails with uneven surfaces, as they create an extra-smooth canvas before color application.
How Long Should I Wait Between Nail Polish Coats to Avoid Bubbles?
As a general rule, wait at least two minutes between each coat of nail polish. In humid or warm conditions, allow three to five minutes to be safe. The base coat should also be fully dry before you apply your first color coat. Rushing between coats is one of the top causes of bubbling because lower layers don’t have time to set before the weight of the next coat is applied on top.
Is Old Nail Polish More Likely to Cause Bubbles?
Yes. As nail polish ages, the formula separates and thickens, making it harder to apply evenly. This uneven consistency traps air more readily during application. Adding a few drops of nail polish thinner (not remover) can restore an older formula temporarily, but if the polish is very thick or stringy, replacing it is the more reliable solution.
Does Room Temperature Affect Nail Polish Bubbling?
It can. Applying nail polish in a very warm room causes the surface to dry faster than the deeper layers, which traps air and leads to bubbles. Extremely cold conditions can thicken the formula and make it harder to apply smoothly. A cool, stable room temperature—around 65–75°F (18–24°C)—tends to produce the most consistent results.
Nail the Perfect Manicure Every Time
Bubbles in nail polish are frustrating, but they’re not inevitable. Start with clean, oil-free nails, roll your polish instead of shaking it, and build your color in thin, deliberate layers. Those small adjustments make a meaningful difference—and once they become habit, a smooth, professional finish stops feeling like a lucky outcome and starts feeling routine.
Give these steps a try on your next manicure. Thanks for reading this guide on how to avoid bubbles in nail polish.

About the Author
Jane Hubbard is a passionate beauty expert with a wealth of experience in makeup, hair, and overall beauty techniques. After years of working as a hairdresser specialist, she followed her entrepreneurial spirit and started her own consultancy business.
Jane has always been driven by her desire to help others feel confident in their own skin, and she does this by sharing her knowledge, experiences, and practical beauty tips. Through her consultancy, she empowers individuals to embrace their unique beauty, offering tailored guidance that boosts both self-esteem and personal style.
Professional Focus
Specializes in makeup, hairstyling, and beauty consulting.
Provides personalized beauty advice, tips, and techniques to help individuals feel confident in their appearance.
Dedicated to staying up-to-date with the latest industry trends and developments.
Passionate about creating a comfortable and empowering experience for every client.
Education History
University of Craft and Design – Bachelor of Fine Arts (BFA) in Woodworking and Furniture Design
Woodworking Apprenticeships – Extensive hands-on training with skilled craftsmen to refine carpentry and furniture making techniques
Online Courses & Masterclasses – Continued education in advanced woodworking techniques, design principles, and specialized tools
Expertise:
Makeup artistry, hairstyling, and beauty consulting.
Personalized beauty techniques to enhance confidence and self-expression.
Educating clients on how to maintain their beauty routines at home.