
Are you tired of getting fake eyelashes that don’t stay on or look natural? Don’t worry; applying eyelashes underneath is a simple and effective way to achieve the perfect false look. Whether you have hooded eyes, monoids, or just want an extra boost of volume and length, this technique can work for anyone.
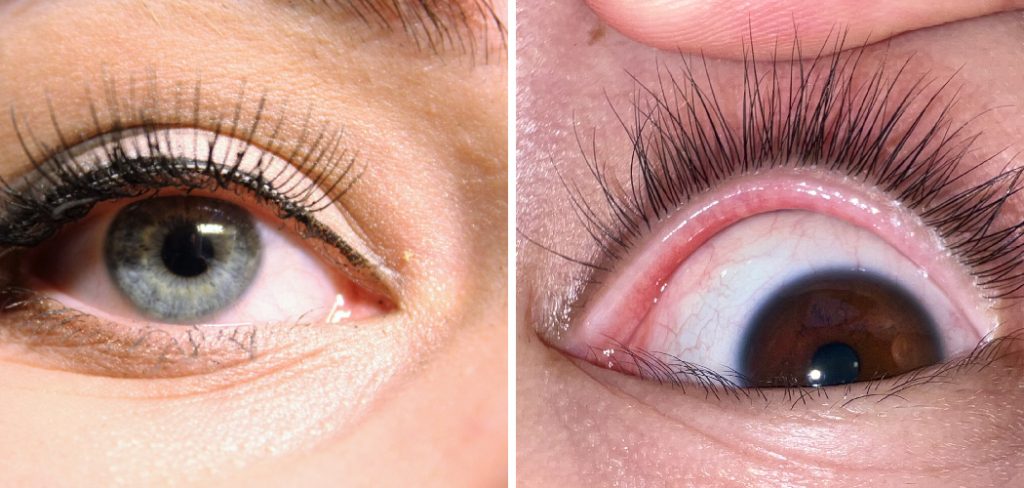
Applying eyelashes underneath, also known as the “underlash” or “invisible lash” method, has gained popularity for its natural look. This technique involves placing lash extensions on the underside of your natural lashes, making the lash line appear seamless and more subtle than traditional methods. Whether you are aiming for a more understated enhancement or looking to avoid the discomfort sometimes caused by lashes applied above the natural lash line, mastering this approach can elevate your makeup game.
In this guide, we will walk you through the steps on how to apply eyelashes underneath.
What Will You Need?
Before diving into the actual process, let’s ensure you have all the necessary tools and products. Here is a list of items you will need for this technique:
- Eyelash extensions (preferably with a shorter length and thinner band)
- Lash glue
- Tweezers
- Mascara (optional)
- Eyeliner (optional)
Once you have these items, you are ready to start the application process.
10 Easy Steps on How to Apply Eyelashes Underneath
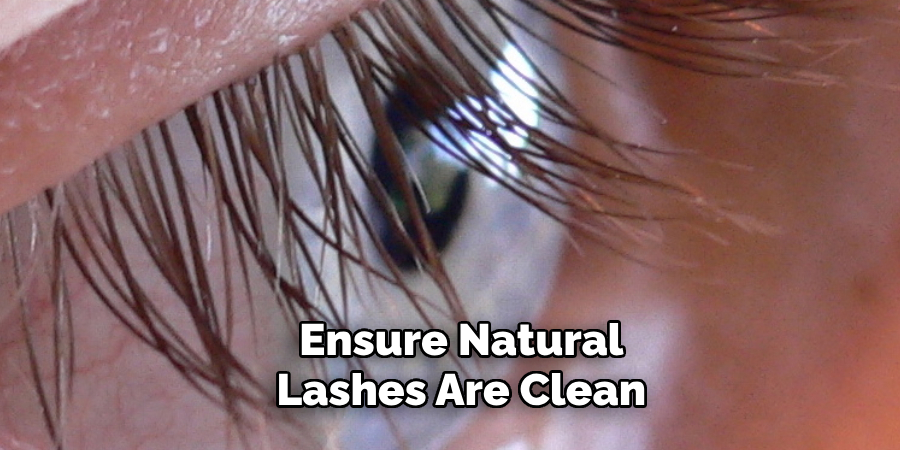
Step 1: Prep Your Natural Lashes
Before you start applying the extensions, you must ensure your natural lashes are clean and free of any makeup, oil, or dirt. Use a gentle eye makeup remover or a lash cleanser to clean your lashes thoroughly. This step is crucial because any residue on your lashes can prevent the lash glue from adhering properly, leading to less durable results. Once your lashes are clean, use an eyelash curler to lift them naturally. This will make the application of the extensions easier and more seamless. If you prefer, you can apply a light coat of mascara to your natural lashes to add some extra volume and help support the extensions, though this step is optional.
Step 2: Apply Adhesive to the Eyelash Extension
Take one lash extension and hold it with your tweezers. Apply a thin layer of lash glue along the band of the extension. Be careful not to use too much glue, as this can cause the lashes to clump or appear unnatural. Wait a few seconds for the glue to become tacky; this will help the extension adhere better to your natural lashes. While waiting, ensure you have good lighting and a steady hand for the next step.
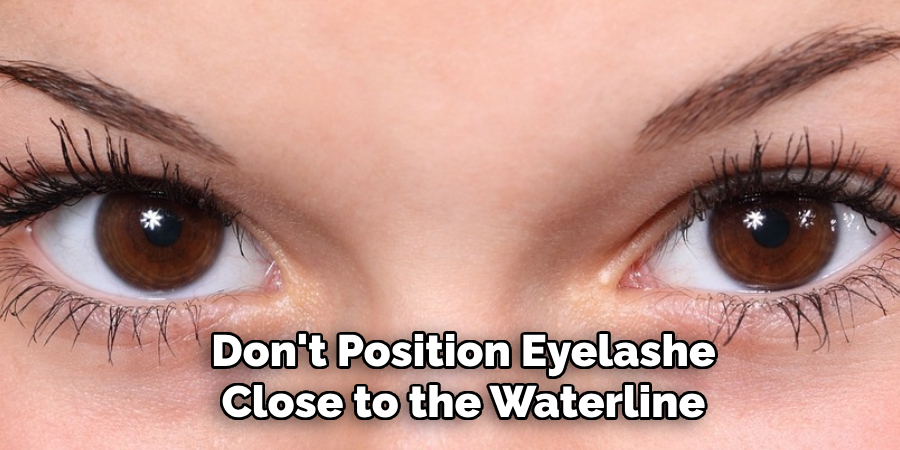
Step 3: Position the Eyelash Extension Underneath Your Natural Lashes
Using your tweezers, carefully position the lash extension underneath your natural lashes, close to the lash line but not touching the waterline. Getting as close to the roots as possible is crucial for a seamless look, but be careful not to place the extension on your skin. Gently press the extension onto your natural lashes, ensuring they adhere well. You might need to adjust the position slightly to ensure it aligns correctly with your natural lash curve. Hold the extension in place for a few seconds to let the glue dry and set. Repeat this process for each lash extension, working from the outer corner of your eye towards the inner corner for a more natural progression.
Step 4: Repeat the Process for Each Eye
Once you have completed applying the lash extensions to one eye, it’s time to move on to the other. Follow the same steps (prepping your natural lashes, applying adhesive to the eyelash extension, and positioning the extension underneath your natural lashes) for your other eye. Ensure you work carefully and precisely to maintain a balanced and symmetrical look. It might take a bit of practice to get both eyes looking identical, but with patience, you’ll achieve a flawless finish. Remember, the goal is to create a natural, seamless appearance, so take your time to align each extension correctly.
Step 5: Check and Adjust
After you have applied the lash extensions to both eyes, take a close look in the mirror to ensure that all the extensions are properly aligned and securely attached to your natural lashes. Use your tweezers to gently adjust their position if you notice any misaligned lash extensions or not adhering well. Ensure the glue is completely dry before adjusting to avoid pulling off the extensions. This step is crucial for achieving a flawless and natural look, so take your time to perfect it.
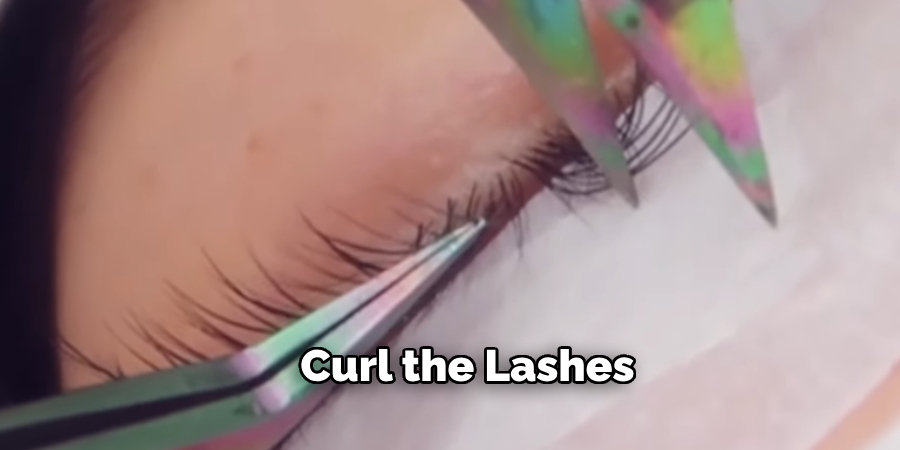
Step 6: Curl the Lashes (Optional)
Once the lash glue has fully dried and the extensions are securely in place, you can use an eyelash curler to gently lift your lashes and blend the extensions with your natural lash line. Be cautious during this step to avoid pulling or dislodging the extensions. If done correctly, curling your lashes can enhance the appearance of both length and volume, making the overall look even more natural and seamless. If you prefer not to use a curler, you can skip this step, as the extensions themselves should already provide a noticeable lift and enhancement.
Step 7: Apply Eyeliner (Optional)
If you want to enhance the look further and ensure that your lash line appears even more seamless, you can apply a thin layer of eyeliner along your upper lash line. Choose a liquid or gel eyeliner for precise application, and make sure to get as close to the lash roots as possible. This step can help to cover any slight gaps between the extensions and your natural lashes, providing a polished and cohesive finish. Whether you prefer a subtle line or a more dramatic look, eyeliner can add the perfect finishing touch to your underlash application.
Step 8: Apply Mascara (Optional)
You can apply a light coat of mascara for added definition and to blend the extensions seamlessly with your natural lashes. Opt for a not-too-thick or heavy mascara, as this could weigh down the extensions or cause them to clump together. Starting from the base of your lashes, gently wiggle the mascara wand while moving it upward through your lash extensions to the tips. This technique helps avoid clumping and ensures an even application. Be cautious to avoid applying too much mascara, as overloading the lashes can create an unnatural look and reduce the longevity of the extensions. Once applied, allow the mascara to dry completely before touching or adjusting your lashes.
Step 9: Maintenance and Care
To prolong the life of your underlash extensions and keep them looking fresh, it’s important to follow a few maintenance and care tips. Avoid using oil-based makeup removers or skincare products around your eyes, as oil can weaken the lash adhesive and cause the extensions to fall off prematurely. Instead, use a gentle, water-based makeup remover and cleanse your lashes with a lash-specific cleanser. Additionally, refrain from rubbing or pulling at your lashes, and try to sleep on your back to avoid pressure on the extensions. Regularly brushing your lashes with a clean spoolie brush can help keep them tangle-free and tidy.
Step 10: Schedule Regular Touch-Ups
To maintain the fullness and appearance of your underlash extensions, it’s recommended to schedule regular touch-ups with your lash technician. Most lash extensions will naturally shed over time as your natural lashes go through their growth cycle, typically requiring touch-ups every 2 to 3 weeks. During these appointments, the technician will replace lost extensions and ensure they remain well-aligned and securely attached. Consistent maintenance keeps your lashes looking their best and helps prevent damage to your natural lashes. Regular touch-ups will keep your lash extensions looking fresh and voluminous for as long as you desire.
Your underlash extension application guide will be more helpful and comprehensive if it avoids harsh termination phrases and provides practical tips and recommendations instead.

5 Things You Should Avoid
- Using Excessive Glue: Applying too much glue can cause the lashes to become clumpy and difficult to attach properly. Use a thin, even layer for the best results.
- Skipping the Natural Lash Prep: Ensure your natural lashes are clean and free of oil or makeup. Failing to do so can prevent the eyelash adhesive from sticking properly.
- Not Allowing the Glue to Become Tacky: Applying the lashes immediately after adding glue will cause them to slip out of place. Let the glue sit for about 20-30 seconds to become tacky before application.
- Applying Lashes Too Close to the Waterline: Positioning eyelashes too close to the waterline can cause irritation and discomfort. Place them slightly above the natural lash line for a more comfortable fit.
- Ignoring Eyelash Curvature: Not following the natural curve of your eye can make the lashes look unnatural and pop off more easily. Trim the lashes if necessary to match the curvature of your eyelid.
Conclusion
How to apply eyelashes underneath, often referred to as the “underlash” technique, can provide a more seamless and natural look.
Begin by ensuring your natural lashes are thoroughly cleaned and residue-free. Next, carefully measure and trim the lash strips to fit the curvature of your eyelid. Apply a thin layer of adhesive to the strip and make it tacky before application. Gently lift your eyelid and position the lash strip directly underneath your natural lashes, not gluing them to your waterline. Press the lashes into place using tweezers or your fingers, ensuring they adhere well. Finally, blend the false lashes with your natural ones using a light coat of mascara, if necessary.
With patience and practice, this method can yield stunning results that enhance your eyes beautifully.
About the Author
Jane Hubbard is a passionate beauty expert with a wealth of experience in makeup, hair, and overall beauty techniques. After years of working as a hairdresser specialist, she followed her entrepreneurial spirit and started her own consultancy business.
Jane has always been driven by her desire to help others feel confident in their own skin, and she does this by sharing her knowledge, experiences, and practical beauty tips. Through her consultancy, she empowers individuals to embrace their unique beauty, offering tailored guidance that boosts both self-esteem and personal style.
Professional Focus
Specializes in makeup, hairstyling, and beauty consulting.
Provides personalized beauty advice, tips, and techniques to help individuals feel confident in their appearance.
Dedicated to staying up-to-date with the latest industry trends and developments.
Passionate about creating a comfortable and empowering experience for every client.
Education History
University of Craft and Design – Bachelor of Fine Arts (BFA) in Woodworking and Furniture Design
Woodworking Apprenticeships – Extensive hands-on training with skilled craftsmen to refine carpentry and furniture making techniques
Online Courses & Masterclasses – Continued education in advanced woodworking techniques, design principles, and specialized tools
Expertise:
Makeup artistry, hairstyling, and beauty consulting.
Personalized beauty techniques to enhance confidence and self-expression.
Educating clients on how to maintain their beauty routines at home.