

Getting a smooth, skin-like finish at home feels tricky when you are new to cream makeup, but the right technique changes everything. Jones Road’s What The Foundation is a lightweight, tinted balm packed with clean ingredients that even out your skin while letting your natural glow shine through. Unlike heavy liquid formulas, it melts into your face for a fresh, barely-there look that fits every skill level.
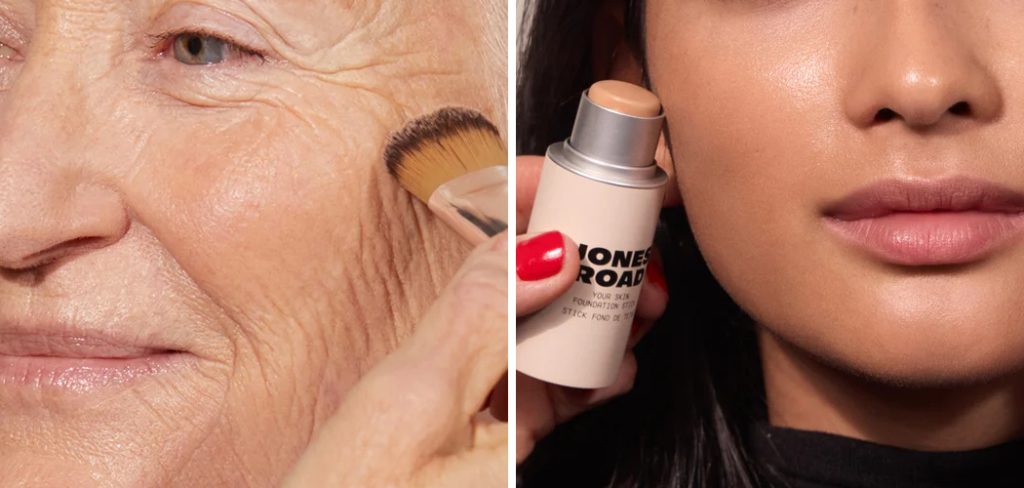
If you have ever wondered how to apply jones road foundation without streaks, patches, or that cakey feeling, you are in the right place. This friendly, beginner-focused guide breaks the whole process into simple, doable steps anyone can follow. You will learn how much product to use, which tools work best, and how to build coverage that lasts all day.
The beauty of this formula lies in its flexibility. You can sheer it out for a natural finish or layer it for more coverage. By the end of this guide, you will feel confident reaching for that little tube and creating a flawless base every single morning. Let’s get started and make your routine easier.
Why Applying Jones Road Foundation The Right Way Matters
Technique matters just as much as the product itself. When you apply this balm-based formula correctly, it blends seamlessly into your skin, creating a natural finish that looks like your complexion, only better. Rush the process or use too much, and you risk a patchy, uneven result that ages your look rather than refreshing it.
Learning the proper method saves you time, money, and frustration. A little product goes a long way, so mastering your application means your tube lasts longer and your skin stays comfortable all day. You also avoid common mistakes like oxidation, caking, and drag. Done well, the right approach gives you a dewy, healthy glow that boosts your confidence and holds up from morning meetings to evening plans without constant touch-ups.
Step-by-Step Guide To How To Apply Jones Road Foundation
Step 1: Prep Your Skin First
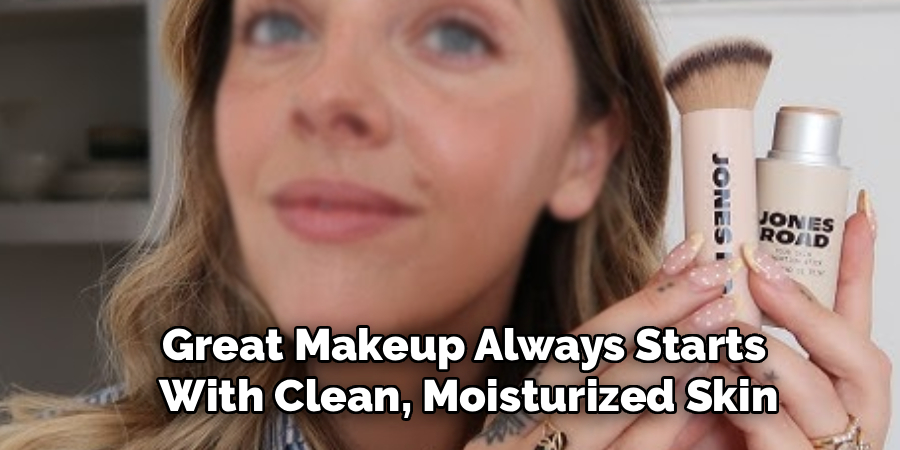
Great makeup always starts with clean, moisturized skin. Wash your face with a gentle cleanser, then pat it dry with a soft towel. Next, apply a hydrating moisturizer that suits your skin type and let it sink in for a minute or two. This step creates a smooth canvas so the balm glides on evenly rather than clinging to dry patches or flaky spots.
If your skin runs oily, choose a lightweight, oil-free formula to keep shine in check. For dry skin, reach for something richer. Taking time to prep now makes every following step easier and helps your finish look fresh and natural all day long.
Step 2: Choose The Right Tools
Your application tool shapes your final look, so pick what suits your goal. A dense synthetic brush gives you fuller, more polished coverage, while your clean fingertips create a soft, natural, skin-like finish thanks to their warmth. A damp makeup sponge sits somewhere in between, sheering out the product for a lighter, dewy effect that feels weightless.
There is no single right answer here, so feel free to experiment. Many beginners love using fingers because it feels intuitive and needs no extra gear. Whatever you choose, make sure your tool is clean to avoid streaks, bacteria, and uneven patches. The right tool makes blending faster and far more forgiving.
Step 3: Start With A Small Amount
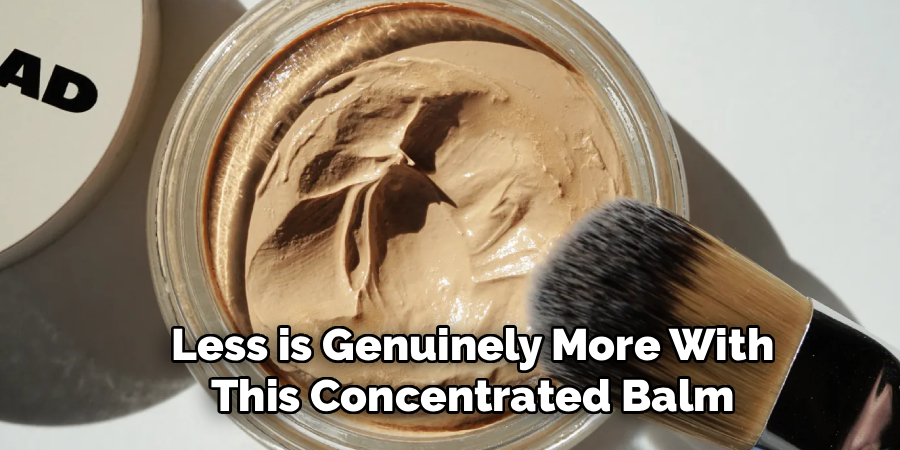
Less is genuinely more with this concentrated balm. Squeeze out a tiny amount, roughly the size of a single pea, onto the back of your hand. This gives you a warm, controlled surface to pick up product from, rather than dispensing too much straight onto your face. Remember, you can always build more coverage, but removing excess mid-application is messy and frustrating.
When figuring out how to apply jones road foundation like a pro, this restraint is the secret most people miss. Starting small keeps your finish natural and prevents that heavy, cakey look. Dip your brush, sponge, or finger into the product and get ready to place it strategically across your face.
Step 4: Dot It Across Your Face
Rather than smearing product everywhere, place small dots where you need them most. Tap gentle dabs onto your forehead, cheeks, nose, and chin, focusing on areas that usually show redness or unevenness. This targeted approach helps you control coverage and avoids wasting product on spots that already look balanced, like the edges of your face.
Keep the dots small and spaced out. You do not need to cover every inch of skin, since blending will spread the product naturally. This method also stops you from overloading one area, which is a common cause of streaks. Think of it as painting with intention rather than flooding the whole canvas at once.
Step 5: Blend In Circular Motions
Now comes the satisfying part, blending everything into your skin. Using your chosen tool, work the product outward from the center of your face in small circular motions. Start at the nose and cheeks, then move toward your hairline, jaw, and ears so nothing looks harsh or unblended at the edges.
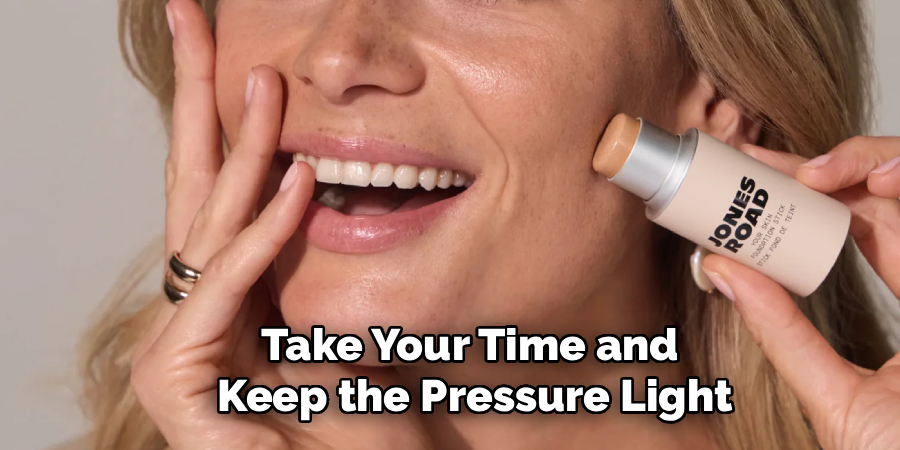
The gentle warmth from your fingers or the bounce of a damp sponge melts the balm right into your complexion. Take your time and keep the pressure light. If you notice any thick spots, buff them out with a few extra strokes. Proper blending is what transforms simple product into that coveted, seamless, second-skin finish everyone admires.
Step 6: Build Coverage Where Needed
One of the best things about this formula is how easily it layers. If you want more coverage over blemishes, dark spots, or redness, simply add another thin layer to those specific areas once the first has settled. Avoid piling product everywhere, since spot-layering keeps the rest of your face looking light and fresh.
Anyone learning how to apply jones road foundation quickly discovers that thin, gradual layers beat one thick coat every time. Build slowly and check your reflection in good lighting between layers. This way you get exactly the coverage you want without sacrificing that natural glow. Patience here rewards you with a balanced, believable, and long-lasting result.
Step 7: Set And Finish
Once you love your coverage, decide whether to set it. Since this is a balm formula, many people happily leave it dewy for a fresh, radiant look. If you prefer a longer-lasting or more matte finish, dust a light layer of translucent powder over your T-zone or any oil-prone areas using a fluffy brush.
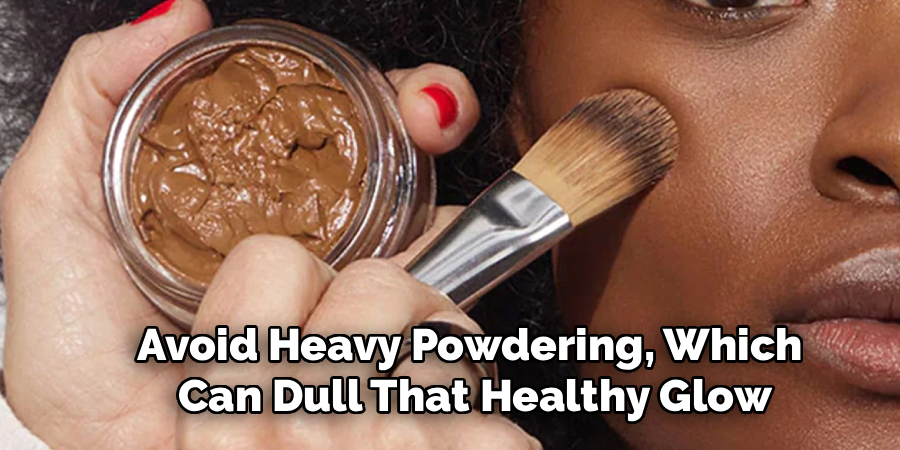
Avoid heavy powdering, which can dull that healthy glow. A gentle press with a damp sponge can also lock things in while keeping skin looking natural. Finish by checking your blend in natural light one last time. With that, your base is complete, comfortable, and ready to carry you confidently through the entire day.
Frequently Asked Questions
What Skin Type Works Best With This Foundation?
This balm formula suits nearly every skin type, which is part of its charm. Dry skin loves the hydrating, dewy finish, while normal and combination skin enjoy the natural glow. Oily skin can absolutely wear it too, simply set the T-zone with a light powder. Because it is buildable and lightweight, all skill levels and complexions can customize the look to fit their needs comfortably.
How Much Product Should I Use?
Start with a pea-sized amount and build from there. This formula is concentrated and blends far, so a little truly covers a lot. Using too much is the most common beginner mistake and leads to a heavy, cakey finish. Dispense onto the back of your hand first, then layer thin amounts only where you want extra coverage. You can always add more gradually.
Can I Use My Fingers Instead Of A Brush?
Absolutely, and many people prefer it. Your fingertips generate warmth that helps the balm melt smoothly into your skin, creating a soft, natural finish. Fingers also give you great control and require no extra tools, making them perfect for beginners. Just wash your hands first to keep things clean. If you want fuller, more polished coverage, a dense brush is a worthy alternative.
How Long Does The Finish Last?
With proper prep and application, you can expect several hours of comfortable wear. Moisturizing beforehand and setting oil-prone areas with a light powder helps it last even longer. Because the formula is skin-like rather than heavy, it wears down gracefully instead of caking or cracking. For very long days, keep the tube handy for a quick, seamless midday touch-up wherever needed.
Do I Need Primer Before Applying?
Primer is optional rather than essential. A good moisturizer often does enough to smooth your skin and help the balm glide on evenly. That said, if you have large pores, extra oiliness, or want longer wear, a lightweight primer can help. Choose one that matches your skin goals, apply a thin layer, and let it set fully before you begin dotting on your product.
Conclusion
Creating a flawless, natural base is far simpler than it first appears. The key takeaways are easy to remember, prep your skin, start with a small amount, dot the product strategically, and blend gently in circular motions. Build coverage only where you need it, then set lightly if you want extra staying power. With a little practice, these steps become second nature and your morning routine gets faster and more enjoyable.
Now that you know how to apply jones road foundation with confidence, it is time to put these tips into action. Grab your tube, choose your favorite tool, and give the technique a try tomorrow morning. Trust the process, take it slow, and enjoy the fresh, glowing results. Your best skin-like finish is well within reach, and every attempt will only make you more skilled.

About the Author
Jane Hubbard is a passionate beauty expert with a wealth of experience in makeup, hair, and overall beauty techniques. After years of working as a hairdresser specialist, she followed her entrepreneurial spirit and started her own consultancy business.
Jane has always been driven by her desire to help others feel confident in their own skin, and she does this by sharing her knowledge, experiences, and practical beauty tips. Through her consultancy, she empowers individuals to embrace their unique beauty, offering tailored guidance that boosts both self-esteem and personal style.
Professional Focus
Specializes in makeup, hairstyling, and beauty consulting.
Provides personalized beauty advice, tips, and techniques to help individuals feel confident in their appearance.
Dedicated to staying up-to-date with the latest industry trends and developments.
Passionate about creating a comfortable and empowering experience for every client.
Education History
University of Craft and Design – Bachelor of Fine Arts (BFA) in Woodworking and Furniture Design
Woodworking Apprenticeships – Extensive hands-on training with skilled craftsmen to refine carpentry and furniture making techniques
Online Courses & Masterclasses – Continued education in advanced woodworking techniques, design principles, and specialized tools
Expertise:
Makeup artistry, hairstyling, and beauty consulting.
Personalized beauty techniques to enhance confidence and self-expression.
Educating clients on how to maintain their beauty routines at home.