
Achieving a flawless, long-lasting manicure, whether with acrylics, gels, or regular polish, requires more than just skilled application of color. The secret to durability and preventing lifting often lies in the prep work, specifically the use of a nail primer. This essential product acts as a double-sided adhesive, bonding securely to the natural nail plate on one side and to the nail enhancement product on the other.
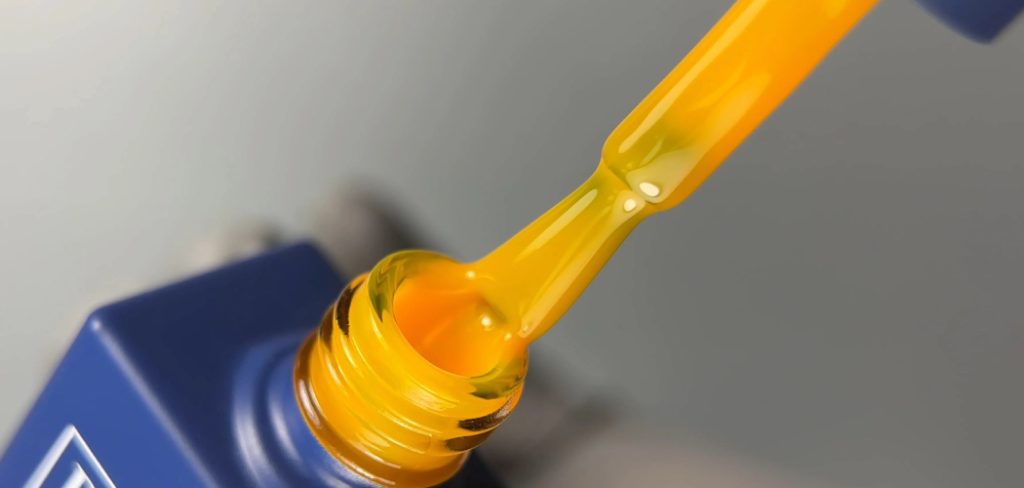
Properly applying a nail primer is a critical step that ensures your manicure withstands daily wear and tear. It dehydrates the nail surface, removing any residual oils and creating an optimal canvas for adhesion. By incorporating this simple step into your routine, you can significantly extend the life of your manicure, prevent chipping, and enjoy a professional-quality finish right from home. In this guide on how to apply nail primer, we’ll cover everything you need to know to achieve flawless and long-lasting results.
Why Do You Need a Nail Primer?
Before we dive into the application process, let’s first understand why using a nail primer is necessary. As mentioned earlier, the main purpose of a nail primer is to dehydrate the nail surface. Our nails are naturally coated in oils that can make it difficult for polish or other enhancements to adhere properly.
This can result in chipping, lifting, or peeling of your manicure, ultimately leading to shorter wear time and frustration.
Materials You’ll Need
Before you begin the application process, gathering all your tools and materials will ensure a smooth and efficient experience. Having everything within reach will prevent you from touching surfaces and potentially contaminating your prepped nails.
- Nail File (180/240 grit)
- Nail Buffer
- Cuticle Pusher or Orangewood Stick
- Nail Clippers
- Dust Brush or Lint-Free Wipes
- Nail Cleanser or Isopropyl Alcohol (90% or higher)
- Lint-Free Wipes
- Acid-Free Nail Primer or Acid-Based Nail Primer (depending on your nail type and chosen enhancement)
- Base Coat, Gel Polish, or Acrylic System
7 Simple Step-By-Step Guidelines on How to Apply Nail Primer
Step 1: Prepare Your Natural Nails
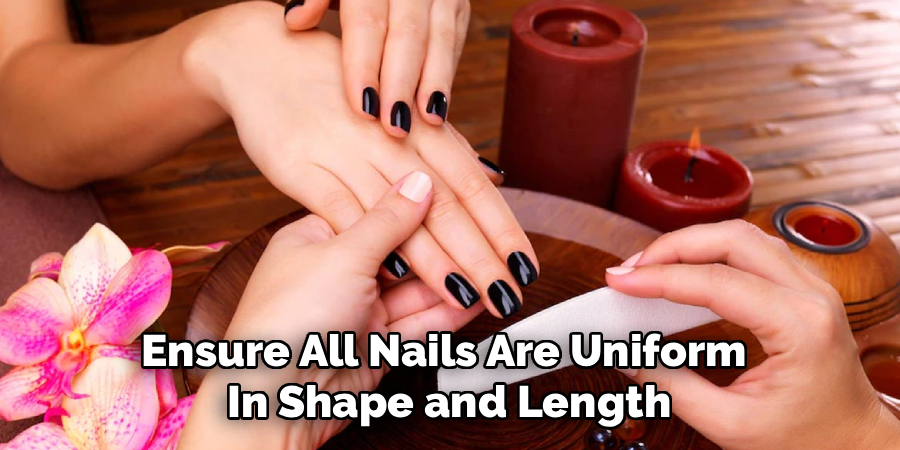
The foundation of any great manicure is a clean and well-prepared nail plate. Start by removing any old nail polish completely. Wash your hands thoroughly with soap and water to remove any surface dirt or oils, then dry them completely. Use nail clippers to trim your nails to your desired length. Next, take a 180-grit nail file to gently shape your nails, filing in one direction to prevent splitting or weakening the nail. Ensure all nails are uniform in shape and length for a cohesive look.
Once you are happy with the shape, gently push back your cuticles using a metal or wooden cuticle pusher. This step is crucial because it exposes the entire nail plate, ensuring the primer and subsequent products adhere directly to the nail and not the surrounding skin. Be gentle to avoid damaging the delicate cuticle area, which protects your nails from bacteria. If you have any hangnails, carefully trim them with a cuticle nipper. Avoid cutting the living cuticle tissue, known as the eponychium.
Step 2: Buff the Nail Surface
After shaping and tending to your cuticles, the next step is to remove the natural shine from your nail plate. This is not about aggressively filing down the nail; it’s about lightly roughing up the surface to create a texture that the primer can grip onto. Use a fine-grit buffer (240-grit or higher) and move it gently across the entire surface of each nail. Focus on covering the full area, including the sides and the area near the cuticle, where lifting most often occurs.
The goal is to create a matte, dull finish. A shiny nail is a smooth nail, and smooth surfaces make it difficult for products to adhere properly. This light buffing action removes the slick, oily top layer of the nail plate. When you are finished, your nails should look dull, with no shiny spots remaining. This step single-handedly improves the longevity of your manicure by creating the perfect mechanical bond for the products that follow.
Step 3: Cleanse the Nails Thoroughly
With the nail surface properly prepped, it’s time to remove all the dust and debris created from filing and buffing. This is arguably one of the most important steps, as any leftover particles or oils will compromise the primer’s ability to bond. Take a stiff nail dust brush and sweep away all visible dust from the nails and surrounding skin. Make sure to get into the side walls and under the free edge of the nail to ensure every particle is gone.
Next, saturate a lint-free wipe with a nail cleanser or a high-percentage isopropyl alcohol. Lint-free wipes are essential here because regular cotton balls or paper towels can leave behind tiny fibers that will get trapped under your manicure. Thoroughly wipe down each nail, applying firm pressure to remove any remaining dust and, more importantly, to dehydrate the nail plate by removing any lingering natural oils. Your nails must be completely clean and dry before you move on to the primer.
Step 4: Choose the Right Primer
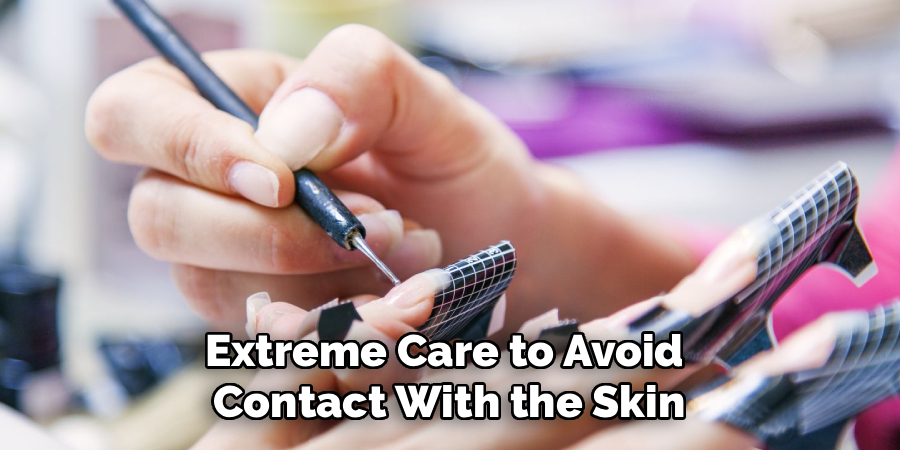
There are two primary types of nail primers: acid-based and acid-free. Understanding the difference is key to selecting the right one for your nails and the enhancement system you are using. Acid-based primers contain methacrylic acid and work by creating microscopic holes in the nail plate for the product to anchor into. They offer the strongest bond and are often recommended for individuals who are prone to lifting or have particularly oily nail beds. However, they can be corrosive and should be used sparingly and with extreme care to avoid contact with the skin.
Acid-free primers, on the other hand, are the more common and gentler option. They do not contain any acid and work like double-sided tape. They leave a slightly sticky layer on the nail that bonds to both the nail plate and the enhancement product. This type of primer is suitable for most people and is considered safer for general use. It provides excellent adhesion for gel polish and acrylics without the potential for skin irritation or damage to the nail plate. For most users, an acid-free primer is the ideal choice.
Step 5: Apply the Nail Primer Sparingly
Whether you are using an acid-based or acid-free primer, the application technique is critical. The rule is always “less is more.” An excessive amount of primer can be counterproductive and may even lead to lifting. Before applying, wipe the applicator brush against the inside of the bottle’s neck to remove most of the product. You want the brush to be damp, not dripping wet. The goal is to apply a very thin, even layer.
Start the application in the center of the nail, away from the cuticle. Gently dab the product onto the nail plate. The primer will spread out on its own through capillary action, so you do not need to “paint” it on like polish. You only need a small amount to cover the entire nail surface. Pay special attention to avoid touching the surrounding skin or cuticle with the primer, especially if you are using an acid-based formula, as it can cause irritation or a burning sensation.
Step 6: Allow the Primer to Dry Completely
After applying the primer, you must let it dry according to the manufacturer’s instructions. The drying process and appearance will differ depending on the type of primer used. An acid-based primer will penetrate the nail and evaporate, leaving the nail with a chalky, white, and dry appearance. You must wait until this chalky finish is visible across the entire nail before proceeding. This indicates that the primer has fully prepared the surface for product application.
An acid-free primer behaves differently. It does not evaporate completely and is designed to leave a slightly tacky or sticky surface behind. This sticky layer is what creates the strong adhesive bond. It typically takes about 60 seconds for an acid-free primer to set properly. It will look shiny and feel slightly sticky to the touch, which is normal. Do not touch the nail surface to test it, as this will transfer oils from your finger and ruin the prep work. Trust the process and give it the recommended time to set before moving on.
Step 7: Proceed with Your Nail Enhancement
Once the primer is completely dry (either chalky white or slightly tacky, depending on the type), your nails are perfectly prepped for the next step. You should immediately proceed with applying your chosen nail enhancement, whether it is a gel base coat, acrylic application, or a traditional base coat for regular polish. Do not wait too long after the primer has dried, as the nail plate can become re-contaminated with airborne dust or natural oils, compromising the bond.
Apply your base coat or acrylic bead, making sure to cap the free edge of the nail. The primer has created the ideal surface for maximum adhesion, so the product you apply now will bond securely, reducing the chances of lifting or chipping. By following these steps meticulously, you have set the stage for a durable, beautiful, and long-lasting manicure. Your prep work is now complete, and you can enjoy the creative process of finishing your nails.
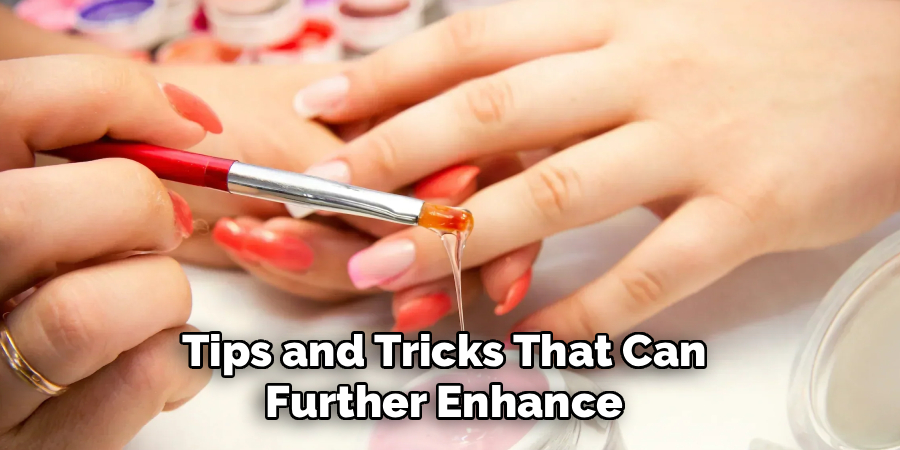
Following these steps on how to apply nail primer can greatly improve the longevity and quality of your manicure. However, there are also some additional tips and tricks that can further enhance the results.
Common Mistakes to Avoid
- Applying too much primer, which can flood the cuticle and lead to lifting.
- Getting primer on the skin, which can cause irritation, especially with acid-based formulas.
- Not allowing the primer to dry completely before applying other products.
- Touching the nail plate with your fingers after cleansing or priming.
- Skipping the buffing step and applying primer to a shiny, smooth nail surface.
Frequently Asked Questions
Q1: Can You Use Nail Primer With Regular Nail Polish?
A1: Yes, you absolutely can use a nail primer with regular nail polish, and it can significantly improve the longevity of your manicure. While primers are most commonly associated with gel and acrylic enhancements, an acid-free primer works wonderfully as a preparatory step for traditional lacquer. By creating a clean, dehydrated, and slightly tacky surface, the primer helps your base coat and polish adhere better, reducing chips and extending wear time by several days.
Q2: What Happens If You Skip Nail Primer?
A2: Skipping nail primer, especially when applying gel or acrylic nails, is a common cause of premature lifting and chipping. The natural nail plate produces oils that create a barrier between the nail and the enhancement product. Primer works to remove these oils and create a surface that promotes strong adhesion. Without it, the gel or acrylic will not bond properly to the nail, allowing it to lift at the edges or chip away easily, drastically shortening the life of your manicure.
Conclusion
Applying nail primer is a straightforward yet transformative step in any manicure routine. It is the professional secret to achieving salon-quality durability and a flawless finish that lasts. By diligently preparing the nail, choosing the correct primer for your needs, and applying it with a light touch, you create the ultimate foundation for adhesion.
This simple process prevents the common frustrations of lifting and chipping, ensuring your nail enhancements stay beautiful and intact. Mastering the art of primer application empowers you to take control of your manicure’s longevity, making every set a lasting success. Thanks for reading this guide on how to apply nail primer.
About the Author
Jane Hubbard is a passionate beauty expert with a wealth of experience in makeup, hair, and overall beauty techniques. After years of working as a hairdresser specialist, she followed her entrepreneurial spirit and started her own consultancy business.
Jane has always been driven by her desire to help others feel confident in their own skin, and she does this by sharing her knowledge, experiences, and practical beauty tips. Through her consultancy, she empowers individuals to embrace their unique beauty, offering tailored guidance that boosts both self-esteem and personal style.
Professional Focus
Specializes in makeup, hairstyling, and beauty consulting.
Provides personalized beauty advice, tips, and techniques to help individuals feel confident in their appearance.
Dedicated to staying up-to-date with the latest industry trends and developments.
Passionate about creating a comfortable and empowering experience for every client.
Education History
University of Craft and Design – Bachelor of Fine Arts (BFA) in Woodworking and Furniture Design
Woodworking Apprenticeships – Extensive hands-on training with skilled craftsmen to refine carpentry and furniture making techniques
Online Courses & Masterclasses – Continued education in advanced woodworking techniques, design principles, and specialized tools
Expertise:
Makeup artistry, hairstyling, and beauty consulting.
Personalized beauty techniques to enhance confidence and self-expression.
Educating clients on how to maintain their beauty routines at home.