

You reach for your trusty mixing palette, ready to blend the perfect shade. Instead, you find it caked with dried foundation, streaked with old lipstick, and wearing a faint rainbow of yesterday’s experiments.
It’s not a pretty sight. It’s also nothing to dread.
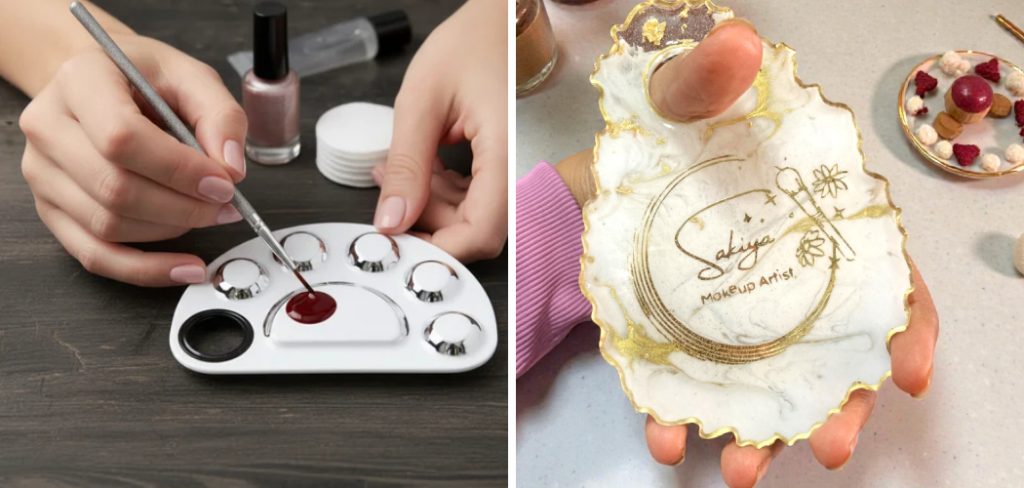
A gunky, stained palette takes just minutes to freshen up. Learning how to clean a makeup mixing palette protects your skin from bacteria, keeps your color blends true, and helps a favorite tool last for years rather than months.
This walkthrough covers the whole thing. What the palette is, why cleaning matters, the supplies you’ll want, a few hygiene basics, and the exact steps to get it gleaming again. Grab yours, because the payoff is a spotless surface ready for your next flawless look.
What a Makeup Mixing Palette Is
A makeup mixing palette is a flat, smooth surface, usually stainless steel or acrylic, where artists blend foundations, custom-mix shades, and prep products before they touch the face.
People sometimes write it off as a fancy extra. That’s a bit unfair to a genuinely useful tool.
It’s really a hygiene and precision instrument, worth caring for the same way you’d care for your brushes.
The Role It Plays in Your Routine
Think of it as your personal blending canvas. Rather than swirling foundation on the back of your hand, where oils and warmth throw things off, you work on a clean, neutral surface.
That surface gives you room to swirl, mix, and adjust. You can build a custom shade slowly, layering and testing until it’s exactly right.
For a first-timer, picturing it that way tends to click. It’s the difference between guessing and actually controlling your color.
Common Materials and Types
Most palettes fall into a few camps. Stainless steel is the classic, prized for how easily it wipes clean and how cool it keeps cream products.
Tempered glass and acrylic show up often too, and some sets pair a palette with a small metal spatula for scooping product from jars.
Knowing your palette’s material matters more than it seems. It shapes which cleaning method is safe, since what’s fine on steel could dull or damage acrylic.
Why Cleaning Your Makeup Mixing Palette Matters
A clean palette pays off in ways that go beyond looking tidy. There are two rewards worth dwelling on, and both matter to anyone who takes their makeup seriously.
One protects your face. The other protects your artistry.
Protecting Your Skin and Health
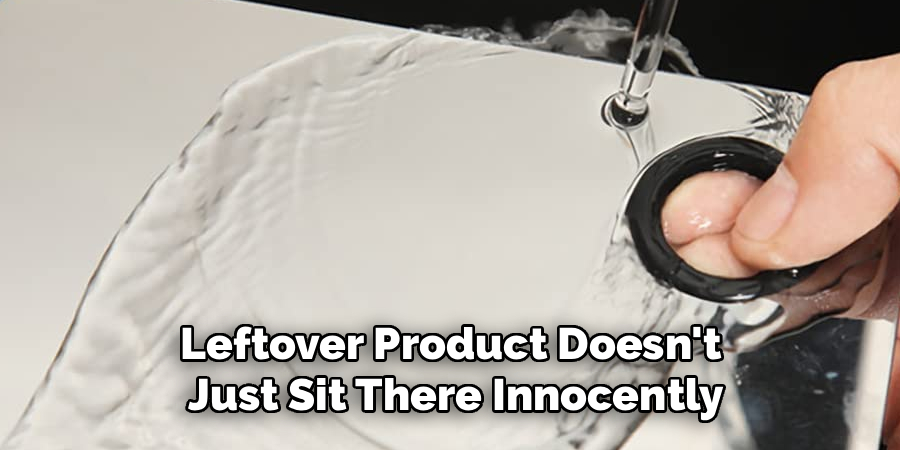
Leftover product doesn’t just sit there innocently. Old foundation and cream become a comfortable home for bacteria, which then transfer straight back onto your skin the next time you blend.
That transfer can mean breakouts, irritation, or worse over time. Nobody wants their careful skincare undone by a dirty tool.
A quick clean keeps things fresh and your complexion clear. It’s a small habit that appears to spare a lot of unnecessary trouble.
Truer Colors and Better Blends
Then there’s the artistry side. Old, dried pigment muddies whatever fresh shade you’re trying to mix, tinting it in ways you didn’t ask for.
You go in aiming for a warm beige and end up with something murkier, thanks to yesterday’s leftover coral hiding in the corner.
A spotless surface fixes that entirely. Every blend comes out crisp and accurate, exactly as you intended, which is the whole reason you bought a palette in the first place.
Signs Your Palette Needs Cleaning
Your palette tends to tell you when it’s due for attention. Catching the signs early keeps cleaning quick, since fresh product wipes away far more easily than dried.
Spotting them takes barely a glance. Here’s what to watch for.
Visible Buildup and Stains
Start with the obvious. Dried streaks of foundation, stubborn smears of lipstick, or a cloudy film clinging to the surface all point one direction.
Some stains linger even after a rushed wipe, leaving faint colorful ghosts behind. Those are your cue.
Match what you see on your own palette to any of these, and it’s time for a proper clean rather than another quick swipe.
Odors and Sticky Residue
Other signs are subtler and easy to miss. A faint stale smell can creep in as product ages on the surface.
Run a fingertip across it. If the palette feels tacky or slightly greasy instead of smooth, old oils have settled in.
These quieter clues mean buildup has taken hold beneath the surface shine. A thorough clean brings the palette back to its fresh, smooth self.
Tools and Supplies You Will Need
Gather a few things before you start and the whole job feels effortless. Most of this already lives somewhere in your bathroom or kitchen.
Nothing here is pricey. Nothing here is hard to find.
Essential Cleaning Supplies
The basics carry almost all the work. A gentle dish soap or a dedicated brush cleanser, warm water, and a soft cloth or a few paper towels will handle the bulk of it.
Add a small amount of rubbing alcohol for the sanitizing step. That single bottle does more for your skin’s safety than anything else on the list.
These simple, inexpensive staples clean nearly any palette beautifully. You likely own most of them already.
Helpful Extras for a Deeper Clean
A few additions smooth out the tougher jobs. A soft-bristled brush reaches into corners and edges where a cloth can’t quite get.
A makeup-removing balm or a splash of micellar water loosens stubborn, dried-on stains without any scrubbing. Cotton pads and lint-free wipes round things out.
None of these are essential, though. Anyone can get a great result on any budget, so don’t feel you need to buy the lot.
Safety and Hygiene Basics Before You Begin
Safe, hygienic cleaning is genuinely simple when you take it step by step. The point is to protect two things at once: the palette and the skin that eventually touches it.
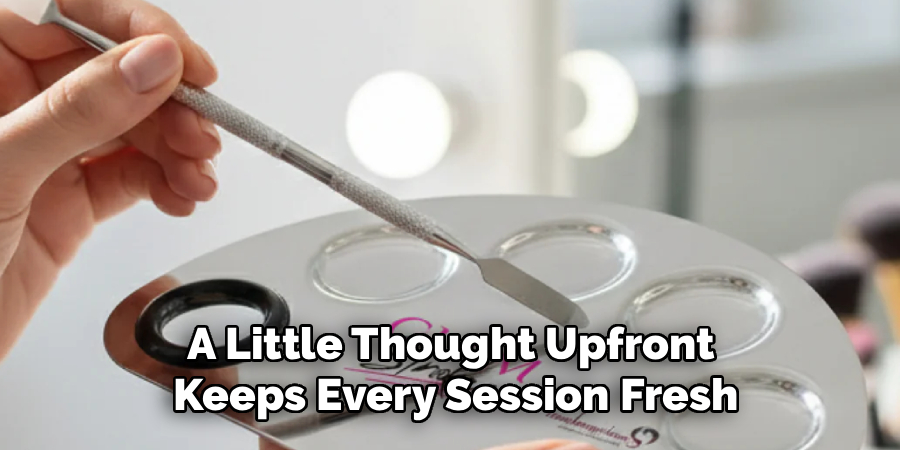
Gentle products and clean hands do most of that work. A little thought upfront keeps every session fresh.
Choosing Skin-Safe Cleaners
Reach for mild, non-abrasive cleansers. Harsh chemicals can scratch the surface or leave a residue that ends up on your face, which rather defeats the purpose.
Acrylic palettes deserve extra care here, since strong solvents may cloud or warp them over time. Steel is more forgiving, but gentleness never hurts.
Choosing kind products keeps both the tool and your skin safe. It’s a small decision with a lasting payoff.
Keeping the Process Clean
A tidy setup matters more than people expect. Wash your hands first, so you’re not adding fresh grime to a surface you’re trying to sanitize.
Work on a clean towel and use fresh water rather than a murky bowl you’ve already dunk-and-rinsed three times.
That thoughtful start makes the whole job faster and, honestly, more satisfying. You’re cleaning, not just relocating the mess.
How to Clean a Makeup Mixing Palette: Step-by-Step Guide
Here’s the part you came for. Work through it slowly, one step at a time, and enjoy the small satisfaction of a surface coming back to life.
Each step builds on the last. No rush.
Step 1: Wipe Away Excess Product
Begin with a dry paper towel or soft cloth. Sweep off the leftover foundation, cream, and loose pigment sitting on the surface.
Clearing this first makes the deeper cleaning far easier. You’re not smearing wet product around; you’re removing it.
It’s a quick, oddly satisfying wipe. And it sets a fresh foundation for everything that follows.
Step 2: Loosen Stubborn Buildup
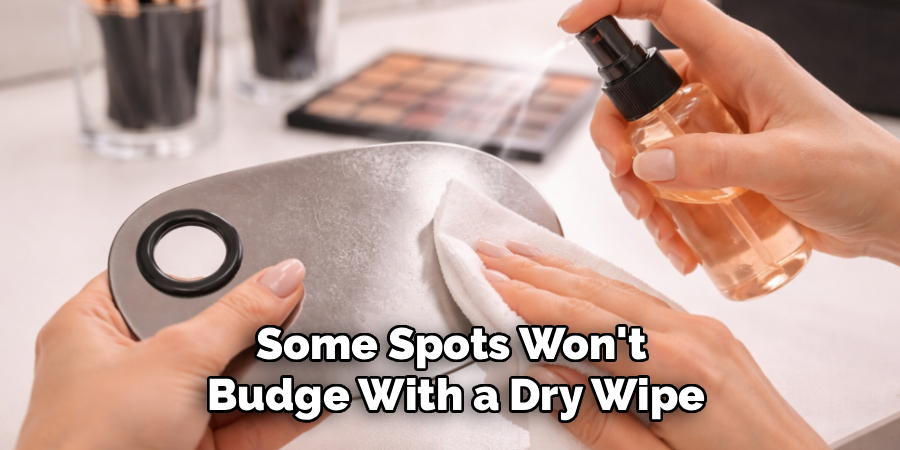
Some spots won’t budge with a dry wipe. For those, dab on a little makeup-removing balm, micellar water, or warm soapy water and let it sit for a moment.
That short soak softens the dried, caked-on residue. Give it thirty seconds or so to do its work.
Patience here means no aggressive scrubbing and no scratches on a palette you’d rather keep pristine. Let the product loosen the mess for you.
Step 3: Wash With Warm Soapy Water
Now the real clean. Wash the palette with warm water and a mild dish soap or brush cleanser, working with your fingertips or a soft brush.
Move in gentle, circular motions to lift away every trace of oil and pigment. Take your time along the edges, where buildup likes to hide.
This step clears out what the earlier ones loosened. Done well, it leaves the surface smooth and genuinely clean rather than merely wiped.
Step 4: Sanitize the Surface
A clean-looking palette can still carry bacteria, which is where this step earns its place. Once the surface is dry, swipe it with a little rubbing alcohol on a cotton pad.
The alcohol kills lingering germs the soap left behind. It’s fast, and it’s what truly protects your complexion.
Think of it as the difference between clean and hygienic. Skipping it may suggest a palette that only looks safe.
Step 5: Dry and Store Properly
Finish by patting the palette dry with a lint-free cloth, or simply let it air dry completely. Trapped moisture is an open invitation to bacteria, so don’t rush this.
Then store it somewhere clean and dry, away from dust and stray brush fibers.
There’s a quiet pleasure in that final moment. A spotless, gleaming palette, ready and waiting for your next creation.
Common Mistakes to Avoid
Everyone fumbles a little when they’re new to this. The reassuring part is that the usual slip-ups are easy to sidestep once you know them.
Neither of these is a failure. Just a lesson worth learning early.
Scrubbing With Harsh or Abrasive Tools
The most common mistake is reaching for something too aggressive. Scouring pads, rough sponges, and gritty cleaners scratch the surface and dull that smooth finish.
Once scratched, a palette holds onto product in the grooves, which makes future cleaning harder. You’ve traded a quick shortcut for a lasting problem.
Reach for soft cloths and gentle products instead. A light touch keeps the palette smooth and looking practically new.
Skipping the Sanitizing Step
The other frequent slip is stopping too soon. A palette that looks clean can still harbor bacteria you can’t see, which then travels back to your face.
Soap and water remove the visible mess. They don’t reliably kill germs on their own.
A quick pass with rubbing alcohol closes that gap. Turn it into an automatic habit, and your skin quietly thanks you for it.
Long-Term Care Habits for Your Palette
One great clean feels good. A couple of small habits turn that into a palette that always feels ready, session after session.
Steady upkeep is the whole secret. And it barely costs you any time.
Quick Cleaning After Every Use
The single best habit is wiping the palette down right after each session. Product hasn’t dried yet, so it lifts away in seconds.
That quick swipe prevents buildup from ever setting in. Deep cleans stay rare and easy as a result.
It’s the kind of tiny effort that pays off invisibly, right up until you notice you never dread cleaning your palette anymore.
Smart Storage and Occasional Deep Cleans
Between uses, keep the palette in a clean, dry spot rather than tossed loose in a makeup bag. Dust and stray fibers settle fast otherwise.
Then give it a thorough deep clean every week or two, depending on how often you use it.
This steady rhythm keeps the surface hygienic and smooth. Your palette stays inviting, always ready for the next beautiful blend.
Frequently Asked Questions
A few questions come up again and again. Here are honest, direct answers to the ones people search for most.
Quick Answers to Popular Questions
How often should you clean a mixing palette? A quick wipe after every use is ideal, with a fuller clean weekly or so.
Can you use rubbing alcohol on acrylic? Sparingly, yes, though repeated heavy use may cloud it over time, so test gently and don’t soak it. Is soap and water enough? For visible mess, mostly, but it won’t sanitize on its own, which is why the alcohol step matters. And stubborn lipstick stains? A dab of makeup-removing balm or micellar water usually breaks them down without any scrubbing.
When to Seek Help or Replace It
Most palettes clean up beautifully at home, so replacement is rarely urgent. Still, a few signs suggest it’s time.
Deep scratches that trap product, staining that simply won’t lift, or a warped acrylic surface all point toward retiring the tool. When that day comes, a quality palette is worth the small investment, since it cleans more easily and lasts far longer.
Conclusion
So there it is. Knowing how to clean a makeup mixing palette turns out to be far simpler than that first caked-on mess suggested.
You’ve seen what the palette does, why cleaning it protects both your skin and your color work, and how to move through each step without any fuss. Along the way, you’ve picked up a habit that keeps your blends true and your tool lasting for years.
That’s a small skill with a genuinely lovely payoff. Healthier skin, cleaner colors, and a surface that always feels ready.
Grab your supplies, give that palette a loving refresh, and enjoy the quiet delight of a spotless, gleaming surface waiting to bring your next flawless look to life.

About the Author
Jane Hubbard is a passionate beauty expert with a wealth of experience in makeup, hair, and overall beauty techniques. After years of working as a hairdresser specialist, she followed her entrepreneurial spirit and started her own consultancy business.
Jane has always been driven by her desire to help others feel confident in their own skin, and she does this by sharing her knowledge, experiences, and practical beauty tips. Through her consultancy, she empowers individuals to embrace their unique beauty, offering tailored guidance that boosts both self-esteem and personal style.
Professional Focus
Specializes in makeup, hairstyling, and beauty consulting.
Provides personalized beauty advice, tips, and techniques to help individuals feel confident in their appearance.
Dedicated to staying up-to-date with the latest industry trends and developments.
Passionate about creating a comfortable and empowering experience for every client.
Education History
University of Craft and Design – Bachelor of Fine Arts (BFA) in Woodworking and Furniture Design
Woodworking Apprenticeships – Extensive hands-on training with skilled craftsmen to refine carpentry and furniture making techniques
Online Courses & Masterclasses – Continued education in advanced woodworking techniques, design principles, and specialized tools
Expertise:
Makeup artistry, hairstyling, and beauty consulting.
Personalized beauty techniques to enhance confidence and self-expression.
Educating clients on how to maintain their beauty routines at home.