

You catch the light hitting a scar in the mirror, and suddenly it’s all you can see. The rest of your face fades into the background.
Most of us have a mark we wish would simply blend in. A faded acne scar, a thin line from an old accident, something that healed but never quite disappeared.
Here’s the part worth holding onto. With the right products and a little practice, scars can become far less noticeable. Sometimes they vanish almost entirely.
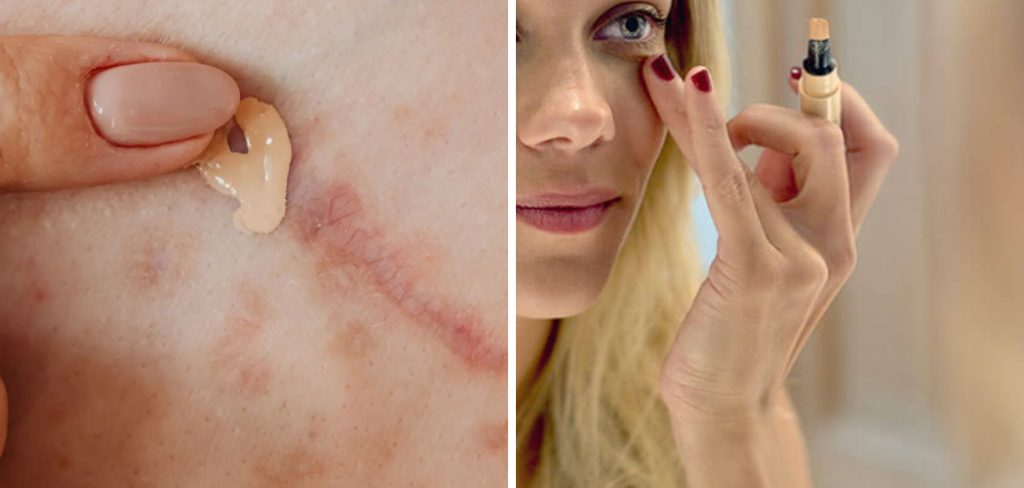
Scars come in different shapes, tones, and textures, which means there’s no single trick that works for all of them. But the goal is gentler than it sounds. Learning how to cover up scars with makeup is less about hiding and more about smoothing and balancing, so your skin looks even and natural.
This guide walks through the prep, the products, and a step-by-step method you can do at home. None of it demands professional skill. Just a bit of patience and the willingness to build slowly.
Understanding Different Types of Scars
Before reaching for concealer, it helps to know what you’re actually working with. The type of scar shapes the best way to cover it.
A flat mark and a raised one call for slightly different approaches, and recognizing yours saves a lot of guesswork later.
Flat and Discolored Scars
Flat scars sit level with the surrounding skin. The issue here is color rather than texture.
They may appear pink, red, brown, or lighter than the skin around them. Because the surface is even, color correction tends to do most of the heavy lifting.
Raised and Textured Scars
Raised scars stand slightly above the skin, which changes the game. Now you’re managing shadow and dimension, not just tone.
The aim shifts toward softening the texture and minimizing the little shadows that raised skin creates. Flat, buildable products usually work better here than anything thick.
Indented or Pitted Scars
Sunken scars, like some left behind by acne, behave differently again. They catch light and shadow in ways that draw the eye.
The trick is gently filling and blurring the surface so it reads as more even. A good primer often matters more than the concealer itself with these.
Why Skin Prep Makes All the Difference
Here’s something the tutorials tend to rush past. Beautiful coverage starts long before any makeup touches your face.
Skip the prep, and even the best concealer may cling, crease, or slide off within an hour. Get it right, and everything after feels almost effortless.
Cleansing and Hydrating First
Clean, moisturized skin gives makeup a smooth surface to grip. That’s the whole foundation of natural-looking coverage.
Dry, neglected skin, on the other hand, lets product cling to flaky patches and settle into scar texture. A quick cleanse and a light moisturizer solve most of that before you’ve even opened your makeup bag.
Smoothing Texture With Primer
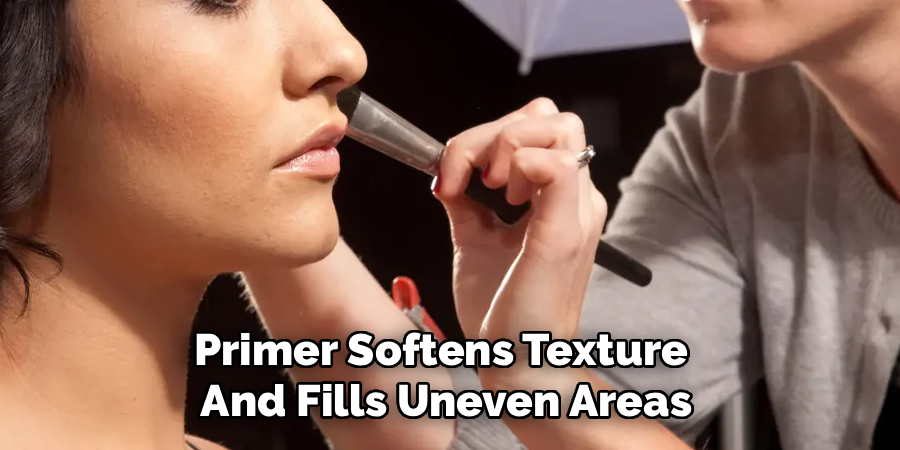
Primer earns its place here, especially over uneven skin. A good one fills fine lines and softens raised or indented areas.
That creates a more even canvas, which helps concealer sit flawlessly instead of catching on every ridge. For textured scars, this step may matter more than any other.
Letting Each Layer Set
Patience shows up again, and it’s worth honoring. Pausing between your skincare and your makeup lets products absorb properly.
Rush it, and coverage may slide or pill right over the scar. Wait a minute or two, and the layers stay where you put them.
Choosing the Right Products to Cover Up Scars with Makeup
The products you reach for can make or break the result. Learning how to cover up scars with makeup partly comes down to picking tools designed for the job.
You don’t need a drawer full of them, either. A few well-chosen items do far more than a pile of mismatched ones.
Color Correctors for Tricky Tones
Color correctors sound intimidating, but the logic is simple. Green cancels redness, while peach and orange neutralize darkness or bluish tones.
Placed on the scar first, a corrector means your concealer doesn’t have to work nearly as hard. It’s a small step that quietly makes everything else easier.
Full-Coverage Concealers and Foundations
Creamy, buildable formulas tend to serve scars best. They offer the opacity needed to camouflage a mark while still blending into the skin around it.
Thin, watery formulas rarely give enough coverage. Something a little richer, applied in light layers, usually strikes the right balance.
Setting Powders and Sprays
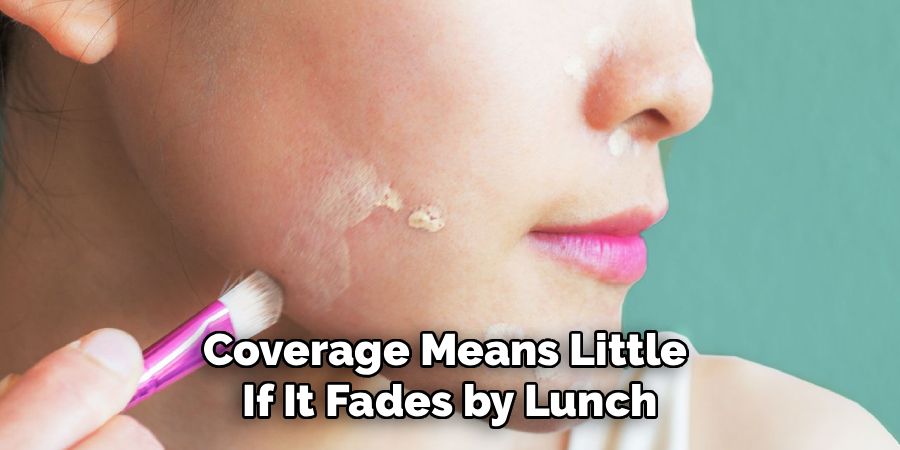
Coverage means little if it fades by lunch. The right setting products lock everything in place.
A light setting powder keeps concealer from creasing, and a fine setting spray helps it resist shifting off the scar as the day goes on. Together, they’re what turn a good result into a lasting one.
Step-by-Step Guide on How to Cover Up Scars with Makeup
This is the part that matters most, so take it slowly the first time through. Every attempt after this one gets faster and more instinctive. None of these steps are complicated on their own.
Step 1: Cleanse and Prep the Skin
Start with a clean, gently moisturized face so your makeup has a smooth surface to grip. Hydrated skin keeps concealer from clinging to any dry patches near the scar.
This quick prep is the foundation of natural coverage. Let the moisturizer absorb fully before you move on, or things may pill and separate later in the day.
Step 2: Apply Primer to Smooth Texture
Press a small amount of primer over and around the scar, paying attention to any raised or indented spots. Primer softens texture and fills uneven areas, giving your concealer a level surface to sit on.
Use a light, patting motion rather than dragging it across the skin. Blurring the surface first tends to make every layer that follows look far more seamless and skin-like.
Step 3: Color Correct if Needed
If the scar has a strong tone, dab a suitable corrector directly onto it. Green calms redness, while peach or orange cancels out darker or bluish marks.
Use only a tiny amount, tapping it in gently with a fingertip or a small brush. Correcting the color first means your concealer needs far less product to make the scar disappear.
Step 4: Layer Concealer in Thin Coats
Now apply a full-coverage concealer over the scar in thin, buildable layers. Resist the urge to cover it in one heavy pass, since that reads as a thick, obvious patch.
Pat, don’t swipe, so the coverage stays put over any textured areas. Build slowly and check the result between layers until the scar softly melts into the surrounding skin.
Step 5: Blend Into the Surrounding Skin
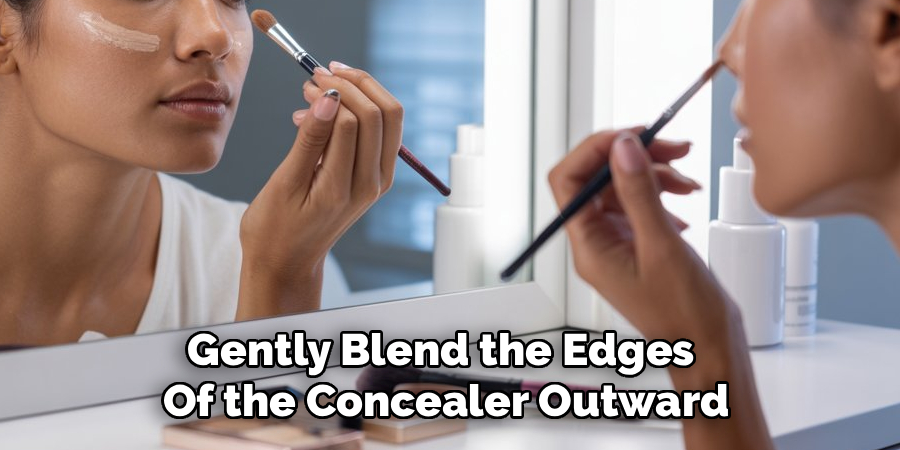
Gently blend the edges of the concealer outward using a damp sponge or a soft brush. Feathering those borders prevents the visible lines that give a covered scar away.
The goal is for the treated area to match the rest of your face. Patient, light blending is genuinely what separates obvious makeup from a truly seamless finish.
Step 6: Set Everything in Place
Lock in your work by pressing a light dusting of setting powder over the concealed scar. Then finish with a fine mist of setting spray.
This step keeps the coverage from creasing, fading, or transferring through the day. Setting the area gently preserves the smooth, natural look you just created rather than flattening it.
Blending Techniques for a Flawless Finish
If there’s one skill that decides whether coverage looks invisible or obvious, it’s blending. This is where the real magic happens.
It’s also the part most people rush. A little extra care here changes everything.
Patting Instead of Swiping
Pressing product into the skin with a fingertip or sponge preserves coverage over the scar. Swiping tends to wipe it away and disturb whatever’s underneath.
Think of it as setting the product down rather than pushing it around. That small shift in motion protects all the work you’ve layered on.
Using a Damp Sponge for Seamless Edges
A lightly damp sponge softens the borders of your concealer beautifully. It melts them into the surrounding skin so no harsh outline betrays the scar.
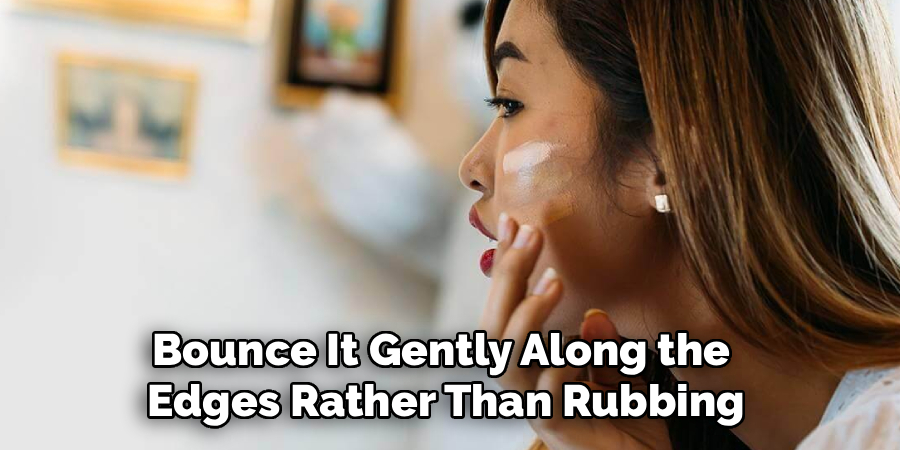
Bounce it gently along the edges rather than rubbing. The dampness picks up excess product while feathering the rest into place.
Building Coverage Gradually
Thin layers create natural, lasting coverage in a way one thick coat never manages. You can always add more.
Patience beats piling on, every time. A slow, buildable approach may take an extra minute, but the finish looks like skin rather than a mask.
Common Mistakes to Avoid
Early stumbles are completely normal, so don’t be discouraged if your first attempts look a little off. Knowing the usual pitfalls simply helps you skip past them faster.
Most of them trace back to one of these three habits.
Skipping Skin Prep
Rushing past cleansing and priming leads to patchy, short-lived coverage. The concealer clings to dry patches and settles straight into scar texture.
Prep isn’t the boring step you can afford to skip. It’s the part that quietly decides how everything else turns out.
Applying Too Much Product at Once
Heavy layers look cakey, and oddly enough, they draw more attention to the very scar you’re trying to hide. Thick coverage reads as makeup, not skin.
A slow, buildable approach fixes this almost entirely. Tap off excess before it hits your face, and you’ll rarely overdo it.
Forgetting to Blend the Edges
Unblended borders create visible lines that highlight the area you hoped to disguise. It’s a small oversight with a loud result.
One final soft pass with a damp sponge or a clean brush usually solves it. Never underestimate what that last bit of feathering does.
Making Your Coverage Last All Day
Getting the coverage on is half the job. Keeping it looking fresh from morning to night is the other half, since scars sit in areas that move and crease.
A few smart habits stretch your work well into the day.
Setting With Powder and Spray
A light layer of setting powder followed by a fine mist of spray fuses everything. That combination keeps coverage from fading or creasing over the scar.
Apply the powder sparingly, though. Too much can look dry and heavy, which rather undoes the natural finish you worked for.
Gentle Midday Touch-Ups
By afternoon, coverage may soften a little. When it does, refresh the area with a small amount of concealer and a damp sponge.
Pat it in rather than rubbing, so the finish stays smooth. Piling on fresh product without blending just recreates the cakey look you avoided this morning.
Protecting Coverage Through the Day
Small habits help more than you’d think. Avoid unnecessary touching, and blot excess oil gently rather than wiping at the area.
These tiny adjustments keep the concealed scar looking clean and even. Coverage tends to last longest when you simply leave it alone.
Conclusion
Learning how to cover up scars with makeup turns out to be less about hiding and more about helping your skin look smooth, balanced, and confidently your own. It’s a skill, and like any skill, it rewards a little patience.
There’s a genuine satisfaction in glancing at the mirror and seeing even, natural-looking skin. Not a mark pulling your focus, just your face looking the way you picture it.
The path itself stays simple each time. Prep and prime, color correct where needed, layer concealer thinly, blend the edges, then set everything in place.
So gather your products and give these steps a try today. Treat each attempt as practice, because that’s exactly what turns a fiddly routine into an effortless habit. Before long, you may find yourself reaching for that concealer without a second thought, ready to face the day on your own terms.

About the Author
Jane Hubbard is a passionate beauty expert with a wealth of experience in makeup, hair, and overall beauty techniques. After years of working as a hairdresser specialist, she followed her entrepreneurial spirit and started her own consultancy business.
Jane has always been driven by her desire to help others feel confident in their own skin, and she does this by sharing her knowledge, experiences, and practical beauty tips. Through her consultancy, she empowers individuals to embrace their unique beauty, offering tailored guidance that boosts both self-esteem and personal style.
Professional Focus
Specializes in makeup, hairstyling, and beauty consulting.
Provides personalized beauty advice, tips, and techniques to help individuals feel confident in their appearance.
Dedicated to staying up-to-date with the latest industry trends and developments.
Passionate about creating a comfortable and empowering experience for every client.
Education History
University of Craft and Design – Bachelor of Fine Arts (BFA) in Woodworking and Furniture Design
Woodworking Apprenticeships – Extensive hands-on training with skilled craftsmen to refine carpentry and furniture making techniques
Online Courses & Masterclasses – Continued education in advanced woodworking techniques, design principles, and specialized tools
Expertise:
Makeup artistry, hairstyling, and beauty consulting.
Personalized beauty techniques to enhance confidence and self-expression.
Educating clients on how to maintain their beauty routines at home.