
Are you tired of dull and lifeless hair? Do you want to achieve a sleek and voluminous look without using harsh chemicals or heat? The Dominican blowout might be just what you need!
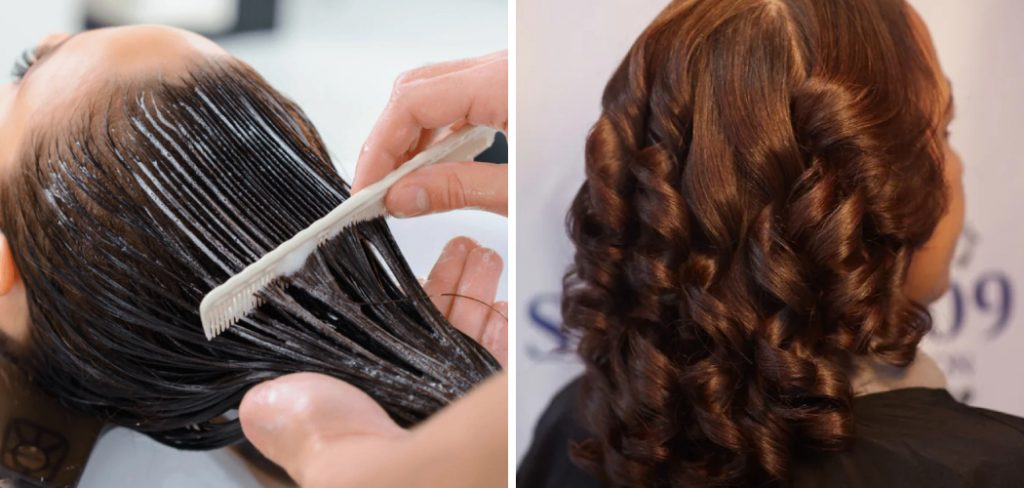
The Dominican blowout is a popular hairstyling technique known for transforming curly or textured hair into smooth, straight, and silky strands without the use of harsh chemicals. Originating from the Dominican Republic, this method has gained widespread acclaim for its ability to achieve salon-quality results with a natural and healthy approach. Whether you’re seeking a sleek, polished look for a special occasion or simply want to enjoy the versatility of straight hair, mastering the Dominican blowout can be a game-changer in your hair care routine.
This guide will walk you through each step of how to do a Dominican blowout, ensuring you achieve professional results from the comfort of your home.
What Will You Need?
Before diving into the step-by-step process, let’s gather all the necessary tools and products. Here’s what you’ll need to get started:
- Wide-tooth comb or detangling brush
- Blow dryer with a nozzle attachment
- Round brush (medium or large size)
- Hair clips or clamps for sectioning
- Heat protectant spray or serum
- Lightweight hair oil
- Setting lotion or mousse (optional)
Once you have all these items ready, we can move on to the next step.
10 Easy Steps on How to Do a Dominican Blowout:
Step 1: Prep Your Hair
Before you begin the blowout process, you must prepare your hair correctly to achieve the best results. Start by washing your hair thoroughly with a moisturizing shampoo and conditioner to ensure it is clean and hydrated. This will help prevent your hair from drying out during the blow-drying process. After rinsing out the conditioner, gently towel-dry your hair to remove excess water, but avoid rubbing your hair harshly with the towel as this can cause frizz and breakage.
Next, apply a detangling spray or leave-in conditioner to make combing through your hair easier. Use a wide-tooth comb or a detangling brush to remove any knots or tangles, working from the ends of your hair toward the roots. This step is crucial for ensuring that your hair is smooth and manageable, which will make the blowout process more effective and less time-consuming.
Once your hair is detangled, apply a heat protectant spray or serum evenly throughout it to shield it from heat damage. Heat protectants form a barrier on the hair shaft, reducing the risk of breakage and split ends caused by blow-drying and styling.
Step 2: Section Your Hair
Sectioning your hair is essential for ensuring that every strand gets the attention it needs during the blowout process. Divide your hair into manageable sections using hair clips or clamps. For best results, split your hair into four to six sections, depending on its thickness and length. Clip each section securely so that it stays in place while you work on one section at a time.
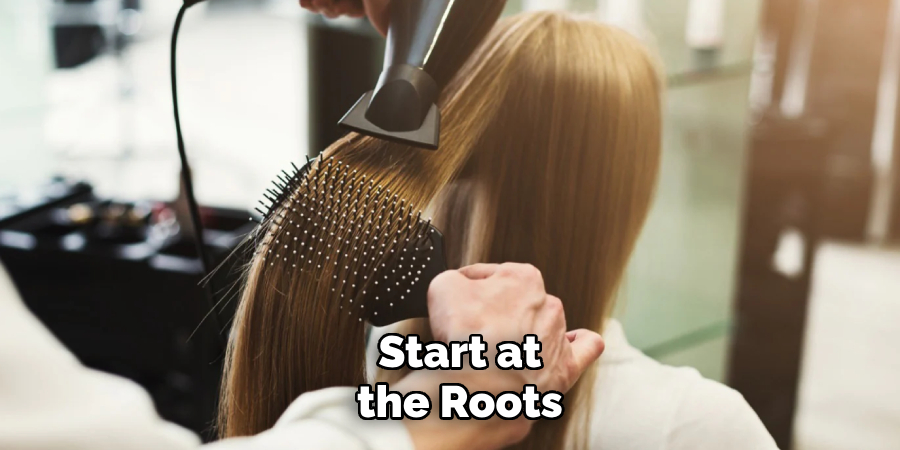
Step 3: Start Blow-Drying
Attach the nozzle to your blow dryer, which helps to direct the airflow and achieve a smoother finish. Begin with one section of hair, starting at the back. Hold the blow dryer about six inches away from your hair, and use a medium or large round brush to pull the hair taut as you blow-dry gently. Start at the roots and work your way down to the ends, following the brush with the dryer. This technique will help stretch the curls and add volume and shine.
Step 4: Use the Tension Method
While blow-drying, use the tension method to straighten the hair. This involves pulling the hair tight with the round brush while directing the blow dryer’s heat down the hair shaft. The tension, combined with the heat, helps to smooth and straighten each section effectively. Be sure to keep the dryer moving to avoid concentrating heat on one spot for too long, which can cause heat damage.
Step 5: Repeat for Each Section
Continue the blow-drying process, section by section. Take your time with each section to ensure that it is thoroughly dry and smooth. Patience is key to achieving a sleek, straight look. If needed, go over each section a couple of times until you reach the desired smoothness and shine.
Step 6: Apply Lightweight Hair Oil
After blow-drying all sections, apply a small amount of lightweight hair oil to your fingers and run them through your hair. This step adds extra shine and helps to tame any leftover frizz or flyaways. Be cautious not to use too much oil, making your hair look greasy.
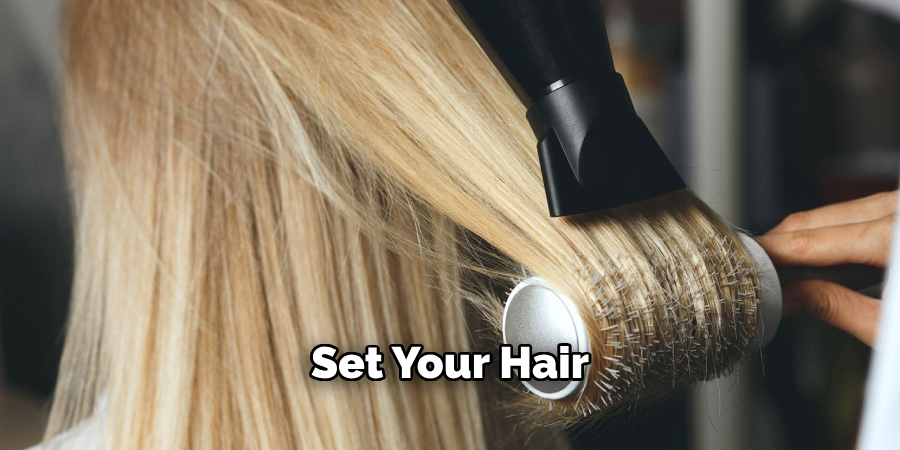
Step 7: Set If Desired
While not always necessary, setting your hair can help to lock in the style and provide extra hold. If you choose to set your hair, consider using a lightweight setting lotion or mousse. Apply a small amount to your hands and distribute it evenly through your hair, focusing on the ends and any areas prone to frizz. Avoid applying too much product, as this can weigh your hair down and diminish the sleekness of your blowout.
Once the setting product is applied, you can use large Velcro rollers or flexi rods to set your hair. Divide your hair into sections once more, rolling each section from the ends up to the roots. Secure them in place and leave them to set for 15 to 20 minutes. You can complete other parts of your beauty routine, such as makeup or dressing.
Step 8: Remove Rollers and Final Touches
Once the setting time is complete, gently remove the velcro rollers or flexi rods from your hair. Unroll each section carefully to maintain the smoothness and structure of the blowout. After all the rollers are removed, use your fingers or a wide-tooth comb to lightly fluff and separate the curls to achieve a natural, voluminous look. Use a few spritzes of a lightweight hairspray to maintain hold while keeping your hair flexible and soft.
Step 9: Optional Last-Minute Touches
For an even sleeker finish, you can use a flat iron on any sections that may need a bit more straightening. If you choose this step, apply a bit more heat protectant. Additionally, if you notice any frizz or flyaways, a small amount of hair oil can be applied to tame them.
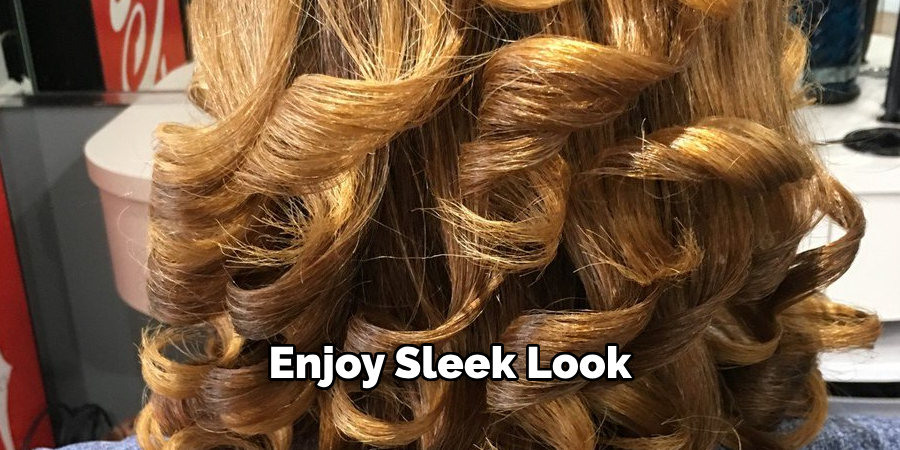
Step 10: Enjoy Your Sleek Look
Admire your salon-quality Dominican blowout made right at home. Feel confident in your sleek, shiny, and voluminous hair, perfect for any occasion. With regular practice, you’ll get quicker and more efficient at achieving this stunning hairstyle, making it a consistent part of your hair care routine.
Following these steps and using quality products can achieve the best results for your Dominican blowout at home.
5 Additional Tips and Tricks
- Use a Clarifying Shampoo: Start by washing your hair with a clarifying shampoo to remove any product buildup. This ensures that your hair is clean, which helps in achieving better results during the blowout process.
- Deep Condition for Moisture: Apply a deep conditioning treatment to your hair to provide moisture and strengthen your strands. This step is crucial for maintaining hair health, especially when applying heat.
- Use a Concentrator Nozzle: Attach a concentrator nozzle to your blow dryer. This tool helps direct the airflow more precisely, giving you better control and achieving smoother results.
- Finish with a Cold Shot: After blow-drying each section, use the cold shot button on your dryer to set the style and reduce frizz. The cold air helps to close the hair cuticle, resulting in a sleeker finish.
5 Things You Should Avoid
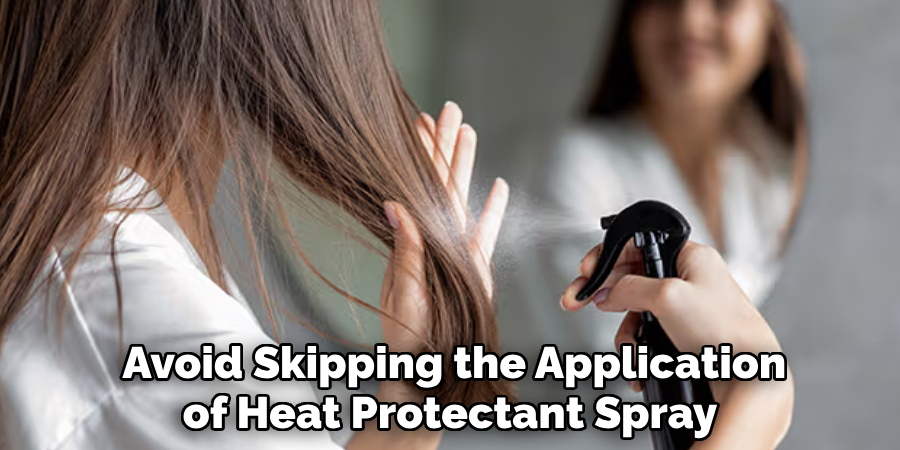
- Skipping Heat Protector: Avoid skipping the application of a heat protectant spray or serum. This crucial step shields your hair from the high temperatures of the blow dryer, preventing heat damage and breakage. Always apply it generously to each section of your hair before using any heat.
- Using High Heat Settings: It may be tempting to use the highest heat setting to speed up the process, but doing so can cause significant damage to your hair. Stick to a medium heat setting that is more gentle on your hair while still being effective for straightening.
- Neglecting Sectioning: Skipping the sectioning process can lead to uneven results and unnecessary tangling. Proper sectioning ensures that each part of your hair receives equal attention and heat, leading to a smoother and more polished finish.
- Overloading on Products: Using too many styling products can weigh your hair down and make it appear greasy or limp. Stick to a minimal amount of essential products like heat protectant, lightweight hair oil, and light hairspray for the best results.
- Not Allowing Hair to Cool: After blow-drying, it’s important to let your hair cool completely before brushing or styling it further. Cooling helps to set the style and prevent frizz. Using a cold shot from your blow dryer can expedite this process while enhancing shine.
By observing these precautions, you can minimize damage and ensure your Dominican blowout turns out smooth, sleek, and long-lasting.
Conclusion
How to do a dominican blowout can offer you sleek, salon-quality results without the frequent trips to a professional stylist. The key to achieving this smooth, voluminous look lies in careful preparation, precise technique, and the right products.
Starting with clean, well-conditioned hair sets a solid foundation while using heat protectants and proper sectioning, which helps to maintain hair health and ensure even results. Taking the time to put your hair, whether with rollers or using a cold shot, locks in the style and reduces frizz. Following these detailed steps and avoiding common pitfalls, you can enjoy beautiful, bouncy, sleek hair that radiates confidence and style.
With practice and patience, the Dominican blowout can become a versatile and integral part of your hair care routine, enhancing your natural beauty for any occasion.
About the Author
Jane Hubbard is a passionate beauty expert with a wealth of experience in makeup, hair, and overall beauty techniques. After years of working as a hairdresser specialist, she followed her entrepreneurial spirit and started her own consultancy business.
Jane has always been driven by her desire to help others feel confident in their own skin, and she does this by sharing her knowledge, experiences, and practical beauty tips. Through her consultancy, she empowers individuals to embrace their unique beauty, offering tailored guidance that boosts both self-esteem and personal style.
Professional Focus
Specializes in makeup, hairstyling, and beauty consulting.
Provides personalized beauty advice, tips, and techniques to help individuals feel confident in their appearance.
Dedicated to staying up-to-date with the latest industry trends and developments.
Passionate about creating a comfortable and empowering experience for every client.
Education History
University of Craft and Design – Bachelor of Fine Arts (BFA) in Woodworking and Furniture Design
Woodworking Apprenticeships – Extensive hands-on training with skilled craftsmen to refine carpentry and furniture making techniques
Online Courses & Masterclasses – Continued education in advanced woodworking techniques, design principles, and specialized tools
Expertise:
Makeup artistry, hairstyling, and beauty consulting.
Personalized beauty techniques to enhance confidence and self-expression.
Educating clients on how to maintain their beauty routines at home.