
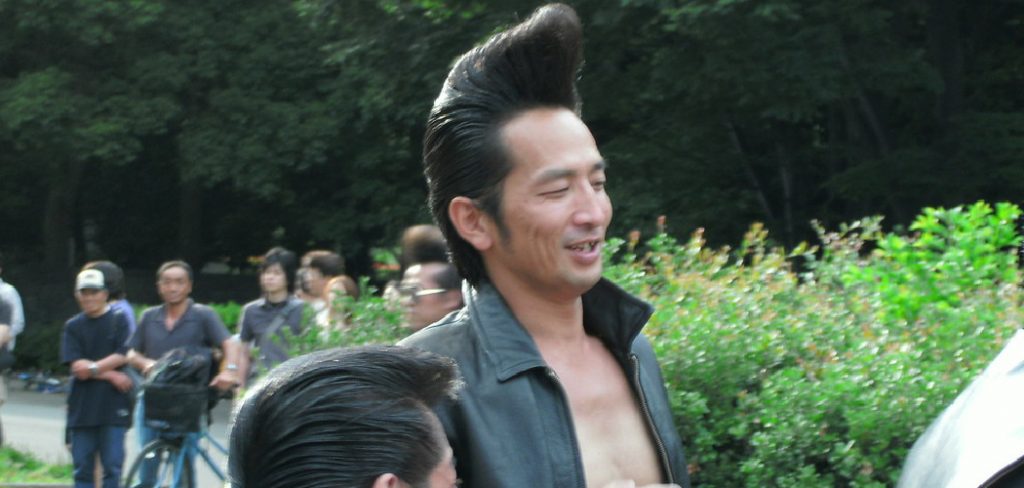
Are you looking to achieve a vintage and edgy look? Then a rockabilly hairstyle is what you need! This popular style from the 1950s is all about big, voluminous hair paired with bold makeup and fashion.
Rockabilly hairstyles are a timeless nod to the 1950s, embodying the rebellious spirit and unique fashion sense of that era. Whether you’re preparing for a themed event or simply want to add some vintage flair to your everyday look, mastering a rockabilly hairstyle can make a striking statement.
This guide will walk you through the essential steps on how to do a rockabilly hairstyle, from gathering the right tools to perfecting the techniques for iconic styles like the pompadour, victory rolls, and quiffs. With a bit of practice, you’ll be able to channel the rock ‘n’ roll charm with ease and confidence.
What Will You Need?
Before you begin creating your rockabilly hairstyle, it’s important to gather all the necessary tools and products. This will ensure that you have everything on hand and won’t have to stop midway through the process.
- Comb or Brush: A sturdy comb or brush is crucial for teasing and smoothing out your hair.
- Bobby Pins: These will be used to secure your hair in place.
- Hair Tie: A stretchy hair tie will make creating a ponytail or bun base for certain styles easier.
- Hair Spray: This is essential for keeping your hair in place and adding extra volume.
- Hair Rollers: To create those iconic victory rolls, you’ll need some rollers to help set the shape of your hair.
- Pomade or Gel: These products will add shine and hold to your hair, allowing for a sleek look.
- Hair Accessories: Here, you can have fun and add some flair to your rockabilly hairstyle. Think of bandanas, flowers, bows, and bold hair clips.
10 Easy Steps on How to Do a Rockabilly Hairstyle
Step 1. Start with Clean Hair:
To achieve the best results, begin with clean, dry hair. Wash your hair with a volumizing shampoo and conditioner to add some extra lift and body. Once your hair is clean, gently towel dry it and let it air dry, or use a blow dryer. Ensure your hair is dehydrated before you start styling, as damp hair can make achieving the volume needed for a rockabilly look more challenging. You may also want to add some texture using a light mousse or texturizing spray if you have naturally straight hair.

Step 2. Section Your Hair:
Divide your hair into sections to make the styling process easier. Start by parting your hair down the middle or on the side, depending on your desired look. For a classic rockabilly style, a deep side part often works best. Clip the sections you’re not working on out of the way to keep them from interfering. Typically, you’ll want to section off the top portion of your hair for creating volume, while leaving the sides and back for styling into rolls or pompadours.
Step 3. Create Volume with Teasing:
Teasing is a critical step in achieving the voluminous rockabilly hairstyles. Use a fine-toothed comb to gently backcomb the roots of the top section of your hair. Start at the crown of your head and work your way forward, teasing smaller sections for a more controlled and even volume. Once you have teased your hair, lightly smooth the top layer to hide any frizz without flattening the teased sections. Apply a light mist of hair spray to hold the teased hair in place.
Step 4. Form a Pompadour:
To form a pompadour, take the top section of your hair that you’ve already teased and smooth it gently with a comb or brush. Gather this section at the crown of your head where the most volume is, and by using your hands, start to shape it into a rounded puff. As you shape the pompadour, push it slightly forward to create that classic elevated front. Once you’re satisfied with the height and shape, secure it in place by pinning the underside with bobby pins. Ensure the pins are hidden within the hair to maintain a seamless look.
For extra hold, spritz a generous amount of hair spray over the pompadour, ensuring it stays intact throughout the day. If desired, you can add a small dab of pomade or gel to the front to enhance the sleekness and shine. Remember to be gentle with the teased sections while applying the products to avoid flattening the volume you’ve worked so hard to create.
Step 5. Style the Sides:
With the pompadour in place, it’s time to focus on the sides of your hair. One popular option is to create sleek, smooth sides that contrast with the voluminous top. Use your comb or brush to smooth the hair on each side of your head and pull it back towards the nape of your neck. Secure the sides with bobby pins, ensuring they are both sleek and tight to maintain the polished look. You can also add a touch of pomade or gel to help manage any flyaways and enhance the sleekness.
Step 6. Create Victory Rolls:
Victory rolls are an iconic rockabilly hairstyle element that you can incorporate for an added touch of vintage glam. To create victory rolls, take a small section of hair from one side of your head. Starting at the ends, roll the hair towards your scalp using your fingers to guide and shape the roll. Once the roll is in place, secure it with bobby pins. Repeat the process on the other side for a symmetrical look. Victory rolls can be positioned on top of your head or along the sides, depending on your preference.
Step 7. Secure the Back:
After styling the front and sides, the back of your hair needs attention. For a cohesive look, you can gather the remaining hair into a bun or a low ponytail. If you prefer additional volume, consider creating a low chignon or French twist. Secure the style with bobby pins and hair ties as needed. Ensure that any hair accessories or pins used are hidden for a neat finish.
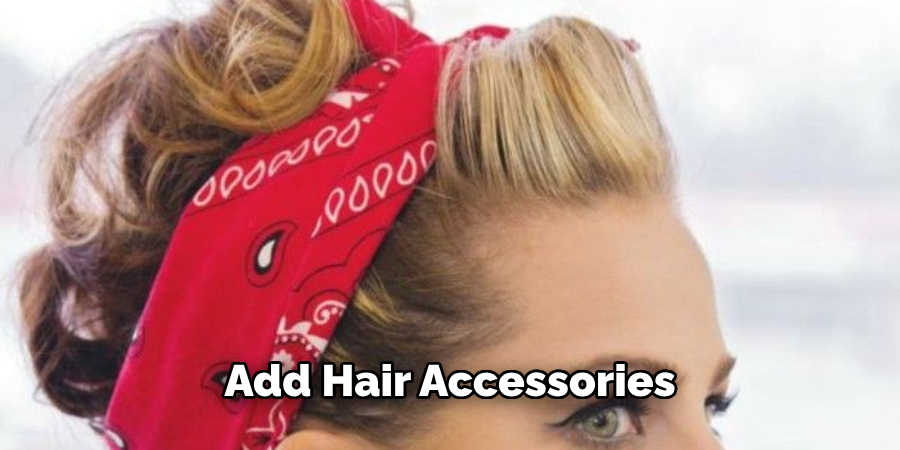
Step 8. Add Hair Accessories:
Now it’s time to have fun with hair accessories. Adding a bandana, flower, bow, or bold hair clip can elevate your rockabilly look. Position the accessory near the pompadour, along the side, or at the back, wherever it complements your hairstyle best. These accessories not only add flair but also help to secure your hairstyle further.
Step 9. Final Touches:
Give your hairstyle one last check to ensure everything is in place. Smooth out any frizzy areas, adjust any bobby pins, and make sure your pompadour, victory rolls, or other elements are secure. Use a fine-toothed comb or brush to gently tidy up the hair without disturbing the volume.
Step 10. Set with Hair Spray:
Finish your rockabilly hairstyle with a generous amount of hair spray. This step is crucial for keeping the style intact throughout the day (or night). Hold the hair spray at arm’s length and mist evenly over your entire hairstyle, paying extra attention to areas where volume and hold are most needed.
By following these steps, you’ll master the rockabilly hairstyle, giving you a striking and stylish look that’s perfect for any occasion.
5 Things You Should Avoid
1. Over styling with Products:
Using too many styling products can make your hair look greasy and weigh it down, which is the opposite of the voluminous look rockabilly hairstyles require. Stick to moderate mousse, pomade, and hair spray—just enough to achieve hold and texture without overdoing it.
2. Neglecting Hair Health:
Constant teasing, using heat tools, and applying strong hair products can damage your hair over time. To keep your hair healthy and resilient, avoid skipping regular hair care routines, such as conditioning treatments and trims. Healthy hair is easier to style and looks better overall.

3. Ignoring Your Hair Type:
Not all hair types respond the same way to styling techniques. For instance, extremely fine or thin hair might require additional steps or different products to create volume. Conversely, very curly or thick hair might need more smoothing and taming. Tailor your approach to suit your hair type for the best results.
4. Skipping the Teasing Comb:
Teasing your hair with the right tool is essential for achieving the rockabilly look. Using a broad-toothed comb or brush can lead to uneven teasing and frizz. A fine-toothed comb allows for more precise and controlled teasing, giving you the desired volume without the chaos.
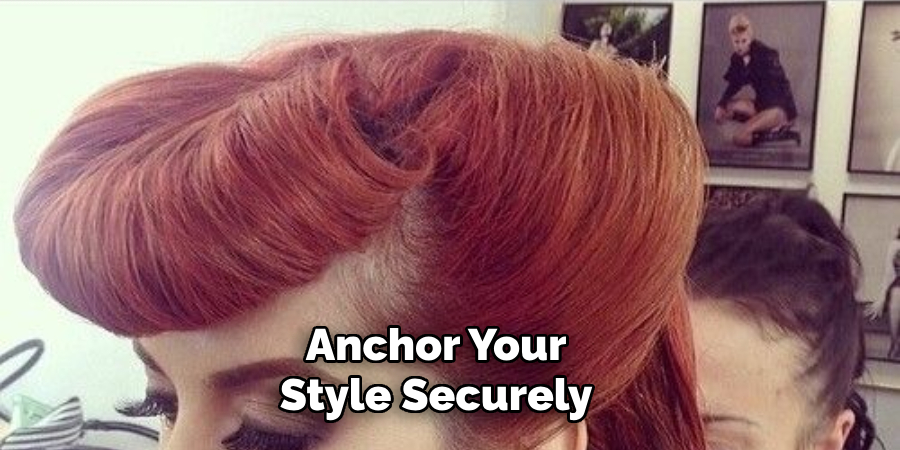
5. Forgetting to Secure Your Style:
A well-crafted rockabilly hairstyle can quickly fall apart if not properly secured. Failing to use enough bobby pins or hair spray means your efforts might not last through the day or night. Take the time to anchor your style securely, ensuring all sections are in place to enjoy a long-lasting, polished look.
With these tips in mind, you can confidently rock any rockabilly hairstyle of your choice.
Conclusion
How to do a rockabilly hairstyle is all about balancing volume, precision, and vintage flair.
By following these comprehensive steps, you’ll be well-equipped to create a striking and stylish look that sets you apart. The key elements include a well-constructed pompadour, sleek sides, and the potential addition of victory rolls for extra vintage charm. You’ll also want to use hair accessories to add a personal touch while ensuring your style stays put. Avoid common pitfalls like over styling with products or neglecting hair health to keep your locks looking their best.
With practice and the right tools, you’ll craft this iconic hairstyle proficiently, ready to dazzle at any occasion. Embrace the rockabilly spirit and let your hair make a bold statement.
You can also check it out to Use Milk Shake Leave in Conditioner
About the Author
Jane Hubbard is a passionate beauty expert with a wealth of experience in makeup, hair, and overall beauty techniques. After years of working as a hairdresser specialist, she followed her entrepreneurial spirit and started her own consultancy business.
Jane has always been driven by her desire to help others feel confident in their own skin, and she does this by sharing her knowledge, experiences, and practical beauty tips. Through her consultancy, she empowers individuals to embrace their unique beauty, offering tailored guidance that boosts both self-esteem and personal style.
Professional Focus
Specializes in makeup, hairstyling, and beauty consulting.
Provides personalized beauty advice, tips, and techniques to help individuals feel confident in their appearance.
Dedicated to staying up-to-date with the latest industry trends and developments.
Passionate about creating a comfortable and empowering experience for every client.
Education History
University of Craft and Design – Bachelor of Fine Arts (BFA) in Woodworking and Furniture Design
Woodworking Apprenticeships – Extensive hands-on training with skilled craftsmen to refine carpentry and furniture making techniques
Online Courses & Masterclasses – Continued education in advanced woodworking techniques, design principles, and specialized tools
Expertise:
Makeup artistry, hairstyling, and beauty consulting.
Personalized beauty techniques to enhance confidence and self-expression.
Educating clients on how to maintain their beauty routines at home.