

Magnetic gel nail polish is one of the most eye-catching manicure trends you can try without ever booking a salon appointment. This special polish contains tiny metallic particles that shift and swirl when you hold a small magnet close to the wet coat, creating a shimmering cat-eye effect that looks like liquid starlight trapped under your nails. The best part is that learning how to do magnetic gel nail polish is far easier than it appears, even if you have never picked up a nail lamp before.
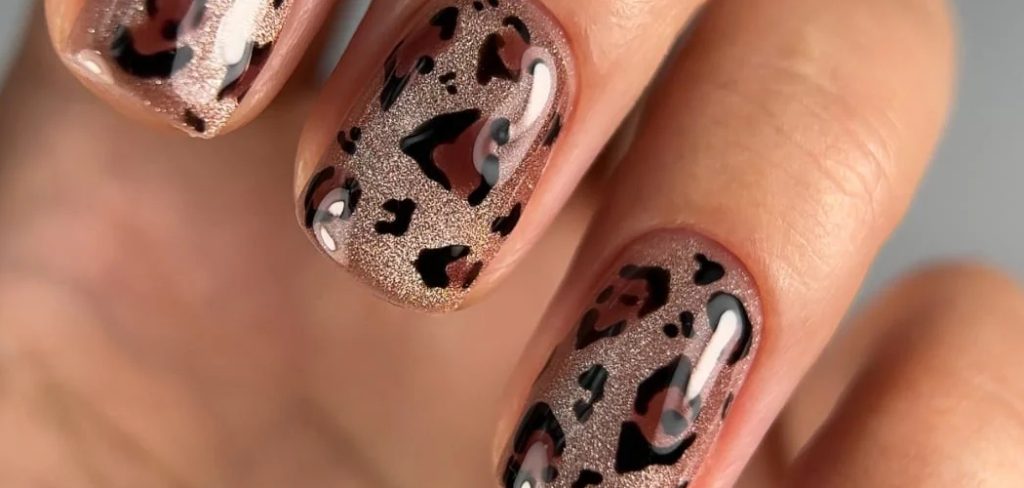
If you have ever admired those glossy, three-dimensional nails on social media and assumed they took hours of professional skill, you are in for a pleasant surprise. With a few affordable tools and a little patience, you can recreate that same depth and movement at home. In this guide, we will walk through everything step by step, explain why each stage matters, and answer the questions beginners ask most. By the end, you will feel confident enough to experiment with different magnets and angles for your own signature look.
Why Magnetic Gel Nail Polish Is Worth Trying
Magnetic gel polish gives you a premium, salon-quality finish for a fraction of the usual cost. Because the effect comes from a magnet rather than intricate hand painting, you get a stunning result even if your painting skills are still developing. That makes it perfect for all skill levels.
It is also incredibly versatile. A single bottle can produce dozens of looks depending on how you angle the magnet, so you get more creativity from less product. The gel formula lasts up to two or three weeks without chipping, which means fewer touch-ups and more time enjoying your nails. Add in the fact that the shifting cat-eye shimmer catches the light beautifully, and you have a manicure that feels expensive, personal, and genuinely fun to create at home.
Step-by-Step Guide to How to Do Magnetic Gel Nail Polish
Step 1: Prep Your Nails Properly
Good preparation is the foundation of any long-lasting manicure, so never skip this stage. Start by pushing back your cuticles gently with a cuticle stick, then trim and file your nails into your preferred shape. Buff the surface lightly to remove natural shine, because a slightly rough surface helps the gel grip better and last longer. Once you finish buffing, wipe each nail with a lint-free pad soaked in isopropyl alcohol to remove dust and oils. Clean, dry nails give you the smoothest possible base and prevent lifting later, which is the most common frustration beginners run into.
Step 2: Apply A Base Coat
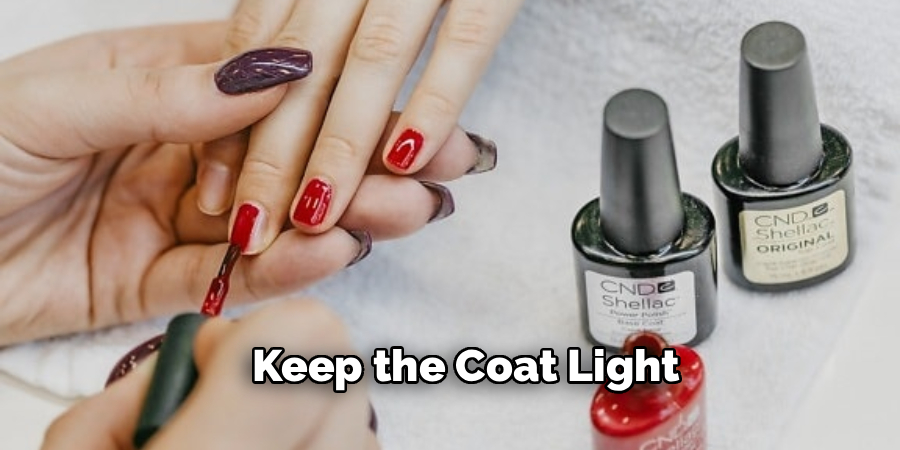
Now apply a thin, even layer of gel base coat over each nail. Keep the coat light, since thick layers cure unevenly and can feel sticky or lumpy afterward. Cap the free edge by brushing a little product along the very tip of your nail, as this simple trick seals the edge and dramatically improves how long your manicure survives daily wear. Cure the base coat under your LED or UV lamp for the time recommended by your brand, usually somewhere between thirty and sixty seconds. A properly cured base creates a strong bond that supports every colorful layer you add on top.
Step 3: Paint The First Magnetic Layer
Here is where the magic begins. Learning how to do magnetic gel nail polish successfully depends on painting a smooth, moderately thick coat, because those metallic particles need room to move when you introduce the magnet. Shake or roll the bottle first so the shimmer distributes evenly, then brush one nail at a time so the gel stays wet enough to react. Avoid flooding your cuticles, and try to keep the coat consistent from base to tip. Do not cure this layer yet, since the magnet only works while the polish remains fluid. Work on a single nail before moving to the next.
Step 4: Hold The Magnet Over The Nail
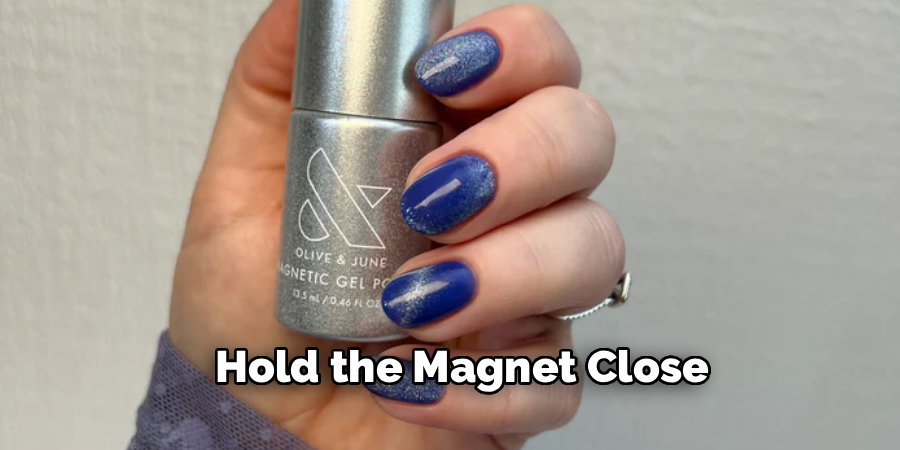
Immediately after painting a nail, hold the magnet close above the wet surface without touching the polish. Keep it roughly two to five millimeters away and stay still for around five to ten seconds. You will watch the metallic particles gather and form a bright, glowing line or swirl. Experiment with tilting the magnet at different angles, holding it lengthwise for a classic cat-eye stripe or on a diagonal for a more dramatic effect. If the pattern looks faint, you can move the magnet slightly closer, but avoid dipping it into the wet gel or you will smudge your design.
Step 5: Cure Each Magnetic Nail
Once you are happy with the pattern on that single nail, cure it under your lamp before the effect settles or fades. This is why most people who master how to do magnetic gel nail polish work one nail at a time rather than painting all ten at once. Curing locks the shimmer exactly where the magnet placed it, freezing that beautiful movement in place permanently. Follow your lamp’s recommended curing time, then repeat steps three through five for every remaining nail. Taking this patient, nail-by-nail approach guarantees each finger gets a crisp, well-defined pattern instead of a blurry, half-formed shimmer.
Step 6: Add A Second Coat If Needed
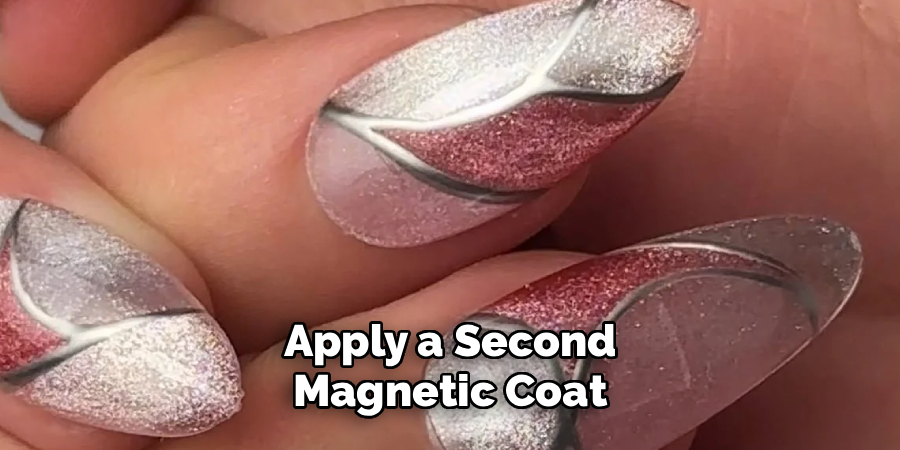
Depending on the pigment strength of your polish, one layer may look slightly sheer or uneven. If so, apply a second magnetic coat using the same technique, painting one nail, positioning the magnet, and curing before moving on. A second layer deepens the color and makes the cat-eye effect appear richer and more three-dimensional. Try to match the magnet angle you used the first time so the two patterns align rather than clash. For most brands, two thin coats create the perfect balance of vibrancy and depth without feeling bulky or overloaded on the nail.
Step 7: Seal With A Top Coat
Finish by brushing on a generous but even layer of gel top coat, capping the free edge again to lock everything in. The top coat protects your design, adds a glossy mirror-like shine, and boosts the overall lifespan of your manicure. Cure it fully under your lamp, then wipe away any sticky residue with alcohol and a lint-free pad if your top coat is not the no-wipe kind. Once dry, your nails are ready to show off. Apply a little cuticle oil around the edges to keep your skin soft and your manicure looking freshly done.
Frequently Asked Questions
What Kind Of Magnet Should I Use?
You should use the magnet designed for your specific polish, which usually comes bundled with the bottle or sold by the same brand. These magnets have the right strength and shape to pull the metallic particles into a clear pattern. Regular household or fridge magnets rarely work well because they lack the correct pull and shape. Experiment with different angles and distances to discover which effects you like best.
Why Is My Cat-Eye Effect Not Showing Up?
The most common reason is curing the polish before using the magnet, since the particles only move while the gel is still wet. Make sure you paint a thick enough layer, hold the magnet close without touching the surface, and stay perfectly still for several seconds. Weak or thin coats also produce faint patterns, so try adding a second layer and repositioning the magnet for a bolder, clearer result.
How Long Does This Manicure Last?
When applied correctly with proper prep, a base coat, and a sealing top coat, your manicure can last two to three weeks without significant chipping. Longevity depends on how well you cap the free edges and how gently you treat your hands afterward. Wearing gloves for cleaning and applying cuticle oil daily both help. If you notice lifting early, it usually points to skipped prep or oils left on the nail surface.
Can Beginners Really Do This At Home?
Absolutely, and that is exactly why this trend has become so popular. The magnet does most of the creative work for you, so you do not need advanced painting skills to achieve a stunning finish. Start slowly, work one nail at a time, and follow each curing step carefully. With a little practice and some patience, even first-timers produce results that look genuinely professional and polished.
Do I Need A Special Lamp To Cure The Gel?
Yes, gel polish requires a UV or LED lamp to cure and harden properly, unlike regular air-dry polish. Most modern kits include an affordable LED lamp that cures quickly, often within thirty to sixty seconds per layer. Always follow the curing times recommended by your polish brand, since under-curing leaves the gel soft and prone to smudging while over-curing can sometimes cause brittleness.
Conclusion
Creating gorgeous, gallery-worthy nails at home is genuinely within your reach once you understand the simple rhythm behind the process. From prepping your nails and applying a solid base to positioning the magnet and sealing everything with a glossy top coat, every step builds toward that mesmerizing cat-eye shimmer. Remember to work one nail at a time, keep your coats thin but pigmented, and always cure fully between layers for the cleanest, longest-lasting result.
Now that you know how to do magnetic gel nail polish from start to finish, the only thing left is to gather your tools and start experimenting. Try different magnet angles, mix up your colors, and enjoy discovering your favorite effects along the way. Your skills will grow with every manicure, and before long you will be creating salon-quality nails that turn heads and boost your confidence. Grab your kit, take your time, and have fun with it.

About the Author
Jane Hubbard is a passionate beauty expert with a wealth of experience in makeup, hair, and overall beauty techniques. After years of working as a hairdresser specialist, she followed her entrepreneurial spirit and started her own consultancy business.
Jane has always been driven by her desire to help others feel confident in their own skin, and she does this by sharing her knowledge, experiences, and practical beauty tips. Through her consultancy, she empowers individuals to embrace their unique beauty, offering tailored guidance that boosts both self-esteem and personal style.
Professional Focus
Specializes in makeup, hairstyling, and beauty consulting.
Provides personalized beauty advice, tips, and techniques to help individuals feel confident in their appearance.
Dedicated to staying up-to-date with the latest industry trends and developments.
Passionate about creating a comfortable and empowering experience for every client.
Education History
University of Craft and Design – Bachelor of Fine Arts (BFA) in Woodworking and Furniture Design
Woodworking Apprenticeships – Extensive hands-on training with skilled craftsmen to refine carpentry and furniture making techniques
Online Courses & Masterclasses – Continued education in advanced woodworking techniques, design principles, and specialized tools
Expertise:
Makeup artistry, hairstyling, and beauty consulting.
Personalized beauty techniques to enhance confidence and self-expression.
Educating clients on how to maintain their beauty routines at home.