
Are you tired of a bad haircut? Want to know how to fix it? Look no further! The following guide will provide you with tips and tricks on how to fix a bad haircut mens.
Getting a bad haircut can feel like a personal catastrophe, especially when you have a specific style in mind. For men, a poorly executed trim or an unfortunate style choice can lead to frustration and insecurity. However, all is not lost! You can employ several practical strategies to salvage your look and regain confidence.
From creative styling techniques to the art of blending and fading, this guide will provide you with practical solutions to turn that undesirable haircut into a more manageable and stylish appearance. Whether you choose to embrace the current cut or opt for a new direction, fixing a bad haircut is achievable with the right approach.
What Will You Need?
To fix a bad haircut, you will need some essential tools and products to achieve the desired results. These include:
- A comb or brush
- Hair clippers or scissors
- Styling products such as gel, pomade, or wax
- A hairdryer (optional)
Having these essentials on hand will make the process easier and more effective.
10 Easy Steps on How to Fix a Bad Haircut Mens
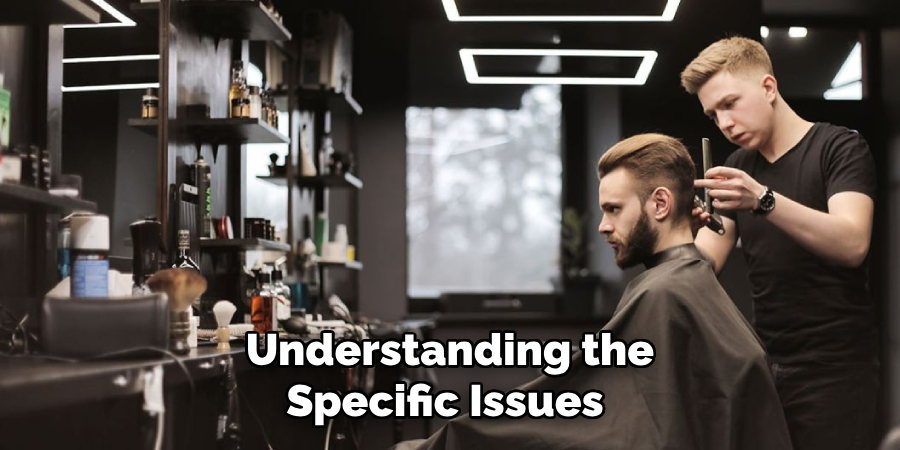
Step 1: Assess the Damage
Begin by carefully examining your haircut in different lighting conditions and angles. Determine which areas need the most attention—uneven lengths, awkward layers, or a style that doesn’t suit you. Understanding the specific issues will help you plan the next steps effectively.
Step 2: Decide on a New Style
Once you’ve assessed the damage, it’s time to decide how to move forward. Look for inspiration from magazines, social media, or celebrity styles that catch your eye. Consider opting for a style that allows versatility or a cut that can be blended easily with your existing hair length.
Remember, selecting a new style that suits your face shape and hair texture is crucial, so choose wisely to ensure it complements your features while helping you feel more confident.
Step 3: Gather Your Tools
Before you start making any changes, ensure you have all the necessary tools within reach. This will save you time and prevent any frustrations during the process.
Ensure your hair clippers are charged or your scissors are sharp, and have your styling products ready to apply afterward. A well-prepared workspace will help you stay focused and achieve better results.
Step 4: Make the First Cut
Now that you have assessed the damage and decided on a new style, it’s time to make the first cut. Start with small, conservative snips to avoid over-cutting and to assess how the hair falls. If you’re using clippers, begin with a longer guard length and gradually decrease it until you find the desired length.
For scissors, cut small sections at a time, combing through as you go to check for evenness. Always remember that removing more hair than putting it back is easier, so proceed with caution and take breaks to reassess your progress.
Step 5: Blend the Layers
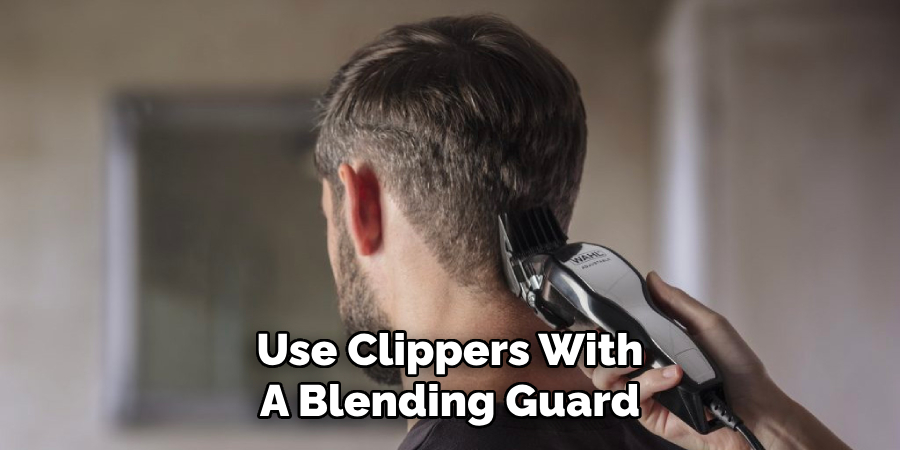
Blending is essential for achieving a more polished look if your haircut has uneven layers or harsh lines. Use clippers with a blending guard or scissors to lightly snip the hair at varying lengths. This technique helps to create a seamless transition between different lengths, softening any abrupt changes.
A good rule of thumb is to hold the hair between your fingers, gently pull it away from the scalp, and make small cuts to remove the bulk. Take your time with this process, and frequently comb through your hair to check for evenness. Blending will help to disguise any imperfections and provide a more natural look.
Step 6: Texturize for Movement
Adding texture to your hair can significantly improve the overall appearance of a bad haircut. Texturizing creates movement and helps reduce the bulkiness of specific areas. You can use thinning shears for this process or employ a point-cutting technique with regular scissors.
Hold small sections of hair between your fingers and cut into the ends at various angles, rather than straight across, to create a softer finish. This will enhance the look of your haircut and make it easier to style and manage. Remember to keep checking your progress, ensuring you achieve a balanced texture throughout.
Step 7: Style Your Hair
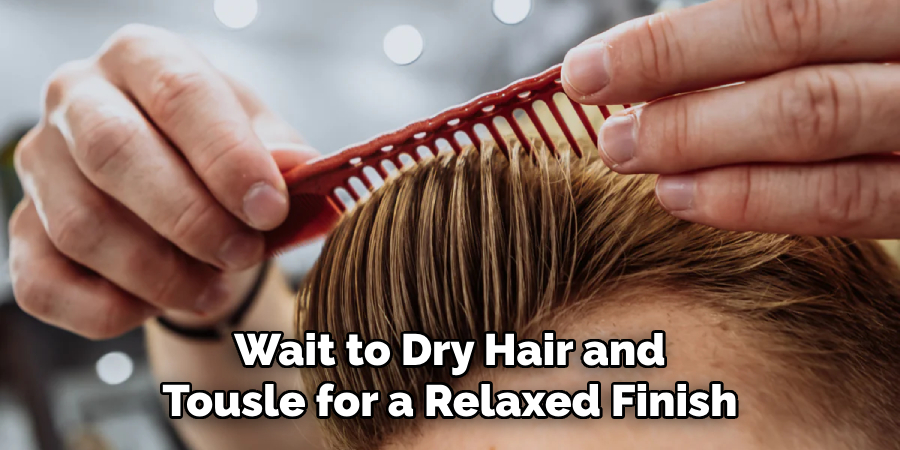
Once you’ve made the necessary cuts and blended the layers, it’s time to style your hair to enhance your new look. Use a comb or fingers to shape your hair into your desired style. Apply your chosen styling product—be it gel, pomade, or wax—according to the look you want to achieve.
Work the product through damp hair and style while it dries for a more structured appearance. Alternatively, if you prefer a more casual look, apply it to dry hair and tousle for a relaxed finish.
Experiment with different techniques until you find what suits you best, and don’t forget to finish off with a light spritz of hairspray to hold everything in place if desired.
Step 8: Maintain Regular Trims
It’s essential to establish a routine for regular trims to prevent future haircut disasters. By scheduling haircuts every 4-6 weeks, you can keep your hair looking fresh and tidy, allowing you to maintain the style you’ve worked hard to create.
Regular upkeep will help you monitor your hair’s health and manage any unwanted growth or awkward lengths before they become noticeable issues. Additionally, don’t hesitate to communicate openly with your barber or stylist about your preferences and any concerns; this will ensure they understand your vision and help achieve the desired results in subsequent visits.
Step 9: Experiment with Styling Techniques
Now that you’ve achieved a satisfactory cut, it’s time to explore different styling techniques to find what works best for your hair type and face shape. Try using various brushes or combs, adjust the amount of product you apply, or experiment with styling tools like a blow dryer or straightener.
Each method can yield different results, so don’t hesitate to play around with your hairstyle. Remember, hair tends to have a mind of its own, and finding the right combination of styling techniques will allow for versatility in your look. Keep in mind that practice can lead to improvement, so take your time to discover what styles you love most.
Step 10: Seek Professional Help if Needed
If you’re still unsatisfied with the results after all your efforts, feel free to seek professional help. A skilled barber or stylist can offer valuable insights and may recommend adjustments that could enhance your look significantly.
They can also provide advice tailored specifically to your hair type and face shape, ensuring you achieve the best possible outcome. Regularly visiting a professional can also be beneficial as they can help you maintain your desired style and address any issues before they escalate.
There’s no shame in seeking assistance, and sometimes, a little expert guidance is all you need to restore your confidence in your hairstyle.
By following these steps and staying patient and diligent, you can overcome a bad haircut and turn it into an opportunity to experiment with new styles.
5 Things You Should Avoid
- Avoid Over-Cutting: It’s tempting to keep cutting to salvage the haircut, but this can lead to excessive hair loss and an even worse outcome. Stick to minor, gradual adjustments instead.
- Don’t Rush the Process: Fixing a lousy haircut takes time and patience. Rushing through the steps can result in unevenness and mistakes. Take breaks to reassess your progress and make thoughtful decisions.
- Steer Clear of DIY Treatments: Home remedies may seem harmless but often exacerbate the situation. Avoid any unconventional fixes, such as using household scissors or tools not designed for hair.
- Refrain from Using Heavy Products: Using too much styling product on a bad haircut can weigh it down and mask the actual problem. Instead, opt for lightweight products that add texture without making the hair look greasy or unkempt.
- Don’t Hesitate to Seek Help: If you’re unsure about how to fix your hair, don’t hesitate to consult a professional. Ignoring the issue and attempting to go it alone can lead to more disappointment; a barber or stylist can provide valuable assistance.
By avoiding these common mistakes, you can ensure that your efforts to fix a bad haircut are successful and lead to a result that makes you happy.
Conclusion
In conclusion, dealing with a bad haircut can be frustrating, but it is essential to remember that you have options to salvage the situation.
By following the outlined steps on how to fix a bad haircut mens—such as blending layers, experimenting with styling techniques, and maintaining regular trims—you can transform an unfortunate cut into a manageable, stylish look.
Patience and care are crucial as you work through the process, and don’t shy away from seeking professional help if needed.
Ultimately, embracing a positive mindset and being open to new styles can turn a haircut mishap into an opportunity for creativity, allowing you to redefine your look and boost your confidence.