
Are you tired of seeing banding in your hair? Banding is a common hair problem that occurs when the color or texture of your hair changes suddenly, resulting in visible lines or stripes.
Banding in hair, often characterized by uneven color or visible lines after dyeing, can be a frustrating challenge for many. This phenomenon typically occurs when hair is not correctly prepped or when color is applied unevenly, resulting in stark contrasts that detract from the overall look. Whether you’re a professional stylist or a DIY enthusiast, understanding the causes of banding and mastering the techniques to fix it is essential for achieving a flawless finish.
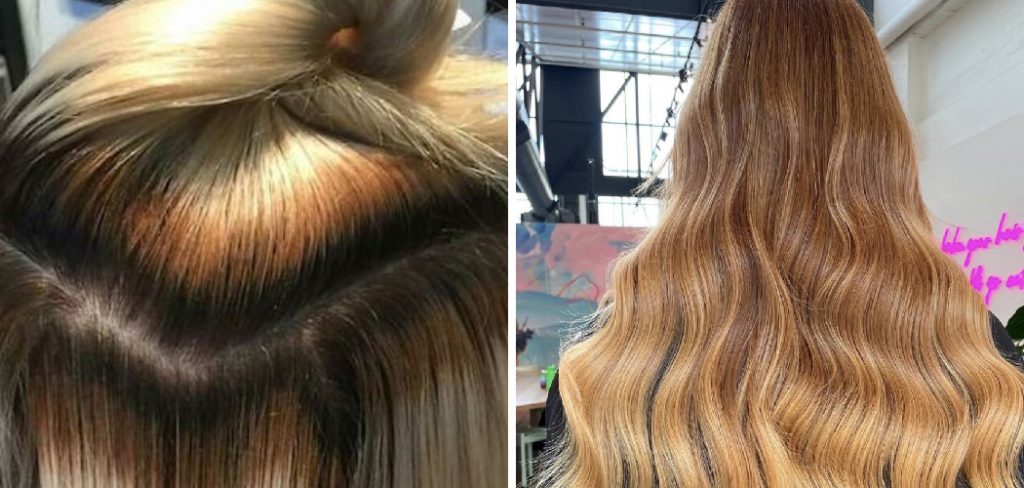
In this guide, we will explore effective methods on how to fix banding in hair, ensuring your hair colour is vibrant and seamlessly blended.
What Will You Need?
Before we dive into the steps to fix banding in hair, let’s gather all the necessary tools and products:
- Hair dye (same shade or lighter)
- Developer
- Mixing bowl and brush
- Clarifying shampoo
- Deep conditioner
- Shower cap/towel
Once you have these items, let’s move on to the steps to fix banding in hair.
10 Easy Steps on How to Fix Banding in Hair
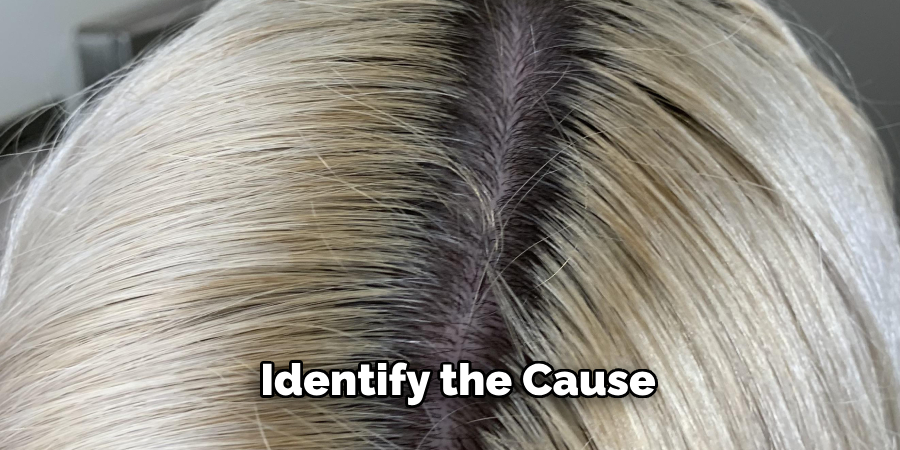
Step 1: Identify the Cause
The first step in addressing banding is to pinpoint what caused it in the first place. Common culprits include inadequate hair preparation before dyeing, such as failure to clarify or remove previous product buildup or applying dye in a rushed manner that leads to uneven saturation. Additionally, banding may occur due to using different dye formulations or shades that don’t blend well together, producing harsh lines. It’s also important to consider the hair’s porosity—damaged or highly porous hair may absorb dye unevenly, exacerbating the banding effect. By taking the time to discern the underlying cause, you can tailor your approach and effectively tackle the banding issue in the subsequent steps.
Step 2: Prepare Your Hair
Before applying any dye, it’s crucial to prepare your hair correctly. Start by washing your hair with a clarifying shampoo to remove buildup from styling products and previous dye. This will help create a clean slate for even color applications. After washing, gently towel-dry your hair to remove excess moisture, ensuring it is damp but not soaking wet. If your hair is damaged or overly porous, consider applying a deep conditioner to restore moisture and improve dye absorption. Lastly, section your hair into manageable parts using clips to ensure the dye is even applied in the following steps.
Step 3: Mix the Dye
Now that your hair is prepared, it’s time to mix your dye. Follow the instructions provided with your hair dye product to combine the dye and developer in a mixing bowl. It’s essential to use the same or lighter shade to help blend the banding without introducing more contrast. Use a brush to mix the two components thoroughly, ensuring a uniform consistency. This will help prevent streaks or patches during application.
Step 4: Apply the Dye
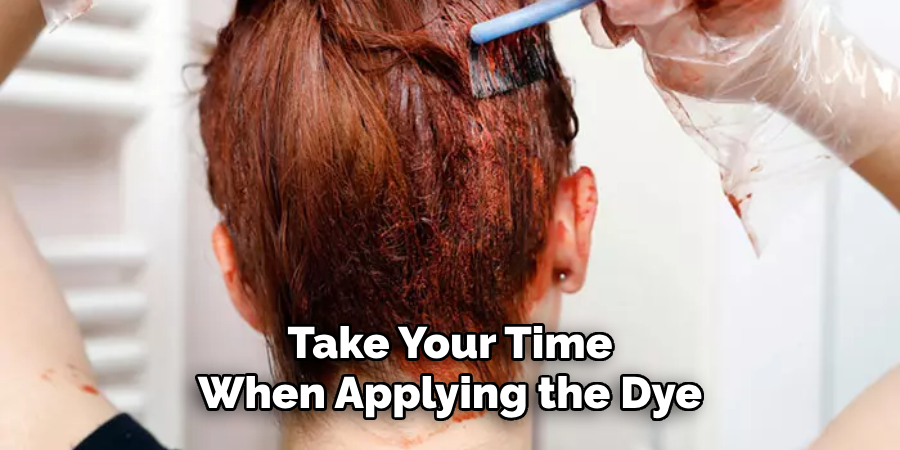
With your dye mixed and your hair adequately sectioned, it’s time to start the application process. Begin by applying the dye mixture to the areas where banding is most noticeable. Use a brush to apply the dye evenly, ensuring you thoroughly saturate the hair to avoid missed spots. Work in small sections, starting from the roots and moving to the ends to promote even coverage. Take time with each section, gently massaging the dye into the hair to enhance absorption. Use your fingers to distribute the dye more evenly, particularly in areas where the banding is pronounced.
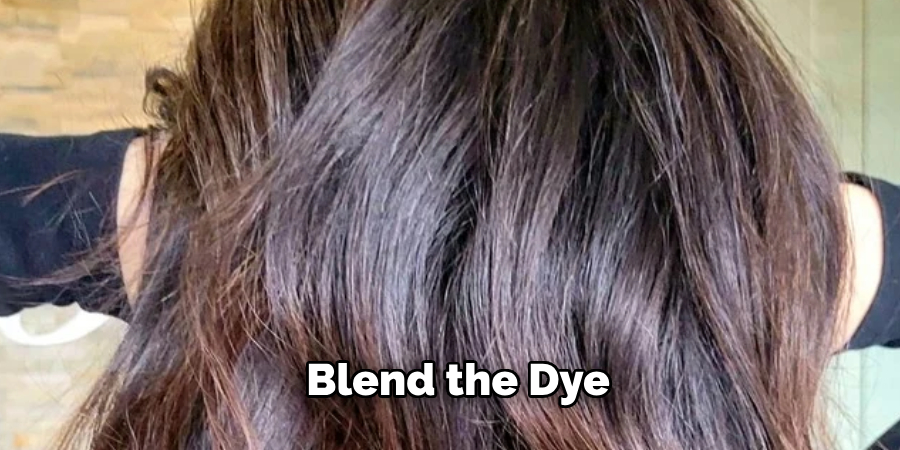
Step 5: Blend the Dye
Once you’ve applied the dye to the areas with noticeable banding, it’s essential to blend the dye into the surrounding sections of hair. Use the brush to feather the edges of the newly dyed hair into the previously colored sections. This technique helps to create a seamless transition and diminishes the harsh lines caused by banding. For best results, alternate between using the brush and your fingers to mix the colors gently. Ensure you work quickly but carefully, as the longer the dye sits, the more it will set into the hair. Maintaining a smooth gradient is key to achieving a natural look.
Step 6: Monitor Processing Time
After blending the dye, it’s crucial to monitor the processing time according to the instructions provided with your hair dye product. Keep an eye on the clock and avoid leaving the dye on for longer than recommended, as this can lead to uneven results or damage to your hair. It’s also helpful to check the color’s development periodically, particularly in the areas where banding was most prevalent. This will allow you to see how well the dye is working to blend the colours together and make any necessary adjustments before rinsing.
Step 7: Rinse and Cleanse
Once the processing time is complete, it’s time to rinse the dye out of your hair. Start by thoroughly rinsing your hair with lukewarm water until the water runs clear. Avoid using hot water, as it can strip moisture and lead to further damage. After rinsing, apply a gentle shampoo to cleanse your hair and remove any residual dye. Using a sulfate-free shampoo is essential to protect your newly-coloured hair and maintain its shine. Follow up with a deep conditioner to replenish moisture and help close the hair cuticles, ensuring a smooth and healthy finish. Allow the conditioner to sit for a few minutes before rinsing it out to maximize hydration.
Step 8: Style Your Hair
After rinsing and conditioning, gently towel dry your hair to remove excess water without causing friction. This is the perfect time to style your hair as desired, whether you prefer air-drying or using a blow dryer. If you’re using heat tools, make sure to apply a heat protectant to guard against potential damage. As you style, pay attention to how the color blends in natural light to ensure that any remaining banding has been adequately addressed.
Step 9: Maintain Your Colour
To keep your hair color looking vibrant and free of banding, it’s crucial to establish a proper hair care routine. Use color-safe, sulfate-free shampoos and conditioners, and limit washing to two to three times a week to prevent fading. Incorporate deep conditioning treatments regularly to nourish your hair and lock in moisture. Moreover, avoid excessive sun exposure and chlorine, as both can impact hair color.
Step 10: Schedule Follow-Up Care
Finally, consider scheduling follow-up appointments at your salon for professional touch-ups and consultations. A stylist can help monitor your hair’s health and recommend necessary adjustments to maintain an even color. Regular trims can also prevent split ends and keep your hair looking its best, allowing for a seamless and stunning finish to your dye job.
By following these steps and maintaining proper hair care, you can successfully address banding and achieve flawless, natural-looking hair colour.
5 Things You Should Avoid
- Skipping Patch Tests: Always conduct a patch test before applying dye, especially if you’re using a new product. This helps you avoid allergic reactions and ensures the dye’s compatibility with your hair type.
- Using the Wrong Shade: Avoid selecting a shade significantly darker than your current color. This can accentuate banding rather than blend it. Stick to similar or lighter shades for better results.
- Rushing the Application: Take your time when applying the dye. Hurrying can lead to missed spots and uneven coverage. Always work in small sections and ensure thorough saturation.
- Neglecting Your Hair’s Condition: Before dyeing, don’t overlook the health of your hair. Damaged or dry hair may not absorb dye evenly, worsening the banding issue. Always prepare your hair with appropriate treatments prior to dyeing.
- Ignoring Aftercare: Avoid using harsh shampoos or exposure to chlorine immediately after dyeing. This can strip the color and amplify the visibility of any banding. Instead, use color-safe products and maintain a gentle hair care routine.
Following these tips can avoid common mistakes and ensure a successful hair dyeing experience without any noticeable banding. So go ahead and confidently rock your new color!
What are the Causes of Banding?
Banding can occur for several reasons, including:
- Inconsistent application technique when dyeing hair.
- Different types or brands of hair dye were used on previously dyed hair.
- Improper blending of dye during application.
- Uneven distribution and saturation of dye throughout the hair.
- Variation in natural hair color and texture.
- Use of heat tools or styling products that can cause damage to the hair cuticles.
By understanding these causes, you can take necessary precautions and follow the steps outlined above to address banding in your next hair dyeing session effectively. Patience and attention to detail are crucial to achieving a flawless and evenly colored result. Feel free to seek professional help or conduct a patch test if needed.
Conclusion
In conclusion, addressing banding in hair color requires careful technique and a thoughtful approach to both application and aftercare.
By following the outlined steps on how to fix banding in hair—from selecting the right shade and ensuring even application to adhering to a proper hair care regime—you can achieve a seamless blend and maintain vibrant colour. Remember to regularly assess your hair’s condition and seek professional advice when needed. With patience and the right methods, you can transform banded color into a beautifully unified look, allowing you to enjoy your stunning hair more fully.
Embrace your creativity, and always prioritize the health of your hair throughout your dyeing journey.
About the Author
Jane Hubbard is a passionate beauty expert with a wealth of experience in makeup, hair, and overall beauty techniques. After years of working as a hairdresser specialist, she followed her entrepreneurial spirit and started her own consultancy business.
Jane has always been driven by her desire to help others feel confident in their own skin, and she does this by sharing her knowledge, experiences, and practical beauty tips. Through her consultancy, she empowers individuals to embrace their unique beauty, offering tailored guidance that boosts both self-esteem and personal style.
Professional Focus
Specializes in makeup, hairstyling, and beauty consulting.
Provides personalized beauty advice, tips, and techniques to help individuals feel confident in their appearance.
Dedicated to staying up-to-date with the latest industry trends and developments.
Passionate about creating a comfortable and empowering experience for every client.
Education History
University of Craft and Design – Bachelor of Fine Arts (BFA) in Woodworking and Furniture Design
Woodworking Apprenticeships – Extensive hands-on training with skilled craftsmen to refine carpentry and furniture making techniques
Online Courses & Masterclasses – Continued education in advanced woodworking techniques, design principles, and specialized tools
Expertise:
Makeup artistry, hairstyling, and beauty consulting.
Personalized beauty techniques to enhance confidence and self-expression.
Educating clients on how to maintain their beauty routines at home.