
Are you tired of paying for expensive hair fragrances that don’t last long or smell how you want them to? Look no further!
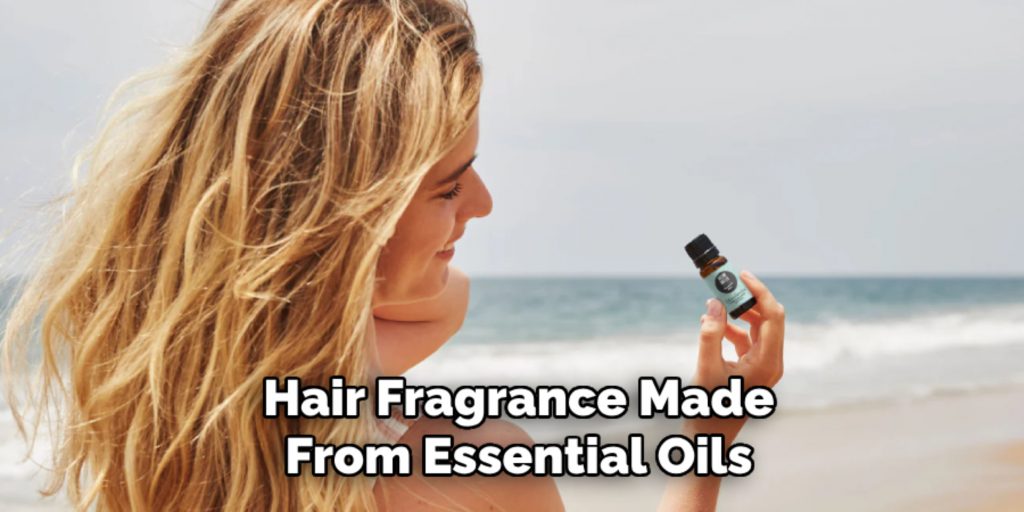
How to make hair fragrance is a delightful way to personalize your hair care routine with scents that resonate with you. A hair fragrance adds a pleasant aroma to your tresses and can mask unwanted smells and provide an uplifting experience throughout your day.
By crafting your own formula, you have the flexibility to select natural and nourishing ingredients, such as essential oils, that offer both scent and potential hair benefits.
This guide will take you through the step-by-step process of customizing a hair fragrance that suits your preferences and leaves your hair smelling fresh and enchanting.
What are the Benefits of making hair fragrance?
There are numerous benefits to making your hair fragrance, including:
- Cost-effective: Store-bought hair fragrances can be costly, mainly if you use them frequently. Making your hair fragrance allows you to save money and have control over the ingredients used.
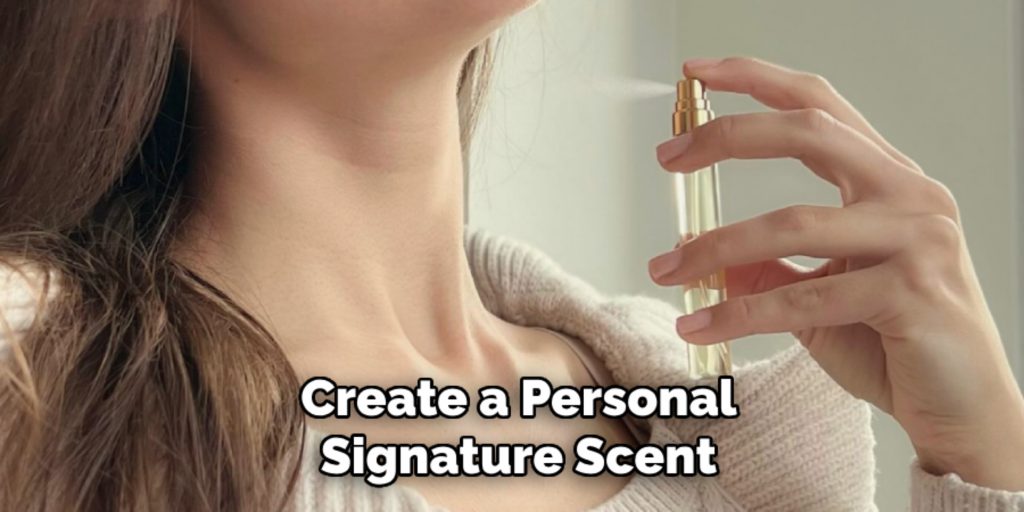
- Personalized Scent: Store-bought hair fragrances are limited in scent. By making your own, you can create a personal signature scent that reflects your personality and preferences.
- Natural Ingredients: Many store-bought hair fragrances contain artificial ingredients that may irritate sensitive scalps or cause damage to your hair in the long run. By using natural ingredients like essential oils,
What Will You Need?
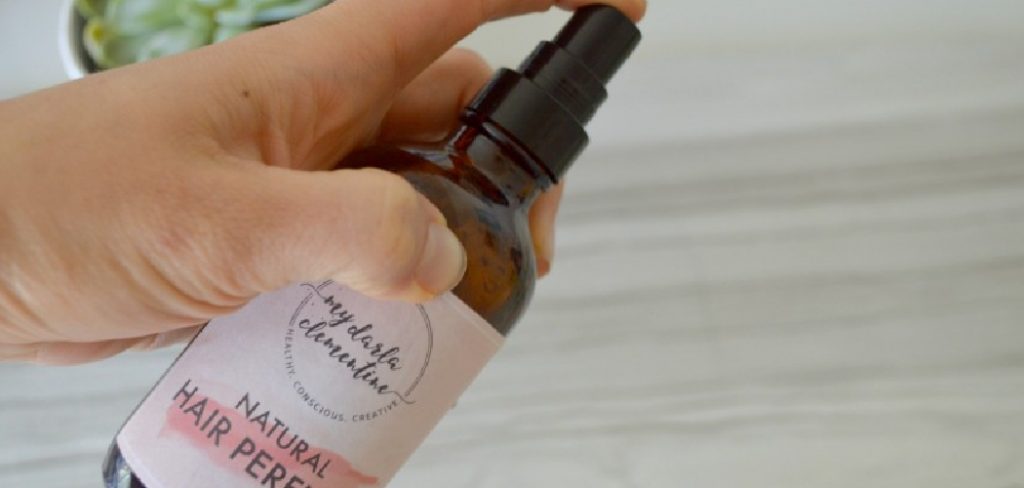
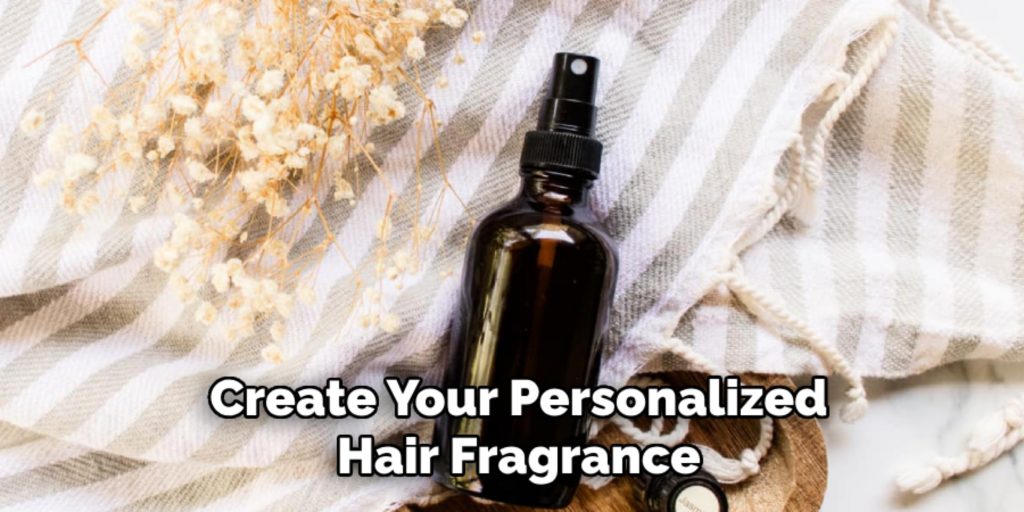
- Empty spray bottle (preferably glass)
- Distilled water
- Essential oils of your choice
- Carrier oil (such as jojoba, almond, or coconut oil)
- Funnel and measuring cups/spoons
Once you have gathered your ingredients, it’s time to start creating your personalized hair fragrance.
10 Easy Steps on How to Make Hair Fragrance
Step 1: Choose Your Essential Oils
Selecting the right essential oils is the foundation for crafting your personalized hair fragrance. Essential oils not only provide a variety of scents but can also offer specific benefits for your hair and scalp. Consider the fragrance families that appeal to you, such as floral, citrus, woody, or spicy notes.
For example, lavender essential oil brings a calming floral aroma, while peppermint offers a refreshing and invigorating scent. Additionally, research the properties of each essential oil, as some can help with hair health, like tea tree oil for its cleansing properties or rosemary oil for stimulating hair growth. Choosing high-quality, pure essential oils ensures the fragrance is long-lasting and beneficial.
Step 2: Prepare Your Base
Once you’ve decided on your essential oils, it’s time to prepare the base for your hair fragrance. Start by filling the empty spray bottle halfway with distilled water. Distilled water is recommended as it is free from impurities and will not interfere with the scent of your oils. Next, add a teaspoon of your chosen carrier oil to the water.
Carrier oils, such as jojoba, almond, or coconut oil, not only help to bind the essential oils to your hair but also provide moisturizing benefits. Shake the bottle gently to mix the water and carrier oil, creating a balanced base ready for your essential oil blend.
Step 3: Add Essential Oils to the Base
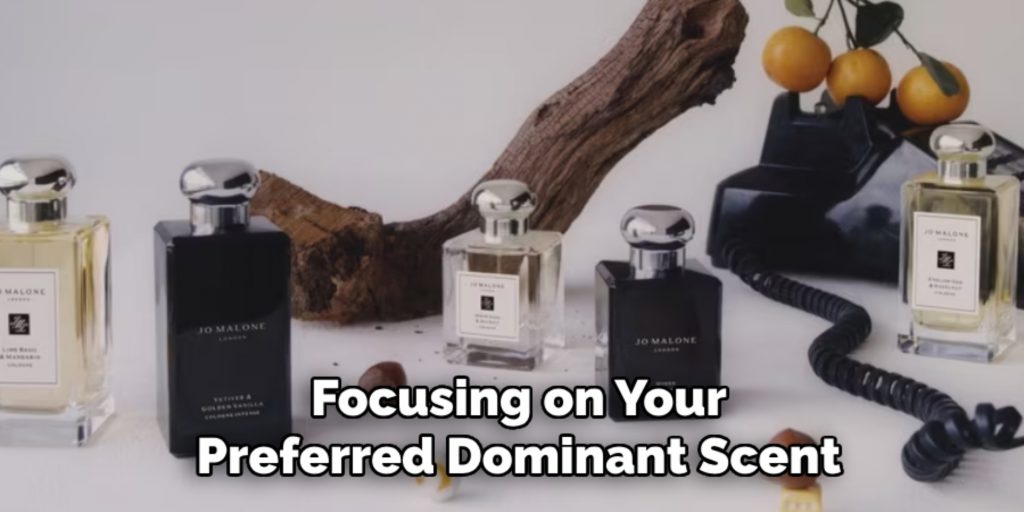
Now that your base mix is ready, it’s time to infuse it with the essential oils you’ve selected. Add 10 to 15 drops of primary essential oil, focusing on your preferred dominant scent. Depending on your tastes, this could be a bold aroma like rosemary or a calming scent like lavender.
Next, complement this with 5 to 10 drops of one or two other essential oils that blend harmoniously with your primary choice. For instance, if you started with a citrusy bergamot, consider pairing it with notes of vanilla or sandalwood for warmth and depth.
The total number of drops may be adjusted depending on the intensity of the scents and the size of your bottle, but balancing between different oils ensures a nuanced, captivating fragrance. Once the oils are added, seal your spray bottle securely and shake it thoroughly. This ensures that the essential oils are well-distributed within the carrier and distilled water mix, creating a uniform scent experience with each spray.
Step 4: Test the Scent
Before finalizing your hair fragrance, testing the scent to ensure it meets your preferences is essential. Begin by lightly spraying a small mixture into the air to get a preliminary sense of its aroma. If you find the fragrance to be too strong, you can dilute it with more distilled water.
Conversely, if it’s too faint, consider adding a few more drops of your essential oils, maintaining the balance between the primary and complementary scents. Additionally, consider testing the spray on a small section of your hair to observe how the fragrance develops upon contact and throughout the day. This step ensures that the scent is aligned with your tastes and checks for any unwanted interactions with your hair type.
Step 5: Allow the Mixture to Mature
After you’ve achieved your desired scent, it’s beneficial to let the mixture sit for a couple of days. This maturing process allows the essential oils to blend and develop a more integrated aroma. Store your spray bottle in a cool, dark place during this period, as exposure to light and heat can alter the potency and scent profile of the oils.
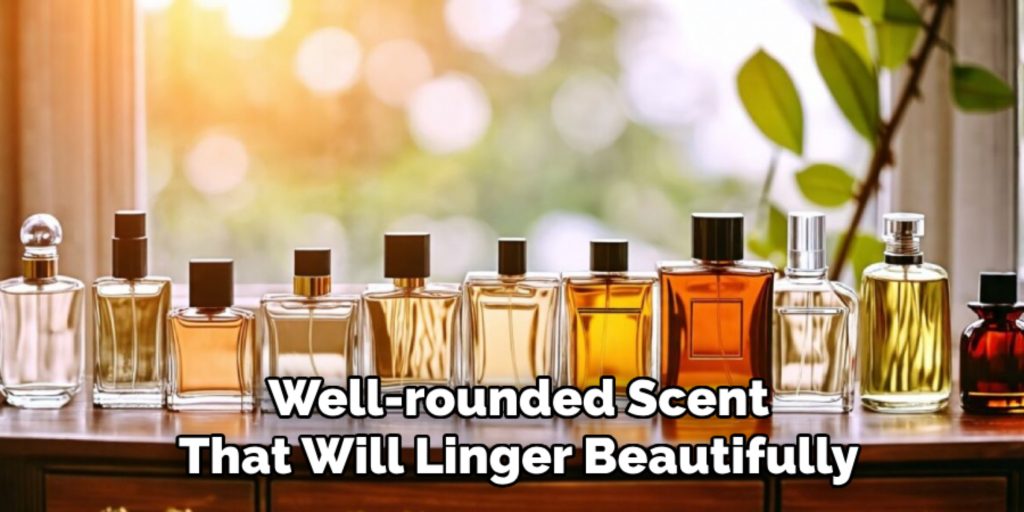
After a few days, give the bottle a gentle shake to ensure the oils are well-mixed. This step ensures that when you start using the fragrance, it has a rich and well-rounded scent that will linger beautifully in your hair.
Step 6: Label and Store Your Fragrance
Proper labeling and storage are crucial for maintaining the quality and effectiveness of your homemade hair fragrance. First, label your spray bottle with the ingredients and the date you created the mix to keep track of its freshness and contents.
Including any specific essential oils used to replicate or adjust the formula is helpful. When it comes to storage, place your labeled bottle in a cool, dark place to preserve the strength and integrity of the essential oils. Avoid exposing the bottle to direct sunlight or excessive heat, as these conditions can degrade the oils and affect the scent.
Step 7: Application Tips
Apply it strategically and sparingly to get the most out of your personalized hair fragrance. Hold the spray bottle about 8-10 inches from your hair to ensure an even mist. Gently shake the bottle and spray a light mist over your hair, focusing on areas where you want the scent to linger, such as the ends or any places prone to dryness.
Avoid applying too much near the roots to prevent any potential buildup over time. For a more intense fragrance experience, you can also mist your hairbrush with the fragrance and gently brush through your hair to distribute the scent evenly. Remember, a little goes a long way with essential oils, and your fragrance will pleasantly diffuse throughout the day with natural movements.
Step 8: Reapply as Needed
Hair fragrance made from essential oils is known for its natural and subtle scent, which can fade over time. Depending on your daily activities and exposure to the elements, you may need to reapply your personalized fragrance to maintain its freshness. This can be done by conveniently carrying a smaller travel-sized bottle to refresh your hair throughout the day.
Be mindful of the intensity of the scent and only reapply as necessary to prevent overwhelming your senses or those around you. The beauty of creating your hair fragrance is its adaptability, allowing you to adjust and refresh the aroma at any time, enhancing your personal scent experience whenever you desire.
Step 9: Customize Your Hair Fragrance for Different Occasions
One of the advantages of making your hair fragrance is the ability to tailor it for various occasions or moods. You can create different blends that suit different times of the day or special events. For instance, opt for refreshing scents like mint or citrus in the morning to invigorate your senses and provide an energetic start.
In contrast, richer notes like vanilla or patchouli can create a warm and intimate aura for evening occasions. Since you already have a base formula, adjusting the essential oils allows you to experiment with endless possibilities until you find the perfect combination that resonates with your desired ambiance.
Step 10: Experiment with Seasonal Scents
To keep your personalized hair fragrance dynamic and exciting, consider experimenting with seasonal scents that capture the essence of different times of the year. Floral and fruity scents like lavender rose or grapefruit in spring and summer can evoke a fresh and lively atmosphere.
In the fall and winter, warmer and spicier fragrances such as cinnamon, clove, or cedarwood can provide a comforting and cozy aroma. Adjusting your hair’s fragrance seasonally enhances your style and adds a delightful touch to your seasonal wardrobe.
Following these easy steps, you can create your personalized hair fragrance using essential oils that align with your preferences and enhance your unique scent.
Conclusion
How to make hair fragrance is a rewarding process that allows for personalization and creativity.
Following a series of thoughtful steps, from selecting your essential oils to experimenting with different combinations, you can develop a unique scent that complements your style and mood. Customizing your fragrance for special occasions, seasonal changes, or simply to refresh your daily routine adds a special touch to your grooming regimen.
Moreover, essential oils’ natural aspect ensures that your hair fragrance is gentle and pleasant. Embrace the art of crafting a signature scent, and enjoy the confidence and individuality it brings to your personal care experience.
About the Author
Jane Hubbard is a passionate beauty expert with a wealth of experience in makeup, hair, and overall beauty techniques. After years of working as a hairdresser specialist, she followed her entrepreneurial spirit and started her own consultancy business.
Jane has always been driven by her desire to help others feel confident in their own skin, and she does this by sharing her knowledge, experiences, and practical beauty tips. Through her consultancy, she empowers individuals to embrace their unique beauty, offering tailored guidance that boosts both self-esteem and personal style.
Professional Focus
Specializes in makeup, hairstyling, and beauty consulting.
Provides personalized beauty advice, tips, and techniques to help individuals feel confident in their appearance.
Dedicated to staying up-to-date with the latest industry trends and developments.
Passionate about creating a comfortable and empowering experience for every client.
Education History
University of Craft and Design – Bachelor of Fine Arts (BFA) in Woodworking and Furniture Design
Woodworking Apprenticeships – Extensive hands-on training with skilled craftsmen to refine carpentry and furniture making techniques
Online Courses & Masterclasses – Continued education in advanced woodworking techniques, design principles, and specialized tools
Expertise:
Makeup artistry, hairstyling, and beauty consulting.
Personalized beauty techniques to enhance confidence and self-expression.
Educating clients on how to maintain their beauty routines at home.