
Nailing the perfect manicure is easier than ever with aura nails! Whether you’re a beginner or an experienced nail enthusiast, this revolutionary trend transforms your everyday look into something truly extraordinary. With vibrant colors that come alive in natural lighting and intricate designs that never cease to mesmerize, you can create stunning works of art from a simple set of nails.
Ready to explore the world of aura nails for yourself? Read on as we take a closer look at everything you need to know about how to create aura nails—from the basics of preparation all the way to mastering complex techniques.
Why May You Want to Create Aura Nails?
1 . To Stand Out from the Crowd
Gone are the days of plain, single-colored manicures. With aura nails, you can make a bold statement and show off your individuality with every wave of your hand. Also, aura nails can be customized to match your outfit or mood, making it a fun and unique way to express yourself.
2 . To Make Your Nails Pop
Aura nails require a special powder that captures the glowing effect of natural light. This creates a dynamic look that will surely make your nails stand out in any setting.
3 . To Try Something New
With aura nails, you can experiment with endless color combinations and designs. From pastel shades to neon hues, the possibilities are truly limitless. Plus, learning a new skill is always exciting and satisfying.
How to Create Aura Nails in 5 Easy Steps
Step 1: Gather Your Supplies
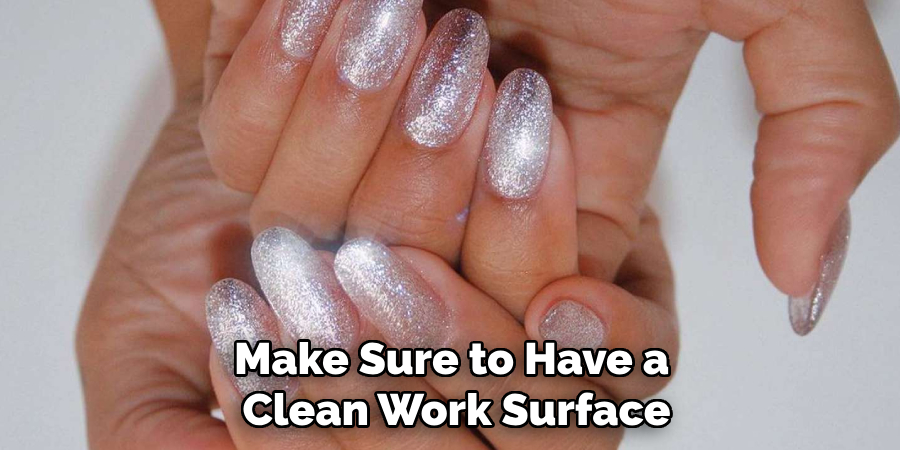
To create aura nails, you will need a few basic supplies such as nail polish in your desired colors, clear top coat, rubbing alcohol or acetone, and a small makeup sponge. Also, make sure to have a clean work surface and some paper towels nearby for easy cleanup.
Step 2: Apply Base Coat
Before you begin creating the aura effect, it is important to apply a base coat to your nails. This will protect your natural nails from any staining and help the nail polish adhere better. Allow the base coat to dry completely before moving on to the next step.
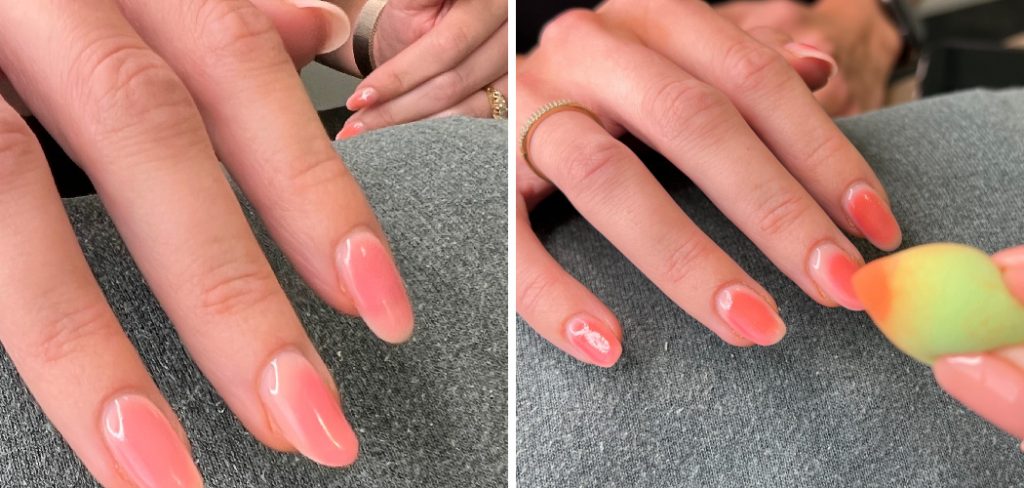
Step 3: Choose Your Colors and Prepare the Sponge
To create an aura effect, you will need two or more nail polish colors. Select your desired colors and place a small amount of each color on a piece of paper or foil. Use a makeup sponge to dab the colors together, creating a gradient effect.
Step 4: Apply the Colors to Your Nails
Once your sponge is prepared, gently press it onto your nail, starting at the base and moving towards the tip. You can repeat this step as many times as necessary to achieve your desired level of opacity.
Step 5: Add Some Shimmer (Optional)
For an extra touch of sparkle and dimension, you can add a layer of iridescent or glittery polish on top of your aura nails. This will give them a truly mystical and ethereal look.
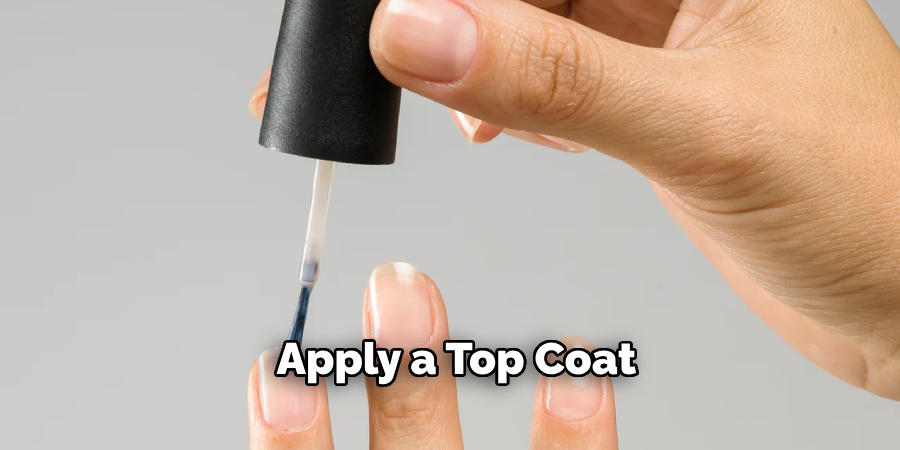
And there you have it, 5 easy steps to create beautiful aura nails! Experiment with different color combinations and techniques to make the effect uniquely yours. Don’t forget to seal in your design with a clear top coat for long-lasting wear.
8 Tips to Create Aura Nails
1 . Choose the Right Nail Polish Colors
Creating aura nails is all about choosing the right colors. You want to select colors that complement each other and create a harmonious color scheme. Some popular color combinations for aura nails include pastel shades, jewel tones, and metallics.
2 . Gather Your Tools and Materials
Before you start creating your aura nails, make sure you have all the necessary tools and materials. You will need a base coat, top coat, nail polish colors of your choice, a makeup sponge, and some rubbing alcohol.
3 . Prep Your Nails
To ensure your aura nails last longer, it is important to properly prep your nails beforehand. Begin by removing any old nail polish and shaping your nails with a nail file. Then, push back your cuticles and clean your nails with rubbing alcohol to remove any oils or residue.

4 . Do Not Forget the Base Coat
Applying a base coat is crucial for creating aura nails. It not only helps the polish adhere better to your nails but also prevents staining and promotes healthier nails.
5 . Apply the First Color
Start with the lightest color you have chosen for your aura nails. Using a makeup sponge, dab a small amount of nail polish onto it and then lightly press it onto your nails. Repeat this process until you achieve the desired opacity.
6 . Add the Second Color
Using the same technique as before, apply the second color on top of the first one. The colors will blend together to create a gradient effect. You can also use a third or fourth color for more dimension and depth.
7 . Seal with a Top Coat
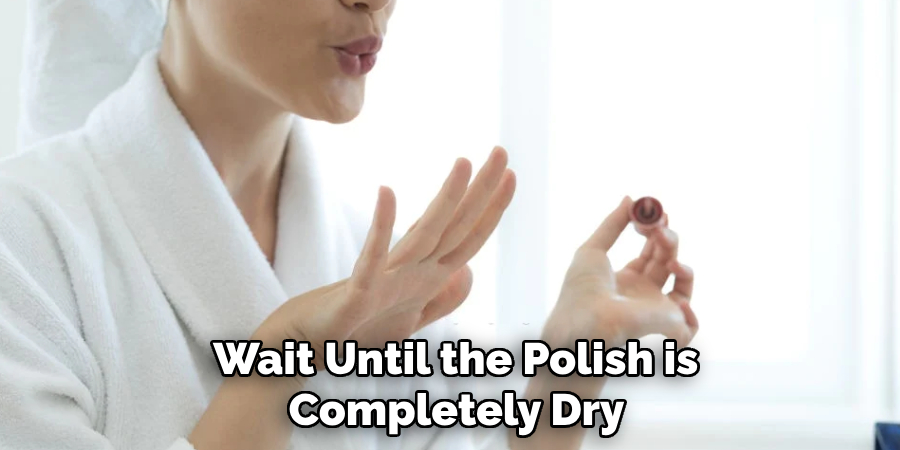
Once you are satisfied with the gradient effect on your nails, let them dry for a few minutes before applying a top coat. This will seal in the colors and provide a glossy finish to your aura nails. Make sure to wait until the polish is completely dry before moving on to the next step.
8 . Swipe Away Any Excess Polish
After your top coat has dried, you may notice some excess polish on your skin or cuticles. Using a small brush dipped in nail polish remover or rubbing alcohol, gently wipe away any mistakes for a clean and polished look.
Frequently Asked Questions
What Precautions Should I Take Before Creating Aura Nails?
Before you start creating your aura nails, it is important to take some precautions to ensure a safe and successful experience.
- Make sure your hands and nails are clean and free of any oils or lotions. This will help the nail polish adhere better to the surface.
- If you have any existing damage or infections on your nails, it is best to let them heal before attempting to create aura nails.
- Use a base coat to protect your natural nails from staining and also help the nail polish last longer.
- Choose a well-ventilated area to work in and avoid inhaling any fumes from the nail polish.
What Materials Do I Need to Create Aura Nails?
To create aura nails, you will need the following materials:
- Aura nail polish in your desired colors
- A clear top coat
- A base coat
- Nail polish remover and cotton pads
- Nail art tools (optional)
Can I Create Aura Nails on My Natural Nails?
Yes, you can create aura nails on your natural nails. However, for best results and durability, it is recommended to use a gel base coat before applying the aura nail polish. Also, make sure to use a top coat to seal in the design and protect your nails.
How Much Time Does it Take to Create Aura Nails?
The time it takes to create aura nails will vary depending on your skill level and the complexity of the design. It can take anywhere from 30 minutes to an hour.
How Long Do Aura Nails Last?
Aura nails can last up to two weeks with proper care and maintenance. Make sure to avoid any harsh chemicals or activities that may damage your nails. You can also apply a fresh top coat every few days to help prolong the longevity of your aura nails.
Can I Remove Aura Nails at Home?
Yes, you can remove aura nails at home using nail polish remover and cotton pads. Soak the cotton pad in nail polish remover and place it on your nail for a few minutes before gently wiping away the polish. If you have any difficulty removing the aura nail polish, it is best to consult a professional for assistance.
How Do I Care for My Aura Nails?
To care for your aura nails and ensure they last as long as possible, follow these tips:
- Avoid using your nails to open or pick things as this can cause damage to the design.
- Wear gloves when doing any household chores or tasks that may expose your nails to harsh chemicals.
- Apply a top coat every few days to maintain shine and protect the design.
- If you notice any chips or damage, use a nail polish pen or brush to touch up the design. With proper care, your aura nails will look beautiful for weeks on end!
Conclusion
By following these steps on how to create aura nails, you will have the great looking aura nail look done in no time. Whether its school spirit or just showing off a favorite color, crafting an aura nail design from home can be incredibly fun and rewarding.
And the best part—you don’t need expensive materials or manicures from the salon to get creative. All it takes is some patience and practice and you’ll be ready for your next event or night out with your friends! Why not give it a try today? Who knows, you may just find your new personal beauty style!
About the Author
Jane Hubbard is a passionate beauty expert with a wealth of experience in makeup, hair, and overall beauty techniques. After years of working as a hairdresser specialist, she followed her entrepreneurial spirit and started her own consultancy business.
Jane has always been driven by her desire to help others feel confident in their own skin, and she does this by sharing her knowledge, experiences, and practical beauty tips. Through her consultancy, she empowers individuals to embrace their unique beauty, offering tailored guidance that boosts both self-esteem and personal style.
Professional Focus
Specializes in makeup, hairstyling, and beauty consulting.
Provides personalized beauty advice, tips, and techniques to help individuals feel confident in their appearance.
Dedicated to staying up-to-date with the latest industry trends and developments.
Passionate about creating a comfortable and empowering experience for every client.
Education History
University of Craft and Design – Bachelor of Fine Arts (BFA) in Woodworking and Furniture Design
Woodworking Apprenticeships – Extensive hands-on training with skilled craftsmen to refine carpentry and furniture making techniques
Online Courses & Masterclasses – Continued education in advanced woodworking techniques, design principles, and specialized tools
Expertise:
Makeup artistry, hairstyling, and beauty consulting.
Personalized beauty techniques to enhance confidence and self-expression.
Educating clients on how to maintain their beauty routines at home.