
Purslane, scientifically known as Portulaca oleracea, is a succulent plant that has gained popularity for its impressive skincare benefits. Rich in omega-3 fatty acids, vitamins A, C, and E, and antioxidants, purslane helps to nourish, hydrate, and protect the skin. Natural skincare products, like purslane ones, are becoming increasingly important as people seek healthier alternatives to chemical-laden commercial products. They offer a gentler approach to skincare, free from synthetic additives and preservatives that can potentially irritate the skin.
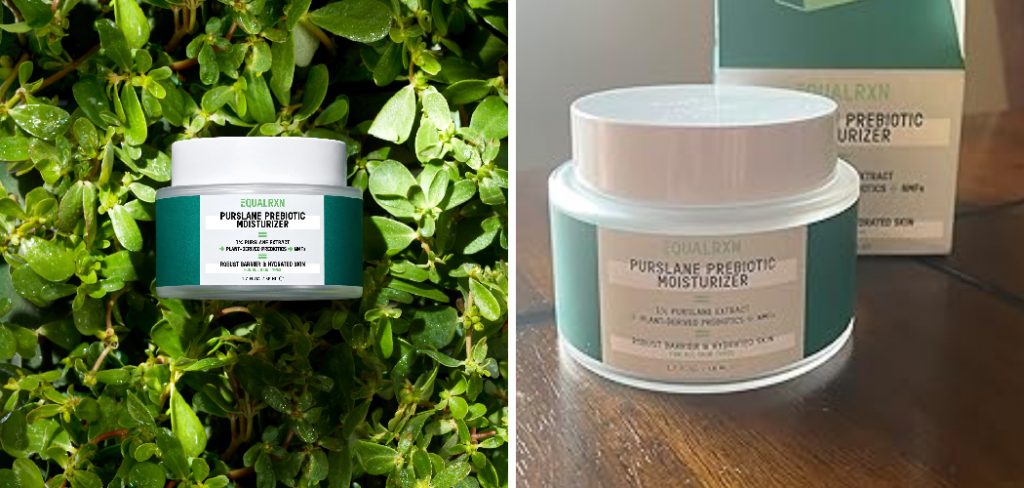
This article aims to guide you on how to make purslane face cream, highlighting its numerous benefits and providing a comprehensive, step-by-step process to create this natural skincare product at home. Whether you’re a skincare enthusiast or a beginner in DIY beauty, this guide will help you harness the power of purslane to achieve healthy, glowing skin.
Understanding Purslane and Its Benefits
Purslane, or Portulaca oleracea, is both a succulent plant and a culinary delight that has found a place in traditional medicine and modern skincare due to its rich nutritional profile. This hardy plant thrives in various environments, making it easily accessible for use in health and beauty routines. Nutritionally, purslane is a powerhouse, boasting high levels of omega-3 fatty acids, vitamins A, C, and E, and essential antioxidants. These nutrients collectively work wonders for the skin.
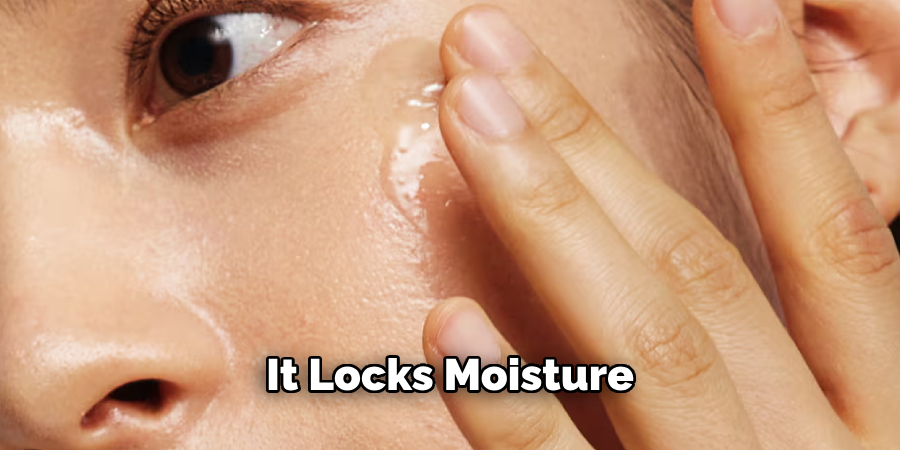
Purslane’s omega-3 fatty acids help reduce inflammation and lock in moisture, making it an excellent ingredient for hydrating and soothing the skin. Vitamins A, C, and E are known for their antioxidant properties, which combat free radicals and promote skin regeneration and repair. These vitamins also contribute to brighter and more radiant skin.
The benefits of purslane extend to all skin types. For those with oily skin, its anti-inflammatory properties can help calm acne flare-ups, while its ability to maintain moisture without clogging pores makes it suitable for dry skin. Sensitive skin can benefit from purslane’s gentle, calming effects, reducing irritation and redness. In summary, purslane is a versatile and beneficial addition to any skincare regimen.
Ingredients and Tools Needed
You’ll need simple yet effective ingredients and tools to make your purslane face cream. Here are the essentials:
Ingredients
- Fresh Purslane: The star ingredient, packed with skin-loving nutrients.
- Carrier Oil: Jojoba, almond, or olive oil are excellent carrier oils, which will act as the base for your infusion.
- Beeswax: Provides structure to the cream and helps lock in moisture.
- Essential Oils: Optional, but lavender or tea tree oil can add a pleasant fragrance and additional skin benefits.
- Vitamin E Oil: Acts as a natural preservative and adds extra nourishment.
Tools
- Blender: For chopping and blending the fresh purslane with the carrier oil.
- Double Boiler: Necessary for gently melting the beeswax and other base ingredients without compromising their beneficial properties.
- Sterilized Jars: These are important for storing your finished cream to prevent contamination.
- Mixing Bowls: Used for combining ingredients.
- Strainer or Cheesecloth: To strain the purslane-infused oil and ensure a smooth final product.
- Measuring Spoons and Cups: For accurate ingredient measurements.
Using fresh and organic ingredients wherever possible is crucial to maximize the benefits and ensure a high-quality, natural skincare product.
Preparing Purslane for the Face Cream
Harvesting or Purchasing Fresh Purslane
Start by sourcing fresh purslane, either by harvesting it from your garden or purchasing it from a local farmers’ market or grocery store. When harvesting, make sure to choose healthy, vibrant stems and leaves, avoiding any that look wilted or discolored.
Cleaning and Drying Purslane Properly
Thoroughly rinse the fresh purslane under cool, running water to remove any dirt or pesticides. Pay special attention to the leaves and stems, which can sometimes harbor small insects or debris. After rinsing, lay the purslane out on a clean kitchen towel or paper towel and gently pat it dry. Allow it to air dry completely to prevent any moisture from affecting the infusion process.
Creating a Purslane-Infused Oil
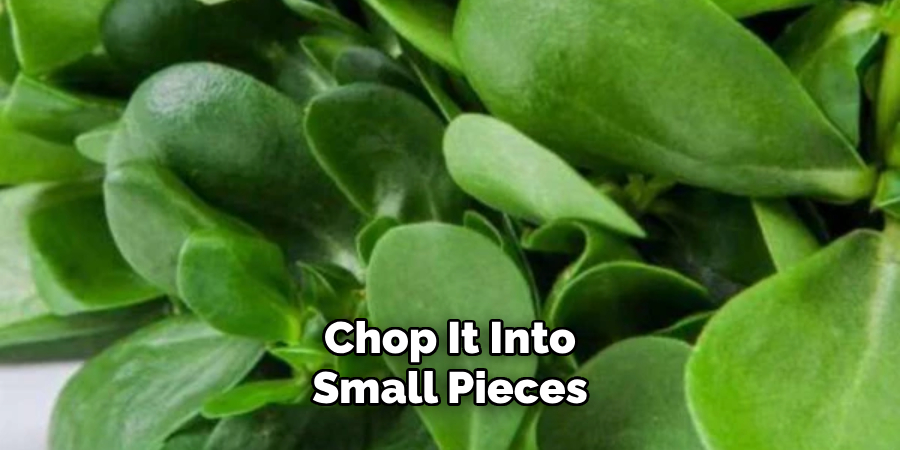
Chopping Purslane
Once the purslane is clean and dry, chop it into small pieces to maximize the surface area interacting with the carrier oil, enhancing the infusion process.
Blending with Carrier Oil
Place the chopped purslane in a blender and add your chosen carrier oil, such as jojoba, almond, or olive oil. Use a ratio of about one part purslane to two parts carrier oil. Blend the mixture until the purslane is finely chopped and well combined with the oil.
Heating Gently
Transfer the blended purslane and oil mixture to a double boiler. Heat it gently over low heat for about 30 minutes, stirring occasionally to ensure even heating. This process helps release the beneficial compounds from the purslane into the oil.
Straining the Mixture
After heating, remove the mixture from the heat and allow it to cool slightly. Use a fine strainer or cheesecloth to strain the purslane-infused oil into a clean bowl, removing all solid particles. This smooth, nutrient-rich oil will be the base for your face cream, ready to be combined with other ingredients in the next steps.
How to Make Purslane Face Cream: Making the Face Cream Base
1.Melting the Base Ingredients
To begin crafting your luxurious face cream, you’ll want to start by melting the foundational ingredients. Set up your double boiler and add the beeswax and your remaining carrier oil to the top. Using a double boiler is crucial as it ensures that the ingredients melt gently, preventing them from overheating and losing their beneficial properties. Maintain a low, steady heat and stir the mixture frequently to promote even melting. This patience will pay off as the beeswax slowly softens and combines with the oil to form a smooth, homogeneous base for your cream.
2.Combining Purslane Infusion with the Base
Once your beeswax and carrier oil mixture has completely melted and blended into a uniform consistency, it’s time to integrate the purslane-infused oil. Gradually pour the strained purslane-infused oil into the melted beeswax mixture, stirring continuously to ensure a smooth blend. This step is critical to evenly distribute the nutrients and benefits of purslane throughout the base.
To elevate your face cream, you can add a few drops of essential oils, such as lavender for a calming scent, or tea tree oil for additional skin benefits. Incorporating a little vitamin E oil not only provides extra nourishment but also acts as a natural preservative, extending the shelf life of your homemade face cream. Mix until all ingredients are thoroughly combined, resulting in a rich, nourishing cream ready to be transferred into sterilized jars for storage.
Finalizing and Storing the Face Cream
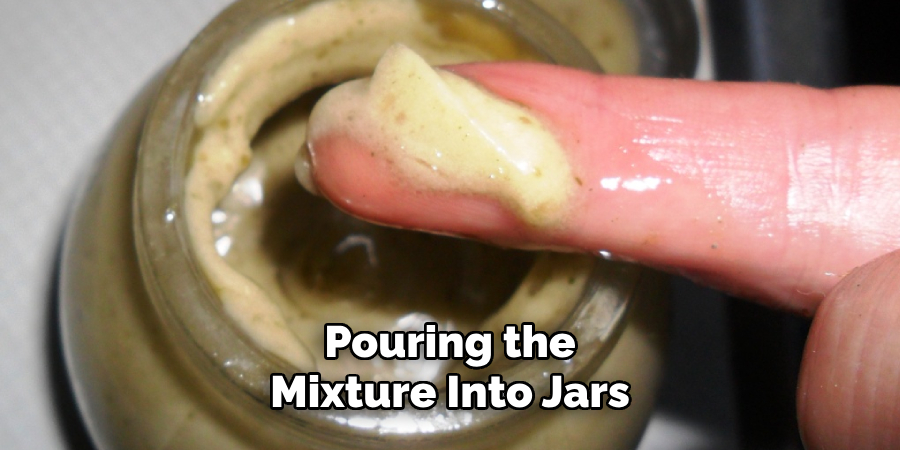
Pouring the Mixture into Sterilized Jars
With your rich, nourishing face cream now ready, the next step is to carefully transfer it into your sterilized jars. Using a clean spoon or small ladle, pour the warm mixture into the jars, filling them to just below the rim to allow space for the cream to expand slightly as it cools. Avoid overfilling to prevent any spillover when sealing the jars. Once filled, gently tap the jars on a countertop to eliminate any air bubbles that may have formed.
Allowing the Cream to Cool and Solidify
After pouring your face cream into the jars, it’s crucial to let it cool and solidify properly. Leave the jars uncovered at room temperature, allowing the cream to set gradually. This cooling process helps to maintain the smooth texture and ensures that the cream solidifies evenly. Depending on the ambient temperature, this may take a few hours. Once the cream has solidified completely, secure the lids tightly to protect it from contaminants.
Proper Storage Tips
Store your handmade face cream in a cool, dark place to preserve its efficacy and extend its shelf life. Avoid exposing the cream to direct sunlight or high temperatures, as heat and light can degrade some of the active ingredients, particularly the essential oils and vitamin E. A cupboard or drawer in a cool room is an ideal storage location.
Shelf Life and Signs of Spoilage to Watch For
When stored properly, your homemade purslane face cream should last for several months. However, it’s important to regularly check for signs of spoilage to ensure its safety and efficacy. Indicators of spoilage include changes in color, texture, or smell. If you notice any off-putting odors or discoloration, or if the cream separates, it’s best to discard it and make a fresh batch. Regular inspection will help you enjoy the full benefits of your homemade skincare product.
Application Tips and Benefits
How to Apply the Face Cream
For the best results, apply your homemade purslane face cream after thoroughly cleansing your face. Start with clean, dry hands and take a small amount of cream, gently warming it between your fingertips. Apply the cream to your face and neck using light, upward strokes, avoiding the delicate eye area. Make this step a part of your daily skincare routine, ideally in the morning and evening, to maintain consistent hydration and nourishment.
Benefits of Regular Use
Incorporating this face cream into your daily routine offers a myriad of benefits. The infusion of purslane brings significant hydration to your skin, locking in moisture and preventing dryness. Regular use helps reduce inflammation and sensitivity, thanks to the anti-inflammatory properties of purslane. Over time, you may notice an improvement in skin texture, with a smoother, more supple feel. Adding essential oils and vitamin E also helps promote a youthful, radiant complexion.
Suitable for Different Skin Types
This handmade face cream is versatile and suitable for different skin types. Those with oily skin will appreciate the non-greasy, lightweight texture, which absorbs quickly without clogging pores. For individuals with dry skin, the deep hydration provided by the cream is beneficial in combating flakiness and tightness. Even those with sensitive skin can use this cream, as it is formulated with natural ingredients known for their gentle, soothing properties. Regular use ensures your skin remains balanced and healthy, no matter its type.
Troubleshooting and Customization
Common Issues and How to Fix Them
When making homemade face cream, you might encounter some common issues such as texture problems or separation. If your cream develops a grainy texture, it may be due to improper melting and cooling of the ingredients. To remedy this, gently reheat the mixture using the double boiler to fully melt the ingredients, then stir thoroughly before cooling it gradually. The cream can be separated if the oils and beeswax do not emulsify properly. Fix this by reheating the mixture and whisking vigorously until the blend is uniform, then allow it to set undisturbed.
Customizing the Recipe
Customizing your face cream allows you to tailor it to your specific skin needs. Adding essential oils can provide targeted benefits; for instance, incorporate lavender essential oil for its calming effects and skin-healing properties or tea tree oil for its acne-fighting and antibacterial benefits. For mature skin, consider adding a few drops of frankincense oil, renowned for its anti-aging properties.
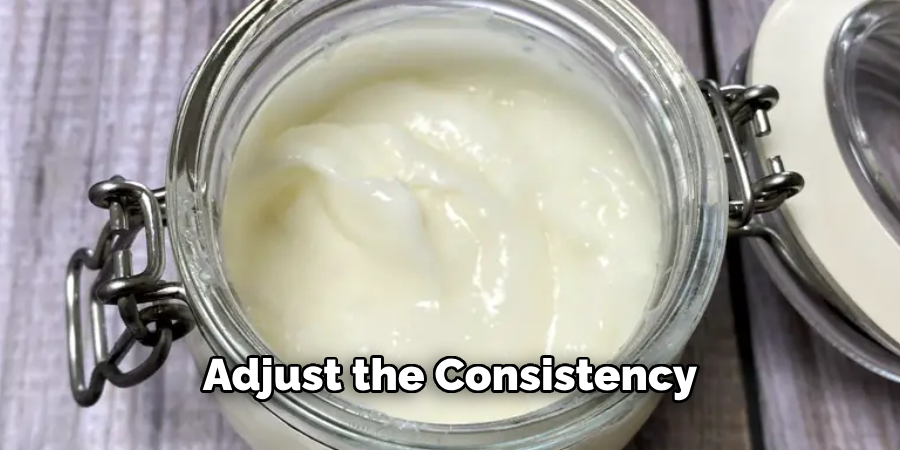
Adjusting the Consistency
To customize the consistency of your face cream, you can adjust the proportions of beeswax and carrier oil. If you prefer a thicker cream, increase the amount of beeswax slightly, resulting in a firmer texture that provides a more protective barrier for your skin. Conversely, incorporate more carrier oil if you desire a lighter, more fluid cream. This adjustment will create a cream that spreads more easily and absorbs quickly into the skin. By experimenting with these variables, you can create a face cream that perfectly suits your preferences and skincare needs.
Conclusion
Learning how to make purslane face cream provides a rewarding way to take control of your skincare routine while harnessing the benefits of natural ingredients. This process, from selecting quality materials to carefully crafting your cream, ensures a product tailored to suit your unique skin type. The benefits are numerous—intense hydration, reduced inflammation, and an overall improvement in skin texture and appearance.
Experimenting with various natural additives, such as essential oils, allows you to further customize your face cream to meet specific skincare needs. The advantages of DIY skincare products extend beyond efficacy to include safety, cost-effectiveness, and the satisfaction of using something wholly handmade. By delving into how to make purslane face cream, you not only create a valuable skincare product but also embark on a journey towards more sustainable and mindful beauty practices.
About the Author
Jane Hubbard is a passionate beauty expert with a wealth of experience in makeup, hair, and overall beauty techniques. After years of working as a hairdresser specialist, she followed her entrepreneurial spirit and started her own consultancy business.
Jane has always been driven by her desire to help others feel confident in their own skin, and she does this by sharing her knowledge, experiences, and practical beauty tips. Through her consultancy, she empowers individuals to embrace their unique beauty, offering tailored guidance that boosts both self-esteem and personal style.
Professional Focus
Specializes in makeup, hairstyling, and beauty consulting.
Provides personalized beauty advice, tips, and techniques to help individuals feel confident in their appearance.
Dedicated to staying up-to-date with the latest industry trends and developments.
Passionate about creating a comfortable and empowering experience for every client.
Education History
University of Craft and Design – Bachelor of Fine Arts (BFA) in Woodworking and Furniture Design
Woodworking Apprenticeships – Extensive hands-on training with skilled craftsmen to refine carpentry and furniture making techniques
Online Courses & Masterclasses – Continued education in advanced woodworking techniques, design principles, and specialized tools
Expertise:
Makeup artistry, hairstyling, and beauty consulting.
Personalized beauty techniques to enhance confidence and self-expression.
Educating clients on how to maintain their beauty routines at home.