
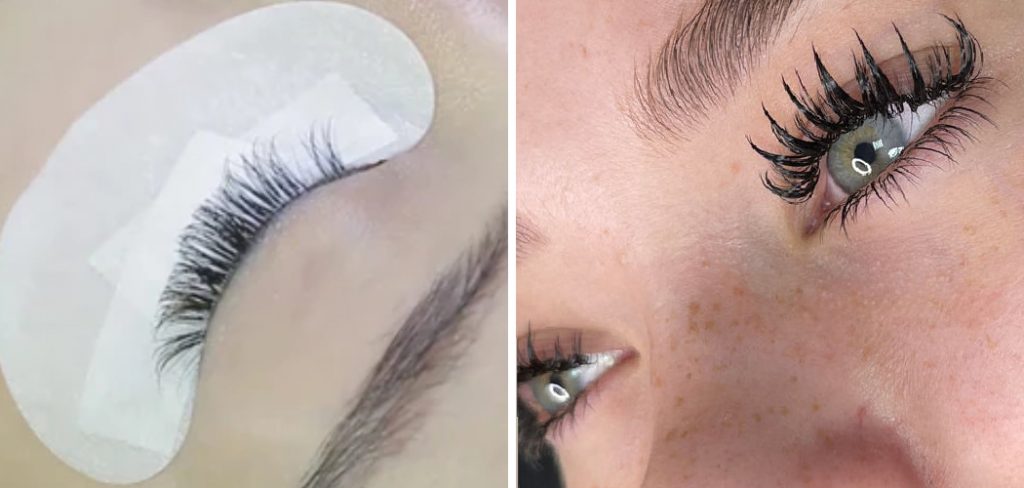
Are you ready to take the plunge and get lash extensions? Not so fast! Before you book that appointment, there are a few things you need to do to prep your lashes for extensions. Proper preparation will ensure that your extensions last longer and look better. Here’s a step-by-step guide on how to prep lashes for extensions.
Proper preparation is key to achieving the perfect set of eyelash extensions. Prepping your natural lashes ensures better adhesion and longevity of the extensions and contributes to overall eye health. This guide will walk you through the essential steps to prepare your lashes for extensions, including cleaning, conditioning, and selecting the right products.
Whether you are a seasoned professional or a first-timer looking to enhance your natural beauty, following these preparation steps will help you achieve stunning, long-lasting results.
What Will You Need?
Before diving into the preparation process, ensure you have all the necessary tools and products on hand. These may include:
- Eye makeup remover
- Oil-free cleanser or lash shampoo
- Lint-free applicators or cotton swabs
- A clean mascara wand or spoolie brush
- Lash primer (optional)
- Non-oily eye cream (optional)
Once you have gathered all of your materials, you are ready to begin prepping your lashes for extensions.
10 Easy Steps on How to Prep Lashes for Extensions
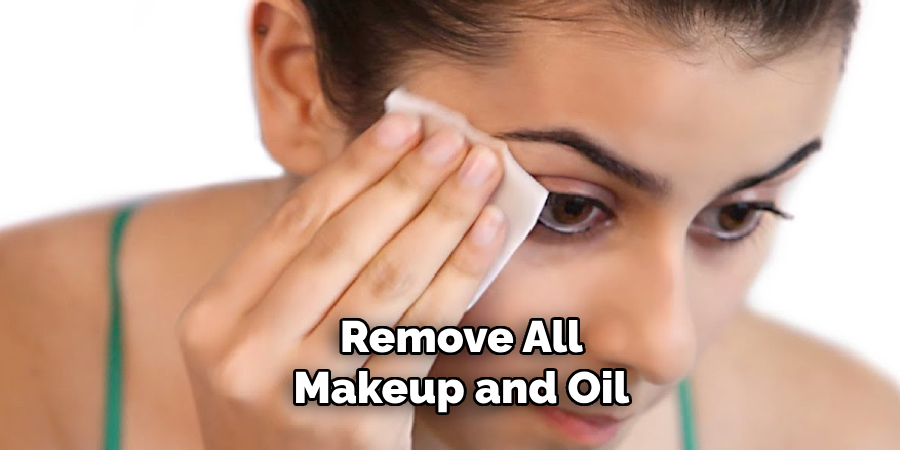
Step 1: Remove All Makeup and Oil
The first step in preparing your lashes for extensions is to thoroughly remove all traces of makeup and oil from your eyes. This includes eyeshadow, eyeliner, and especially mascara. Begin by using an eye makeup remover formulated to dissolve stubborn makeup without leaving an oily residue. Gently apply the remover to a lint-free applicator or cotton swab and carefully wipe away the makeup from your eyelids and lashes.
To ensure that your lashes are completely clean, follow up with an oil-free cleanser or lash shampoo. This product will help remove any remaining makeup particles and oil that could interfere with the adhesion of the lash extensions. Using a clean applicator or your fingertips, work the cleanser into a gentle lather and apply it to your lashes and lash line. Rinse thoroughly with lukewarm water and pat dry with a clean towel.
Removing oil is crucial, as natural oils and makeup residues can create a barrier that prevents the lash adhesive from bonding properly. By taking the time to meticulously clean your lashes, you set the stage for a flawless application and longer-lasting extensions.
Step 2: Cleanse Your Lashes
After removing all makeup and oil, it is important to cleanse your lashes thoroughly. Use an oil-free cleanser or lash shampoo specifically designed for eyelash extensions. Apply a small amount of the cleanser onto a lint-free applicator or a clean mascara wand. Gently brush through your lashes, paying attention to the base where the extensions will be applied. Focus on removing any residual dirt, oil, and debris. Once you have cleansed the lashes, rinse them with lukewarm water and pat them dry with a clean, soft towel.
Step 3: Dry Your Lashes Completely
Properly drying your lashes is an essential step in the preparation process. Ensure that your lashes are completely dry before moving on to the next step, as moisture can affect the adhesion of the lash extensions. You can use a gentle rubbing motion with a clean towel to pat the lashes dry or let them air dry naturally. Be careful not to use heat or blow dryers, as high temperatures can weaken the natural lashes.
Step 4: Brush Through Your Lashes
Once your lashes are clean and dry, take a clean mascara wand or spoolie brush and gently comb through your lashes. This helps to separate each lash and remove any remaining debris. Brushing through your lashes ensures that there are no tangles or clumps, which could interfere with the proper application of the extensions.
Step 5: Apply a Lash Primer (Optional)
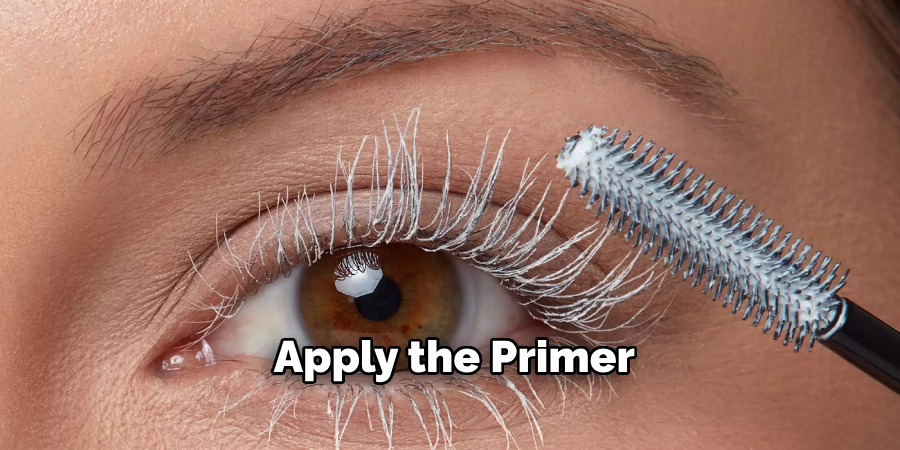
If you have a lash primer on hand, now is the time to use it. Lash primers are specially formulated to prepare the natural lashes for the application of extensions, enhancing adhesion and longevity. Apply the primer sparingly with a clean mascara wand, focusing on the base of your lashes where the extensions will be attached. Allow the primer to dry completely before proceeding to the next step.
Step 6: Avoid Using Oil-Based Products
In the days before your lash extension appointment, avoid using oil-based skincare or makeup products around your eyes. Oils can create a barrier on the lashes, preventing the adhesive from bonding properly. Opt for oil-free alternatives to ensure your lashes are in the best condition for extensions.
Step 7: Condition Your Lashes (Optional)
Conditioning your lashes can help keep them healthy and strong, which is especially important when applying extensions. Use a non-oily, lash-friendly conditioner or serum to nourish your natural lashes. Apply a small amount to the lashes, avoiding the lash line where the adhesive will be applied.
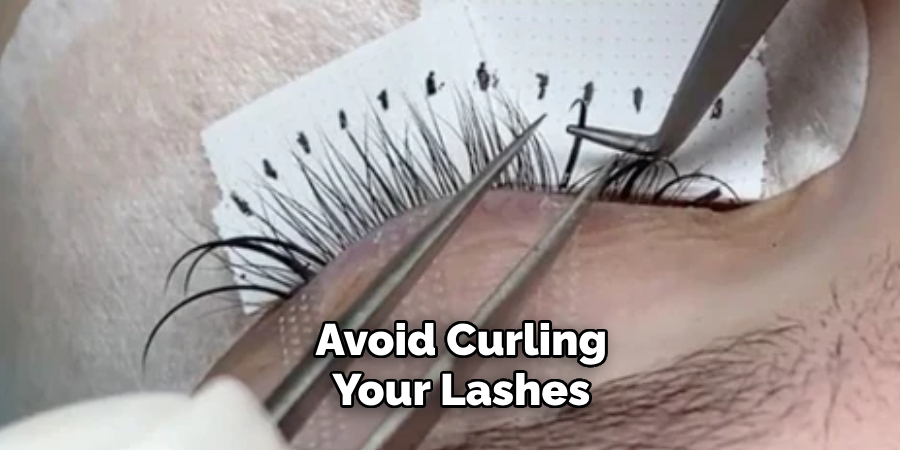
Step 8: Avoid Curling Your Lashes
Under no circumstances should you curl your lashes before getting extensions. Curling can make the natural lashes weaker and more brittle, which could hinder the successful application of extensions and even cause damage to your lashes. If you use a mechanical eyelash curler, it is best to stop this practice at least a few days before your appointment to prevent any unnecessary stress on your lashes. Your lash technician will create the ideal curl for your extensions, so there’s no need to curl them in advance.
Step 9: Do Not Use Waterproof Makeup
In the days leading up to your appointment, it is recommended to avoid waterproof makeup, particularly waterproof mascara. These products can be complicated to remove fully and often leave behind residues, even after thorough cleansing. The remaining product can interfere with the adhesion of the lash extensions, leading to poor retention and potentially causing the extensions to fall out prematurely. Using water-soluble makeup instead ensures that you can cleanse your lashes more effectively.
Step 10: Final Assessment
Before applying for the lash extensions, give your lashes a final assessment. Ensure they are spotless, dry, and free from makeup, oils, and residues. This last check is crucial for identifying any remaining issues affecting the extension application. By taking the time to assess your lashes, you can ensure they are in the optimal condition for the adhesive to bond effectively, resulting in a beautiful and long-lasting set of eyelash extensions.
By following these detailed steps, you are setting the foundation for a successful lash extension application. Prepping your lashes not only contributes to the lifespan and retention of the extensions but also supports the overall health of your natural lashes.
5 Additional Tips and Tricks
- Cleanse Thoroughly: Clean the natural lashes and the surrounding area with a gentle, oil-free cleanser. This helps remove any dirt, oil, or makeup residue that could interfere with the extensions’ adhesion.
- Dry Completely: Ensure the lashes are completely dry before applying. Moisture can compromise the glue, so using a fan or blower to dry the lashes can be very effective.
- De-lint Tools and Hands: Before handling the lashes and extensions, check that your tools and hands are lint-free. Lint particles can stick to the lashes, making application difficult.
- Use a Primer: Apply a lash primer to the natural lashes to help balance their pH levels and to remove any remaining oils. Primers ensure better adhesion and longevity for the lash extensions.
- Isolate Individual Lashes: Use precision tweezers to carefully isolate each natural lash. Proper isolation is key to avoiding lashes sticking together, which can lead to discomfort and poor results.
With these additional tips, you can ensure a smooth and successful lash extension application.
5 Things You Should Avoid
- Using Oil-Based Products: Avoid using oil-based cleansers or makeup removers before the lash extension process. Oil can break down the adhesive and interfere with the bond between the natural lashes and the extensions.
- Skipping the Cleaning Step: Never skip the initial cleaning step. Failing to cleanse the natural lashes can lead to poor adhesion, premature shedding, and potential infections.
- Applying Extensions on Wet Lashes: Do not begin applying wet or damp lashes. Moisture affects the glue’s effectiveness, resulting in uneven or weak attachment.
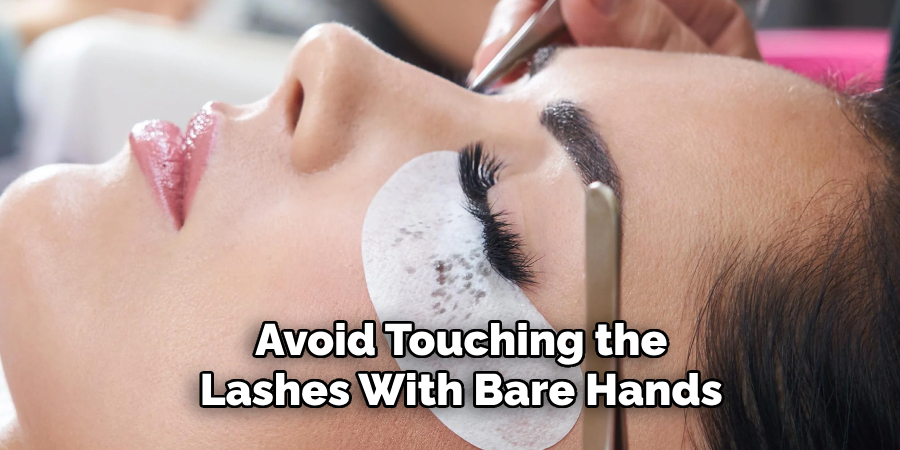
- Touching Lashes with Bare Hands: Avoid touching the lashes with your bare hands, as oils and debris on your fingertips can transfer to the lashes, affecting adhesion and cleanliness. Always use sanitized tools.
- Using Expired Products: Ensure all products, especially adhesives and primers, are within expiry dates. Expired products can compromise the quality and durability of the lash extensions.
By steering clear of these common pitfalls, you can enhance the success and longevity of your lash extensions.
Conclusion
Properly preparing lashes for extensions is crucial to achieving the best results and ensuring client satisfaction. From thorough cleansing and drying to using a primer and isolating individual lashes, each step contributes to the longevity and appearance of the extensions. Equally important is avoiding oil-based products, skipping cleaning, applying extensions on wet lashes, touching lashes with bare hands, and using expired products.
By following these tips and avoiding common pitfalls, you can create beautiful, long-lasting lash extensions that are both comfortable and safe for your clients. Remember, meticulous preparation not only supports the durability of the extensions but also upholds the overall health and integrity of the natural lashes.
Hopefully, the article on how to prep lashes for extensions has provided you with valuable insights and practical advice. So go ahead and apply these tips to your next lash extension appointment, and watch as your client’s eyes light up with joy at their new, beautiful lashes. Happy lashing!
About the Author
Jane Hubbard is a passionate beauty expert with a wealth of experience in makeup, hair, and overall beauty techniques. After years of working as a hairdresser specialist, she followed her entrepreneurial spirit and started her own consultancy business.
Jane has always been driven by her desire to help others feel confident in their own skin, and she does this by sharing her knowledge, experiences, and practical beauty tips. Through her consultancy, she empowers individuals to embrace their unique beauty, offering tailored guidance that boosts both self-esteem and personal style.
Professional Focus
Specializes in makeup, hairstyling, and beauty consulting.
Provides personalized beauty advice, tips, and techniques to help individuals feel confident in their appearance.
Dedicated to staying up-to-date with the latest industry trends and developments.
Passionate about creating a comfortable and empowering experience for every client.
Education History
University of Craft and Design – Bachelor of Fine Arts (BFA) in Woodworking and Furniture Design
Woodworking Apprenticeships – Extensive hands-on training with skilled craftsmen to refine carpentry and furniture making techniques
Online Courses & Masterclasses – Continued education in advanced woodworking techniques, design principles, and specialized tools
Expertise:
Makeup artistry, hairstyling, and beauty consulting.
Personalized beauty techniques to enhance confidence and self-expression.
Educating clients on how to maintain their beauty routines at home.