
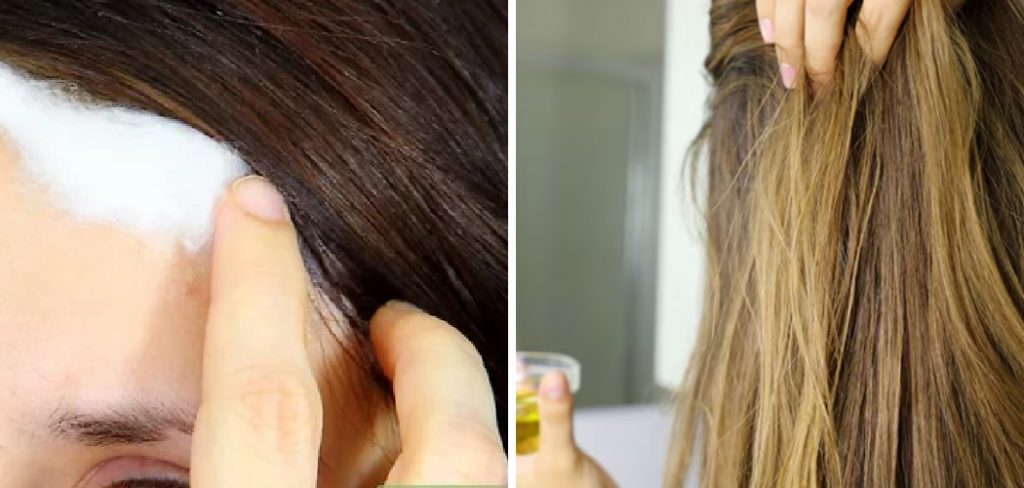
Are you someone who loves to experiment with different hair colors? While switching up your look is fun and exciting, it’s important to protect your scalp from potential damage caused by hair dye. Here are some tips on how to protect scalp from hair dye.
Coloring your hair can be a great way to express yourself, but it can also be harsh on your scalp. Hair dyes contain chemicals that can cause dryness, irritation, or even allergic reactions if not used carefully. Protecting your scalp when coloring your hair is essential to maintaining both scalp and hair health.
This guide provides effective tips and techniques to ensure your scalp stays safe and comfortable during the dyeing process. Whether you dye your hair at home or visit a salon, these steps will help you achieve your desired look without compromising on scalp care.
What Will You Need?
Before you start the coloring process, gathering all the necessary tools and products to protect your scalp is important. Here are some essential items that you will need:
- Protective Gloves: These are a must-have when using hair dye as they protect your hands from harsh chemicals.
- Petroleum Jelly or Barrier Cream: These can be applied along the hairline, ears, and neck to create a barrier between your skin and the dye.
- Old t-shirt or Towel: This will help prevent any stains on your clothes during application.
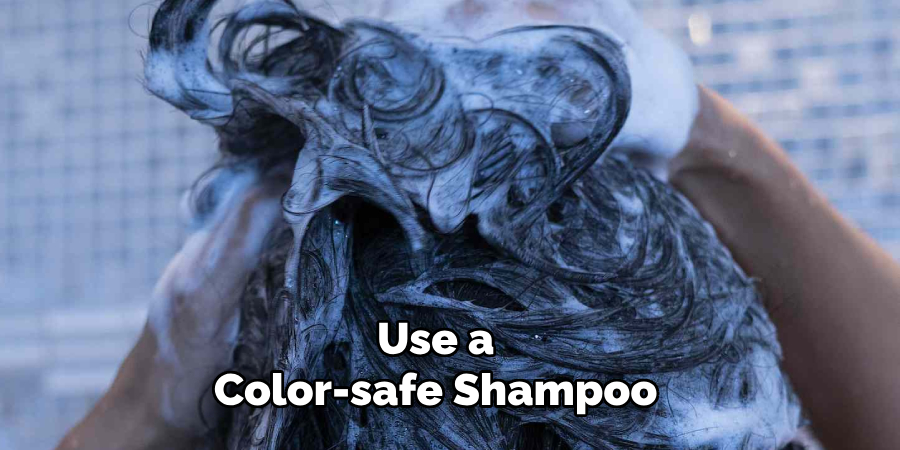
- Color-safe Shampoo and Conditioner: After coloring your hair, make sure to use these to keep your hair and scalp moisturized.
- Hair Dye Brush or Applicator Bottle: These tools will help you apply the dye evenly and precisely on your scalp.
- Hair Clips: Use these to section off your hair for easier application.
Now that you have all the necessary items, let’s dive into some effective techniques to protect your scalp during hair coloring.
10 Easy Steps on How to Protect Scalp From Hair Dye:
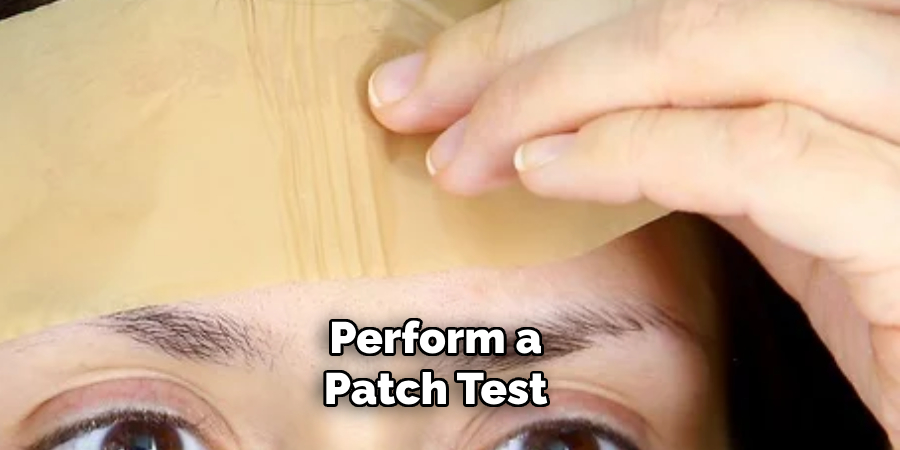
Step 1. Perform a Patch Test
Before applying any hair dye to your scalp, performing a patch test is crucial. This involves applying a small amount of the dye to a discreet area of your skin, usually behind your ear or on your inner elbow, and waiting 24-48 hours to check for any adverse reactions. This step helps ensure that you do not have an allergy or sensitivity to the hair dye.
Step 2. Prepare Your Scalp
Properly preparing your scalp before applying hair dye is essential for minimizing potential damage and irritation. Begin by ensuring that your scalp is clean but not freshly washed, as natural oils can provide a protective barrier. It’s best to wash your hair 24-48 hours before dyeing, which allows these oils to accumulate and protect your scalp without being excessively dirty.
Next, apply generous petroleum jelly or a barrier cream along your hairline, ears, and neck. This will create a protective layer that prevents the dye from directly contacting your skin, reducing the risk of irritation or staining. Pay special attention to areas more prone to sensitivity or where dye pools.
Additionally, if you have a susceptible scalp, consider using a pre-treatment scalp protector that is specifically designed to create an extra barrier. These products are available at most beauty supply stores and can significantly enhance your comfort during coloring.
Step 3. Use Protective Gloves
Always wear protective gloves while applying hair dye to avoid staining and protect your hands from the chemicals present in the dye. These gloves usually come with the hair dye kit, but if not, any disposable gloves will work. Ensure they fit well to allow for precise application without slipping or causing discomfort.
Step 4. Section Your Hair
Dividing your hair into smaller sections using hair clips will make the application process more manageable and ensure even coverage. Depending on hair thickness and length, dividing hair into four to six sections works well. This technique helps you apply the dye more systematically and avoids missing any spots.
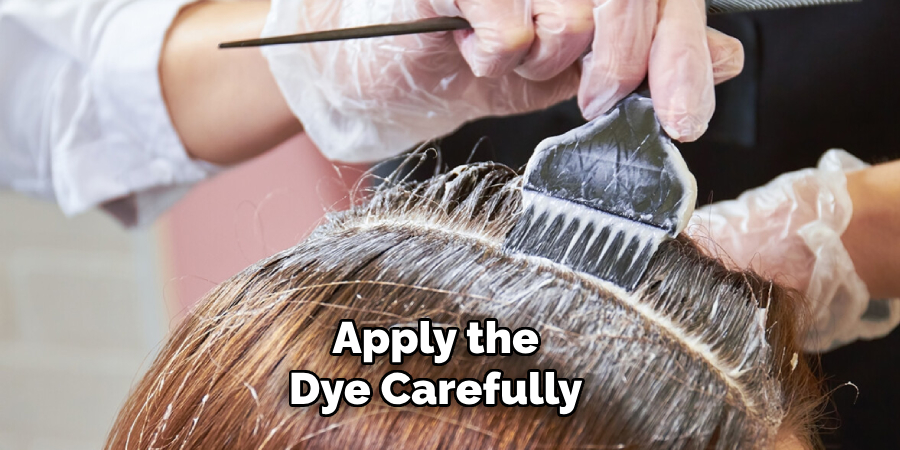
Step 5. Apply the Dye Carefully
Starting from the roots, use a hair dye brush or applicator bottle to apply the dye, working your way down to the tips. Applying the dye methodically ensures that your scalp is not completely overwhelmed by excessive dye. Be gentle to prevent irritation and make sure to use enough dye to cover the hair evenly without soaking the scalp.
Step 6. Avoid Overlapping Dye on Previously Colored Hair
If you are touching up your roots, be cautious not to apply the dye over previously colored hair. Overlapping can cause damage and uneven color. Focus on the new growth, and if needed, blend gently to avoid harsh lines.
Step 7. Follow Processing Time Instructions
Adhering to the recommended processing time on the dye’s instructions is crucial for protecting your scalp and achieving the desired color. Leaving the dye on for too long can cause scalp irritation or damage. Use a timer to keep track and ensure not exceeding the suggested duration.
Step 8. Rinse Thoroughly
Once the processing time is up, it’s vital to thoroughly rinse your hair to remove any residual dye. Use lukewarm water to avoid shocking your scalp with extreme temperatures. Rinse until the water runs clear, which indicates that most of the dye has been washed out. This step is crucial to prevent any lingering chemicals from irritating your scalp or causing dryness.
Begin by gently massaging your scalp, helping to loosen any dye that may have adhered directly to the skin. Avoid using your nails to prevent scratching or damaging sensitive areas. Make sure to tilt your head back while rinsing to avoid dye running down your face, which can cause staining or irritation to your facial skin.
Step 9. Apply a Color-Safe Conditioner
After rinsing, applying a color-safe conditioner will help restore moisture to your hair and scalp. These conditioners are specially formulated to nourish dyed hair, helping to seal the cuticle and lock in color, resulting in a more vibrant and long-lasting shade.
Work the conditioner through your hair, starting from the tips and gradually moving towards the roots. Pay extra attention to the ends, which are drier and more prone to damage. Leave the conditioner on for a few minutes, as recommended on the product label, to allow your hair to absorb the moisture fully.
Step 10. Post-Care and Maintenance
Proper post-care is essential for maintaining a healthy scalp and prolonging your hair color. After coloring, avoid washing your hair for at least 48 hours to allow the dye to fully set. Use a mild, color-safe shampoo and conditioner for subsequent washes to prevent stripping the color.
Additionally, limit the use of heat-styling tools such as blow dryers, curling irons, and straighteners, as they can cause color to fade and lead to dryness. Always apply a heat protectant spray to shield your hair from damage when using these tools.
Regularly moisturizing your scalp with a light, non-greasy oil can help prevent dryness and flakiness. Look for products containing natural ingredients like argan oil or jojoba oil, which provide hydration without clogging pores. Also, try to minimize exposure to harsh environmental factors, such as prolonged sun exposure or chlorinated pool water, as these can accelerate color fading and cause scalp irritation.
Following these detailed steps, you can protect your scalp and achieve a beautiful, vibrant hair color. Remember that careful preparation, mindful application, and diligent post-care are key to maintaining both the health of your scalp and the longevity of your hair color.
5 Things You Should Avoid
- Skipping a Patch Test: Always do a patch test before applying hair dye, even if you have used the product before. Avoiding this can lead to allergic reactions and scalp irritation.
- Applying Dye Directly to Dirty Hair: Dyeing dirty or oily hair can increase scalp sensitivity. Clean your hair thoroughly, but avoid using conditioner right before dyeing.
- Using Harsh Chemical Dyes: Avoid products with high ammonia and bleach levels. These chemicals can cause extensive damage to both your scalp and hair.
- Excessive Scrubbing During Application: Excessive rubbing or massaging the dye into your scalp can lead to irritation and potential burns. Be gentle during application.
- Ignoring Aftercare: Post-dye care is crucial. Avoid using harsh shampoos and conditioners immediately after dyeing, as your scalp will be more sensitive and prone to damage. Opt for products formulated for colored hair to maintain scalp health.
Avoiding these common mistakes can ensure a safer and more successful hair dyeing experience. Remember to always read the instructions carefully and follow them religiously for best results.
Conclusion
How to protect scalp from hair dye is essential for maintaining healthy skin and vibrant hair.
By adhering to the recommended precautions, such as performing a patch test, starting with clean hair, avoiding chemical-laden dyes, applying dye gently, and following a dedicated aftercare routine, you can significantly reduce the risk of irritation and damage. Always prioritize your scalp’s health by selecting high-quality products and giving your hair the care and attention it needs before, during, and after dyeing.
This approach ensures a more pleasant dyeing experience and contributes to long-term scalp and hair health.
You can also check it out Make Manga Lashes
About the Author
Jane Hubbard is a passionate beauty expert with a wealth of experience in makeup, hair, and overall beauty techniques. After years of working as a hairdresser specialist, she followed her entrepreneurial spirit and started her own consultancy business.
Jane has always been driven by her desire to help others feel confident in their own skin, and she does this by sharing her knowledge, experiences, and practical beauty tips. Through her consultancy, she empowers individuals to embrace their unique beauty, offering tailored guidance that boosts both self-esteem and personal style.
Professional Focus
Specializes in makeup, hairstyling, and beauty consulting.
Provides personalized beauty advice, tips, and techniques to help individuals feel confident in their appearance.
Dedicated to staying up-to-date with the latest industry trends and developments.
Passionate about creating a comfortable and empowering experience for every client.
Education History
University of Craft and Design – Bachelor of Fine Arts (BFA) in Woodworking and Furniture Design
Woodworking Apprenticeships – Extensive hands-on training with skilled craftsmen to refine carpentry and furniture making techniques
Online Courses & Masterclasses – Continued education in advanced woodworking techniques, design principles, and specialized tools
Expertise:
Makeup artistry, hairstyling, and beauty consulting.
Personalized beauty techniques to enhance confidence and self-expression.
Educating clients on how to maintain their beauty routines at home.