

Cream foundation is a rich, buildable base that gives your skin a smooth, radiant finish without looking flat or powdery. Unlike liquid or powder formulas, it melts into the skin and offers medium to full coverage, making it a favorite for anyone who wants a polished look that still feels natural. If you have dry or mature skin, this creamy texture can be especially flattering because it adds moisture and glow instead of settling into fine lines.
Learning how to put on cream foundation might feel a little tricky at first, but the process is simpler than you think once you break it down into clear steps. With the right prep, tools, and technique, you can achieve a flawless, long-lasting result at home. In this beginner-friendly guide, we will walk you through everything from prepping your skin to setting your makeup. Whether you are a total newbie or just switching from liquid, these expert tips will help you build confidence and master a smooth, seamless finish every single time.
Why Applying Cream Foundation Matters
Getting your application right makes a huge difference in how your entire makeup look turns out. When applied well, cream foundation evens out your skin tone, hides redness, and creates a soft, luminous canvas for the rest of your products. A smooth base helps your blush, bronzer, and highlighter blend effortlessly instead of looking patchy or streaky.
Beyond appearance, proper application protects your skin and keeps your look lasting all day. Applying too much or using the wrong tools can lead to caking, creasing, and clogged pores. Mastering the technique means you use less product, save money, and reduce common mistakes. The result is a natural, healthy glow that boosts your confidence and lets your true beauty shine through with comfort and ease.
Step-by-Step Guide To How To Put On Cream Foundation
Step 1: Prep And Cleanse Your Skin
Start with a clean canvas, because good makeup always begins with good skin. Wash your face with a gentle cleanser to remove dirt, oil, and any leftover products from the day before. Pat your skin dry with a soft towel rather than rubbing, which can cause irritation and redness.
Once your skin feels fresh, exfoliate lightly once or twice a week to sweep away dead cells. Smooth skin helps your base glide on evenly instead of clinging to dry, flaky patches. This first step lays the groundwork for a flawless finish, so take your time and treat your skin kindly before moving forward.

Step 2: Moisturize And Apply Primer
Hydration is your secret weapon for a smooth, natural look. Apply a lightweight moisturizer suited to your skin type and give it a few minutes to fully absorb. This step keeps your base from looking dry or patchy and helps it settle beautifully into the skin.
Next, sweep on a thin layer of primer to create a smooth surface and help your makeup last longer. Focus on areas where product tends to slide off, like your nose, forehead, and chin. Primer fills in fine lines and pores, giving you an even texture. When you learn how to put on cream foundation, this prep stage truly sets you up for lasting success.
Step 3: Choose The Right Shade And Tools
Picking the correct shade is essential for a natural result. Test the color along your jawline in natural light, since a good match should disappear into your skin without leaving a visible line. When in doubt, choose a shade that leans slightly warmer to avoid an ashy or gray finish.
Your tools matter just as much as the product itself. A damp makeup sponge creates a soft, skin-like finish, while a dense brush offers fuller coverage. Your clean fingertips also work well, since their warmth helps the creamy texture melt into the skin. Keep your chosen tools nearby so your application feels smooth and stress-free from start to finish.

Step 4: Apply Small Amounts To Your Face
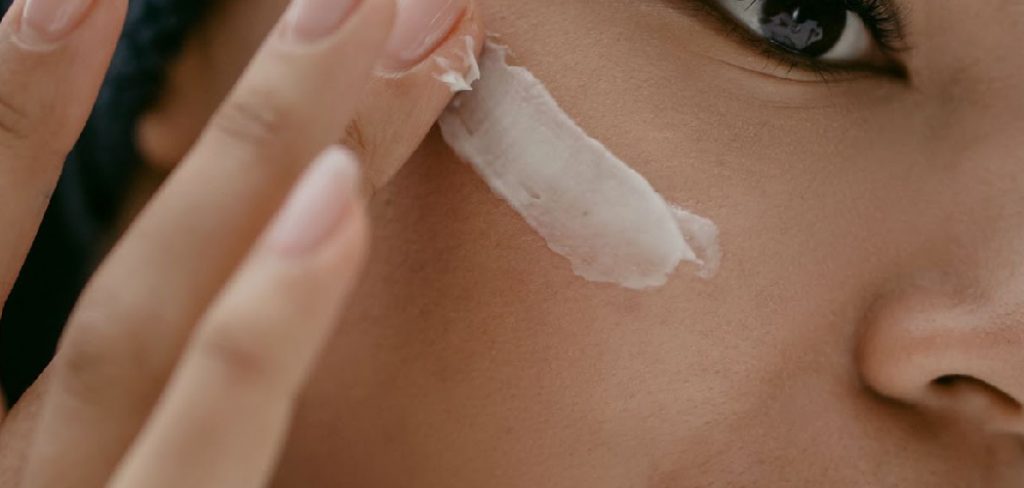
Less is always more with creamy formulas, so resist the urge to pile it on. Dab a small amount onto the back of your hand first, then use your brush, sponge, or fingers to place little dots across your forehead, cheeks, nose, and chin. Working with tiny amounts gives you far more control.
This is the heart of how to put on cream foundation correctly, because building coverage slowly prevents a heavy, cakey look. You can always add more product to areas that need extra help, but removing excess is much harder. Start light, spread evenly, and let the natural glow of your skin peek through for a fresh, believable result.
Step 5: Blend For A Seamless Finish
Blending is where the magic really happens. Using a damp sponge, bounce it gently across your skin in light tapping motions rather than dragging it, which can leave streaks. If you prefer a brush, use small circular strokes to buff the product into your skin for an airbrushed effect.
Work from the center of your face outward, blending toward your hairline, ears, and jaw so there are no harsh edges. Pay special attention to areas around the nose and under the eyes, where product loves to collect. Take a moment to check your work in good lighting, then softly tap over any spots that still look uneven or thick.

Step 6: Conceal And Correct
Now that your base is smooth, tackle any spots that still need extra attention. Dab a creamy concealer onto blemishes, dark circles, or areas of redness using a small brush or your fingertip. Choose a shade close to your base for blemishes and a slightly lighter tone under the eyes to brighten your face.
Gently press and pat the concealer instead of rubbing, allowing it to blend seamlessly into the surrounding base. Building coverage in thin layers keeps everything looking natural rather than heavy. This targeted step helps you cover what you want while keeping the rest of your skin looking soft, believable, and refreshingly real.
Step 7: Set Your Makeup
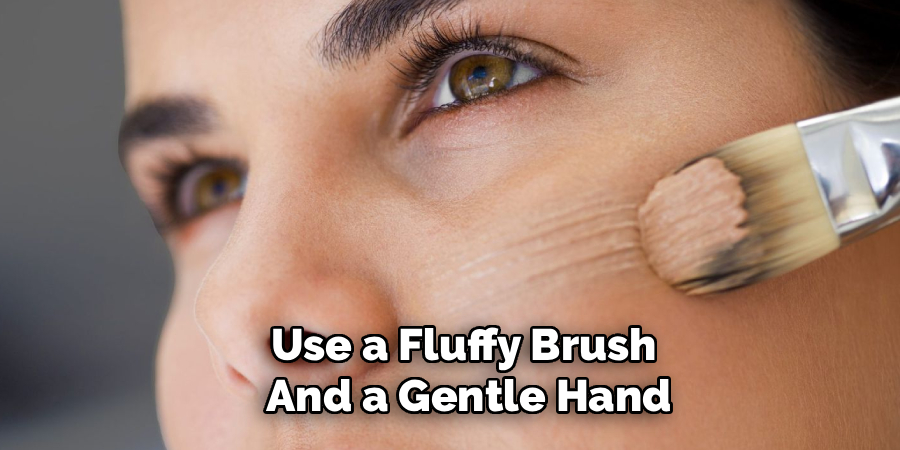
The final step locks everything in place for lasting wear. Lightly dust a translucent setting powder over your face, focusing on your T-zone and any areas prone to oiliness or creasing. Use a fluffy brush and a gentle hand, since too much powder can look dry and dull.
For an extra boost of longevity, finish with a few spritzes of setting spray held about an arm’s length from your face. This melts the powder into your skin and brings back a natural glow. Once everything sets, your creamy base will stay fresh, smooth, and photo-ready for hours, giving you confidence that lasts all day long.
Frequently Asked Questions
Is Cream Foundation Good For Oily Skin?
Cream foundation can work for oily skin, though it suits dry and normal types best. If you have an oily complexion, choose an oil-free or matte formula and always set it with translucent powder. Using a mattifying primer beforehand also helps control shine. Applying thin layers and focusing powder on your T-zone will keep your look fresh and prevent that unwanted greasy feeling throughout the day.
What Is The Best Tool For Application?
The best tool depends on your desired finish and personal comfort. A damp makeup sponge gives a soft, natural, skin-like look, while a dense buffing brush delivers fuller coverage. Your fingertips work wonderfully too, since their warmth helps the creamy texture melt right into the skin. Feel free to experiment with all three options to discover which method feels most intuitive and gives you the results you love most.
How Do I Stop It From Creasing?
Creasing usually happens when you apply too much product or skip setting steps. Start with a lightweight moisturizer and primer, then use thin layers rather than heavy coats. Blend thoroughly, especially around the eyes, nose, and smile lines where movement causes creasing. Finally, set everything with a light dusting of translucent powder. These simple habits keep your base smooth, comfortable, and crease-free for hours on end.
Can Beginners Use Cream Foundation Easily?
Absolutely, beginners can master creamy formulas with a little practice and patience. The key is starting with small amounts and building coverage slowly, which gives you full control over the final look. Damp sponges are especially forgiving and beginner-friendly since they blend mistakes away easily. Follow each step at your own pace, and remember that expert-approved techniques make the whole process feel simple, approachable, and genuinely fun.
How Long Does Cream Foundation Last?
With proper prep and setting, creamy foundation typically lasts six to ten hours. Longevity depends on your skin type, the formula, and how well you set your makeup. Oily skin may need touch-ups sooner, while dry skin often enjoys longer wear. Using primer, powder, and setting spray together creates a strong hold that keeps your base looking fresh and flawless well into the evening.
Conclusion
Creating a smooth, radiant base at home is easier than you might have imagined. The key takeaways are simple, so remember to prep your skin, hydrate well, choose the right shade, and always start with small amounts of product. Blending thoroughly, concealing where needed, and setting your makeup will give you a natural, long-lasting finish that feels as good as it looks. Each step builds on the last, so take your time and enjoy the process.
Now that you know how to put on cream foundation, you have all the expert tips you need to feel confident every time you reach for your makeup bag. Practice makes progress, so grab your favorite formula, follow these beginner-friendly steps, and watch your skills grow with each application. Your flawless, glowing look is well within reach, so go ahead and give it a try today.

About the Author
Jane Hubbard is a passionate beauty expert with a wealth of experience in makeup, hair, and overall beauty techniques. After years of working as a hairdresser specialist, she followed her entrepreneurial spirit and started her own consultancy business.
Jane has always been driven by her desire to help others feel confident in their own skin, and she does this by sharing her knowledge, experiences, and practical beauty tips. Through her consultancy, she empowers individuals to embrace their unique beauty, offering tailored guidance that boosts both self-esteem and personal style.
Professional Focus
Specializes in makeup, hairstyling, and beauty consulting.
Provides personalized beauty advice, tips, and techniques to help individuals feel confident in their appearance.
Dedicated to staying up-to-date with the latest industry trends and developments.
Passionate about creating a comfortable and empowering experience for every client.
Education History
University of Craft and Design – Bachelor of Fine Arts (BFA) in Woodworking and Furniture Design
Woodworking Apprenticeships – Extensive hands-on training with skilled craftsmen to refine carpentry and furniture making techniques
Online Courses & Masterclasses – Continued education in advanced woodworking techniques, design principles, and specialized tools
Expertise:
Makeup artistry, hairstyling, and beauty consulting.
Personalized beauty techniques to enhance confidence and self-expression.
Educating clients on how to maintain their beauty routines at home.