

Painting your nails should be a relaxing moment, but one slip of the brush can leave a bright splatter across your wall. It happens faster than you think, and that little stain can feel impossible to hide. The good news is that learning how to remove fingernail polish from walls is easier than most people expect, and you probably already have the right tools at home.
Whether the mark is fresh or dried, there is a safe way to lift it without damaging your paint. This guide walks you through simple, tested methods that work for beginners and seasoned cleaners alike. You do not need special training or expensive supplies, just a little patience and the right approach.
By the end, you will feel confident tackling any polish spill on painted surfaces. We will cover the tools you need, the exact steps to follow, and answers to common questions. Think of this as your friendly, expert companion for restoring your walls back to their clean, spotless state.
Why Removing Fingernail Polish From Walls Matters
A polish stain might seem small, but it draws the eye instantly and can make an entire room feel messy. Left alone, the pigment can settle deeper into the paint, becoming harder to lift over time. Acting quickly protects both the look of your space and the value of your paint job.
Beyond appearance, dried polish can attract dust and become sticky, which spreads the problem to nearby areas. Removing it properly means you avoid scrubbing too hard and stripping your paint. When you use the correct method, you keep your walls smooth, intact, and looking freshly finished. That saves you the cost and hassle of repainting later, giving you a clean home with far less effort.
Step-by-Step Guide to How to Remove Fingernail Polish From Walls
Follow these seven steps carefully, and you will handle almost any polish stain with confidence. This section shows exactly how to remove fingernail polish from walls using safe, gentle techniques that protect your paint. Take your time, test as you go, and trust the process.
Step 1: Gather Your Supplies
Before you touch the stain, set up everything you need so you are not scrambling mid-clean. You will want a few soft cloths, cotton balls, a bowl of warm water, mild dish soap, and either acetone-free nail polish remover or rubbing alcohol. Keep paper towels nearby to catch drips and protect your floor.
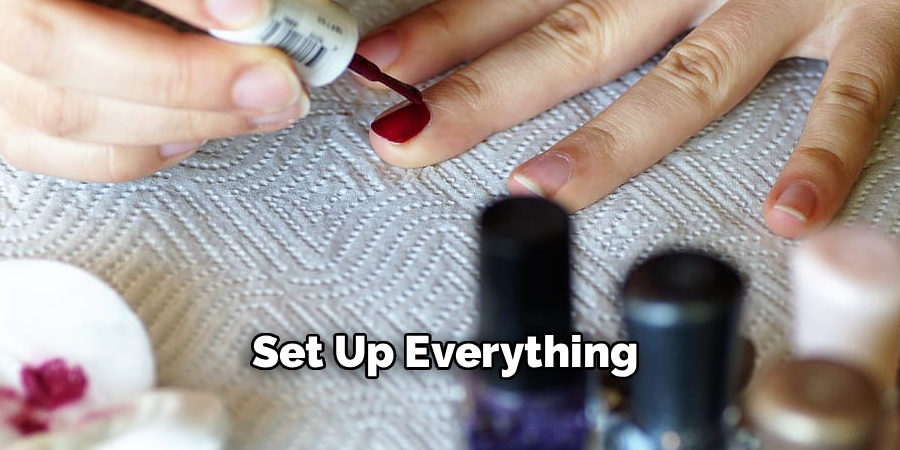
Having your tools ready makes the whole job smoother and faster. It also prevents you from grabbing something harsh in a panic, which could damage your wall. A calm, prepared start sets you up for a clean result and less stress along the way.
Step 2: Test a Hidden Spot First
Never apply any cleaner directly to a visible stain without testing it first. Choose a small, hidden area, such as a corner behind furniture or near the baseboard. Dab a little of your chosen remover onto a cotton ball and gently press it against the paint.
Wait a minute, then check for any color lifting, dulling, or damage to the finish. If the paint stays intact, you are safe to continue. This simple test protects your wall from surprise discoloration and gives you peace of mind. It only takes a moment, but it can save you from a much bigger repair job later.
Step 3: Blot Fresh Spills Immediately
If the polish is still wet, speed is your best friend. Grab a dry paper towel or soft cloth and gently blot the spill, working from the outer edge toward the center. Blotting lifts the polish without pushing it deeper into the paint or spreading it across a wider area.
Avoid rubbing, since that smears the color and forces pigment into the wall texture. Change to a clean section of cloth often so you are always lifting, not reapplying. Once you remove as much wet polish as possible, you set the stage for an easier deep clean in the following steps.
Step 4: Learn Polish From Walls With Alcohol
Rubbing alcohol is one of the gentlest yet most effective options for lifting dried polish. Pour a small amount onto a cotton ball or clean cloth, then press it lightly against the stain for a few seconds. This softens the polish so it releases from the paint instead of clinging to it.
Dab in small, controlled motions rather than scrubbing hard. You should see color transferring onto the cloth as the stain loosens. Keep switching to fresh cotton so you do not spread the polish. Repeat until the mark fades, and remember that slow, steady dabbing beats aggressive rubbing every single time.
Step 5: Try Acetone-Free Remover for Stubborn Marks
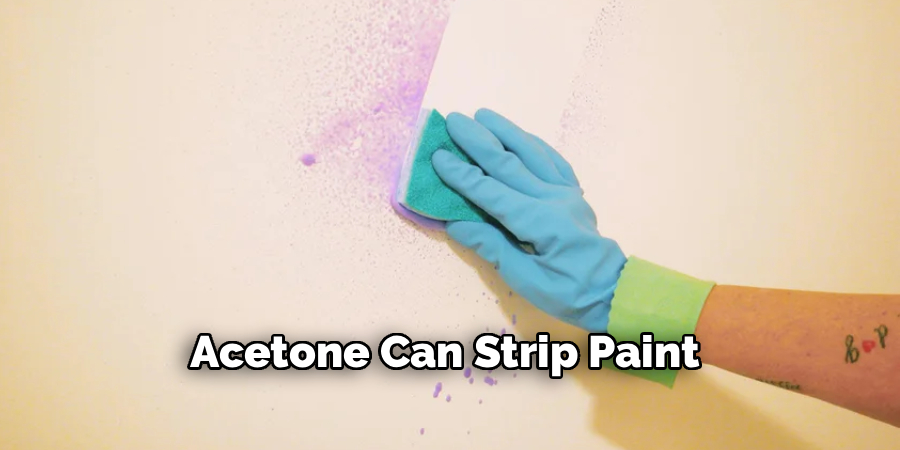
When alcohol alone does not fully clear the stain, an acetone-free polish remover can step in. Acetone can strip paint, so always reach for the gentler, acetone-free version to protect your wall. Apply a small amount to a cotton ball and press it onto the remaining polish.
Hold it in place briefly to let the remover break down the pigment, then dab gently until the color lifts. Work in short sessions and check your progress often. If you notice the paint reacting, stop right away and switch back to soap and water. Patience here keeps your wall safe while clearing the toughest spots.
Step 6: Wash the Area With Soap and Water
Once the polish is gone, you need to remove any leftover cleaner from the wall. Mix a few drops of mild dish soap into warm water, then dip a soft cloth and wring it out well. Gently wipe the treated area to lift away residue from the alcohol or remover.
This step matters because leftover chemicals can dull your paint or leave a faint mark over time. Wipe in soft circles, then go over the spot once more with a cloth dampened in plain water. This rinse leaves your wall clean, fresh, and free of any sticky or oily film.
Step 7: Dry and Inspect Your Wall
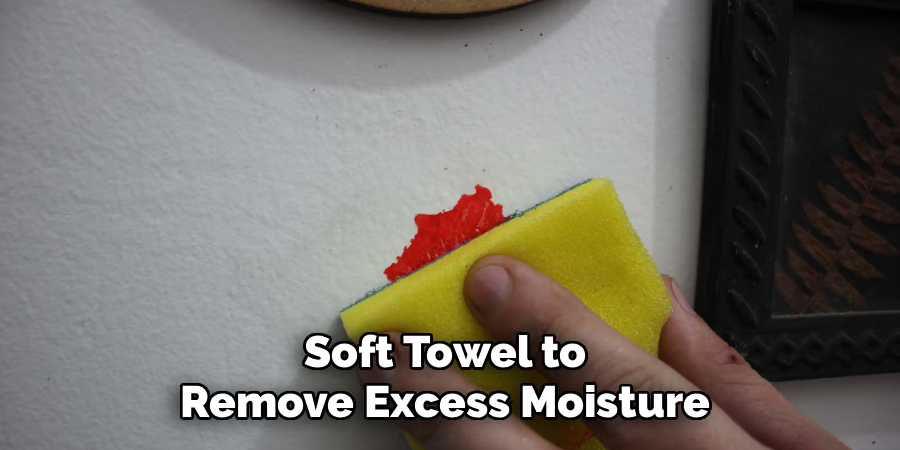
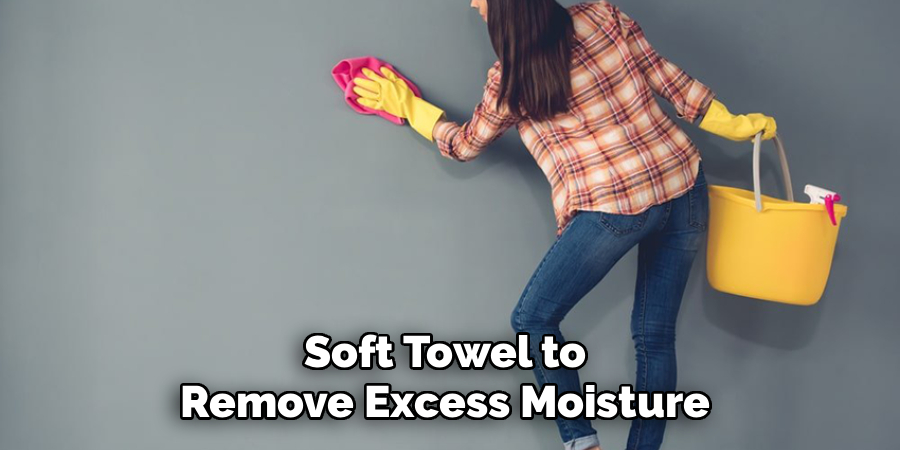
Finish by gently patting the area with a dry, soft towel to remove excess moisture. Let the spot air dry fully before you judge the results, since damp paint can look darker than it really is. Once dry, step back and inspect the wall under good lighting.
If any faint traces remain, you can repeat the earlier dabbing steps until the surface looks even. Most stains disappear completely with a little persistence. Take a moment to appreciate your work, because a clean, spotless wall is the reward for your careful, steady effort throughout this process.
Frequently Asked Questions
Can I Use Regular Acetone on Painted Walls
You should avoid regular acetone whenever possible, because it is strong enough to strip paint and leave a dull patch behind. Acetone-free remover and rubbing alcohol are far safer choices for painted surfaces. If acetone is your only option, test it in a hidden spot first and use the smallest amount you can while dabbing very gently.
What if the Polish Has Been Dried on for Weeks
Older, dried stains take a little more patience, but they are still very removable. Start by softening the polish with rubbing alcohol, letting the cloth rest on the mark for several seconds. Repeat the dabbing process multiple times, giving the cleaner time to break down each layer. Persistence usually wins, so keep working slowly until the color lifts away completely.
Will These Methods Work on Textured Walls
Yes, though textured walls need extra care since polish settles into the grooves. Use a cotton ball or soft toothbrush to reach into the texture, dabbing rather than scrubbing. Work gently so you do not wear down the raised areas. It may take a few rounds, but the same alcohol and soap approach clears textured surfaces effectively.
How Do I Protect My Paint While Cleaning
The key is testing first, using gentle cleaners, and dabbing instead of scrubbing. Always start with the mildest option and only move to stronger removers if needed. Rinse the area with soapy water afterward to clear any residue. Working in short sessions and checking your progress often keeps your paint safe throughout the entire cleaning process.
Do I Need Professional Help for Large Stains
Most polish spills, even larger ones, respond well to the steps in this guide. For very big stains or delicate wallpaper, you may want expert advice before treating the surface. If you feel unsure at any point, pausing to get support is always smarter than risking damage. For everyday spills, though, your home supplies will do the job.
Conclusion
Cleaning up a polish spill does not have to feel overwhelming, even if the stain looks intimidating at first. With the right tools and a calm, steady approach, you can restore your walls to their original spotless finish. Knowing how to remove fingernail polish from walls means you are never stuck panicking over an accidental splatter again.
Remember the core lessons here, which are to test first, dab gently, and rinse afterward to protect your paint. Start with the mildest cleaner, work patiently, and repeat as needed until the mark disappears. These friendly, expert-backed steps put you in full control of any spill, big or small. So next time polish lands somewhere it should not, grab your supplies with confidence and give it a try. Your clean, refreshed walls are well within reach.

About the Author
Jane Hubbard is a passionate beauty expert with a wealth of experience in makeup, hair, and overall beauty techniques. After years of working as a hairdresser specialist, she followed her entrepreneurial spirit and started her own consultancy business.
Jane has always been driven by her desire to help others feel confident in their own skin, and she does this by sharing her knowledge, experiences, and practical beauty tips. Through her consultancy, she empowers individuals to embrace their unique beauty, offering tailored guidance that boosts both self-esteem and personal style.
Professional Focus
Specializes in makeup, hairstyling, and beauty consulting.
Provides personalized beauty advice, tips, and techniques to help individuals feel confident in their appearance.
Dedicated to staying up-to-date with the latest industry trends and developments.
Passionate about creating a comfortable and empowering experience for every client.
Education History
University of Craft and Design – Bachelor of Fine Arts (BFA) in Woodworking and Furniture Design
Woodworking Apprenticeships – Extensive hands-on training with skilled craftsmen to refine carpentry and furniture making techniques
Online Courses & Masterclasses – Continued education in advanced woodworking techniques, design principles, and specialized tools
Expertise:
Makeup artistry, hairstyling, and beauty consulting.
Personalized beauty techniques to enhance confidence and self-expression.
Educating clients on how to maintain their beauty routines at home.