
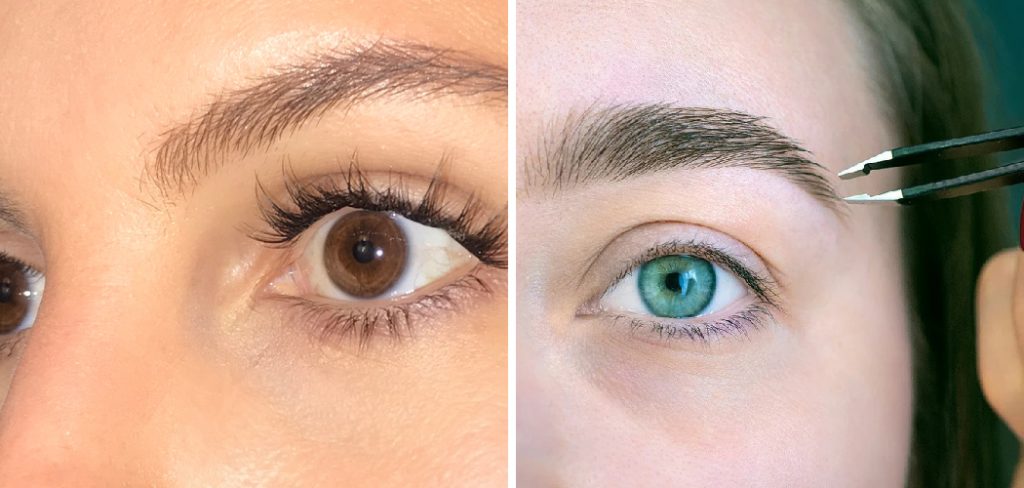
Welcome to the ultimate guide on “how to remove Lashify” without turning your lash line into a war zone. First off, Lashify eyelash extensions – they’re the equivalent of a luxury car for your eyes. Sleek, glamorous, and oh-so-fluttery, they can elevate any look from zero to hero in seconds. But, just like a luxury car, the care and maintenance are crucial.
We’re here to talk about the importance of proper removal techniques because, trust me, yanking them out like you’re starting a lawnmower is NOT the way to go. It’s all about keeping those lashes healthy, happy, and ready for their next glam session. Our purpose? To walk you through the step-by-step process of removing Lashify extensions safely and efficiently, ensuring your natural lashes don’t go on strike out of protest. Stick with us, and you’ll master the art of lash removal like a pro.
Understanding Lashify Adhesive
Alright, folks, strap in—it’s time to get up close and personal with the sticky stuff holding your lash dreams together: the Lashify adhesive. Think of it as the unsung hero of your lash game, but also, like any hero, it’s got its kryptonite.
A. Types of Lashify Adhesives
First off, Lashify adhesives come in two main vibes: the everyday, “won’t budge unless you want it to” kind, and then the “hold on tighter than your grandma’s hug” version for those special, sweat-it-out occasions. Whether it’s a chill day at the office or your bestie’s wedding where tears are guaranteed, there’s an adhesive made just for the occasion.
B. Characteristics and Bonding Properties
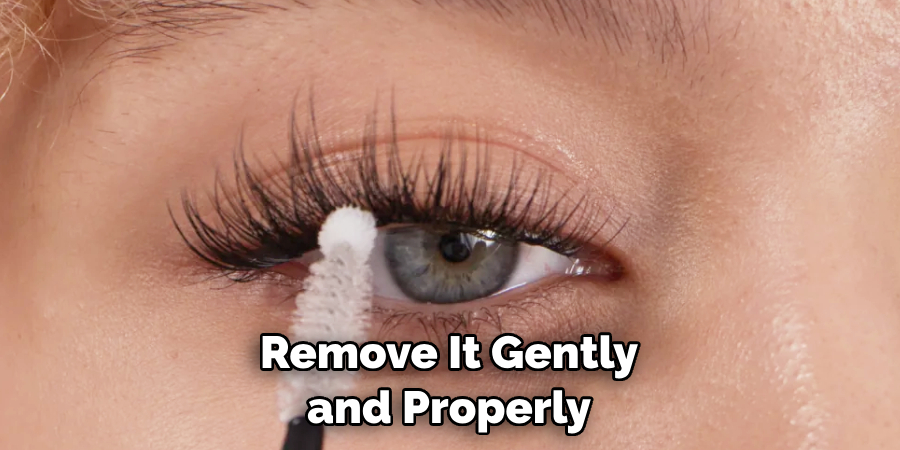
Now, what makes Lashify adhesive the MVP of your beauty routine? Its bonding properties are top-notch. This isn’t just any glue; it’s like the James Bond of lash adhesives—sleek, strong, and sophisticated. It bonds so well with your natural lashes that you’ll forget they’re not real, but with great power comes great responsibility. That means taking the time to remove it gently and properly, or you risk turning your lash line into a no-fly zone.
C. Potential Risks of Improper Removal
Concerning risks, hastily removing your Lashify lashes is like defusing a bomb with a hammer—just don’t. Improper removal can lead to lash casualties (think breakage and loss), and trust me, your natural lashes will hold a grudge. It’s all fun and games until someone loses an eyelash. Besides just looking sad and patchy, rough removal can irritate your eyes quicker than an onion-cutting contest.
Remember, knowledge is power, especially when it comes to the adhesives that are the lifeblood of your lash look. By understanding the types, properties, and potential drama of improperly ditching your lashes, you’re on your way to lash nirvana or, at the very least, not having a mini heart attack every time you need to take them off.
Preparing for Removal
Alright, team. Before we launch into the nitty-gritty of yanking (I mean, gently removing) those Lashify extensions, there’s a bit of prep work we’ve got to tackle first. Think of it as the pre-game show to your lash liberation ceremony.
A. Gathering Necessary Supplies
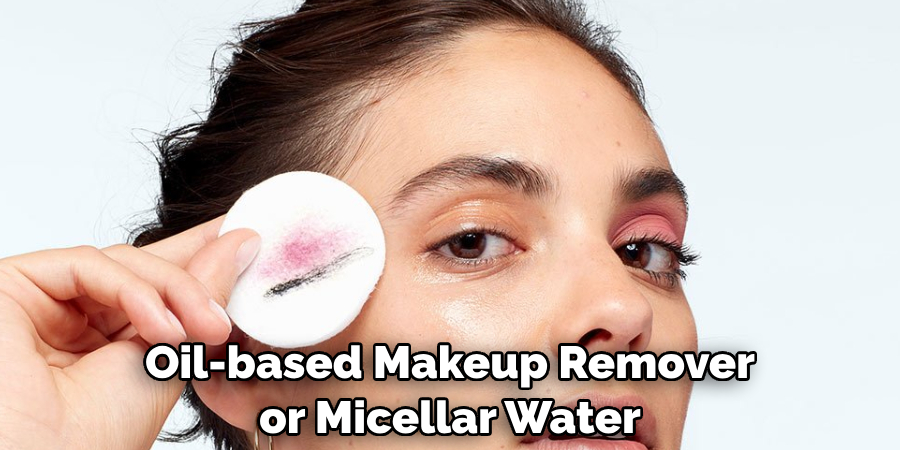
First up on the agenda is assembling your lash removal toolkit. You’ll need an oil-based makeup remover or some good ol’ micellar water (fancy, right?), cotton pads or swabs (not for your ears this time), and a bit of patience. Oh, and if you’re feeling extra, grab some tweezers and a mirror that doesn’t magnify your pores into craters. This isn’t a spy kit, but trust me, these tools are as essential as a wine opener on a Friday night.
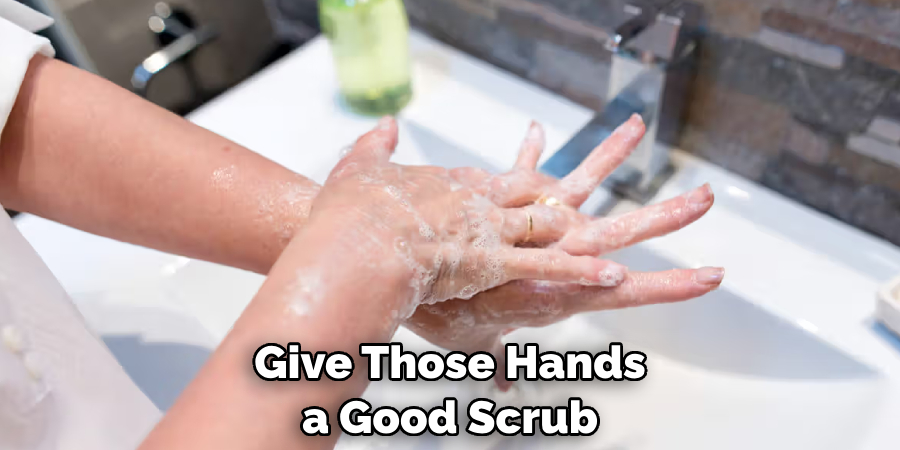
B. Washing Hands Thoroughly
Now, I know we’ve all become handwashing pros lately (thank you, pandemic), but this step is crucial. Give those hands a good scrub as if you’re about to perform surgery. Why? Because your eyes are the VIPs here, and we don’t want any unwanted germs crashing the party. Plus, nothing says “I’m about to touch my eyes” like the freshest, cleanest hands this side of a hand sanitizer commercial.
C. Removing Any Makeup or Residue
Last but definitely not least, we’ve gotta get rid of any makeup, oil, or last night’s mascara tears before we get down to business. Using your chosen oil-based remover or micellar water, gently cleanse your eye area. This isn’t a race, so no need to rub like you’re trying to erase a bad decision. Think of it as pampering your eyes before you ask them to part ways with your luxurious lashes. Leaving any residue behind is like leaving socks on the floor—it’s just going to complicate things later.
And there you have it, folks! You’re now fully prepped and as ready as you’ll ever be to say a tender goodbye to your Lashify extensions. Stay tuned for the main event, where we’ll guide you through the actual removal without causing a scene or a screaming match with your mirror.
How to Remove Lashify: Removing Lashify Extensions
Alright, squad, it’s go-time. The stage is set, your toolkit is ready, and it’s time to send those Lashify extensions on a sabbatical. Grab your snacks and maybe a drink because it’s about to get real in the bathroom mirror.
A. Using Oil-Based Makeup Remover or Micellar Water
First things first, oil-based makeup remover or micellar water is your best friend here. Think of it as the gentle, persuaded, smooth talker that will help you break up with your extensions without any drama. Pour a generous amount onto a cotton pad or swab—don’t be stingy now; we’re not rationing here. And remember, we’re going for oil-based because it’s the adhesive’s weak point. It’s like showing up to a glue fight with a solvent; you’re guaranteed to win.
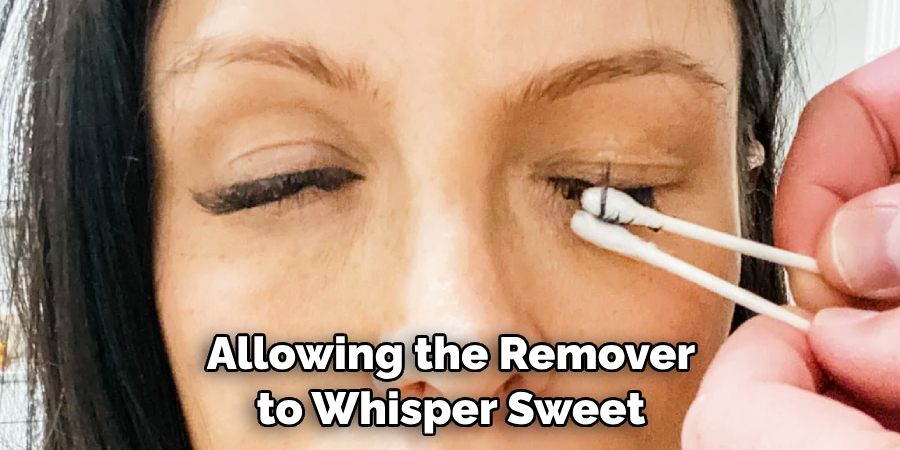
B. Applying Remover Solution to Lash Line
Now, with the grace of a swan and the precision of a sniper, gently press the soaked cotton pad against your lash line. Hold it there like you’re trying to develop a deep emotional connection with your eyelids. Give it a minute or two—this is the patience part. Think of it like letting a good wine breathe; rushing will just ruin the experience. We’re not just wiping; we’re allowing the remover to whisper sweet nothings to the adhesive, convincing it to let go.
C. Gently Massaging Lashes to Loosen Adhesive
After you’ve given the remover enough time to work its magic, it’s time for a little massage. Using your fingertips, gently caress your lash line. This isn’t a deep-tissue situation; we’re going for gentle, loving circles here. You’re not trying to start a fire; you’re coaxing the lashes to consider a life of freedom. If some lashes aren’t ready to leave the nest, don’t force them—no lash left behind comes with understanding and patience.
And voilà, with some tender love and care, your Lashify extensions should glide off like a gracefully executed Olympic dismount. Praise your natural lashes and eyelids for their cooperation and maybe a nice hydrating eye cream as a thank-you gift. They’ve earned it, and so have you!
With your Lashify extensions safely removed, your natural lashes might look slightly stunned—like they’ve just come out of a long meditation retreat. Give them some time to adjust back to civilian life. Remember, gently does it, from start to finish. Here’s to maintaining those beautiful lashes of yours, ready to dazzle on their own or to once again don the glory of Lashify extensions when the moment calls.
How to Remove Lashify: Peeling Off Extensions
Alright, globetrotters on the path of lash freedom, if the oil-based remover or micellar water hasn’t exactly turned your Lashify extensions into an overcooked noodle-like detachment, don’t panic. We’re moving on to the hands-on phase, quite literally. It’s like crafting, but instead of making something, you’re un-making. Ready? Here we go.
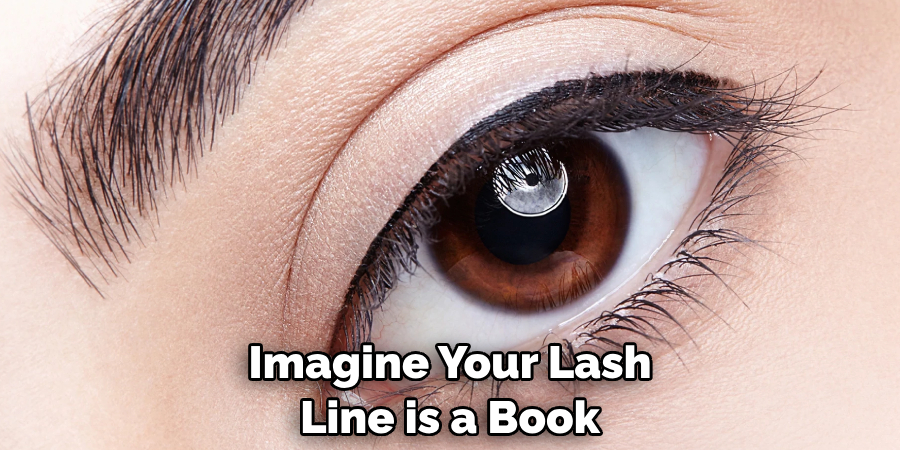
A. Starting from Outer Corners and Working Inward
Imagine your lash line is a book, and we’re about to gently flip pages from the back to the front. The strategy starts at the outer corner of your eye, where your lashes are having their own little party. Why? Because just like at any shindig, the real action happens on the edges. By beginning here, you’re ensuring a smooth transition for your lashes from ‘party mode’ to ‘Netflix and chill’ with minimal drama.
B. Using Fingertips or Tweezers to Grip Extensions
Now, the tools of the trade: fingertips or tweezers. Fingertips are great for those who like a personal touch, feeling every moment of the farewell. Conversely, Tweezers are perfect for precision pluckers and folks who don’t mind getting up close and personal but prefer a tiny metal assistant. Whichever tool you choose, remember, you’re coaxing these babies off, not declaring war.
C. Proceeding Slowly and Carefully to Avoid Pulling Natural Lashes
This is the part where slow and steady doesn’t just win the race; it ensures you still have lashes at the finish line. Gently does it, people. Each extension is like a delicate snowflake, unique and, honestly, a bit clingy. Moving slowly ensures you don’t invite your natural lashes to an unplanned exit party. Patience here is not just a virtue; it’s a necessity.
And there you have it, my friends, the step-by-step guide to regaining your lash independence. Remember, it’s not about the destination; it’s about the beautiful, sometimes sticky, journey. Give your natural lashes some air, maybe serenade them with a lash conditioner, and pat yourself on the back. You’ve navigated the delicate dance of lash removal with the grace of a gazelle and the skill of a seasoned beautician. Now, go forth, bat those au natural lashes, and enjoy the freedom until next time.
Removing Residual Adhesive
Hey there, lash liberators! You’ve done the heavy lifting, but guess what? Like the plot of a reality TV show, there’s always a little twist. Welcome to the saga of ditching that sticky aftermath—residual adhesive. It’s like the guest who overstayed their welcome at the party. Don’t worry; we’ve got the exit strategy right here.
A. Applying Additional Remover Solution if Necessary
If you peek in the mirror and see that stubborn glue clinging on for dear life, it’s time for Round Two. Dab a bit more of your trusty oil-based makeup remover or micellar water onto a fresh cotton pad. Think of it as the polite yet firm nudge needed for those last few lingerers who just can’t take a hint. The goal here is not to soak your eye area but to target those pesky spots with surgical precision.
B. Using a Cotton Swab or Pad to Wipe Away Adhesive
Armed with your remover-soaked weapon of choice—a cotton swab for the detail-oriented folks or a pad for broader strokes—gently pat and sweep the areas of contention. This is not the time for aggressive scrubbing; treat your lash line like you’re dusting off a priceless antique vase. With each gentle wipe, bid adieu to the last remnants of your lash extensions’ embraces.
C. Ensuring Complete Removal of Adhesive Residue
The final step in our adhesive odyssey is to make sure no trace is left behind. After all, we’re going for a clean slate, not a “clean-ish” slate. Give your lashes and eyelids one last inspection in good lighting to ensure you’re not missing any sticky spots. If all looks clear, congratulate yourself! You’ve officially achieved a clean break-up with your Lashify extensions—no mess, no fuss, and certainly no lingering attachments.
Pat your eyelids dry with a soft, lint-free towel, and take a moment to admire your work. Your lashes are now as free as a bird, and your eyelid feels like a smooth canvas, ready for whatever comes next. Whether it’s a new set of extensions or a simple curl and mascara kind of day, you’re starting fresh. And hey, if you find yourself missing those extensions, just remember—it’s not goodbye, it’s a “see you later.” But for now, enjoy the liberation and the breeze tickling your naked lashes. You’ve earned it!
Cleansing and Conditioning
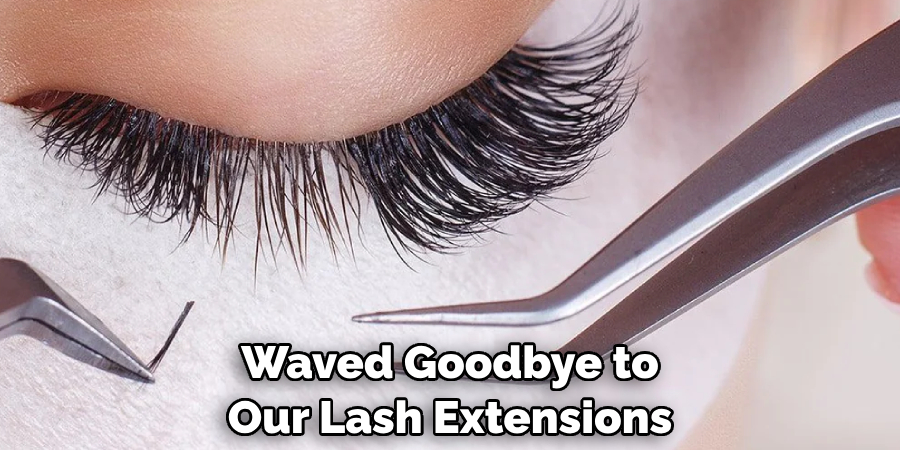
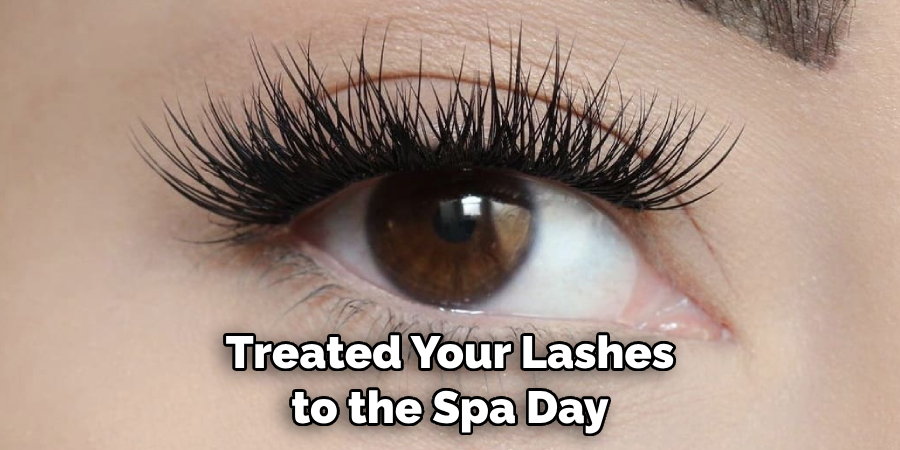
Now that we’ve waved goodbye to our lash extensions and their sticky plus-ones, it’s time to treat our natural lashes and eyelids to a spa day. You know, a little R&R (rinsing and rejuvenation) to get them feeling all fresh and dewy again. Here’s the lowdown on how to pamper those peepers back to pristine condition.
A. Washing Eyelids and Lashes with Gentle Cleanser
First up, grab a gentle, soap-free cleanser—think of something as soft and kind as a bunny’s whisper. You want something that’ll woo your lashes and lids without stirring up any drama. Gently massage the cleanser over your closed eyes with the delicate touch of a fairy’s wing, being careful not to play tug-of-war with your lashes. This is all about gentle persuasion, folks.
B. Rinsing Thoroughly with Warm Water
Now, it’s time to bring in the warm water. Not too hot, not too cold—Goldilocks would approve. Splash your face with enough water to rinse away the cleanser, imagining you’re a movie star caught in slow-mo rain. The goal is to whisk away any residue without leaving your skin singing the blues. Patience is key; give your lashes and lids the tender love they deserve.
C. Applying Lash Serum or Conditioning Treatment
Finally, for the pièce de résistance, introduce your lashes to their new best friend: a lash serum or conditioning treatment. This is like the cherry on top, the flaky sea salt on your caramel latte—the little extra that makes everything better. Sweep the serum along your lash line with the grace of a calligrapher, ensuring each lash is coated in a veil of nourishing goodness. This step is a love letter to your lashes, promising them strength, length, and maybe even a bit of a flirtatious curl.
And voilà! You’re now the proud caretaker of clean, conditioned lashes, ready to flutter at a moment’s notice. Consider this routine your new lash mantra, to be repeated whenever your natural beauties need a boost. Whether you’re gearing up for another round of extensions or simply enjoying the liberated lash life, your peepers are now prepped and primed for whatever adventure rolls your way. Here’s to you, lash queen (or king!), and the gloriously pampered lashes that frame those sparkling eyes.
Post-Removal Care
After you’ve bid adieu to your extensions and treated your lashes to the spa day they so rightly deserved, it’s time to talk about what comes next. Yes, friends, I’m speaking of the post-removal care phase, where we treat our lashes like the delicate, fluttery beings they are. Let’s break down the steps to keep those lashes thriving.
A. Allowing Lashes to Rest and Recover
First off, it’s crucial to give your lashes some well-deserved downtime. Imagine them chilling on a tiny lash hammock, sipping on a microscopic cocktail—this is their time to relax. Avoid immediately jumping back into another set of extensions. Your natural lashes are thanking you for the breather, making this the perfect opportunity to observe them returning to their original glory, strength, and length.
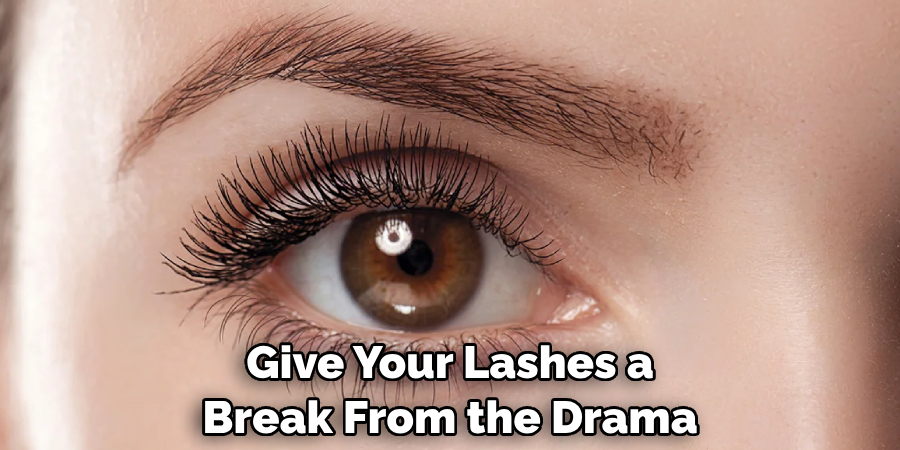
B. Avoiding Harsh Makeup or Products
Next up, keep those heavy, harsh makeup products at bay. We’re talking about giving your lashes a break from the drama of waterproof mascaras and eye makeup that requires industrial-strength remover. Think of it as keeping your lashes on a health retreat, where only gentle, nurturing products are allowed. Opt for light, easily removable eye makeup—if any at all—to ensure your lashes don’t go through another episode of “Survivor.”
C. Scheduling Professional Lash Treatments if Desired
Lastly, if you’re yearning for a bit of lash pampering or considering jumping back into the world of extensions, consider scheduling a professional lash treatment. This could range from a simple lash tint to a more luxurious lash lift. Whatever you choose, ensure it’s something that celebrates your lashes without overwhelming them. It’s like giving your lashes a little encouragement, whispering, “You got this,” as they prep for their next grand appearance.
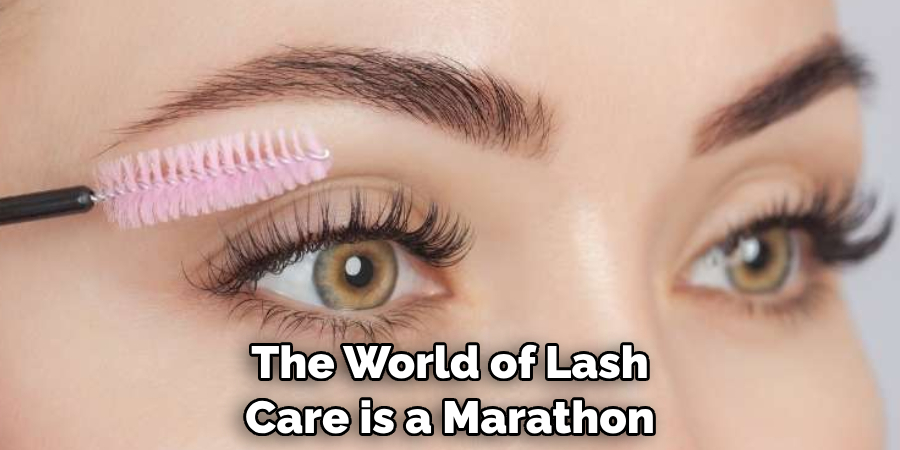
Remember, folks, the world of lash care is a marathon, not a sprint. Every step you take—from waving goodbye to your extensions to nurturing your natural lashes back to health—is a testament to your dedication to the fluttery cause. Cheers to you and your resilient, beautiful lashes, ready to take on the world sans extensions with confidence and grace.
Safety Precautions
Alright, folks. As we venture further into our lash-care odyssey, it’s crucial to chat about the safety dance—yep, the steps you have to take to avoid turning your lash beautification into a horror movie. Remember, while we want our lashes to look fab, we certainly don’t want to sacrifice our well-being on the altar of aesthetics.
A. Avoiding Contact with Eyes or Irritated Skin
First, when you’re playing chemist with your lash serums and potions, try not to get them in your eyes for the love of all that is fluffy. If the product label says, “Keep away from eyes,” it doesn’t mean play a game of ‘how close can I get.’ It means keep it the heck away from your peepers. Also, if your skin throws a tantrum every time it meets a new product (a.k.a. gets irritated), listen to it. It’s not being dramatic; it’s just not a match made in heaven.
B. Discontinuing Use if Allergic Reactions Occur
Now, onto reactions. If your skin or eyes start performing their rendition of “The Great Rebellion” after using a product—think redness, itching, or a Broadway-worthy display of hives—it’s time to break up with that product. No, “it’s not you, it’s me”—it’s definitely them. Stop using it and give your lashes (and yourself) a break from the drama.
C. Seeking Professional Advice for Persistent Issues
Last but not least, if your lash or skin issues decide to overstay their welcome—like that one party guest who just won’t leave—sashay your way to a professional. Whether it’s a dermatologist or an eye doctor, sometimes you need a bit more firepower to tackle those stubborn problems. It’s like bringing in the big guns when your at-home remedies just aren’t cutting it.
Remember, kiddos, keeping your lashes and eyes healthy is like following the rules of the road when driving—it’s all fun and games until someone skips a stop sign. Take these safety precautions to heart, and your lash journey will be more “smooth sailing” and less “turbulent waters.” Here’s to keeping those beautiful eyes of yours safe and sound while they sport lashes that could fan a small country. Cheers to safety, smarts, and sensational lashes!
Alternative Removal Methods
Alright, lash-lovers, buckle up because we’re about to venture into the wild world of alternative lash removal methods. Because, let’s face it, sometimes you need to break free from those extensions without booking a salon appointment.

A. Using Steam or Warm Compress to Loosen Adhesive
First up, we have the tried-and-true method of using steam or a warm compress to gently persuade that stubborn adhesive to loosen its grip. Picture this: you, leaning over a bowl of hot steam with a towel over your head, creating a mini sauna for your face. It’s like a spa day for your lashes! Applying a warm compress after a good steam session can help further soften the glue. It’s a method that is as relaxing as it is effective, but remember, patience is key. Don’t go pulling on your lashes like you’re ringing a bell. Gentle does it.
B. Seeking Assistance from Professional Lash Technicians
Now, if the idea of DIY sends shivers down your spine, seeking help from the pros is your next best bet. Professional lash technicians are like the fairy godparents of the lash world. They have all sorts of potions and magic wands (okay, fine, professional-grade removers and tools) to make your extensions vanish without a trace, leaving your natural lashes intact. Plus, they can offer advice and treatments to help your natural lashes recover from the extension escapade.
C. Exploring Other Eyelash Extension Removal Products
Last on our list, but definitely not least, is the realm of specialized eyelash extension removal products. The market is littered with gels, creams, and solvents designed to break down lash adhesive without an SOS call to your lash tech. But here’s the punchline – always read the label and follow the instructions to a T. We’re after “lashes off with ease,” not “disaster on aisle five.” And, a word to the wise: patch test any product before going all in to avoid turning your lash area into a no-fly zone.
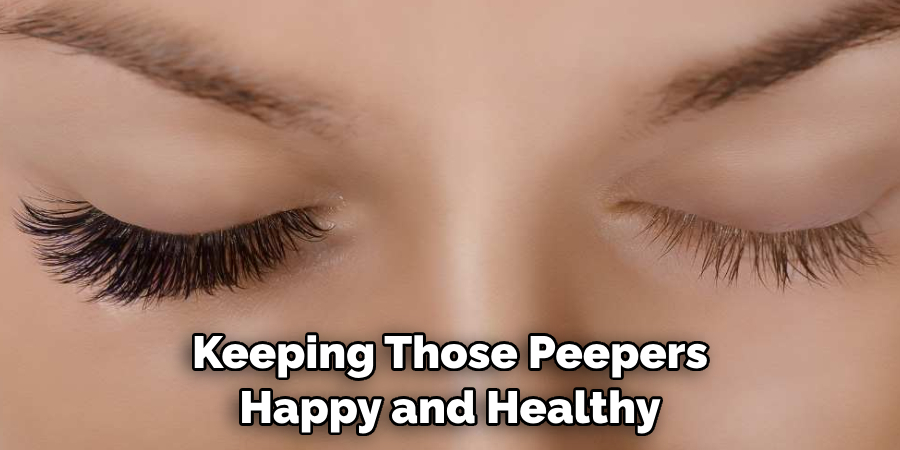
Navigating the world of lash extension removal doesn’t have to be as daunting as choosing a movie on Friday night. Whether you’re a DIY enthusiast, a pro’s protégé, or a product pioneer, there’s a method out there that’ll have you waving goodbye to your extensions and hello to your beautiful, naked lashes. Remember, whichever path you choose, it’s all about keeping those peepers happy and healthy. Here’s to freedom, flexibility, and fluttery lashes!
Conclusion
Well, my dear lash aficionados, we’ve reached the end of our epic lash saga. It’s been quite the ride, so let’s quickly recap before we part ways.
Remember, the golden rule on “how to remove lashify” extensions is to approach the task with patience and the gentleness of a butterfly landing on a leaf. Steam and warm compresses are your BFFs here, helping to loosen the adhesive’s grip without causing a scene.
Gentleness cannot be overstated. Tugging or pulling with the brute force of a medieval knight will only lead to disaster (and possibly some Medieval-level lamenting). Using the right, gentle techniques ensures your natural lashes live to flutter another day rather than being sent to an early retirement.
Last but not least, the crowning glory of your post-lashify life is ensuring your lashes remain as healthy and beautiful as a unicorn’s mane. Nourish them, cherish them, and maybe even serenade them with a little love song now and then. Remember, your lashes are like delicate flowers in the garden of your face; treat them with love, and they’ll bloom splendidly.
Here’s to your lash liberation, folks! May your lashes be as free as your spirit, and may every blink send waves of envy rippling through the hearts of your admirers. Keep it gentle, keep it healthy, and most importantly, keep it fabulous.
About the Author
Jane Hubbard is a passionate beauty expert with a wealth of experience in makeup, hair, and overall beauty techniques. After years of working as a hairdresser specialist, she followed her entrepreneurial spirit and started her own consultancy business.
Jane has always been driven by her desire to help others feel confident in their own skin, and she does this by sharing her knowledge, experiences, and practical beauty tips. Through her consultancy, she empowers individuals to embrace their unique beauty, offering tailored guidance that boosts both self-esteem and personal style.
Professional Focus
Specializes in makeup, hairstyling, and beauty consulting.
Provides personalized beauty advice, tips, and techniques to help individuals feel confident in their appearance.
Dedicated to staying up-to-date with the latest industry trends and developments.
Passionate about creating a comfortable and empowering experience for every client.
Education History
University of Craft and Design – Bachelor of Fine Arts (BFA) in Woodworking and Furniture Design
Woodworking Apprenticeships – Extensive hands-on training with skilled craftsmen to refine carpentry and furniture making techniques
Online Courses & Masterclasses – Continued education in advanced woodworking techniques, design principles, and specialized tools
Expertise:
Makeup artistry, hairstyling, and beauty consulting.
Personalized beauty techniques to enhance confidence and self-expression.
Educating clients on how to maintain their beauty routines at home.