

Chipped, faded, or glittery polish can feel like it’s glued to your nails, and no amount of casual wiping seems to help. If you’ve ever scrubbed for ten minutes and still spotted color hiding in the corners, you’re not alone. Learning how to remove stubborn nail polish saves you time, protects your nails, and keeps your hands looking fresh between manicures. The good news is that you don’t need a salon appointment or fancy equipment to get clean results at home.
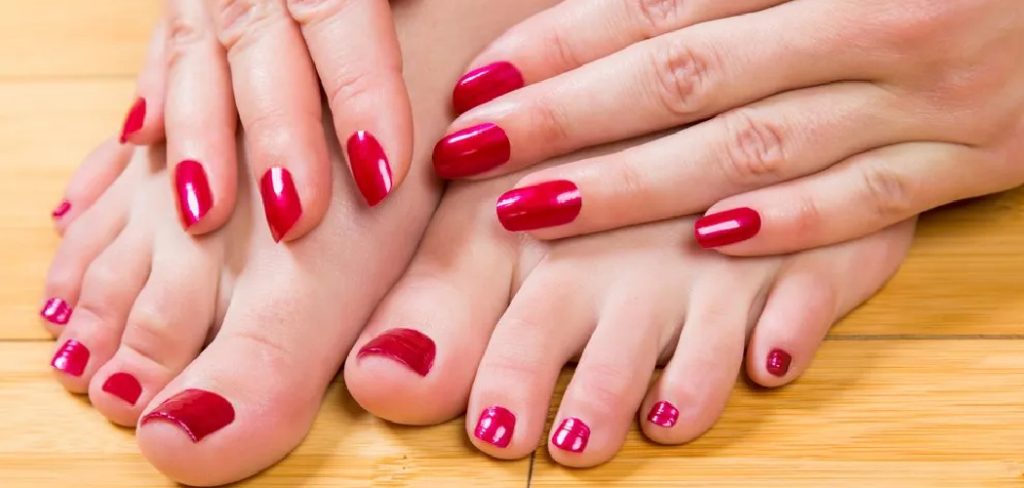
This guide walks you through the whole process in plain, friendly steps that anyone can follow. We’ll cover why proper removal matters, the exact tools you’ll want on hand, and a simple routine that works even on glitter and gel-style finishes. Whether you’re a total beginner or someone who paints their nails every week, you’ll find clear, practical tips here. By the end, you’ll feel confident tackling even the toughest polish without damaging your natural nail. Let’s make removal easy, quick, and stress-free.
Why Removing Stubborn Nail Polish Matters
Leaving old polish on your nails for too long does more than look untidy. Over time, pigment can seep into the nail surface, leaving yellow stains that are hard to reverse. Trapped moisture and worn coatings can also weaken your nails, making them more likely to peel or split.
Removing polish the right way protects the health of your natural nail while giving you a clean base for your next color. Gentle, thorough removal reduces the temptation to peel or scrape, which strips away healthy nail layers. It also keeps your cuticles soft and your hands looking cared for. When you master a smooth removal routine, you save money, avoid unnecessary damage, and enjoy better results every single time you paint.
Step-by-Step Guide to How To Remove Stubborn Nail Polish
Step 1: Gather Your Tools
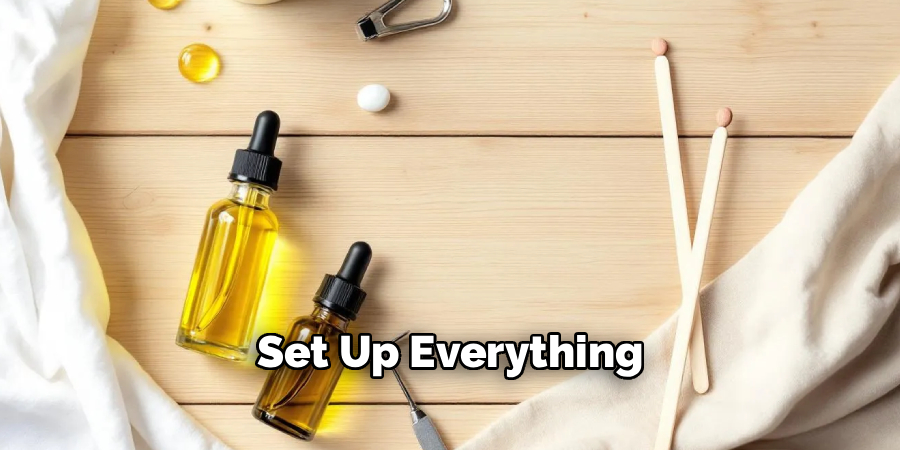
Before you start, set up everything within easy reach so the process feels smooth and calm. You’ll want an acetone-based remover, cotton pads or balls, a nail file, a wooden cuticle stick, and a small bowl. Acetone works faster than non-acetone formulas on tough finishes, so it’s your best friend for hard cases. Keep a towel underneath to catch drips, and grab some hand cream for afterward. Having your supplies organized means you won’t scramble mid-task with sticky fingers. This tiny bit of prep makes the whole routine feel effortless and helps you get better, cleaner results.
Step 2: Buff the Top Layer
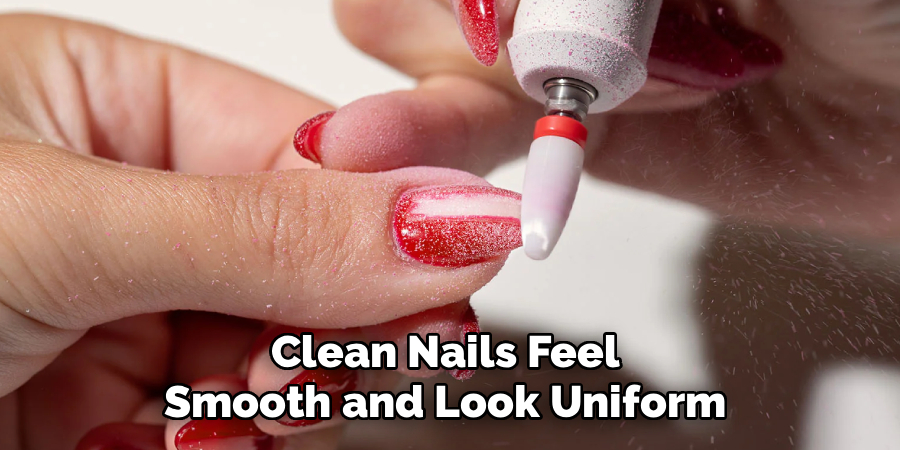
Glitter and gel-style polishes often have a glossy topcoat that blocks remover from soaking in. A quick, light buff breaks that seal and lets the acetone do its job. Take your nail file and gently roughen the surface of each nail with a few soft passes. You’re not trying to file down the whole coat, just scratch the shine so the remover can penetrate. Work slowly and avoid pressing too hard, since aggressive filing can thin your natural nail. Once every nail looks slightly matte instead of shiny, you’re ready for the soaking stage that follows.
Step 3: Soak With The Foil Method
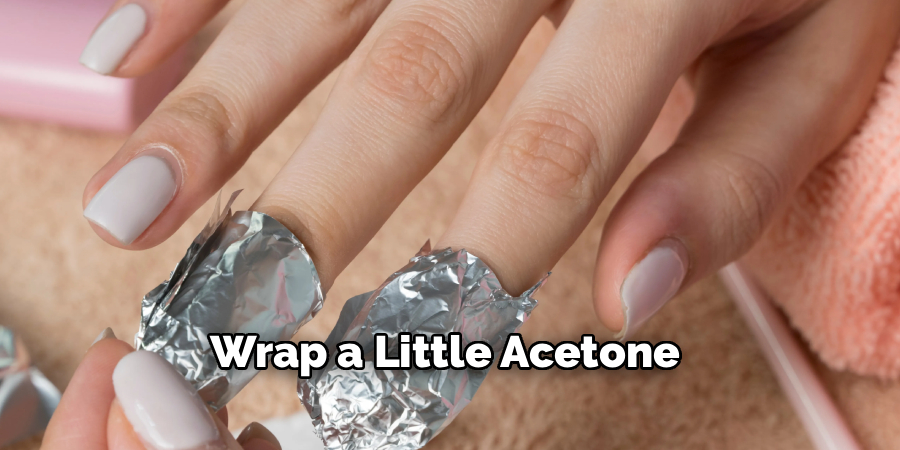
This is where the real magic of how to remove stubborn nail polish happens. Saturate a cotton pad with acetone, press it firmly against your nail, then wrap the fingertip in a small square of aluminum foil to hold it in place. The foil traps heat and keeps the remover in constant contact with the polish. Repeat for all ten nails and let them sit for around ten minutes. This method loosens even the most stubborn glitter and thick layers without endless scrubbing. Relax while it works, and resist the urge to peek too soon.
Step 4: Wipe Away The Polish
After soaking, unwrap one nail at a time and press the cotton pad down while sliding it toward the tip. Most of the color should lift away in one smooth motion. If some polish clings on, don’t panic. This is a normal part of how to remove stubborn nail polish, especially with dark or glittery shades. Simply re-soak that nail for a few extra minutes and try again. Wiping in one direction rather than rubbing back and forth keeps your nail surface protected. Take your time here, since patience gives you a cleaner, streak-free finish.
Step 5: Tackle The Stubborn Spots
Even with good soaking, tiny flecks sometimes hide around the cuticle and edges. Grab your wooden cuticle stick and gently scrape these leftover bits away. Wrap a little acetone-soaked cotton around the tip for extra cleaning power in tight corners. Work carefully so you don’t dig into the skin or the nail plate. For really persistent glitter, a fresh cotton pad with a dab of remover pressed against the spot for thirty seconds usually does the trick. The goal is a completely bare nail, so check under good light before moving on to the next finger.
Step 6: Wash And Inspect
Once all the color is gone, wash your hands with warm water and a mild soap. This rinses off leftover acetone residue and any loose polish flakes. Dry your hands thoroughly, then inspect each nail under bright light. Look for hidden streaks near the sides or base, and repeat a quick spot treatment if you catch any. Clean nails feel smooth and look uniform, with no patches of old color. This inspection step matters because starting your next manicure on a truly clean surface helps polish apply evenly and last much longer.
Step 7: Rehydrate And Care
Acetone is effective, but it can leave your nails and skin feeling dry. Restore moisture right away by massaging cuticle oil into each nail bed and around the edges. Follow with a rich hand cream to soften your skin and lock in hydration. This simple finishing step keeps your nails flexible and strong, reducing the risk of splits or peeling. If you do this every time you remove polish, your nails will stay healthier over the long run. Consistent aftercare turns a basic task into a genuine self-care habit that pays off with beautiful, resilient nails.
Frequently Asked Questions
Can I Remove Glitter Polish Without Acetone?
You can, but it takes far more effort and patience. Non-acetone removers struggle with the thick, textured layers that glitter creates. If you prefer avoiding acetone, expect to soak longer and repeat the process several times. For quick, reliable results on glitter, an acetone-based remover paired with the foil method remains the most effective choice, especially when you’re short on time and want a clean finish.
Is Acetone Bad For My Nails?
Acetone itself won’t ruin your nails when used occasionally and correctly. The dryness it causes is the real concern, not permanent damage. Problems usually come from overuse or aggressive scrubbing. As long as you rehydrate afterward with cuticle oil and hand cream, your nails stay healthy. Think of acetone as a strong but safe tool that simply needs to be balanced with good aftercare each time you use it.
How Do I Remove Gel Polish At Home?
Gel polish needs a bit more prep than regular color. Start by lightly buffing the shiny topcoat, then use the acetone and foil soaking method for around fifteen minutes. Gel is thicker, so it often requires extra soaking time. Once softened, the gel should lift and flake away with gentle pressure from a cuticle stick. Avoid forcing or peeling it, since that pulls off layers of your natural nail.
Why Does Polish Stain My Nails Yellow?
Yellow stains happen when dark or bright pigments seep into the nail’s surface, often after wearing bold shades without a base coat. Leaving polish on for weeks makes staining worse. To prevent it, always apply a clear base coat before color. If stains appear, a gentle buff and a whitening soak can help fade them over time, though prevention is always easier than reversing existing discoloration.
How Often Can I Safely Remove Polish?
Removing and reapplying polish once a week is generally fine for most people. The key is giving your nails proper care between changes. If you notice dryness, peeling, or brittleness, space out your removals and focus on hydration. Listening to your nails and adjusting your routine keeps them strong. Frequent removal isn’t harmful on its own, as long as you treat your nails kindly each time.
Conclusion
Getting rid of tough polish doesn’t have to be a frustrating battle. With the right tools, a little patience, and the foil soaking trick, you can lift even glitter and gel finishes cleanly at home. The full routine for how to remove stubborn nail polish comes down to preparing your supplies, buffing the surface, soaking well, wiping in one direction, and caring for your nails afterward. Each step protects your natural nail while giving you a fresh, salon-quality base for your next color.
Now that you know exactly what to do, you’re ready to tackle your toughest manicure with confidence. Keep your remover, cotton pads, and cuticle oil stocked so you’re always prepared. Try this method the next time your polish refuses to budge, and notice how much smoother the process feels. Your nails will look cleaner, feel healthier, and thank you for the extra care. Go ahead and give it a try today.

About the Author
Jane Hubbard is a passionate beauty expert with a wealth of experience in makeup, hair, and overall beauty techniques. After years of working as a hairdresser specialist, she followed her entrepreneurial spirit and started her own consultancy business.
Jane has always been driven by her desire to help others feel confident in their own skin, and she does this by sharing her knowledge, experiences, and practical beauty tips. Through her consultancy, she empowers individuals to embrace their unique beauty, offering tailored guidance that boosts both self-esteem and personal style.
Professional Focus
Specializes in makeup, hairstyling, and beauty consulting.
Provides personalized beauty advice, tips, and techniques to help individuals feel confident in their appearance.
Dedicated to staying up-to-date with the latest industry trends and developments.
Passionate about creating a comfortable and empowering experience for every client.
Education History
University of Craft and Design – Bachelor of Fine Arts (BFA) in Woodworking and Furniture Design
Woodworking Apprenticeships – Extensive hands-on training with skilled craftsmen to refine carpentry and furniture making techniques
Online Courses & Masterclasses – Continued education in advanced woodworking techniques, design principles, and specialized tools
Expertise:
Makeup artistry, hairstyling, and beauty consulting.
Personalized beauty techniques to enhance confidence and self-expression.
Educating clients on how to maintain their beauty routines at home.