
Are you looking to achieve long-lasting, beautiful eyelashes? Eyelash extensions are the perfect way to do this. If properly applied and sealed, you can expect your lashes to last for weeks with minimal maintenance. You don’t have to worry about damaging them or having them come out prematurely – as long as you know how to seal eyelash extensions correctly. Read on for a comprehensive guide on all things related to sealing eyelash extensions!
Lash extensions are quickly becoming one of the most popular methods to achieve this look without having to resort to expensive mascara or fake eyelashes. If you’re new to lash extensions and want a guide on how best to seal them into place, then you’ve come to the right place! In today’s blog post, we’ll be talking about how to seal eyelash extensions. So grab your supplies (we’ll tell you what those are short) and get ready – it’s time to learn how simple it can be when you apply eyelash extensions like a real pro!
Why is It Important to Seal Eyelash Extensions?
1 . To Keep the Lashes Looking Fresh and Natural
One of the most important reasons to seal eyelash extensions is to maintain the natural look of the lashes. By sealing the adhesive used to attach the extensions, you can ensure that they remain securely in place and stay looking fresh and beautiful for longer. This will also help protect your natural eyelashes from damage caused by improper application of eyelash extensions.
2 . To Create Long Lasting Results
Sealing your eyelash extensions can also help create lasting results. By preventing the adhesive from breaking down, you can be sure that your extensions will stay in place for longer than without sealing them. Furthermore, it improves the overall look and feel of the lashes by making them less prone to falling out or becoming damaged due to daily wear and tear.
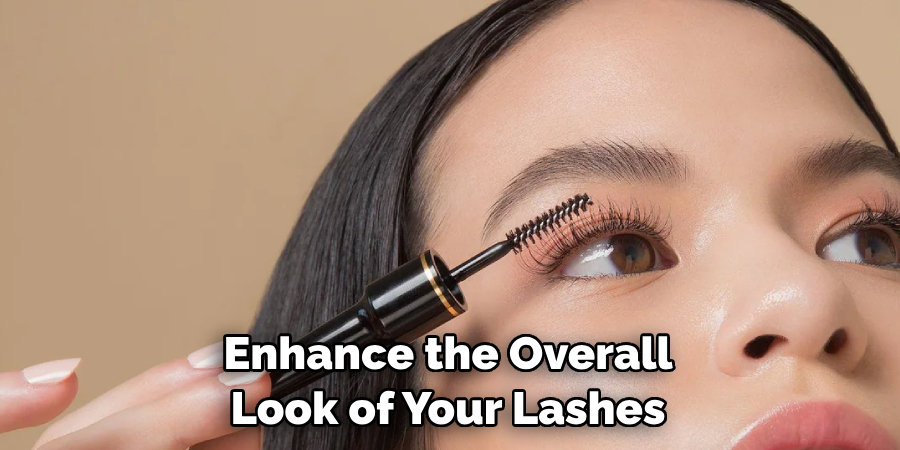
3 . To Enhance Your Look
By sealing your eyelash extensions, you can also enhance the overall look of your lashes. Sealing the adhesive helps provide a glossy finish and prevents any clumping or discoloration, which gives your lashes a beautiful and natural shine. It also helps to define each lash for a more dramatic effect.
How to Seal Eyelash Extensions in 5 Easy Steps
Step 1: Clean The Area
The very first step is to clean the area around the lashes. Ensure that the eyelash extensions are free of any oils, dirt, or debris by using a gentle cleanser or makeup remover.
Step 2: Apply Glue
After cleaning and drying off the area with a soft towel, you can begin applying glue to the lash strips. Use caution and never dab glue directly onto the eyelid or lashes. Instead, use a small brush to apply the glue in even strokes to avoid any excess glue from clumping up and ruining the look of your extensions.
Step 3: Place Extensions on Lashes
Once you have applied glue to the lash strips, carefully place them onto the natural lashes. Make sure that each extension is securely attached and sitting comfortably on the lashes.
Step 4: Seal The Extensions
Now that the extensions are in place, it’s time to seal them for a lasting hold. Using tweezers or your fingers, press down lightly on each extension and pinch together both ends of the strip for a few seconds. This will help keep your extensions secured in place.
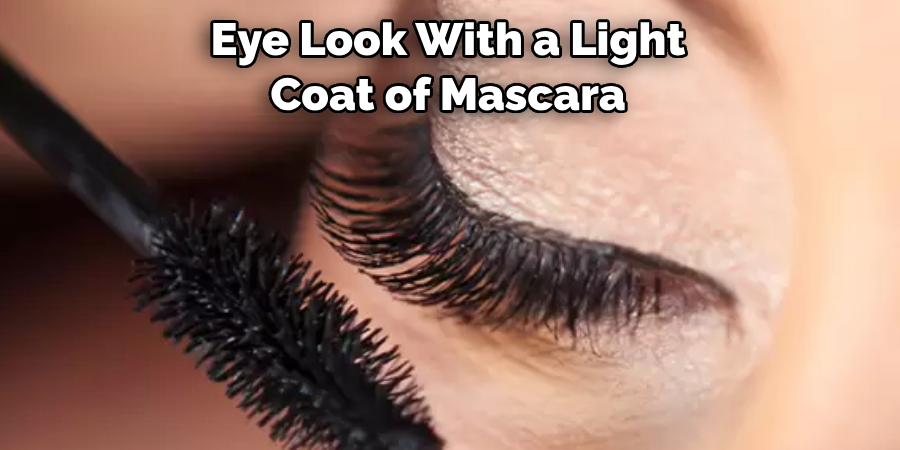
Step 5: Finish With Mascara
Finish off your eye look with a light coat of mascara. This will help to blend in the extensions and give them an even more natural appearance.
And that’s it! You’re now ready to flaunt your gorgeous new eyelash extensions. With proper maintenance and care, these lashes can last up to a few weeks and have you looking your best.
Some Tips to Seal Eyelash Extensions
1 . Do Not Use Any Oil-based Products Around Your Eye Area
This is because oil-based products can break down the adhesive used to hold the lashes in place. When using any oil-based products, such as eye makeup removers or even moisturizers, make sure you keep them away from the eye area.
2. Use an Eyelash Extension Mascara
Another key tip for sealing your eyelash extensions is to use an eyelash extension mascara. This type of mascara is specially designed to work with the adhesive used in lash extensions and help keep them looking their best. It also helps protect the lashes from damage caused by water or other elements.
3. Avoid Using Curlers
Avoid using curlers when wearing your eyelash extensions as this can cause the lashes to become loose and fall out. If you must use a curler, make sure to do it gently and avoid pulling at the extensions.
4. Use an Eyelash Extension Sealer
When all else fails, consider using an eyelash extension sealant or glue to keep your lashes looking their best. These products are specially formulated for lash extensions and help keep them in place for longer. Make sure to read the instructions carefully before using this product and follow all safety precautions.
5. Apply Castor Oil
Castor oil is a great natural remedy for keeping your eyelash extensions in place. Simply apply some castor oil to your lashes with a cotton swab each night before bed and you should find that they stay securely fast.

6. Sleep on Your Back
Finally, make sure to sleep on your back when wearing eyelash extensions as this will help keep the lashes in place and reduce the risk of them coming loose or falling out. Additionally, it’s a good idea to use a silk pillowcase as this is softer than other materials and won’t tug at your lash extensions.
Frequently Asked Questions
What Precautions Should I Take When Sealing Eyelash Extensions?
When sealing your eyelash extensions, safety should always be your number one priority. It’s important to make sure that the adhesive you’re using is sealed and free of contaminants – use only approved professional products – and to work in a well-ventilated area. In addition, always wear protective gloves and eyewear to protect yourself from fumes and possible irritation or injury. Make sure you have all the necessary tools at hand before applying the adhesive, including a clean brush, cotton swabs, and tweezers.
How Do I Apply the Sealant?
Sealing eyelash extensions requires precision and patience to ensure that it is done properly. Start by cleaning your natural lashes thoroughly with a lash cleanser to remove any dirt, makeup or oil residue. After that, apply the sealant using a small brush in one thin layer along the length of each eyelash extension. To ensure your safety, make sure to avoid getting any sealant near the eyes. Allow the adhesive to dry and then use tweezers to fan out the lashes for a natural look. Finally, use cotton swabs to clean off any excess adhesive from the eyelash extensions.
Can I Re-Seal My Eyelash Extensions?
Yes, re-sealing your lash extensions is recommended every three weeks or so in order to keep them looking their best. To do this, first remove any old sealant using a special adhesive remover. Then, clean your natural lashes and apply the new sealant in one thin layer following the same steps as when you initially sealed them.
What Are Some Tips for Applying Sealant?
Here are some tips to help make sure your lash application goes smoothly:
- Work with a small amount of sealant at a time- Allow it to dry completely before applying a second layer
- Use only professional-grade, approved products
- Make sure the area is well ventilated
- Wear protective gloves and eyewear at all times
- Have all your tools and supplies ready before starting
Following these guidelines, you can ensure that your eyelash extensions will be kept in place and looking their best.
How Do I Remove the Sealant?
When it is time to remove the sealant, make sure you use an approved professional product that is designed specifically for this purpose. Start by applying remover liquid with a small brush along the length of each lash extension and allow it to sit for 10 seconds. Next, gently remove the adhesive using tweezers. Finally, use a clean cotton swab to remove any remaining residue, and then wash your natural lashes thoroughly with a lash cleanser.

Taking the time to properly seal and remove eyelash extensions will help ensure that they last as long as possible while still looking great!
Conclusion
As you have seen, the process of sealing eyelash extensions is a fairly simple one as long as you understand the steps involved and have the right materials on hand. Whether you’re an experienced technician or just beginning to learn how to apply eyelash extensions, this guide should help simplify the application process and ensure strong bonds between natural lashes and extensions.
Now you know how to seal eyelash extensions! Ultimately, remembering the three C’s of lash bonding: cleanliness, connective solution/primer, and curling will make the most difference in achieving beautiful results that last throughout each client’s natural growth cycle. With these tips in mind, you are now ready to seal your way to gorgeous and luscious eyes!
About the Author
Jane Hubbard is a passionate beauty expert with a wealth of experience in makeup, hair, and overall beauty techniques. After years of working as a hairdresser specialist, she followed her entrepreneurial spirit and started her own consultancy business.
Jane has always been driven by her desire to help others feel confident in their own skin, and she does this by sharing her knowledge, experiences, and practical beauty tips. Through her consultancy, she empowers individuals to embrace their unique beauty, offering tailored guidance that boosts both self-esteem and personal style.
Professional Focus
Specializes in makeup, hairstyling, and beauty consulting.
Provides personalized beauty advice, tips, and techniques to help individuals feel confident in their appearance.
Dedicated to staying up-to-date with the latest industry trends and developments.
Passionate about creating a comfortable and empowering experience for every client.
Education History
University of Craft and Design – Bachelor of Fine Arts (BFA) in Woodworking and Furniture Design
Woodworking Apprenticeships – Extensive hands-on training with skilled craftsmen to refine carpentry and furniture making techniques
Online Courses & Masterclasses – Continued education in advanced woodworking techniques, design principles, and specialized tools
Expertise:
Makeup artistry, hairstyling, and beauty consulting.
Personalized beauty techniques to enhance confidence and self-expression.
Educating clients on how to maintain their beauty routines at home.