

Thick, gloopy gel polish can turn a fun manicure into a frustrating mess. If your favorite bottle has started to drag, clump, or streak across the nail, you are not alone. Gel formulas naturally thicken over time as they meet air, heat, and light. The good news is that learning how to thin gel nail polish is simple, safe, and something anyone can master at home. You do not need fancy tools or years of experience to bring a stubborn bottle back to life.
In this friendly guide, we will walk you through everything from spotting the signs of thickening to applying the right fix with confidence. Thinning your gel keeps colors smooth, cures evenly under the lamp, and protects the money you spent on quality products. Whether you are a total beginner or a seasoned nail lover, these clear steps will help you restore that fresh, glide-on feel. Grab your bottle, and let us get your gel flowing beautifully again.
Why Thinning Gel Nail Polish Matters
Thin, workable gel makes every part of your manicure better. When polish flows evenly, you get smoother coverage, fewer streaks, and cleaner edges without dragging pigment across the nail. Thick gel tends to trap air bubbles, cure unevenly, and leave a bumpy surface that chips faster.
Fixing consistency also saves you real money. A bottle that seems dried out is often perfectly usable once restored, so you avoid tossing costly products too early. On top of that, well-flowing gel cures more reliably under your lamp, which means a stronger, longer-lasting finish. Mastering this small skill boosts your confidence and reduces the little errors that frustrate beginners most. In short, a few thoughtful steps protect your investment, improve your results, and make your at-home sessions feel calm, controlled, and genuinely enjoyable.
Step-By-Step Guide to How To Thin Gel Nail Polish
Step 1: Check the Consistency First
Before you do anything, take a close look at your bottle. Open it, dip the brush, and lift it slowly. Healthy gel should drip in a smooth, steady ribbon, not clump or cling in thick blobs. If the brush drags or the color feels sticky and heavy, thinning will help. Learning how to thin gel nail polish starts with this honest assessment, because not every bottle actually needs fixing. Sometimes gel just needs a gentle roll between your palms to warm it slightly. Give it that chance first, then decide whether deeper action is truly necessary for your product.
Step 2: Gather the Right Tools
Set yourself up for success by collecting everything before you begin. You will want your gel bottle, a proper gel thinner made for your polish type, a clean toothpick or thin stir stick, and a lint-free cloth for any spills. Work in a well-lit space so you can watch the color change closely. Never grab random household liquids, since the wrong product can ruin your gel completely. Having the right tools within reach keeps the process tidy and stress free. This small bit of preparation prevents mistakes and helps beginners feel confident and fully in control from the start.
Step 3: Choose a Gel-Safe Thinner
This step matters more than any other, so slow down and pick carefully. Only ever use a thinner labeled specifically for gel polish. Products made for regular lacquer, along with acetone or nail polish remover, will break down the gel and destroy its ability to cure. A dedicated gel thinner is formulated to loosen the formula without harming its chemistry. When you understand how to thin gel nail polish correctly, product choice becomes second nature. If you are unsure, check the brand’s website or ask their support team, since matching the thinner to your gel gives you the safest, most reliable results.
Step 4: Add Drops Slowly
Now comes the part where patience truly pays off. Add just one single drop of thinner into the bottle, then pause. It is tempting to pour freely, but too much liquid can wreck the gel permanently. One drop at a time gives you control and lets you watch how the formula responds. Remember that you can always add more, yet you can never take it back out. Beginners often rush here and regret it, so treat each drop as a deliberate choice. Slow, careful additions protect your polish and keep the color’s strength, pigment, and curing power intact.
Step 5: Mix Gently and Thoroughly
Once you have added a drop, close the bottle and mix without creating chaos. Roll it slowly between your palms for around twenty to thirty seconds. Avoid hard shaking, because that whips air into the gel and fills it with tiny bubbles that ruin a smooth finish. If needed, use your clean stir stick to fold the thinner through the color gently. Take your time and let everything blend into one even, glossy liquid. Gentle mixing keeps the texture consistent and helps the thinner spread evenly, so every future brushstroke glides on beautifully across your nails.
Step 6: Test the Flow
After mixing, open the bottle and test your progress. Dip the brush, wipe it against the rim, and paint a stroke onto a nail wheel, tester tip, or piece of scrap paper. Watch how the gel moves. It should spread smoothly and settle into an even layer without dragging or clumping. If it still feels thick, return to the previous steps and add one more drop, then remix and test again. This simple check saves you from painting a full set only to discover a problem later. Testing gives instant feedback and keeps your results consistent and reliable.
Step 7: Store It Properly Going Forward
Great work restoring your gel, now protect it for the long haul. Always seal the cap tightly right after every use, since air is the main reason gel thickens in the first place. Wipe the neck of the bottle clean so the lid closes fully. Keep your polish in a cool, dark drawer away from sunlight and heat, both of which trigger early curing and thickening. Storing gel correctly means you will rarely need to thin it again. These small habits extend the life of every bottle and keep your favorite colors ready whenever inspiration strikes.
Frequently Asked Questions
Can I Use Acetone to Thin Gel Polish?
No, and this is one of the most common mistakes beginners make. Acetone and regular nail polish remover break down the gel’s chemistry, which stops it from curing under your lamp. Instead of thinning it, you will ruin the entire bottle. Always reach for a thinner made specifically for gel formulas, since it loosens the texture safely while keeping the color and curing strength fully intact.
How Much Thinner Should I Add?
Start with a single drop and add more only if needed. Gel is sensitive, so a little goes a long way. Add one drop, mix gently, then test the flow before deciding whether another is necessary. Adding too much at once can permanently weaken the formula and affect how it cures. Patience here protects your polish, so treat each drop as a careful, deliberate step rather than a quick fix.
Why Does My Gel Polish Get Thick So Fast?
Air, heat, and light are the usual culprits. Every time you leave the cap loose or store the bottle somewhere warm and bright, the gel begins to thicken and partially cure. Sunlight is especially damaging because gel is designed to harden under UV light. Keeping the lid sealed tightly and storing your polish in a cool, dark place will dramatically slow this process and keep it smooth.
Is Thinning Gel Polish Safe for Beginners?
Absolutely, as long as you follow the right steps. The process is beginner friendly when you use a proper gel thinner, add drops slowly, and mix gently. Most errors come from rushing or using the wrong product, both of which are easy to avoid. Work in good lighting, test your results as you go, and trust the process. With a little care, anyone at any skill level can succeed.
How Do I Know If My Gel Is Beyond Saving?
If your gel has fully cured inside the bottle, turned rubbery, or refuses to blend even after careful thinning, it may be past rescue. A healthy bottle responds to a drop or two and returns to a smooth flow. When the color stays clumpy, separated, or hardened despite your best efforts, it is safer to replace it rather than risk a poor, uneven manicure.
Conclusion
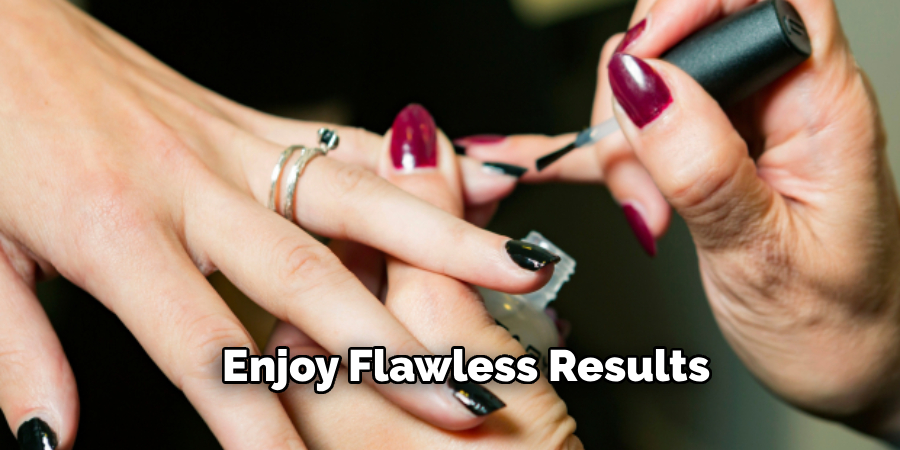
Bringing a thick, tired bottle back to life is one of the most satisfying skills a nail lover can pick up. With the right thinner, a patient hand, and the seven simple steps above, you can restore smooth, even flow and enjoy flawless results every time. Remember the essentials, check the consistency first, choose a gel-safe thinner, add drops slowly, mix gently, and store your polish away from air, heat, and light. These small habits protect your investment and keep your favorite colors ready to shine.
Now that you know how to thin gel nail polish with confidence, there is nothing stopping you from getting professional-looking manicures at home. Grab that stubborn bottle, put these steps into action, and treat yourself to a smoother, more enjoyable painting experience. Your future self, and your nails, will thank you for it.

About the Author
Jane Hubbard is a passionate beauty expert with a wealth of experience in makeup, hair, and overall beauty techniques. After years of working as a hairdresser specialist, she followed her entrepreneurial spirit and started her own consultancy business.
Jane has always been driven by her desire to help others feel confident in their own skin, and she does this by sharing her knowledge, experiences, and practical beauty tips. Through her consultancy, she empowers individuals to embrace their unique beauty, offering tailored guidance that boosts both self-esteem and personal style.
Professional Focus
Specializes in makeup, hairstyling, and beauty consulting.
Provides personalized beauty advice, tips, and techniques to help individuals feel confident in their appearance.
Dedicated to staying up-to-date with the latest industry trends and developments.
Passionate about creating a comfortable and empowering experience for every client.
Education History
University of Craft and Design – Bachelor of Fine Arts (BFA) in Woodworking and Furniture Design
Woodworking Apprenticeships – Extensive hands-on training with skilled craftsmen to refine carpentry and furniture making techniques
Online Courses & Masterclasses – Continued education in advanced woodworking techniques, design principles, and specialized tools
Expertise:
Makeup artistry, hairstyling, and beauty consulting.
Personalized beauty techniques to enhance confidence and self-expression.
Educating clients on how to maintain their beauty routines at home.