
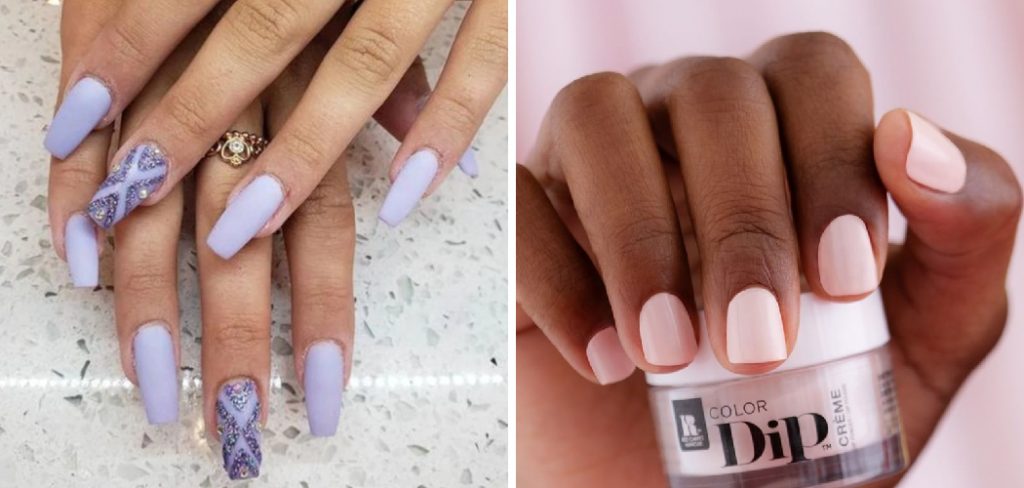
Are you looking for a long-lasting, elegant, and easy-to-apply manicure? Introducing dip powder with gel polish – combining two popular nail services that will have your hands looking beautiful and glamorous all week. If this is a new technique to you, don’t worry! We’ll guide you through how it works so that even beginners can get salon-like results at home.
Dip powder with gel polish is a relatively new trend gaining popularity due to its durability, ease of use, and stunning finish.
Learn about the different types of dip powders available, the tools required, plus expert tips & tricks on how to use dip powder with gel polish. You won’t want to miss out on learning these essential steps and information – let’s dive in!
What Will You Need?
Before you begin, prepare your workstation with all the necessary tools. These include:
- Dip powder colors of your choice (at least two)
- Base coat gel polish
- Activator
- Top coat gel polish
- Brush for applying the activator and top coat
- Buffer
- Nail file
- Alcohol wipes or nail cleanser
Once you have everything ready, let’s move on to the steps for using dip powder with gel polish!
10 Easy Steps on How to Use Dip Powder With Gel Polish
Step 1. Prep Your Nails:
Start by removing old polish and thoroughly cleansing your nails with an alcohol wipe or nail cleanser. Then, use a nail file to shape your nails to your desired style and a buffer to remove the shine from your nail surface. This step ensures that the dip powder and gel polish adhere properly.
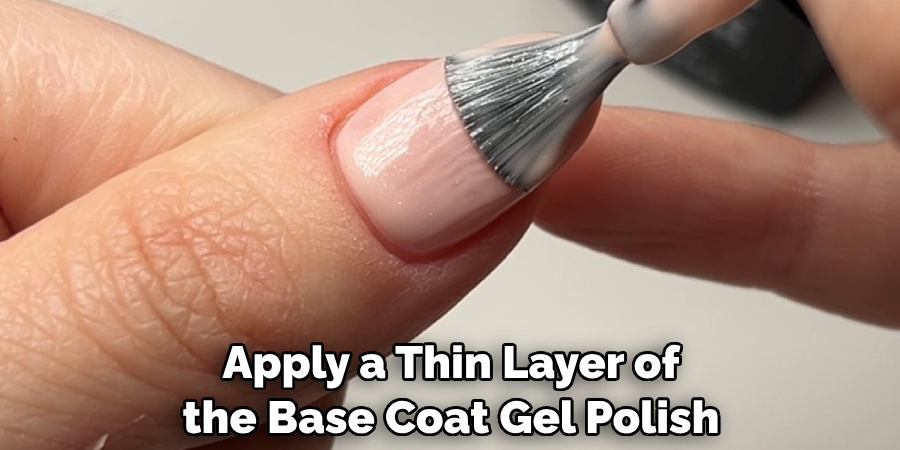
Step 2. Apply Base Coat:
After prepping your nails, apply a thin layer of the base coat gel polish. Make sure to cover the entire nail, but avoid applying too thick a layer, as this can cause the dip powder to linger. After the base coat application, do not let it dry yet. Applying the dip powder in the next step should be wet. This will ensure the powder sticks evenly across the entire nail surface.
Step 3. Apply Dip Powder:
While the base coat is still wet, gently dip your nail into the dip powder jar or sprinkle the powder evenly over your nail, depending on what you find more comfortable. Ensure that your entire nail surface is covered with the powder. Tap the edge of your nail to shake off any excess powder. Remember, precision is key in this step to achieve a smooth and even finish.
Step 4. Brush Off Excess Powder
Once you’ve applied the dip powder, let it sit for a minute or two to adhere properly to the base coat. Then, gently remove any excess dip powder from around your nail using a soft brush. Be careful not to disrupt the powder on the nail surface. This step is important to ensure a clean, professional finish.
Step 5. Apply Activator:
The next step is to apply the activator. This critical component helps harden the dip powder and prepares it for the final gel top coat. Using a brush, apply a generous amount of activator across the entire surface of your nail. Allow it to dry completely before moving on to the next step. A good rule of thumb is to wait around 2 minutes to dry thoroughly.
Step 6. Buff and Shape:
After completely dries the activator, it’s time to buff and shape your nails. Use the buffer to smooth out the surface of your nails and eliminate any bumps or uneven spots. This will help to create a perfectly smooth base for your gel polish. Then, use the nail file to refine the shape of your nails if needed. Remember to dust off any residue with a brush before moving on to the next step.
Step 7. Apply Gel Top Coat:
Once your nails are buffed and shaped to perfection, it’s time to seal everything in with a gel top coat. Apply a layer of the gel top coat evenly across each nail, ensuring you cover the entire surface. This step gives your nails a high-gloss shine and protects the dip powder underneath. Remember, that the top coat should be applied carefully to avoid smudging or disrupting the dip powder. After application, allow the gel top coat to dry completely;
typically, this process takes about 3 to 5 minutes.
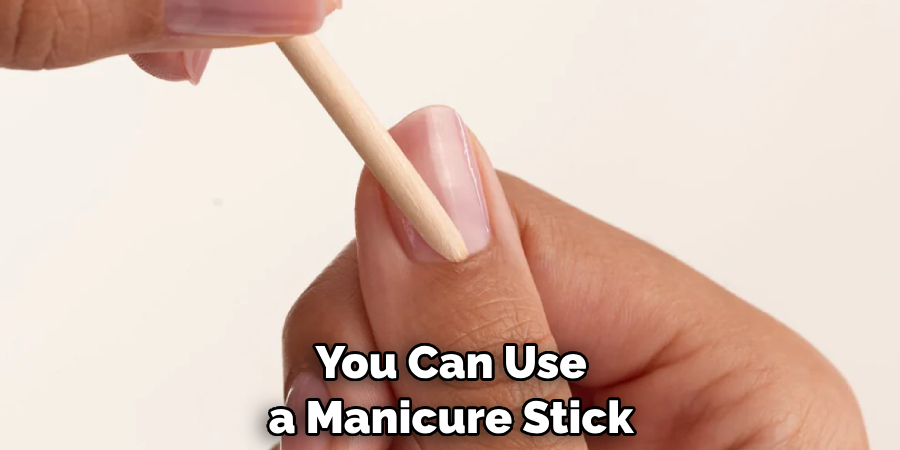
Step 8. Clean Up:
Once the gel top coat is dry, it’s time to clean up any excess polish that may have gotten onto your skin. You can use a manicure stick, or brush dipped in acetone to gently remove any unwanted polish around your nails. Be careful not to touch or disturb the gel polish on your nails, as it may still be wet.
Step 9. Apply Second Coat of Gel Top Coat:
For even longer-lasting results and added shine, applying a second coat of the gel top coat is recommended. This enhances the overall look and provides extra protection to your manicure. Apply the second coat just like the first one, making sure to cover the entire surface of your nails. Again, allow it to dry completely.
Step 10. Nourish Your Cuticles:
Finally, remember to take care of your cuticles to complete your manicure. Apply good cuticle oil around your nails and gently massage it. This step will nourish and hydrate your cuticles, keeping them healthy and giving your nails a professional finish. Congratulations! You’ve just learned how to use dip powder with gel polish to create a stunning, long-lasting manicure at home.
By following these ten easy steps, you can achieve salon-quality results right in your home. Experiment with different dip powder colors and techniques to find your favorite look.
5 Additional Tips and Tricks
Tip 1. Choose Quality Products:
When choosing dip powder and gel polish, ensure they are high quality. This will ensure a better finish and longer-lasting results. Cheap products may not adhere properly or cause damage to your nails.
Tip 2. Use Thin Layers:
Always use thin layers for the best results when applying the base coat, dip powder, activator, and gel top coat. Thick layers can lead to clumping and an uneven finish.
Tip 3. Practice:
As with any new skill, practice makes perfect. Don’t be discouraged if your first few tries don’t appear as expected. Keep practicing and experimenting with different techniques until you find what works best for you.
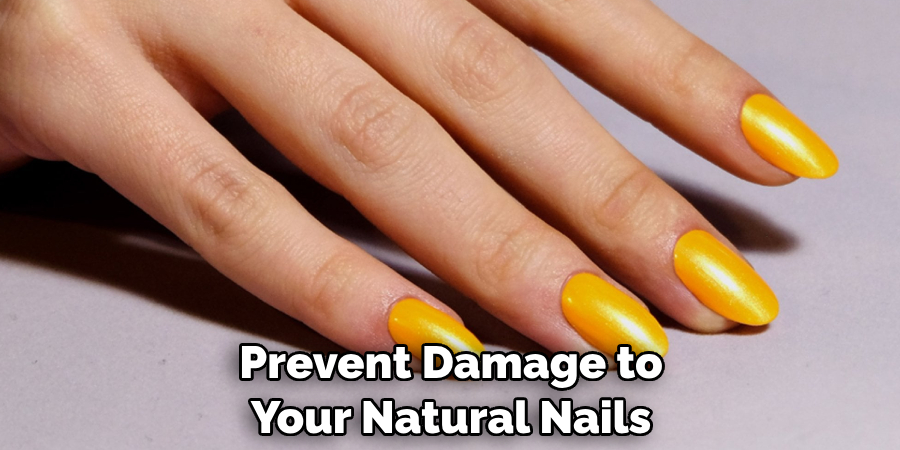
Tip 4. Protect Your Nails:
To prevent damage to your natural nails, ensure you do not overbuff or file them during the process. Also, be careful not to get any acetone or other harsh chemicals on your skin.
Tip 5. Take Breaks:
If you experience discomfort or irritation during your manicure, take a break and let your nails rest for a few days before trying again. This will help prevent damage and allow your nails to recover.
With these additional tips and tricks, you can master dip powder with gel polish for a professional manicure each time.
5 Things You Should Avoid
1. Avoid Rushing the Process: One of the essential things you should avoid is rushing through the process. Dipping powder manicures requires patience and precision. If you try to speed up the process, you may end up with clumps, uneven layers, or a manicure that only lasts for a short time.
2. Avoid Using Expired Products: Just like any beauty product, dip powders, and gel polishes have an expiry date. Using expired products can lead to an uneven finish and may even damage your nails. Always check the expiration date of your products before use.
3. Avoid Overexposure to Water: After applying your dip powder and gel polish, avoid excessive contact with water for at least a few hours. Water can cause the polish to lift and peel off prematurely.
4. Avoid Neglecting Nail Health: While it’s exciting to have beautiful, polished nails, remember the health of your natural nails. Avoid applying dip powder and gel polish back-to-back without giving your nails a break in between to breathe and recover.
5. Avoid Ignoring Discomfort: If you experience any discomfort, irritation, or allergic reactions during or after the process, don’t ignore it. Stop the process immediately and consult a professional if necessary. Remember, your health comes first.
Avoiding these common mistakes will help ensure that you achieve the best results and maintain the health of your nails.
Conclusion
With the right tools and practice, you can use dip powder and gel polish for years to come! Not only will it give your nail designs a professional look, but you’ll also find that it’s quick, easy, cost-effective, and long lasting. Whether its a special occasion or a simple French manicure you’re after – utilizing dip powder and gel polish is an innovative way to achieve all your nail art desires.
Hopefully, the article on how to use dip powder with gel polish has helped you learn a new technique for creating salon-worthy nails. Remember to follow the steps carefully and use high-quality products for best results.
So why wait? Get creative today by trying out the combination of dip powder and gel polish for yourself! You won’t regret it.
About the Author
Jane Hubbard is a passionate beauty expert with a wealth of experience in makeup, hair, and overall beauty techniques. After years of working as a hairdresser specialist, she followed her entrepreneurial spirit and started her own consultancy business.
Jane has always been driven by her desire to help others feel confident in their own skin, and she does this by sharing her knowledge, experiences, and practical beauty tips. Through her consultancy, she empowers individuals to embrace their unique beauty, offering tailored guidance that boosts both self-esteem and personal style.
Professional Focus
Specializes in makeup, hairstyling, and beauty consulting.
Provides personalized beauty advice, tips, and techniques to help individuals feel confident in their appearance.
Dedicated to staying up-to-date with the latest industry trends and developments.
Passionate about creating a comfortable and empowering experience for every client.
Education History
University of Craft and Design – Bachelor of Fine Arts (BFA) in Woodworking and Furniture Design
Woodworking Apprenticeships – Extensive hands-on training with skilled craftsmen to refine carpentry and furniture making techniques
Online Courses & Masterclasses – Continued education in advanced woodworking techniques, design principles, and specialized tools
Expertise:
Makeup artistry, hairstyling, and beauty consulting.
Personalized beauty techniques to enhance confidence and self-expression.
Educating clients on how to maintain their beauty routines at home.