
Are you tired of throwing away expensive hair extensions after only a few uses? Do you want to save money and keep your extensions looking new for longer? Well, the solution is simple – wash them! Yes, you heard that right.
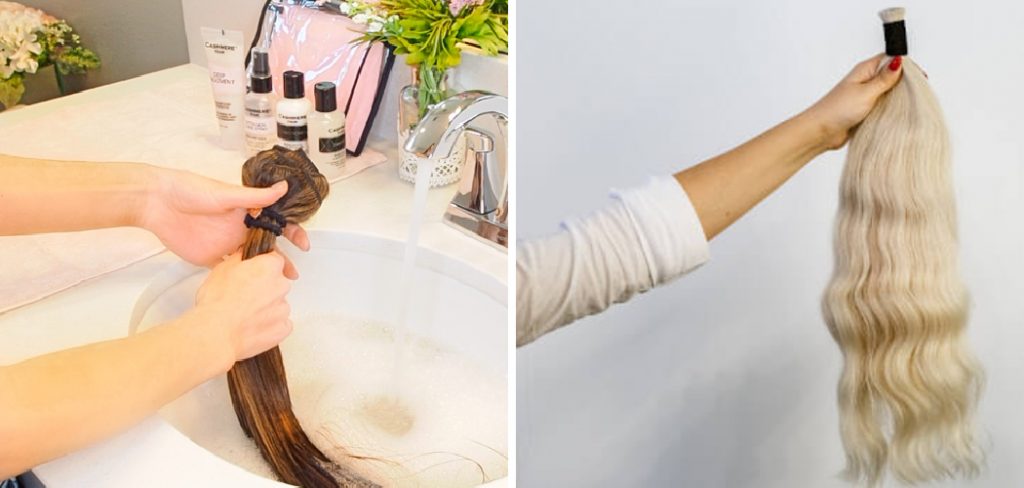
Proper care is essential to maintaining your clip-in hair extensions’ longevity, softness, and natural appearance. Washing your extensions correctly keeps them looking fresh, prevents damage, and helps them blend seamlessly with your natural hair. While the process may seem daunting initially, with the proper techniques and products, you can easily keep your extensions clean and well-maintained.
This guide on how to wash extensions clip in will walk you through the step-by-step process to wash your clip-in extensions effectively and ensure they stay in excellent condition for longer.
What Will You Need?
Before you start washing your clip-in extensions, make sure you have all the necessary items at hand. Here’s a list of things you will need:
- A Mild Shampoo and Conditioner: It’s crucial to choose gentle, sulfate-free products that won’t strip away the natural oils from your hair extensions.
- Wide-tooth Comb: This will help detangle the hair without causing any breakage or damage.
- Brush: Use a soft-bristle brush to brush out any tangles after washing.
- Towel: A soft towel is essential to absorb excess water from the extensions without causing frizz.
- Hair Extension Hanger or Clips: These will come in handy while washing and air-drying the extensions.
- Spray Bottle: Fill it with a mixture of water and a leave-in conditioner to moisturize your extensions after washing.
You can begin washing your clip-in extensions once you have all these items ready.
10 Easy Steps on How to Wash Extensions Clip in
Step 1: Prepare Your Extensions
Preparation is vital before you begin washing your clip-in extensions to ensure a smooth process and minimize tangling or damage. Start by laying your extensions flat on a clean surface. Gently brush through each weft using a soft-bristle brush or a wide-tooth comb to remove any tangles or knots. This step is essential because washing tangled extensions can lead to further matting, making it difficult to manage them later. Always hold the base of the extension while brushing to avoid pulling on the clips or causing unnecessary shedding.
Next, separate your extensions into individual wefts if they are not detached. This will make cleaning and rinsing each piece thoroughly easier without overlapping hair. Inspect the extensions for any product buildup, dirt, or tangles to identify areas requiring extra attention during the washing process. Taking the time to prepare your extensions properly will not only streamline the washing process but also ensure better results and prolong the lifespan of your clip-in extensions.
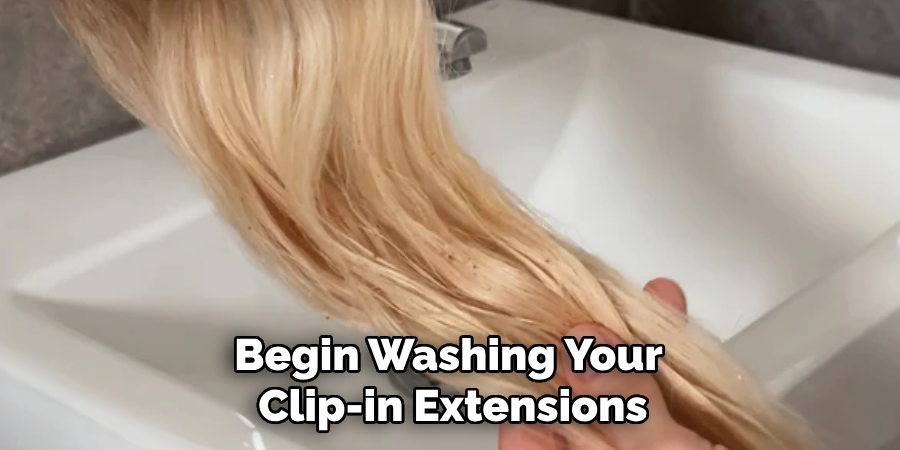
Step 2: Rinse the Extensions
Once your extensions are adequately prepared, it’s time to rinse them. Hold each weft under lukewarm running water to remove surface dirt or buildup. Be sure to keep the water running toward the hair strands—from top to bottom—to prevent tangling. Avoid submerging the extensions in standing water, which can cause the hair to twist and become matted. Take your time to ensure each weft is fully saturated with water before moving to the next step. Proper rinsing helps set the foundation for a thorough and even wash.
Step 3: Apply Shampoo
With the extensions thoroughly rinsed, it’s time to apply shampoo. Take a small amount of mild, sulfate-free shampoo and gently work it into the hair, starting at the top of each weft and moving downward. Use your fingers to carefully spread the shampoo along the strands, avoiding any harsh rubbing or scrubbing motions that could damage the hair or cause tangling. Focus on areas with visible product buildup or dirt, ensuring the shampoo reaches every part of the weft. Remember, the goal is to clean the extensions gently while preserving their integrity and softness. Once the shampoo is evenly distributed, you can move on to rinsing.
Step 4: Rinse Out the Shampoo
After applying and distributing the shampoo, it’s time to rinse it out thoroughly. Hold each weft under lukewarm running water, allowing the water to flow from the top down to the ends. This ensures that all the shampoo is washed away without causing tangling. Use your fingers to gently run through the strands as you rinse, helping to remove any remaining product. Be patient and thorough during this step, as leftover shampoo can lead to residue buildup and make the extensions feel heavy or sticky. Once you’re confident all the shampoo has been rinsed out, proceed to the conditioning step.
Step 5: Apply Conditioner
With the extensions now clean, it’s time to condition them to restore moisture and maintain their softness. Add a generous amount of a sulfate-free, hydrating conditioner to each weft, focusing on the mid-lengths to the ends. Avoid applying conditioner near the clips or bases of the extensions, as this can make them slippery or weaken their attachment. Use your fingers to gently work the conditioner through the strands, ensuring every part of the hair is coated evenly. For added nourishment, you can leave the conditioner on for 5-10 minutes to allow it to penetrate the hair deeply. This step is crucial to keeping your extensions smooth, tangle-free, and feeling like new. Once finished, proceed to rinse out the conditioner.
Step 6: Rinse Out the Conditioner
After allowing the conditioner to sit for the recommended time, it’s time to rinse it out thoroughly. Hold each weft under lukewarm running water, letting the water flow from the top to the ends. Use your fingers to gently glide through the strands, ensuring all the conditioner is rinsed out thoroughly. Any leftover conditioner can weigh down the extensions or make them feel greasy, so take your time during this step. Proper rinsing is essential to leave the extensions soft, silky, and free of residue, ready for drying.
Step 7: Remove Excess Water
After thoroughly rinsing out the conditioner, gently remove the excess water from your extensions. Take each weft and carefully squeeze the hair from top to bottom, avoiding twisting or wringing, as this can cause breakage or damage to the strands. Once you’ve removed most of the water, place the wefts on a soft towel. Fold the towel over the extensions and gently press to absorb any remaining moisture. This step helps prepare the extensions for air drying without causing unnecessary frizz or tangling.
Step 8: Air-dry the Extensions
After removing excess water, it’s time to air-dry your extensions. Lay each weft flat on a clean, dry towel in a well-ventilated area, keeping them separate to avoid tangling. Allow them to dry naturally, as excessive heat can damage the strands or alter their texture. Avoid hanging the extensions to dry, as this can stretch the hair or warp the clips over time. Patience is essential during this step—drying time may vary depending on the thickness of the extensions. Still, natural air drying ensures the integrity and longevity of the hair is preserved.
Step 9: Detangle and Style the Extensions
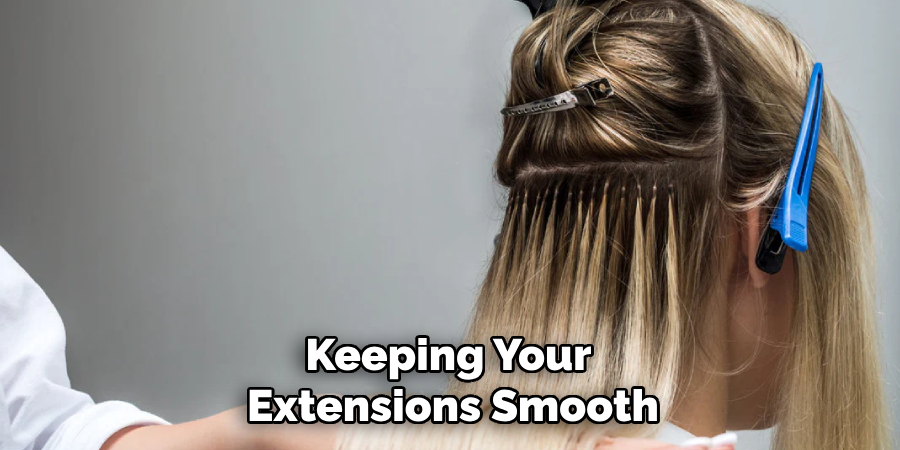
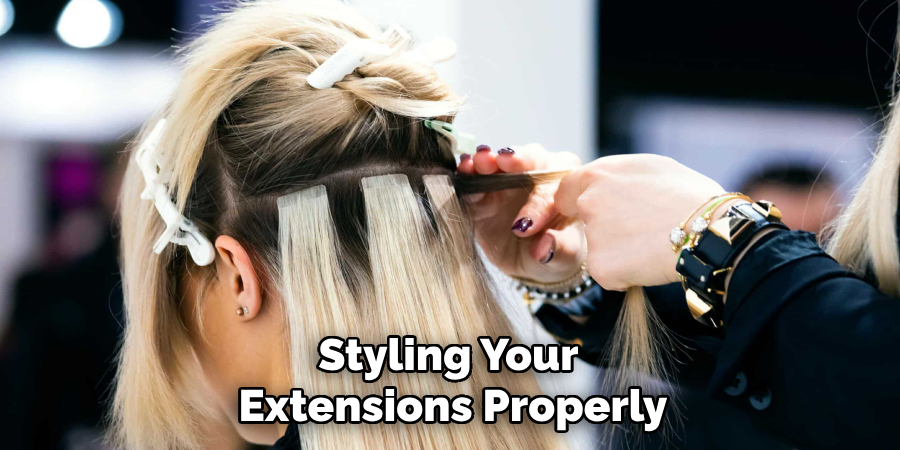
Once your extensions are completely dry, it’s time to detangle and style them. Use a wide-tooth comb or a brush designed for extensions to work through tangles gently. Start at the ends of each weft and gradually work up to the top to prevent unnecessary stress on the strands. Avoid pulling or tugging to maintain the integrity of the hair. Once detangled, you can style the extensions as desired using heat tools but always use a heat protectant to shield the hair from damage. Styling your extensions properly will ensure they look natural, smooth, and ready to wear.
Step 10: Store the Extensions Properly
After styling your extensions, proper storage is essential to maintain their quality and prolong their lifespan. Always ensure the extensions are clean, dry, and tangle-free entirely before storing them. Place each weft neatly in a storage bag or box designed for hair extensions, keeping them flat and separated to prevent tangling or bending. Store the extensions in a cool, dry place away from direct sunlight, humidity, or extreme temperatures. Proper storage helps preserve the extensions’ texture and style and ensures they remain ready for future use.
By following these steps, you can ensure your extensions will stay clean, healthy, and beautiful for many uses to come!
5 Things You Should Avoid
- Using Hot Water: Hot water can weaken the bonds and damage the hair fibers, causing your extensions to lose their softness and shine. Always use lukewarm water to wash your clip-in extensions, as it’s gentler and helps maintain their quality.
- Scrubbing or Rubbing Harshly: Vigorous scrubbing or rubbing motions can lead to tangling and breakage. Treat your extensions gently, focusing on massaging shampoo and conditioner along the strands.
- Using Regular Hair Products: Products that contain sulfates, silicones, or alcohol can strip moisture from the hair and weaken the extensions. Always opt for sulfate-free and extension-friendly products to clean and condition your clip-ins.
- Skipping the Conditioning Step: Neglecting to condition the extensions can leave them dry, frizzy, and prone to tangling. Conditioning ensures the hair stays hydrated, soft, and manageable, so never skip this vital step.
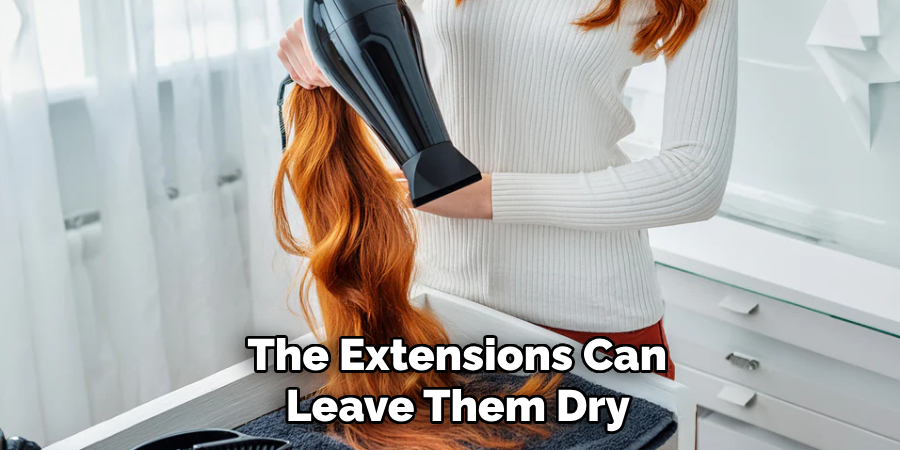
- Drying with Excessive Heat: Using high-heat tools or a blow dryer can severely damage the extensions, leading to dryness, brittleness, or altering their texture. Instead, air-dry your extensions whenever possible to preserve their natural look and longevity.
Conclusion
How to wash extensions clip in properly is essential to maintain their appearance, softness, and longevity.
By following a systematic approach—gentle shampooing, thorough rinsing, and hydrating conditioning—you can ensure your extensions stay clean and tangle-free. Careful drying and proper storage further protect their quality, keeping them ready to use. Taking the time to care for your extensions preserves their natural look and extends their lifespan, making them a worthwhile investment.
Regular upkeep with these steps ensures your extensions remain a seamless and stunning addition to your style.
About the Author
Jane Hubbard is a passionate beauty expert with a wealth of experience in makeup, hair, and overall beauty techniques. After years of working as a hairdresser specialist, she followed her entrepreneurial spirit and started her own consultancy business.
Jane has always been driven by her desire to help others feel confident in their own skin, and she does this by sharing her knowledge, experiences, and practical beauty tips. Through her consultancy, she empowers individuals to embrace their unique beauty, offering tailored guidance that boosts both self-esteem and personal style.
Professional Focus
Specializes in makeup, hairstyling, and beauty consulting.
Provides personalized beauty advice, tips, and techniques to help individuals feel confident in their appearance.
Dedicated to staying up-to-date with the latest industry trends and developments.
Passionate about creating a comfortable and empowering experience for every client.
Education History
University of Craft and Design – Bachelor of Fine Arts (BFA) in Woodworking and Furniture Design
Woodworking Apprenticeships – Extensive hands-on training with skilled craftsmen to refine carpentry and furniture making techniques
Online Courses & Masterclasses – Continued education in advanced woodworking techniques, design principles, and specialized tools
Expertise:
Makeup artistry, hairstyling, and beauty consulting.
Personalized beauty techniques to enhance confidence and self-expression.
Educating clients on how to maintain their beauty routines at home.