
That immediate jolt of panic is entirely understandable when a bottle of vibrant cosmetic pigment shatters across a pristine carpet or a favorite silk blouse. Deep crimson pigments are notoriously unforgiving. However, knowing how to remove red nail polish stains can salvage items that might otherwise seem permanently ruined.
This post aims to equip you with a methodical, science-based approach to cosmetic stain removal. We will explore immediate triage protocols that appear to significantly improve recovery outcomes. You will also learn a precise cleaning methodology tailored for clothing, fibrous floor coverings, and rigid surfaces.
Approaching this problem with patience rather than frantic scrubbing often yields the best results. Cosmetic chemistry dictates that specific solvents react differently across various materials. Armed with the right household supplies and proper technique, reversing this cosmetic disaster is an entirely manageable process.
Understanding Why Red Polish is So Hard to Remove
Most people quickly realize that crimson lacquers behave differently than their pastel counterparts during a spill. The underlying chemistry of these cosmetics explains this frustrating reality. Deep red iron oxide pigments bind exceptionally fast to both natural and synthetic fibers.
Manufacturers intentionally design these formulas to resist chipping and fading. This longevity requires intense pigment concentrations that easily overwhelm porous materials.
The Chemistry of Red Pigments
Dyes utilized in deep scarlet cosmetics possess complex molecular structures. These structures allow them to penetrate microscopic crevices in fabrics and woods. Lighter shades simply do not contain the same volume of microscopic colorants.
When a crimson spill occurs, the solvent base evaporates rapidly. This evaporation leaves behind a concentrated dye matrix that stubbornly resists traditional soap and water. You must break down this matrix chemically before the color can be lifted.
Porous vs. Non-Porous Surfaces
The material hosting the spill dictates your entire recovery strategy. Hard, non-porous tiles typically allow the lacquer to pool on the surface without sinking in. This superficial pooling usually indicates a much simpler removal process.
Conversely, cotton shirts and woven rugs possess highly porous structures. The liquid lacquer wicks deeply into these fibers via capillary action within seconds. Extracting pigment from within a fiber is exponentially more difficult than scraping it off a sealed ceramic surface.
Immediate Actions When a Spill Happens
The first sixty seconds following a cosmetic accident frequently determine the final outcome. Damage control should be your immediate priority. Frantic, uncalculated movements tend to exacerbate the problem.
Taking a deep breath and proceeding methodically may suggest a better chance of total recovery. You must focus on containment rather than immediate eradication.
Scraping Excess Polish Safely
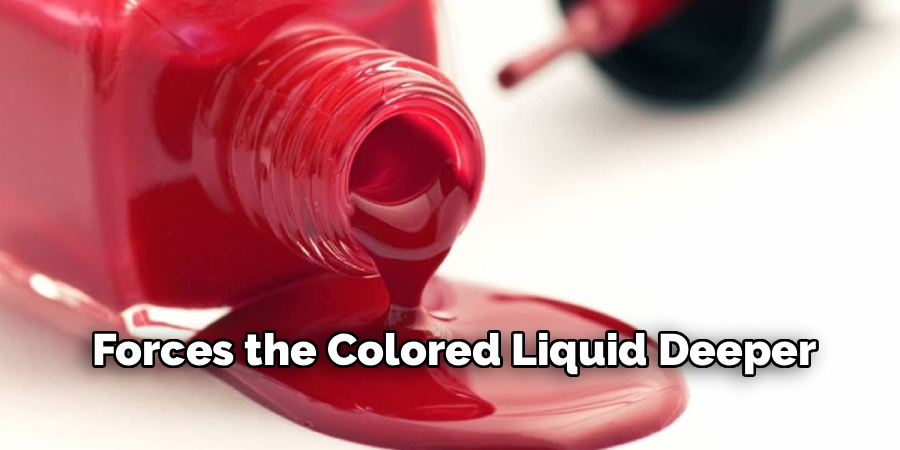
If the lacquer remains wet, you should carefully lift the excess liquid away from the material. Using a dull edge, such as a plastic credit card or a standard butter knife, works beautifully. Slide the edge underneath the puddle to scoop it upward.
You must avoid pressing downward during this phase. Downward pressure forces the colored liquid deeper into the textile weave. Deposit the scooped material onto a paper towel and dispose of it immediately.
Blotting Instead of Rubbing
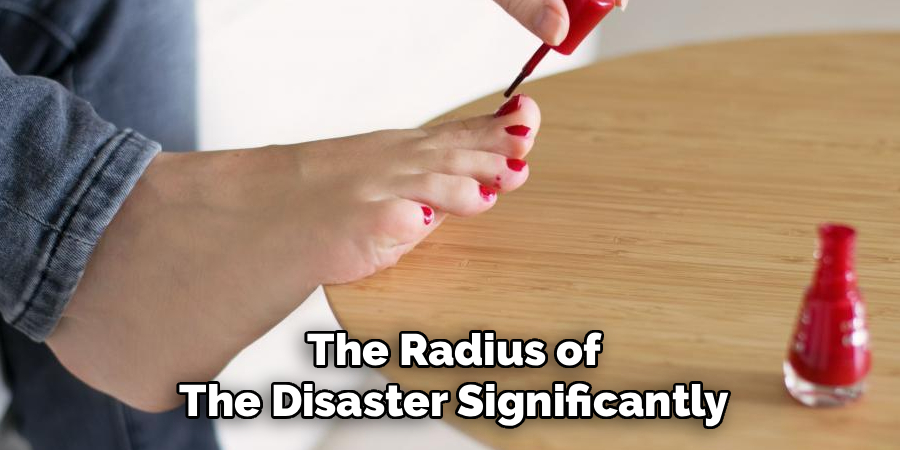
The most fundamental rule of treating wet stains involves avoiding friction at all costs. Rubbing a fresh spill effectively paints the surrounding clean fibers with crimson dye. This friction expands the radius of the disaster significantly.
Instead, you should press a clean cloth directly down onto the wet spot. Lift the cloth straight up to absorb the liquid. Repeat this vertical pressing motion with a clean section of cloth until no more moisture transfers.
Containing the Stain Area
Preventing the dye from bleeding outward is another helpful triage step. Applying a border of absorbent powder around the perimeter of the spill can halt horizontal wicking. Common talcum powder or standard baking soda performs this containment function perfectly.
The dry powder creates a physical barrier that absorbs the spreading liquid base. Once the liquid stops migrating, you can focus your attention on the primary concentration of pigment in the center.
Essential Stain Removal Supplies to Gather
Attempting to treat a severe dye spill without the proper tools often leads to permanent textile damage. You should gather your chemical agents before applying any water. Having your supplies arranged prevents the lacquer from drying while you search your cabinets.
The right solvent acts as the key to breaking down the hardened cosmetic resins. Selecting that solvent requires careful consideration of the damaged material.
Acetone vs. Non-Acetone Removers
Pure acetone remains the most powerful solvent for dissolving cosmetic resins. It melts hardened lacquers rapidly, making it ideal for durable fabrics like heavy cotton or denim. However, acetone aggressively melts synthetic acetate fabrics and strips varnish from wooden furniture.
Non-acetone removers typically rely on ethyl acetate. This compound acts far less aggressively, which could provide a safer option for delicate fabrics. While it requires more applications to dissolve the dye, it minimizes the risk of structural damage to the textile.
Household Alternatives
You might find yourself facing a spill without dedicated cosmetic removers on hand. High-proof rubbing alcohol serves as a highly effective alternative solvent. It breaks down the chemical bonds of the lacquer, albeit slightly slower than pure acetone.
Clear, unscented hand sanitizer also functions surprisingly well in emergencies. The gel consistency prevents the alcohol from evaporating too quickly. Some people even report moderate success using aerosol bug sprays, as the chemical propellants can soften dried pigments.
Microfiber Cloths and Cotton Swabs
The tools used to apply the solvent matter just as much as the liquid itself. You must strictly use white, undyed cloths or unbleached paper towels. Colored rags might bleed their own dyes into your garment when exposed to strong solvents.
Cotton swabs offer incredible precision for localized treatment. They allow you to apply chemicals directly to the stained threads without soaking the adjacent clean areas. Precision application minimizes the risk of creating secondary watermark rings.
Step-by-Step Guide: How to Remove Red Nail Polish Stains
Navigating the actual chemical extraction requires a disciplined, methodical approach. This section outlines the safest protocol for treating washable fabrics and upholstery. Rushing through these steps often results in a faint pink shadow that lingers permanently.
Following a strict sequence prevents the dye from migrating further. You must remain patient, as deep crimson pigments rarely disappear after a single solvent application.
Step 1: Perform a Spot Test on the Material
Chemical solvents can alter fabric dyes or melt synthetic weaves entirely. You should apply a drop of your chosen liquid to an interior seam or hidden hem. Wait approximately five minutes to observe the reaction.
If the fabric color bleeds onto your cotton swab or if the material puckers, you must abandon that specific solvent. Finding a hidden area prevents you from accidentally bleaching a highly visible section of your garment.
Step 2: Place Absorbent Materials Underneath the Stain
When you apply a liquid solvent to a fabric, the dissolved dye needs somewhere to go. Placing a thick stack of clean paper towels directly beneath the soiled area provides an absorption pathway. The solvent pushes the red pigment down through the weave and into the disposable towels.
This downward extraction method prevents the dye from spreading horizontally across the garment. You will need to shift the paper towels frequently as they absorb the crimson liquid. Ensuring a clean layer rests beneath the fabric at all times is incredibly important.
Step 3: Apply the Cleaning Solvent Carefully
Saturate a clean cotton swab with your tested solvent. Press the wet swab directly onto the hardened cosmetic residue. You want to thoroughly wet the immediate spot without flooding the surrounding dry textile.
Allow the chemical to sit on the fibers for several seconds. This brief waiting period gives the solvent time to dissolve the rigid polymers. You should notice the hard crust beginning to soften and turn tacky.
Step 4: Blot the Stain Gently from the Outside In
Once the lacquer softens, begin dabbing the area with a clean white cloth. You must start at the outer perimeter of the spill and work your way toward the center. This specific inward motion prevents the pigment ring from expanding.
The cloth will quickly turn pink or red as it pulls the dye upward. Rotate your cloth constantly to ensure you always press a clean section against the fabric. Re-depositing extracted dye back onto the garment is a common, frustrating mistake.
Step 5: Rinse the Area with Cold Water
After lifting the majority of the pigment, chemical residues will remain in the weave. You must flush the treated area thoroughly under a cold running faucet. Cold water helps clear out the solvent without permanently setting any microscopic dye remnants.
Never use hot water during this intermediate flushing phase. Thermal exposure forces the fabric scales to open, potentially trapping lingering red molecules deep inside the thread core. A gentle, cold stream provides the safest rinse.
Step 6: Launder or Clean as Usual
The final step involves a standard wash cycle to remove lingering odors and faint shadows. Pre-treat the damp area with a high-quality, heavy-duty laundry detergent. Massage the soap in gently with your fingers to ensure it penetrates fully.
Launder the garment according to its specific care label instructions. Upon removing the item from the washing machine, inspect the area carefully before placing it in a heated dryer. If a pink hue remains, repeat the solvent extraction process.
Tackling Spills on Carpets and Rugs
Floor coverings present a unique challenge due to their thick pile and hidden backing structures. Solvents poured aggressively onto a carpet can degrade the latex adhesive holding the rug together. You must exercise extreme caution regarding liquid volume here.
Treating fibers attached to a floor requires lifting the dye upward against gravity. This upward extraction demands patience and highly absorbent materials.
Removing Wet vs. Dry Polish from Carpet Fibers
Addressing a fresh, wet puddle on a rug requires immediate, heavy blotting with dry paper towels. You want to absorb as much liquid as possible before it travels down the yarn shaft. Once dry, the strategy changes considerably.
If the spill has hardened into a solid crust, you might carefully snip the very top fraction of a millimeter off the colored fibers using grooming scissors. If the dye penetrates deeply, softening the crust with a mild solvent becomes necessary before you can attempt extraction.
Using Window Cleaner for Stubborn Carpet Spots
Ammonia-based glass cleaners appear to indicate surprising efficacy on synthetic carpet fibers. The ammonia helps break down the cosmetic bond without bleaching the underlying carpet dye. Spray a small amount of the cleaner onto a sponge and press it into the hardened spot.
Allow the glass cleaner to sit for roughly a minute to penetrate the crust. Follow this by blotting firmly with a dry microfiber cloth. You may need to repeat this alternating process of spraying and blotting several times.
Vacuuming and Restoring Carpet Texture
Liquid treatments inevitably leave the carpet pile looking matted and stiff. Once you successfully extract the pigment, you should use a wet/dry vacuum to pull any remaining moisture from the backing. Getting the rug completely dry prevents mildew formation.
After the area dries completely, run a stiff-bristle brush gently over the fibers. This mechanical brushing separates the yarns and restores the plush texture. The treated spot should blend seamlessly back into the surrounding floor covering.
Cleaning Hard Surfaces: Wood, Tile, and Linoleum
Smooth flooring and rigid countertops typically offer an easier cleaning experience, provided you choose the right chemicals. Harsh solvents easily strip protective coatings from wood and laminate. Identifying the surface material dictates your exact chemical approach.
Preserving the underlying finish is just as important as removing the crimson dye. A cautious, incremental strategy prevents permanent etching or discoloration.
Protecting Hardwood Floor Finishes
Pouring acetone onto a sealed hardwood floor instantly melts the polyurethane finish. This chemical reaction creates a dull, cloudy white spot that requires professional sanding to repair. You must strictly avoid strong solvents on natural wood.
Instead, allow a wet spill to dry completely on a hard disc. You can often pop this dried disc off the floor finish using a plastic scraper or a fingernail. If residue remains, a tiny dab of mineral spirits on a cloth usually wipes it away safely.
Lifting Polish from Tile Grout
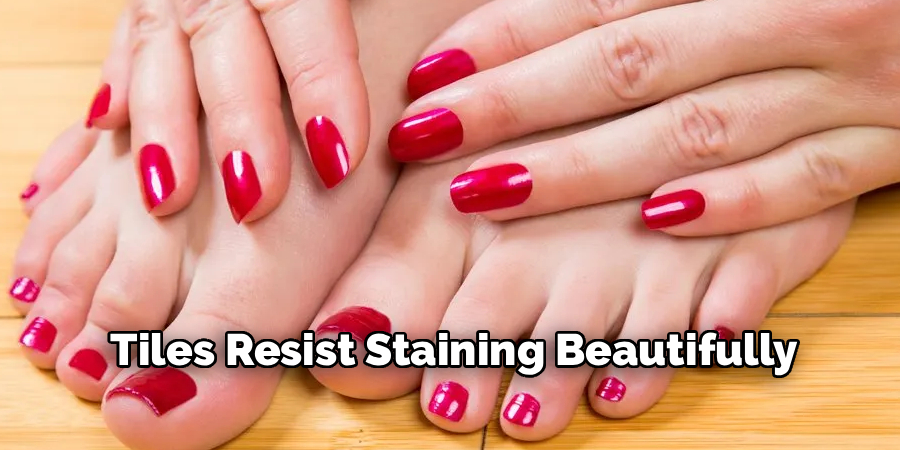
Ceramic and porcelain tiles resist staining beautifully, but the porous grout lines between them absorb liquid pigments rapidly. Extracting red dye from cement-based grout requires mild abrasion. Create a thick paste using standard baking soda and water.
Apply this alkaline paste directly over the crimson grout line using an old toothbrush. Scrub the area using firm, circular motions to lift the trapped dye particles out of the microscopic pores. Wipe the gritty paste away with a damp rag once the color transfers.
Safe Solvents for Linoleum and Laminate
Synthetic flooring materials like linoleum can warp or melt when exposed to pure acetone. You should rely on high-proof rubbing alcohol for these specific surfaces. Dampen a cotton pad with alcohol and wipe the spot briskly.
You must not allow the alcohol to sit on a laminate floor for extended periods. Wipe the solvent away immediately with a water-dampened cloth to halt any chemical reactions. Working quickly ensures the red dye lifts before the floor’s clear coat begins to soften.
Alternative DIY Stain Removal Methods
Occasionally, traditional solvents are unavailable during a cosmetic emergency. Certain unconventional household products exhibit mild solvent properties that can aid in extraction. While less reliable than pure acetone, they offer viable triage options.
These methods often require more physical exertion and longer dwell times. However, they frequently provide a safer alternative for incredibly delicate materials.
The Hairspray Trick
Aerosol hairsprays contain high concentrations of drying alcohols. Spraying a heavy coat of hairspray directly onto a dried lacquer spill can chemically reactivate the dormant polymers. The crusted pigment becomes momentarily sticky and pliable.
Once the surface turns tacky, you can swiftly wipe it away with a damp paper towel. This method proves especially useful for treating synthetic clothing or coated countertops. You must wash the sticky hairspray residue off the material immediately afterward.
Baking Soda and Ginger Ale Paste
For extremely delicate garments exhibiting a faint pink shadow, a gentle abrasive approach might be warranted. Mixing baking soda with a splash of ginger ale creates a mildly acidic, effervescent paste. The carbonation appears to help lift microscopic dye particles from the fabric weave.
Massage this bubbling mixture lightly over the stubborn shadow using a soft cloth. Let it sit for ten minutes before rinsing with cool water. This method provides a highly conservative approach to treating fragile fabrics.
What NOT to Do When Cleaning Nail Polish
Certain instinctive reactions to a spill actively sabotage the cleaning process. Knowing which actions to avoid prevents minor accidents from becoming permanent structural damage. Education regarding chemical reactions saves countless garments from the trash bin.
A measured, knowledgeable approach prevents the situation from degrading. You must suppress the urge to use extreme heat or aggressive friction.
Avoiding Hot Water
Applying hot water to a crimson dye spill is perhaps the most destructive mistake you can make. Thermal energy causes natural fibers to expand and absorb surrounding liquids rapidly. The heat literally bakes the red iron oxides into the core of the thread.
Once a dye is thermally set, chemical extraction becomes nearly impossible. You must strictly utilize cold water for all rinsing and flushing procedures. Cold temperatures keep the textile weave closed and resistant to dye penetration.
The Danger of Spreading the Pigment
Aggressive, circular scrubbing drives the colored lacquer deep into the textile backing. This physical force also pushes the liquid outward, doubling the visual size of the disaster. You must always use a targeted, vertical pressing motion.
Furthermore, using a dark or brightly colored rag to wipe a solvent-soaked spill introduces secondary dye transfer risks. The solvent can strip the color from your cleaning rag and deposit it onto your carpet. Utilizing stark white towels eliminates this frustrating complication.
Conclusion
Successfully reversing a cosmetic disaster relies entirely on understanding the chemistry of the materials involved. Whether dealing with a delicate silk blouse or a rigid ceramic tile, patience and precise solvent application dictate your success. Remember to blot vertically, avoid heat entirely, and always test your chemical agents on an inconspicuous area first.
Knowing how to remove red nail polish stains empowers you to handle accidental spills with calculated confidence rather than sheer panic. Keep this methodology in mind, and consider assembling a small stain kit for future emergencies. Your wardrobe and your carpets will undoubtedly benefit from your newly acquired extraction skills.
About the Author
Jane Hubbard is a passionate beauty expert with a wealth of experience in makeup, hair, and overall beauty techniques. After years of working as a hairdresser specialist, she followed her entrepreneurial spirit and started her own consultancy business.
Jane has always been driven by her desire to help others feel confident in their own skin, and she does this by sharing her knowledge, experiences, and practical beauty tips. Through her consultancy, she empowers individuals to embrace their unique beauty, offering tailored guidance that boosts both self-esteem and personal style.
Professional Focus
Specializes in makeup, hairstyling, and beauty consulting.
Provides personalized beauty advice, tips, and techniques to help individuals feel confident in their appearance.
Dedicated to staying up-to-date with the latest industry trends and developments.
Passionate about creating a comfortable and empowering experience for every client.
Education History
University of Craft and Design – Bachelor of Fine Arts (BFA) in Woodworking and Furniture Design
Woodworking Apprenticeships – Extensive hands-on training with skilled craftsmen to refine carpentry and furniture making techniques
Online Courses & Masterclasses – Continued education in advanced woodworking techniques, design principles, and specialized tools
Expertise:
Makeup artistry, hairstyling, and beauty consulting.
Personalized beauty techniques to enhance confidence and self-expression.
Educating clients on how to maintain their beauty routines at home.