

Patchy makeup usually happens because of dry skin, poor primer use, or the wrong product combination. To fix it, gently exfoliate, hydrate your skin, apply a primer, build foundation in thin layers, and finish with a light mist. The right prep and technique can turn a cakey, uneven base into a smooth, natural-looking finish.
You spend twenty minutes on your base, step back to check the mirror—and there it is. Blotchy patches. Foundation settling into dry spots. That particular brand of frustration is something most makeup wearers know well, especially on the mornings when time is already running short.
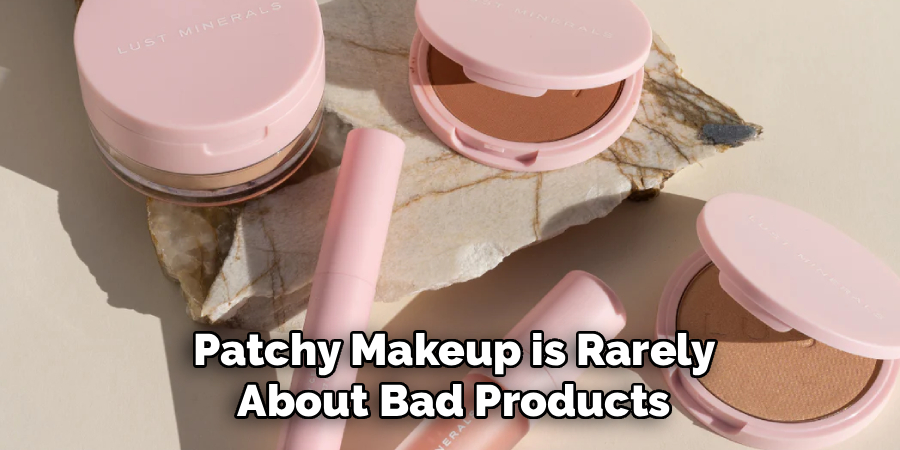
Here’s the thing: patchy makeup is rarely about bad products. More often, it comes down to prep, application order, and a few habits that are easy to fix once you know what to look for. This guide on how to fix patchy makeup walks you through seven practical steps to get a smoother finish, along with some honest notes on what tends to go wrong and why.

Tools and Materials You’ll Need
Before diving in, it helps to have everything within reach:
- Gentle exfoliator – to clear away flaky texture before it becomes a foundation problem
- Hydrating moisturizer – suited to your skin type
- Face primer – the step most people skip, and probably shouldn’t
- Foundation – matched to your skin tone and type
- Damp makeup sponge – for blending without streaks
- Foundation brush – useful for targeted, buildable coverage
- Setting powder – light application only
- Setting spray or facial mist – to bring the whole look together
You don’t need a professional kit to get good results. Drugstore staples work just as well as luxury options for most of these steps.
7 Simple Steps on How to Fix Patchy Makeup
Step 1: Start With Clean, Exfoliated Skin
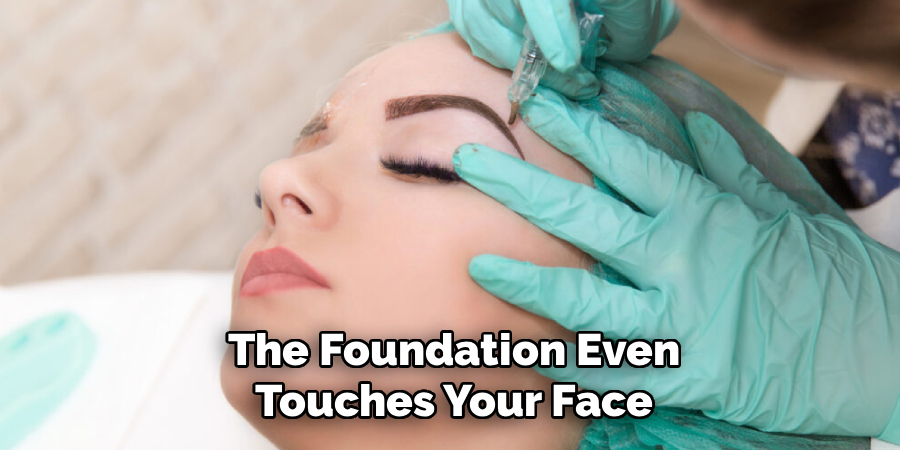
Patchy foundation often starts before the foundation even touches your face. Rough, flaky patches give the product nowhere smooth to adhere to, so it grips unevenly and looks textured within minutes.
Exfoliate two to three times a week—either with a mild chemical exfoliant (lactic or glycolic acid works well) or a soft physical scrub. Over-exfoliating tends to backfire, leaving skin reactive and more prone to irritation, so resist the urge to do it daily.
Follow with a gentle cleanser to remove any residue. A genuinely clean base changes how everything sits on top of it.
Step 2: Hydrate Your Skin Thoroughly
Dry skin and foundation are a notoriously bad combination. When skin lacks moisture, product settles into fine lines and clings to dry patches instead of sitting evenly across the surface.
Apply a moisturizer suited to your skin type—lightweight and oil-free for oily skin, something richer for dry or combination skin. Then wait. Five minutes feels like nothing, but applying foundation over moisturizer that hasn’t absorbed yet causes pilling and sliding. It’s worth the patience.
Step 3: Apply a Primer
Primer tends to be the step people skip when they’re running late. It’s also the step that makes the most visible difference to how long your makeup lasts.
A good primer creates a smooth surface for foundation to grip, which matters especially in areas like the nose and forehead where skin texture tends to show up more. Match the primer to your concern: mattifying formulas for oily skin, hydrating ones for dry, and blurring primers if pores or texture are the issue.
Apply a small amount, spread it evenly, and give it a minute to set before moving on.
Step 4: Use the Right Foundation—and Less of It
Product selection matters here, but so does quantity. Applying too much foundation at once is one of the most common reasons a base looks cakey. Start with less than you think you need. You can always add more in specific areas.
Dot the product across your face rather than swiping it on, then blend outward from the center. Thin, gradual layers give you far more control over the finish than one heavy application ever will.
Step 5: Blend With a Damp Sponge
A dry sponge absorbs product instead of blending it into the skin. Dampen yours under the tap, squeeze out the excess, and use a light bouncing or pressing motion to work the foundation in.
The key word is pressing, not dragging. Dragging product around creates streaks and disturbs what you’ve already laid down. Pay particular attention to the hairline, jawline, and sides of the nose—these edges are where patchiness tends to show up most obviously.
Step 6: Set Your Makeup With Powder
Setting powder keeps foundation in place and prevents it from migrating into creases as the day goes on. For oily skin, this step is especially worth doing well.
Use a light dusting—too much powder is its own problem, leaving skin looking flat and dry. A fluffy brush works for a diffused finish, while pressing powder in with a damp sponge tends to look more natural. Focus on the T-zone and any areas that tend to break down first.
Step 7: Finish With a Setting Spray
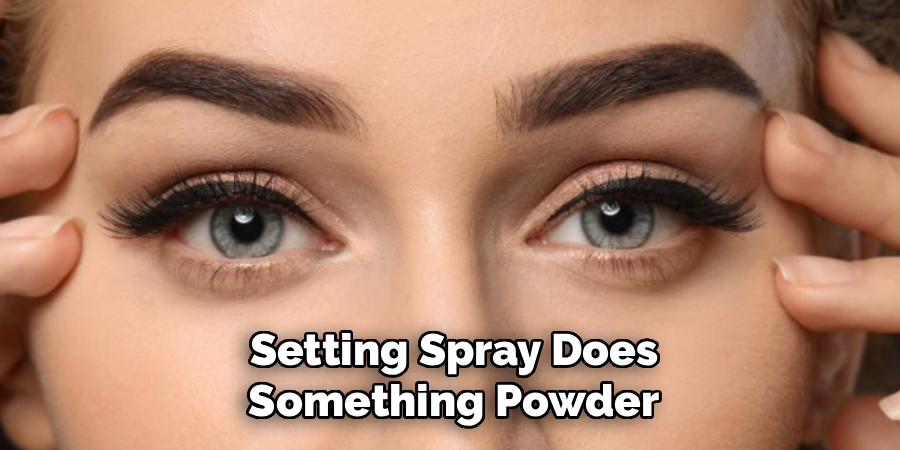
Setting spray does something powder can’t: it melds the layers together so makeup looks more like skin and less like product stacked on top of skin. Hold the bottle about eight to ten inches away and mist in a slow X-and-T motion across your face.
Let it dry without touching your face. This last step is what separates a finish that holds up through the day from one that starts looking worn by midmorning.
Following these steps on how to fix patchy makeup, you can achieve a flawless and long-lasting look. But don’t forget to finish with setting spray to lock everything in place.

Common Mistakes That Cause Patchiness
A few habits consistently undermine even careful application. Skipping the moisturizer or primer is the most frequent culprit—no technique compensates for unprepared skin. Applying too much foundation in one go comes in close second.
Letting each layer absorb before adding the next also matters more than most people realize; layering over wet product almost always causes pilling. And using a dirty or dry sponge introduces streaks that are hard to blend out after the fact.
Do You Need a Professional?
For everyday wear, no. The steps above are straightforward enough to learn at home with a bit of practice.
For weddings, photoshoots, or high-stakes events, a professional makeup artist may be worth the investment. They understand how products interact with different skin types and how lighting affects the final look—variables that are harder to account for on your own.
If patchiness persists despite trying everything here, a dermatologist consultation might be more useful than another product purchase. Underlying skin concerns sometimes need addressing before any makeup can sit properly.
How Much Will It Cost?
Fixing patchy makeup at home sits comfortably at the affordable end of the beauty spectrum. Primers typically range from $10 to $40, foundations from $15 to $60, and a decent makeup sponge runs $5 to $20. Setting sprays usually fall between $10 and $35.
If you already own most of these, you may only need one or two additions. Drugstore brands—particularly from e.l.f., NYX, and Maybelline—perform remarkably close to prestige alternatives for most of these products.
Hiring a professional makeup artist costs more: typically $50 to $200 per session, depending on your location and the occasion. For daily use, the DIY approach delivers solid results at a fraction of that.
Frequently Asked Questions
Why Does My Foundation Look Patchy After a Few Hours?
Foundation tends to break down mid-day for one of two reasons: excess oil disrupting the product, or dry skin absorbing it unevenly. Using a primer suited to your skin type and setting your makeup with both powder and spray may help extend wear. Touching your face frequently also transfers oils, which speeds up the breakdown process.
Can I Fix Patchy Makeup Without Removing It All?
Yes. Mist your face lightly with a setting spray to rehydrate the area, then use a damp sponge to gently press and blend out the uneven spots. A small amount of foundation or concealer, blended carefully, can fill in problem areas without disturbing the rest of your base. Set the area with a light dusting of powder once you’re done.
What Skin Type Is Most Prone to Patchy Makeup?
Both very dry and very oily skin types tend to struggle with patchiness, though for different reasons. Dry skin causes foundation to cling to flaky patches and settle into lines. Oily skin breaks down product faster, creating uneven wear. Combination skin may experience both issues in different zones. Tailoring your moisturizer and primer to your specific skin type appears to make the most consistent difference across all three.
Your Path to a Flawless Finish
Patchy makeup is fixable—and usually more about process than product. Start by identifying the likely cause: dry skin, too much product, or rushed application are the usual suspects. Then work through the steps above in order.
Good skin prep genuinely does most of the heavy lifting here. The techniques and tools matter, but they work best when the surface underneath is ready for them. With a bit of practice and the right routine, a smooth, even finish is far more achievable than it might feel on a frustrating morning in front of the mirror. Thanks for reading this guide on how to fix patchy makeup.

About the Author
Jane Hubbard is a passionate beauty expert with a wealth of experience in makeup, hair, and overall beauty techniques. After years of working as a hairdresser specialist, she followed her entrepreneurial spirit and started her own consultancy business.
Jane has always been driven by her desire to help others feel confident in their own skin, and she does this by sharing her knowledge, experiences, and practical beauty tips. Through her consultancy, she empowers individuals to embrace their unique beauty, offering tailored guidance that boosts both self-esteem and personal style.
Professional Focus
Specializes in makeup, hairstyling, and beauty consulting.
Provides personalized beauty advice, tips, and techniques to help individuals feel confident in their appearance.
Dedicated to staying up-to-date with the latest industry trends and developments.
Passionate about creating a comfortable and empowering experience for every client.
Education History
University of Craft and Design – Bachelor of Fine Arts (BFA) in Woodworking and Furniture Design
Woodworking Apprenticeships – Extensive hands-on training with skilled craftsmen to refine carpentry and furniture making techniques
Online Courses & Masterclasses – Continued education in advanced woodworking techniques, design principles, and specialized tools
Expertise:
Makeup artistry, hairstyling, and beauty consulting.
Personalized beauty techniques to enhance confidence and self-expression.
Educating clients on how to maintain their beauty routines at home.