

Long, fluttery lashes can transform your whole look, and the right formula makes that goal feel far more reachable. Telescopic mascara is designed to lengthen and define each lash with a slim, precise brush that reaches even the tiniest hairs. If your lashes tend to look short or sparse, this type of mascara helps stretch them outward for a bold, wide-eyed finish that lasts all day.
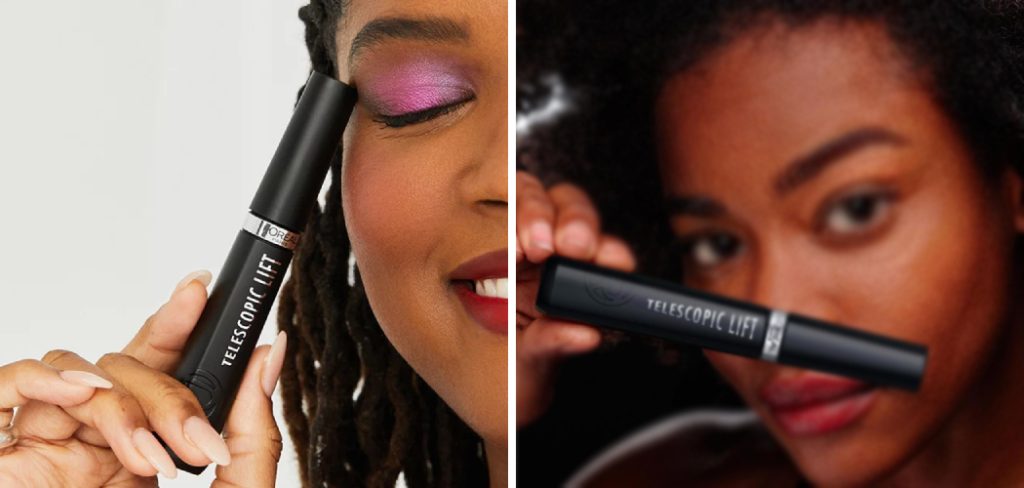
Learning how to apply telescopic mascara the right way is easier than you might expect, and you do not need to be a makeup artist to nail it. With a few simple techniques, some patience, and a steady hand, anyone can create dramatic length without clumps or smudges. This friendly, beginner-friendly guide walks you through everything, from prepping your lashes to sealing in that flawless finish. By the end, you will feel confident reaching for your mascara wand and creating stunning lashes whenever you want. Let us get started and unlock your best lash look yet.
Why Applying Telescopic Mascara Matters
Getting your technique right matters just as much as the product itself. Telescopic formulas use a fine-bristled or comb-style brush that separates each lash for maximum length, but poor application can leave you with smudges, clumps, or uneven results. When you apply it correctly, you unlock its full lengthening power and enjoy a cleaner, longer-lasting finish.
Good technique also protects your lashes and saves you money. Proper application means less product waste, fewer touch-ups, and no need to scrub off mistakes that tug at delicate lashes. You gain a polished, wide-awake look in minutes, boosting your confidence for work, events, or everyday errands. Mastering these steps empowers you to recreate salon-worthy lashes at home, adapting each move to your own eye shape and personal style.
Step-by-Step Guide To How To Apply Telescopic Mascara
Step 1: Prep And Curl Your Lashes
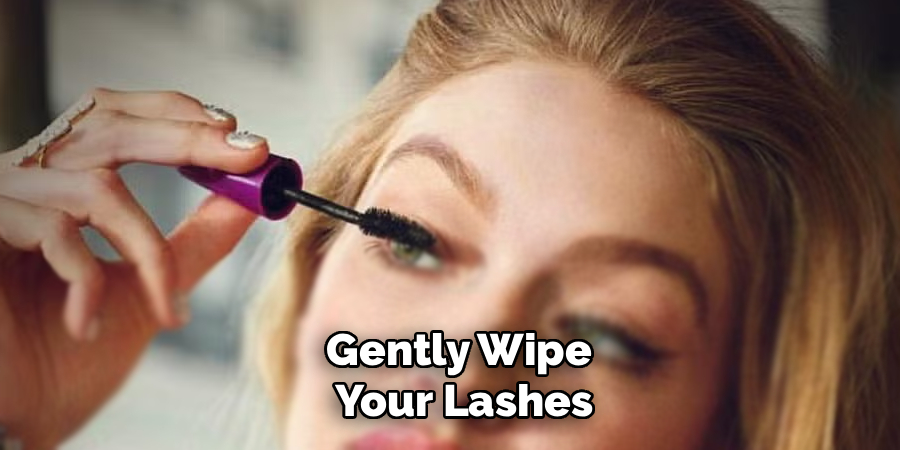
Start with a clean canvas, since leftover oils or old makeup can stop mascara from gripping properly. Gently wipe your lashes with a bit of micellar water and let them dry fully. Next, grab an eyelash curler and clamp it at the base of your lashes for a few seconds, then move slightly upward and repeat toward the tips. This creates a natural curve that lifts your eyes and gives the mascara more length to cling to. Curling first also prevents your lashes from getting caught or bent once the formula is on, so never skip this quick but powerful prep step.
Step 2: Wipe The Wand
Before your brush ever touches your lashes, take a moment to remove any excess product. Pull the wand out slowly and gently wipe it against the mouth of the tube or a clean tissue. This simple move is the secret to knowing how to apply telescopic mascara without clumps, because a loaded brush deposits too much formula at once and leaves heavy, sticky lashes. You want just enough on the bristles to coat evenly. A lightly loaded wand gives you far more control, letting you build length gradually rather than fighting to fix goopy, tangled lashes later on.
Step 3: Start At The Base
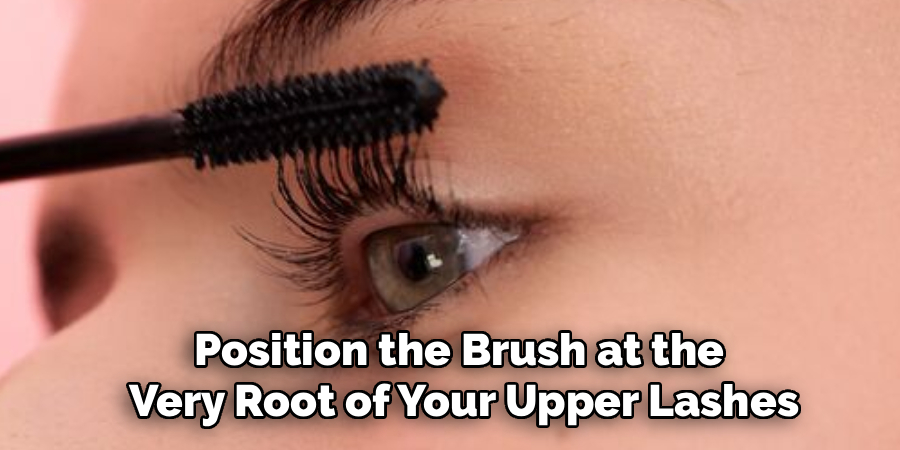
Position the brush at the very root of your upper lashes, where the color has the biggest impact. Wiggle the wand gently side to side for a second or two, since this motion deposits pigment right at the base and creates the illusion of thicker, fuller lashes. Starting here also anchors the formula so it holds your curl throughout the day. Take your time and work slowly, keeping your eyes relaxed rather than squeezed shut. Building from the root upward gives you a strong foundation, and it sets the stage for the long, dramatic finish this formula is famous for.
Step 4: Sweep Upward And Out
Once the base is coated, sweep the wand upward toward the tips in one smooth, steady motion. Follow the natural direction of each lash, guiding the outer lashes slightly outward for that lifted, elongated telescopic effect. Twist or roll the wand gently as you go to separate every hair and stretch the product along its full length. Avoid rushing, since fast, jerky strokes create clumps and uneven coverage. This upward-and-out technique is exactly how to apply telescopic mascara for maximum lengthening drama, opening up your eyes and making even short lashes look noticeably longer and more defined.
Step 5: Add A Second Thin Coat
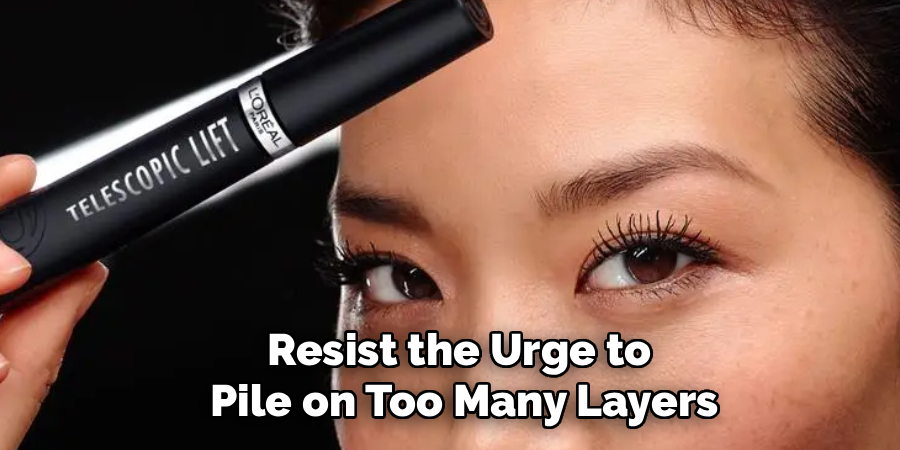
For extra length and intensity, apply a second coat while the first layer is still slightly damp. Working before the formula dries helps the layers blend smoothly instead of flaking or clumping together. Use the same base-to-tip motion, but keep this pass light and quick, focusing on the areas that need more definition. Resist the urge to pile on too many layers, since heavy buildup weighs lashes down and undoes your beautiful curl. Two thin coats almost always look better than one thick, gloppy one, giving you soft, feathery length that stays flexible and comfortable throughout the entire day.
Step 6: Coat The Lower Lashes
Do not forget your bottom lashes, since they frame your eyes and balance out the drama on top. Hold the wand vertically and use just the tip to lightly brush each lower lash, moving gently from side to side. The vertical grip gives you precise control and stops you from swiping mascara onto your skin. Keep this application subtle, because too much product on the lower lashes can look harsh or smudge under the eyes as the day goes on. A delicate touch here completes the look, tying your top and bottom lashes together for a polished, wide-awake finish.
Step 7: Separate And Set
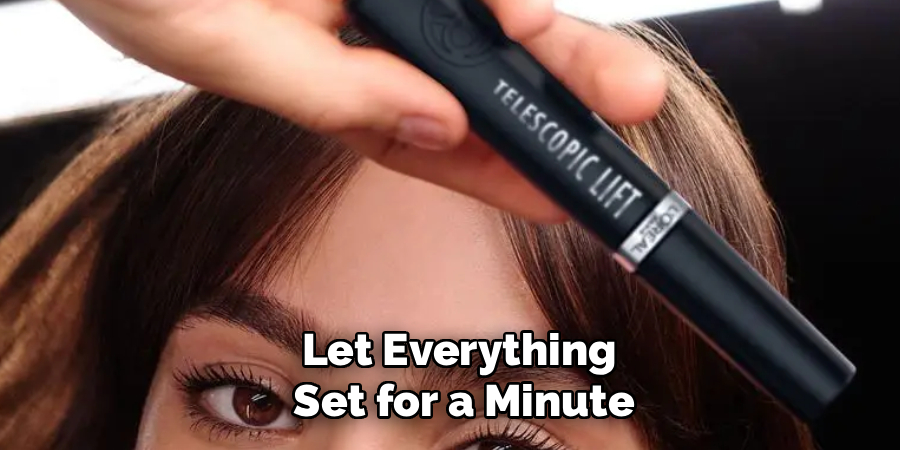
Finish by combing through your lashes with a clean spoolie or lash comb to remove any stray clumps and separate every hair. This final touch gives you that crisp, fanned-out effect that makes lashes look naturally long rather than caked in product. If you spot a smudge, wait for it to dry completely, then flick it away with a cotton swab instead of smearing it. Let everything set for a minute before opening your eyes wide or applying other makeup. This quick cleanup step is the difference between good lashes and truly flawless, camera-ready ones.
Frequently Asked Questions
How Many Coats Of Telescopic Mascara Should I Use?
Two thin coats usually deliver the best results. The first layer builds length and definition at the base, while the second adds intensity without weighing lashes down. Applying the second coat before the first fully dries helps the layers blend smoothly. Piling on more than two coats often leads to clumps, flaking, and lost curl, so stop once you reach your desired length and let the formula do its job.
Can I Use This Formula On Sensitive Eyes?
Many people with sensitive eyes wear lengthening mascaras comfortably, but it always pays to check the ingredient list first. Look for ophthalmologist-tested or fragrance-free options if irritation is a concern. Apply carefully to avoid getting product directly on the waterline, and remove it gently each night with a mild cleanser. If you notice redness or watering, stop use and consider a formula designed specifically for delicate, easily irritated eyes.
How Do I Remove It Without Damaging My Lashes?
Soak a cotton pad with a gentle oil-based or micellar remover, then press it against your closed eye for around twenty seconds. This lets the formula dissolve so it slides off without scrubbing. Wipe downward slowly, following the direction of your lashes, and repeat if needed. Never rub or tug, since aggressive removal weakens lashes over time and can cause them to fall out prematurely. Patience keeps your natural lashes healthy and strong.
Why Do My Lashes Clump When I Apply Mascara?
Clumping usually happens when the wand carries too much product or when you apply coats too slowly. Always wipe excess formula off the brush before starting, and work in light, steady strokes from base to tip. Old, drying mascara clumps more easily too, so replace your tube every three months. Finishing with a clean spoolie separates any stubborn lashes and gives you that smooth, defined finish every time.
Should I Curl My Lashes Before Or After Applying?
Always curl before you apply, never after. Curling dried, coated lashes can cause them to stick to the curler and snap off, which nobody wants. Curling first creates a lifted base that holds beautifully once the formula sets. Clamp gently at the root, then work your way toward the tips for an even, natural curve. This order protects your lashes and keeps that gorgeous lift locked in all day long.
Conclusion
Creating long, fluttery lashes at home is completely within your reach once you understand the simple steps involved. Start with clean, curled lashes, wipe your wand to avoid clumps, and build color from the root upward using smooth strokes. Add a light second coat, tend to your lower lashes, and finish by separating everything with a spoolie for a crisp, polished look. Each step works together to give you length, definition, and lasting hold without the frustration of smudges or heavy buildup.
Now that you know how to apply telescopic mascara like a pro, it is time to put these techniques into practice. Grab your favorite tube, take your time, and enjoy experimenting until you find the routine that flatters your eyes best. With a little patience and the tips above, you will be creating stunning, wide-awake lashes every single day. Go ahead and treat yourself to that bold, beautiful lash look you deserve.

About the Author
Jane Hubbard is a passionate beauty expert with a wealth of experience in makeup, hair, and overall beauty techniques. After years of working as a hairdresser specialist, she followed her entrepreneurial spirit and started her own consultancy business.
Jane has always been driven by her desire to help others feel confident in their own skin, and she does this by sharing her knowledge, experiences, and practical beauty tips. Through her consultancy, she empowers individuals to embrace their unique beauty, offering tailored guidance that boosts both self-esteem and personal style.
Professional Focus
Specializes in makeup, hairstyling, and beauty consulting.
Provides personalized beauty advice, tips, and techniques to help individuals feel confident in their appearance.
Dedicated to staying up-to-date with the latest industry trends and developments.
Passionate about creating a comfortable and empowering experience for every client.
Education History
University of Craft and Design – Bachelor of Fine Arts (BFA) in Woodworking and Furniture Design
Woodworking Apprenticeships – Extensive hands-on training with skilled craftsmen to refine carpentry and furniture making techniques
Online Courses & Masterclasses – Continued education in advanced woodworking techniques, design principles, and specialized tools
Expertise:
Makeup artistry, hairstyling, and beauty consulting.
Personalized beauty techniques to enhance confidence and self-expression.
Educating clients on how to maintain their beauty routines at home.