

That radiant, lit-from-within glow you see on runways and red carpets often starts with one iconic product. Armani Luminous Silk has earned a loyal following for its weightless feel and skin-like finish, but even the best formula needs the right technique to truly shine. If you have ever wondered why your base looks patchy or fades by midday, the secret usually lies in the method, not the makeup. Learning how to apply armani luminous silk foundation the right way transforms a good result into a flawless one.
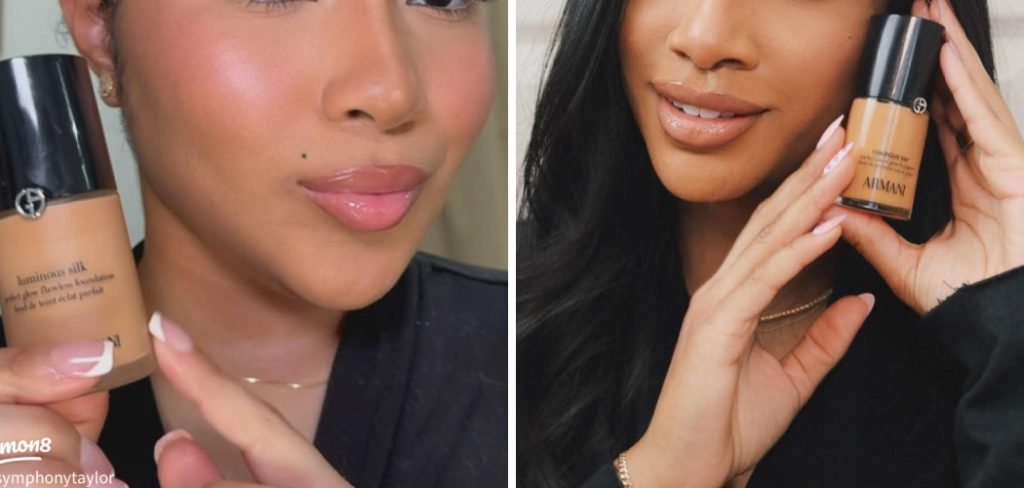
This friendly guide breaks everything down for you, whether you are a total beginner or a seasoned makeup lover looking to refine your routine. We will walk through prep, tools, technique, and long-lasting wear, so you feel confident every step of the way. You will discover why this foundation matters, how to build coverage without cakiness, and answers to the questions people ask most. By the end, you will have the skills to create a natural, glowing complexion that looks effortless and lasts all day.
Why Applying Armani Luminous Silk Foundation Matters
Technique makes all the difference with a luxury foundation like this one. The formula is buildable and lightweight, which means how you apply it directly shapes the final look. Rush the process, and you risk streaks, uneven patches, or a finish that settles into fine lines.
Applied with care, this foundation gives you a smooth, luminous base that feels like a second skin. You gain control over coverage, so you can keep things sheer for everyday wear or build depth for special occasions. Good application also helps the product last longer, reducing touch-ups and midday shine. Mastering the method empowers you to get real value from every drop, boost your confidence, and enjoy a complexion that looks healthy, fresh, and genuinely your own.
Step-by-Step Guide To How To Apply Armani Luminous Silk Foundation
Step 1: Prep Your Skin
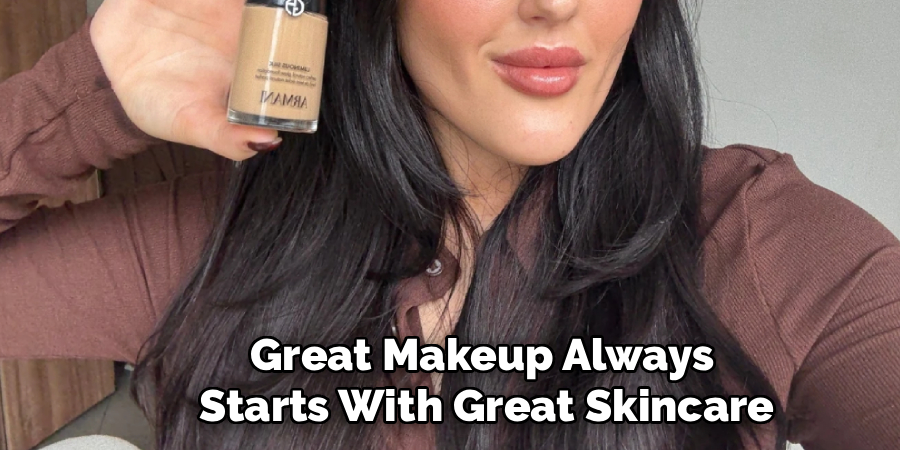
Great makeup always starts with great skincare, so give your skin a little love first. Cleanse gently to remove any overnight oils, then follow with a lightweight moisturizer suited to your skin type. Let it absorb fully for a few minutes before moving on, since applying foundation over damp skin can cause it to slide or separate.
If you have dry patches, a hydrating serum helps everything sit more evenly. For oily areas, a mattifying moisturizer keeps shine in check. Well-prepped skin creates the smooth canvas this foundation needs to glide on beautifully and last through the day.
Step 2: Apply A Suitable Primer
Primer bridges the gap between skincare and makeup, and it plays a big role in how your base performs. Choose one that matches your skin’s needs. A hydrating primer boosts glow, while a pore-blurring formula smooths texture for a more even finish.
Dab a small amount across your forehead, cheeks, nose, and chin, then blend it in with your fingertips. Focus on areas where makeup tends to fade first, like the sides of your nose. Give the primer a moment to set before you continue. This simple layer helps the foundation grip, extends wear time, and keeps that luminous effect looking fresh for hours.
Step 3: Shake And Dispense The Foundation
This foundation comes in a bottle without a pump, so a quick shake helps blend the formula evenly before use. Turn the bottle upside down and gently tap it to release a small amount onto the back of your hand or a clean palette. A little goes a long way here, so start with roughly one to two drops.
Working from the back of your hand keeps things hygienic and lets your body heat slightly warm the product. Knowing how to apply armani luminous silk foundation efficiently begins with using the right amount, because too much at once leads to a heavy, cakey result that is harder to blend.

Step 4: Choose Your Application Tool
Your tool shapes the final finish, so pick the one that matches your goal. A damp makeup sponge presses the formula into the skin for a soft, natural glow with sheer to medium coverage. A dense buffing brush builds fuller coverage and works quickly across larger areas. Your fingertips warm the product and melt it in for the most skin-like effect of all.
Many people combine tools, starting with a brush or fingers and finishing with a sponge to blend edges. There is no single right answer, so feel free to experiment and discover which method gives you the look you love most.
Step 5: Apply In Thin Layers
Now comes the heart of the process, and patience truly pays off here. Place small dots of foundation across the center of your face, then blend outward toward your hairline and jaw. Work in thin, buildable layers rather than piling everything on at once, because sheer coats create that signature glow without masking your natural skin.
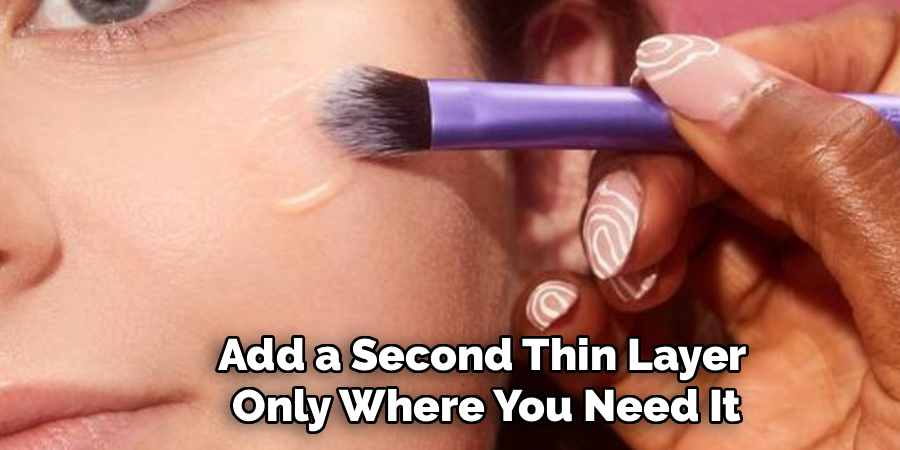
Blend using light, tapping or buffing motions instead of dragging, which keeps coverage even and streak-free. If you want more coverage in certain spots, like around the nose or on blemishes, add a second thin layer only where you need it. Mastering how to apply armani luminous silk foundation in gradual layers is the key to a natural, radiant result.
Step 6: Blend The Edges Seamlessly
Seamless blending separates an okay base from a flawless one. Pay close attention to the edges of your face, especially near the hairline, jaw, ears, and around the nose. These are the spots where harsh lines and unblended product tend to hide.
Use a clean, slightly damp sponge to gently press and buff along these borders until the foundation melts into your skin with no visible boundary. Check your work in natural light if possible, since bright daylight reveals any missed areas. Do not forget to bring a little product down onto the neck for a color match. This final blend ensures your complexion looks even, cohesive, and completely natural from every angle.
Step 7: Set And Finish
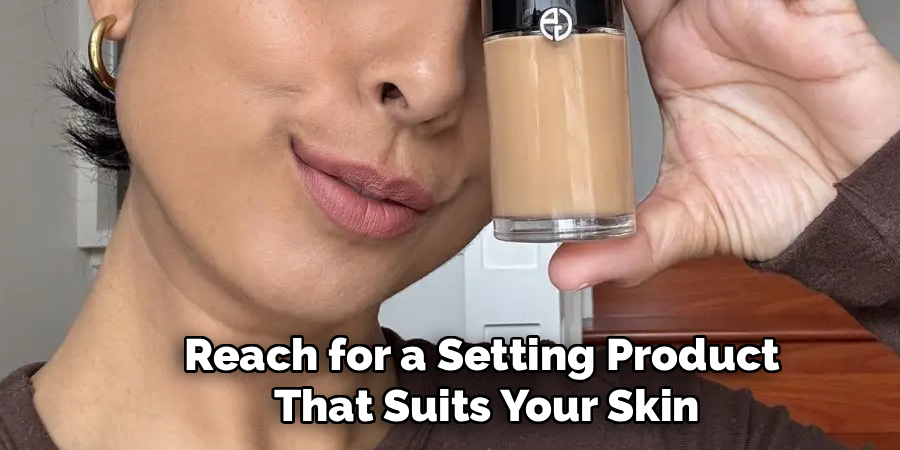
To lock everything in place, reach for a setting product that suits your skin. If you have oily skin or want extra staying power, dust a light layer of translucent powder over your T-zone using a fluffy brush. Keep it minimal, since too much powder dulls that beautiful luminosity you worked to create.
For dry or normal skin, a spritz of setting spray melts the layers together and revives the glow while helping your makeup last. Hold the bottle at arm’s length and mist evenly across your face. Give it a moment to dry, and your radiant, long-wearing base is ready for the day ahead.
Frequently Asked Questions
How Many Drops Of Foundation Do I Really Need?
Start with just one to two drops for light to medium coverage across your whole face. This formula is highly pigmented and buildable, so a small amount blends out further than you might expect. If you need more, add another single drop only where extra coverage matters, such as around the nose or on redness. Using too much at once leads to a heavy, uneven finish that is harder to blend smoothly.
Which Tool Gives The Best Finish?
It depends on the look you want. A damp beauty sponge delivers the most natural, glowing finish with sheer to medium coverage, making it a favorite for everyday wear. A buffing brush builds fuller coverage quickly, while fingertips melt the product in for a true skin-like effect. Many makeup lovers combine two tools, applying with a brush and finishing with a sponge to press everything seamlessly into the skin.
Will This Foundation Work For Oily Skin?
Yes, it can work beautifully for oily skin with the right prep and finish. Use a mattifying primer, apply thin layers, and set your T-zone with a light dusting of translucent powder. Avoid over-applying, since heavier layers tend to break down faster on oily skin. With these adjustments, you can enjoy the luminous glow while keeping excess shine under control throughout most of the day.
How Do I Make The Foundation Last Longer?
Longevity starts with prep and ends with setting. Begin with clean, moisturized skin and a suitable primer to give the formula something to grip. Apply in thin, even layers rather than one thick coat, then lock everything in with setting spray or a light powder. Carrying a small sponge for gentle midday touch-ups also helps. These simple habits keep your base looking fresh and radiant for many hours.
Can Beginners Use This Foundation Easily?
Absolutely. This foundation is forgiving and beginner-friendly, especially when you build coverage slowly. Start with a small amount, use a damp sponge for effortless blending, and take your time along the edges. Because the formula is sheer and buildable, mistakes are easy to correct without looking cakey. With a little practice and patience, even first-timers can achieve a smooth, glowing complexion that looks professional and natural.
Conclusion
Creating a flawless, radiant base comes down to a few thoughtful steps rather than any single magic trick. Start with well-prepped, moisturized skin, add a suitable primer, and use the right amount of product to avoid a heavy finish. Choose a tool that matches your desired look, build thin and buildable layers, blend the edges until they vanish, and set everything in place for lasting wear. Each stage works together to help you get the most from this beloved luxury formula.
Now that you know how to apply armani luminous silk foundation with confidence, it is time to put these steps into practice. Grab your bottle, choose your favorite tool, and experiment until you find the routine that feels right for you. With a little patience and the techniques above, you will master a glowing, skin-like complexion that lasts all day. Go ahead and give it a try, and enjoy the beautiful results you create.

About the Author
Jane Hubbard is a passionate beauty expert with a wealth of experience in makeup, hair, and overall beauty techniques. After years of working as a hairdresser specialist, she followed her entrepreneurial spirit and started her own consultancy business.
Jane has always been driven by her desire to help others feel confident in their own skin, and she does this by sharing her knowledge, experiences, and practical beauty tips. Through her consultancy, she empowers individuals to embrace their unique beauty, offering tailored guidance that boosts both self-esteem and personal style.
Professional Focus
Specializes in makeup, hairstyling, and beauty consulting.
Provides personalized beauty advice, tips, and techniques to help individuals feel confident in their appearance.
Dedicated to staying up-to-date with the latest industry trends and developments.
Passionate about creating a comfortable and empowering experience for every client.
Education History
University of Craft and Design – Bachelor of Fine Arts (BFA) in Woodworking and Furniture Design
Woodworking Apprenticeships – Extensive hands-on training with skilled craftsmen to refine carpentry and furniture making techniques
Online Courses & Masterclasses – Continued education in advanced woodworking techniques, design principles, and specialized tools
Expertise:
Makeup artistry, hairstyling, and beauty consulting.
Personalized beauty techniques to enhance confidence and self-expression.
Educating clients on how to maintain their beauty routines at home.