

You curl your lashes in the morning, admire that gorgeous lift in the mirror, and then—by lunchtime—they’ve dropped flat again. Sound familiar? You’re not alone. Many people struggle with lashes that refuse to hold a curl, no matter how much effort they put in. The good news is that learning how to make eyelashes stay curled all day is easier than you think, and it doesn’t require expensive tools or professional help.
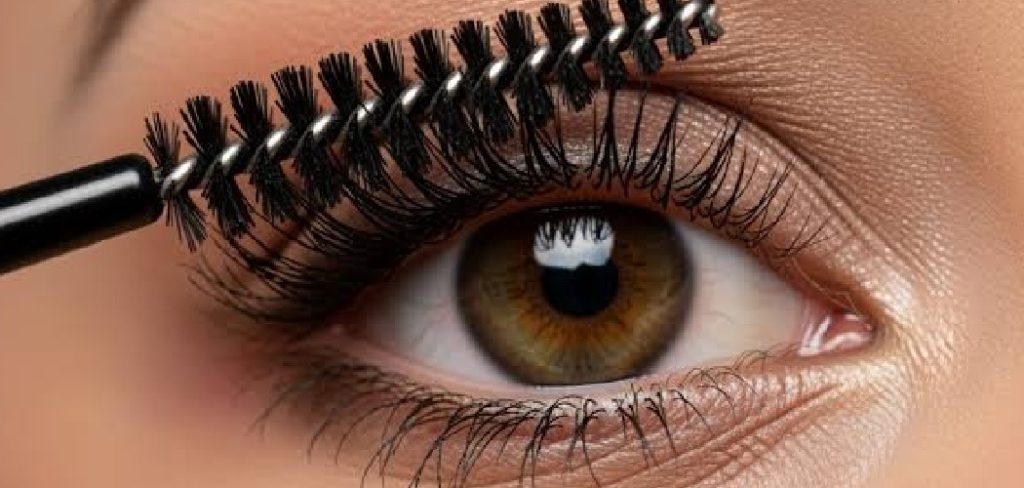
This guide walks you through simple, proven techniques that keep your curl locked in from morning to night. Whether you’re a total beginner or someone who’s tried everything, you’ll find practical steps that actually work. We’ll cover the right tools, the correct order of application, and a few clever tricks that make all the difference. By the end, you’ll know exactly how to hold that beautiful curl through work, workouts, weather, and everything in between. Let’s help your lashes stay lifted all day.
Why Keeping Your Eyelashes Curled Matters
Curled lashes do more than just look pretty—they open up your eyes and make you appear more awake, youthful, and polished. A good curl instantly brightens your whole face without adding a single extra product. It also makes your eyes look bigger and more defined, which is why so many people consider it a beauty essential.
When your curl lasts all day, you save time on touch-ups and feel confident from your morning coffee to your evening plans. Straight or drooping lashes can make you look tired, even when you’re not. Holding that lift means your effort actually pays off. Simply put, a lasting curl gives you a fresh, wide-awake look that carries you through every part of your busy day.
Step-by-Step Guide to How to Make Eyelashes Stay Curled All Day
Step 1: Start With Clean, Dry Lashes
Before you touch your curler, make sure your lashes are completely clean and dry. Any leftover oil, moisturizer, or old mascara can prevent the curl from holding. Gently wash your face and pat the eye area dry with a soft towel.

Damp or oily lashes are slippery, which means the curl slides right out within minutes. Think of it like styling wet hair—it won’t hold its shape until it’s dry. Take a moment to double-check that your lashes are free from any residue. This small habit builds the perfect foundation and makes every other step in your routine far more effective.
Step 2: Warm Up Your Eyelash Curler
A little heat goes a long way toward a curl that lasts. Grab your blow dryer and aim it at your metal eyelash curler for a few seconds on a low setting. You want it warm—never hot—so always test it against your wrist first.
Warmth helps set the curl the same way a curling iron shapes your hair. A room-temperature curler gives a weaker, shorter-lasting lift, while a gently heated one locks the shape in place. Let it cool for a second or two after heating so you don’t risk burning your delicate eyelid skin. This one trick dramatically improves your results with barely any extra effort.
Step 3: Curl in Sections for a Stronger Lift
Position the curler at the very base of your lashes, close to the lash line without pinching your skin. Squeeze gently and hold for about ten seconds. Then move outward, curling the middle and the tips in separate sections.
Curling in stages creates a natural, rounded curve instead of a harsh, single bend. This layered technique is one of the best-kept secrets for how to make eyelashes stay curled all day, because it distributes the lift evenly across each lash. Avoid yanking or pulling—slow, steady pressure protects your lashes and gives you a smooth, elegant curl that holds much longer.
Step 4: Apply a Curl-Setting Primer
A lash primer acts like a base coat, giving your mascara something to grip while helping the curl stay put. Sweep a thin layer over your freshly curled lashes from root to tip. Most primers are white and dry quickly, so you won’t wait long.
Primer coats each lash and adds a bit of structure, which supports the curl throughout the day. It also conditions your lashes and helps mascara go on more smoothly. If you don’t own a primer, don’t worry—you can still get great results—but adding this step gives your curl extra staying power and a fuller, more defined finish.
Step 5: Choose a Waterproof or Long-Wear Mascara
Your mascara choice can make or break your curl. Waterproof and long-wear formulas resist humidity, oil, and moisture, all of which cause lashes to droop. These formulas dry firmer and hold the shape you worked so hard to create.
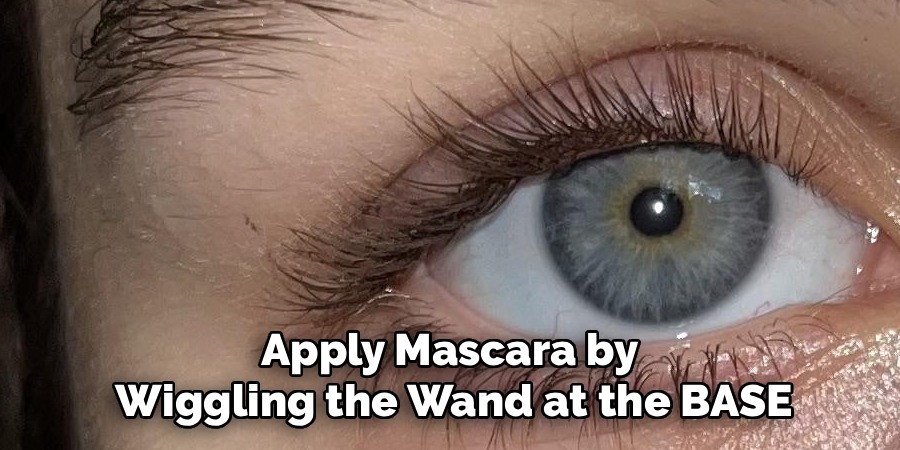
Apply mascara by wiggling the wand at the base and sweeping upward, following the direction of your curl. This upward motion reinforces the lift rather than weighing it down. Knowing how to make eyelashes stay curled all day often comes down to pairing the right technique with the right formula. Stick to one or two coats so your lashes stay light and flexible.
Step 6: Add a Second Curl After Mascara (Optional)
Once your mascara is nearly dry—but not fully set—you can give your lashes one more gentle squeeze with the curler. This extra step reinforces the curve and locks everything into its final shape.
Be careful here. If the mascara is too wet, it can stick to the curler and clump. If it’s too dry, you risk snapping brittle lashes. Aim for that in-between moment when the formula is tacky but not gooey. This optional trick works wonders for stubborn lashes that tend to fall flat, giving you a polished, wide-eyed look that truly lasts.
Step 7: Set Everything With a Light Finishing Touch
To seal your hard work, lightly mist a setting spray onto a spoolie brush and comb it through your lashes. This adds a protective layer without disturbing the curl. Avoid spraying directly onto your eyes, as that can irritate them and cause smudging.
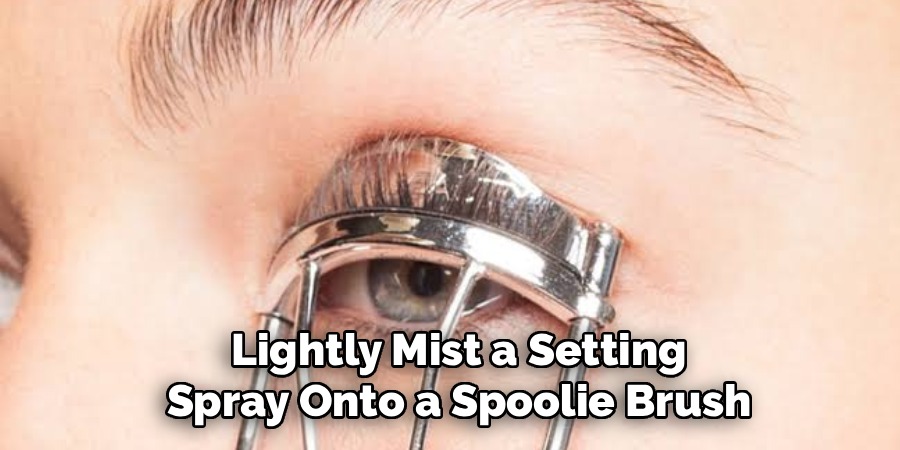
A finishing touch keeps your lashes flexible yet firm, helping them resist the day’s humidity and movement. Let everything dry completely before you blink hard or rub your eyes. With this final step done, you can head out knowing your curl is locked in, ready to hold its shape from your first meeting to your last errand of the day.
Frequently Asked Questions
Why Do My Eyelashes Lose Their Curl So Quickly?
Your lashes may drop because of oily skin, humidity, or skipping heat before curling. Naturally straight or heavy lashes also tend to fall faster. Using a room-temperature curler or a non-waterproof mascara makes the problem worse. Try warming your curler, curling in sections, and choosing a long-wear formula. These small adjustments help your curl hold much longer throughout the day.
Is It Safe to Heat My Eyelash Curler?
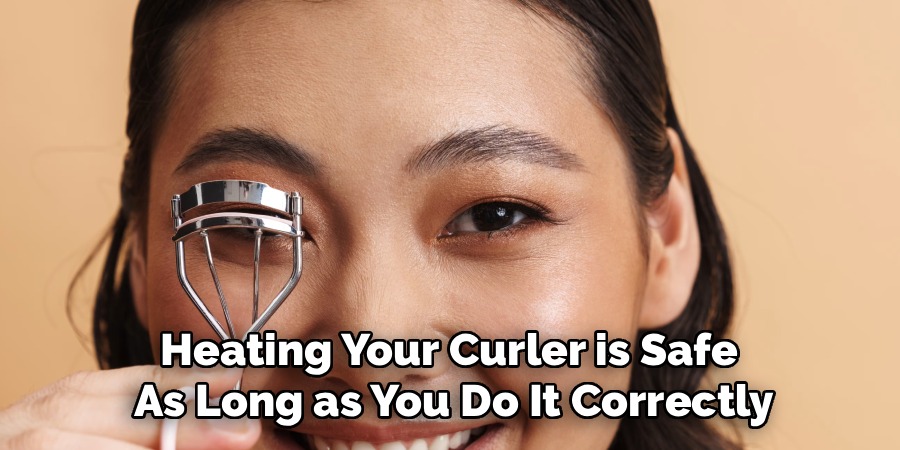
Yes, heating your curler is safe as long as you do it correctly. Use a blow dryer on low for just a few seconds, then always test the temperature against your wrist before use. The curler should feel warm, not hot. Let it cool slightly so it never touches your skin while too warm. Done properly, this simple trick sets your curl beautifully without any risk to your delicate eyes.
Should I Curl Before or After Applying Mascara?
Always curl before mascara for the best and safest results. Curling wet, mascara-coated lashes can cause them to stick to the curler and break. Curl first on clean, dry lashes, then apply your mascara in upward strokes. If you want extra hold, you can gently re-curl once the mascara is almost dry. This order protects your lashes and keeps your curl looking crisp.
Can I Keep My Lashes Curled Without a Curler?
Yes, you have options if you’d rather skip the curler. A curling mascara with a shaped wand can lift and hold lashes on its own. Warming your lash line with clean fingers before applying mascara also helps. For a longer-term solution, a professional lash lift shapes your natural lashes for weeks. Each method works differently, so choose the one that best fits your routine and comfort level.
How Do I Stop My Curl From Drooping in Humid Weather?
Humidity is a curl’s biggest enemy, but you can fight back. Use a waterproof mascara that resists moisture, and finish with a light setting spray applied through a spoolie. Avoid touching or rubbing your eyes, and skip heavy eye creams before makeup. Warming your curler first also creates a firmer, more weather-resistant curl. These steps together help your lashes stay lifted even on muggy, unpredictable days.
Conclusion
Getting a curl that lasts isn’t about luck—it’s about using the right steps in the right order. Start with clean, dry lashes, warm your curler, and curl in gentle sections for an even lift. Layer on a primer, reach for a waterproof mascara, and finish with a light setting touch to lock everything in place. Each step builds on the last, and together they make a real difference.
Now that you know how to make eyelashes stay curled all day, it’s time to put these tips into action. Try them tomorrow morning and see the difference for yourself. With a little practice, holding that beautiful, wide-eyed curl will become second nature. Your eyes deserve to look bright and lifted from sunrise to sunset—so grab your curler and give your lashes the lasting lift they deserve.

About the Author
Jane Hubbard is a passionate beauty expert with a wealth of experience in makeup, hair, and overall beauty techniques. After years of working as a hairdresser specialist, she followed her entrepreneurial spirit and started her own consultancy business.
Jane has always been driven by her desire to help others feel confident in their own skin, and she does this by sharing her knowledge, experiences, and practical beauty tips. Through her consultancy, she empowers individuals to embrace their unique beauty, offering tailored guidance that boosts both self-esteem and personal style.
Professional Focus
Specializes in makeup, hairstyling, and beauty consulting.
Provides personalized beauty advice, tips, and techniques to help individuals feel confident in their appearance.
Dedicated to staying up-to-date with the latest industry trends and developments.
Passionate about creating a comfortable and empowering experience for every client.
Education History
University of Craft and Design – Bachelor of Fine Arts (BFA) in Woodworking and Furniture Design
Woodworking Apprenticeships – Extensive hands-on training with skilled craftsmen to refine carpentry and furniture making techniques
Online Courses & Masterclasses – Continued education in advanced woodworking techniques, design principles, and specialized tools
Expertise:
Makeup artistry, hairstyling, and beauty consulting.
Personalized beauty techniques to enhance confidence and self-expression.
Educating clients on how to maintain their beauty routines at home.